DIY Caddy Tutorial
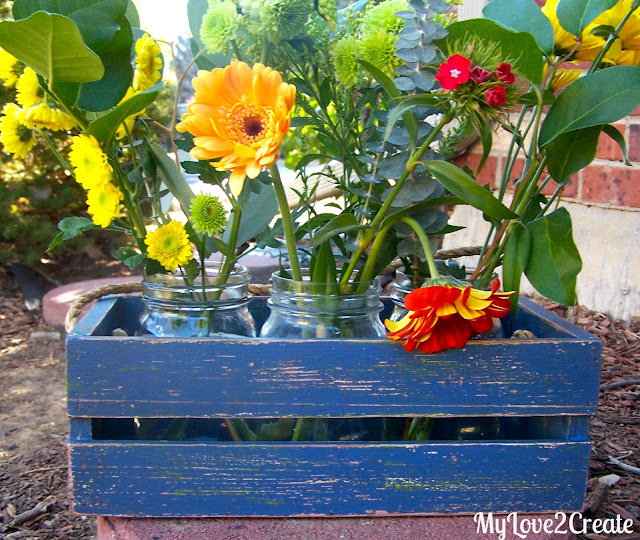
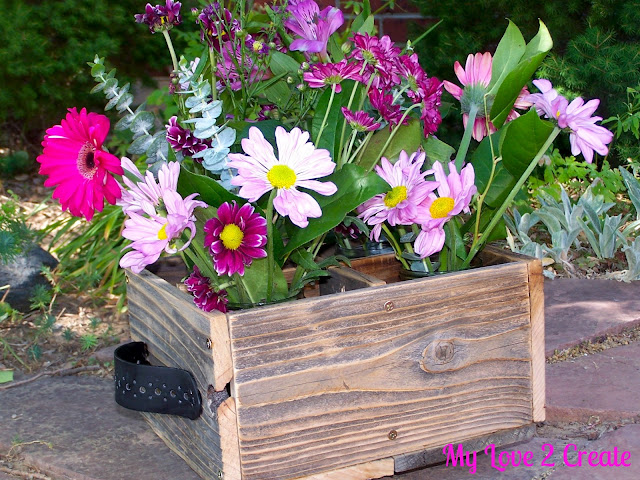
It was a present for a friend’s birthday and I have to admit, I was wishing I had made two…so I could have one too!
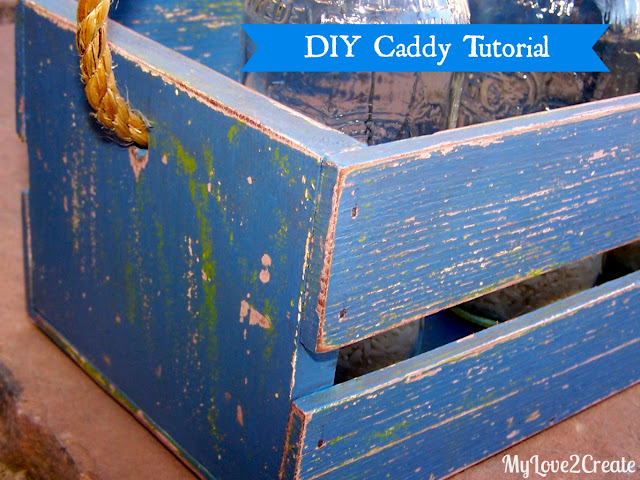
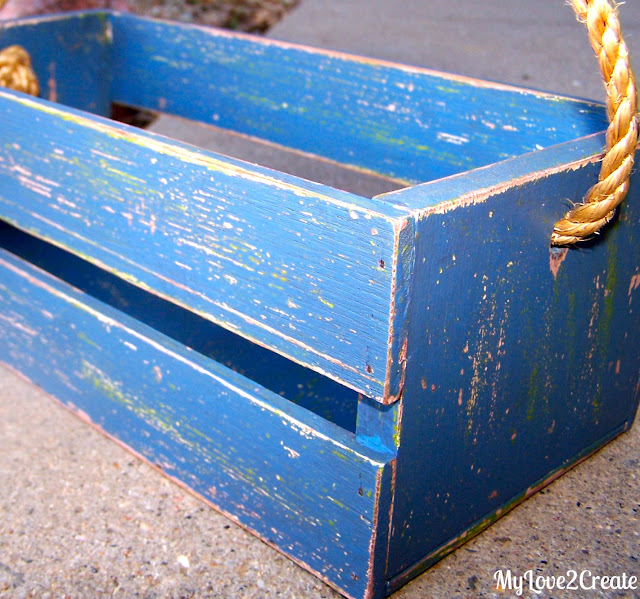
Isn’t it cute? I love the chippy goodness and the colors, I have always loved blue and green.
Want to make one? Good. Let’s get to it…
I grabbed a scrap piece of 1/4 plywood left over from another project and used it as my bottom. My scrap piece was 5×12.
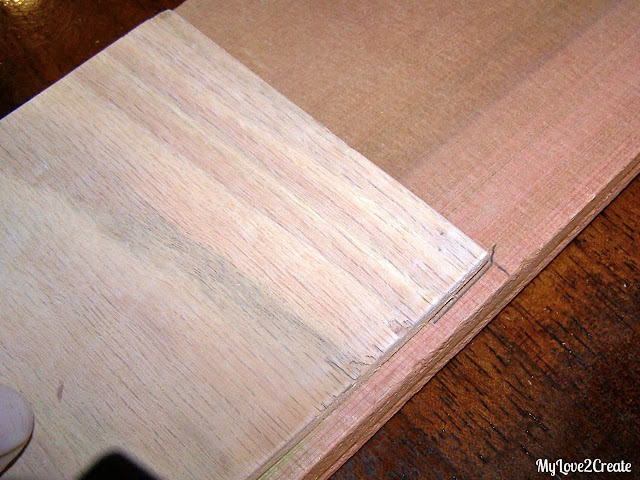
Then I use a 1×6 (which is actually 5 1/2 inches wide) and centered my bottom piece on top of it. I marked both ends, see above, then drew a line.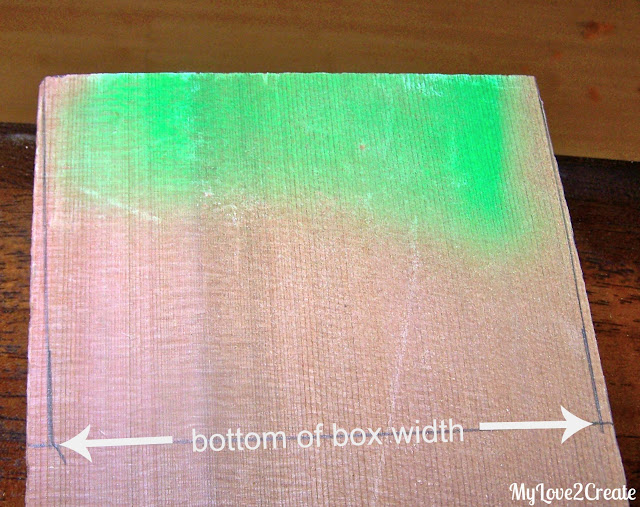
After removing the bottom you can see that the above picture shows what I cut to make my end pieces. I wanted the top a little wider than the bottom. I drew a line from the width of the bottom board to the outside edge. Then I clamped the wood down on my miter saw and cut on the lines. Make sure you clamp it good, and tight and carefully cut.
You could also just make straight ends and it would be just as cute! Plus easier to cut, you could use a miter box with a hand saw, they are super cheap (around $10 at Home Depot). Or if you buy your wood from there the nice men will cut it for you!
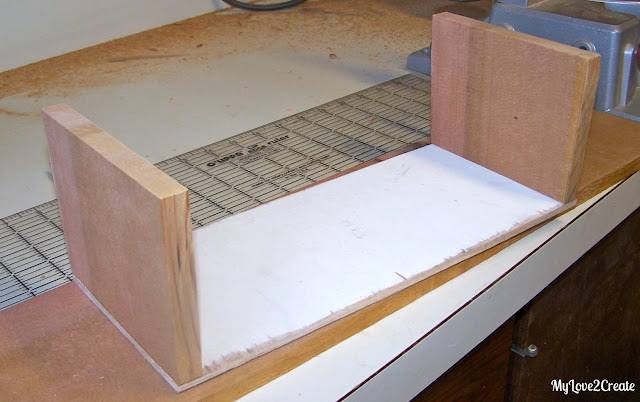
This gave me the ends and bottom of my caddy. For the sides I planned to use paint sticks, but since I was winging it my ends were too short to add three, and the paint sticks were not wide enough to make two look good, so I found some 1/4 thin boards that were wider than paint sticks, and used those. (phew!)
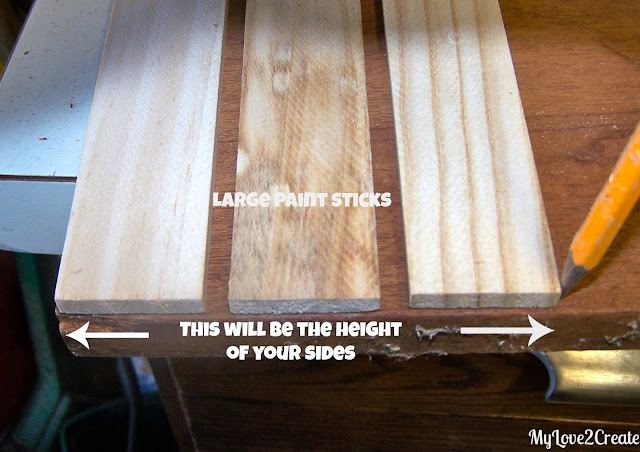
I suggest you use the large paint sticks, you can get them free at the home depot, if you ask. Then before you cut your end pieces, measure the paint sticks like in the picture below, so you know how tall to make the ends.
Easy right? The paint sticks will need to be cut the same length as the bottom piece.
Next you can either build your caddy or paint it, I usually build first, but decided to try painting it first this time.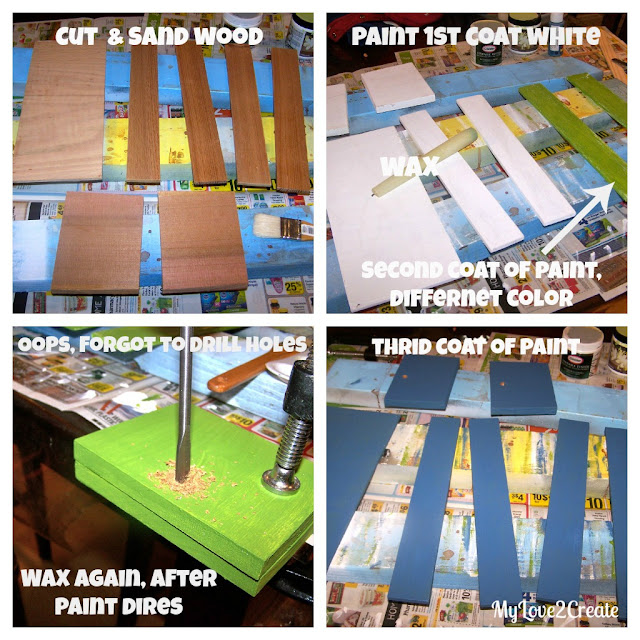
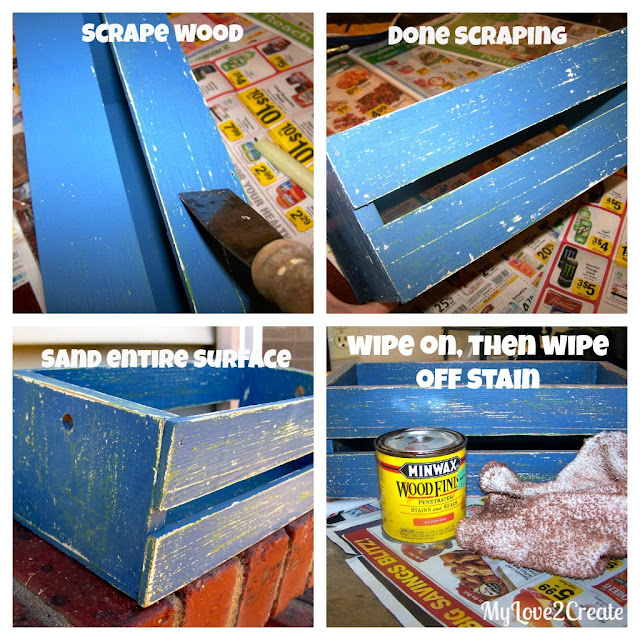
As you can see the pictures pretty much explain what to do. I painted both sides of each piece. Also when the paint dries I just used an old candle to rub on the edges and middle sections randomly. This will help it look chippy when you scrape and sand, it works like vaseline making the paint easier to remove.
I wanted to make a rope handle so I found a drill bit just bigger than my rope, clamped the two sides together and drilled my two holes at once. (obviously this step is ideal to do before you paint….)
I used some random spackle tool (at least I think that is what it is) to scrape the whole thing down. Next I used my palm sander to finish it off, and really bring out all the colors. I followed that up with a little stain, I used red oak, but next time I might use something a little darker.
If you remember I used this same method on my Chippy decor box.
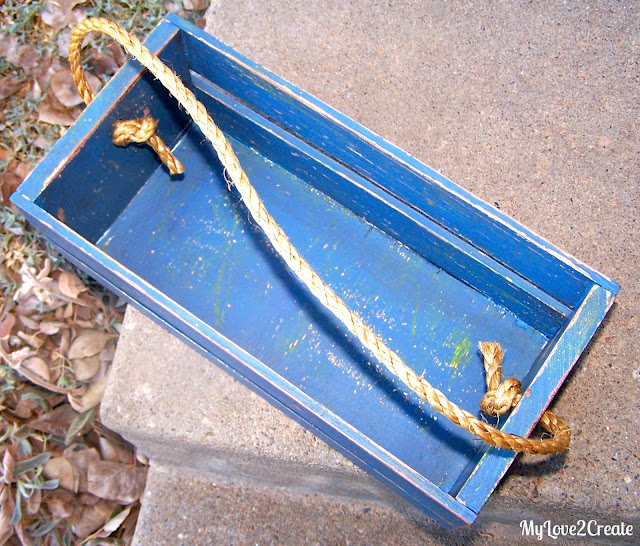
I added my rope, with some knots and…
Done! I LOVE it! My husband was actually impressed, he said it looked store bought! Thank you very much!
Ok, did you notice I skipped the building part? Sorry, I got so excited to finish I didn’t take pictures of the build.
First you turn the side pieces upside down, put glue on the bottom of them and set the bottom piece on top of them. Imagine this picture upside down….
Understand? Then nail the bottom piece on. I used a nail gun, but you could do it with regular old nails and a hammer (you may want to pre drill small holes to avoid splitting the wood if you do it this way).
After that all you have to do is glue and nail on the side pieces! So Easy!
And you have just made a super useful and cute caddy!
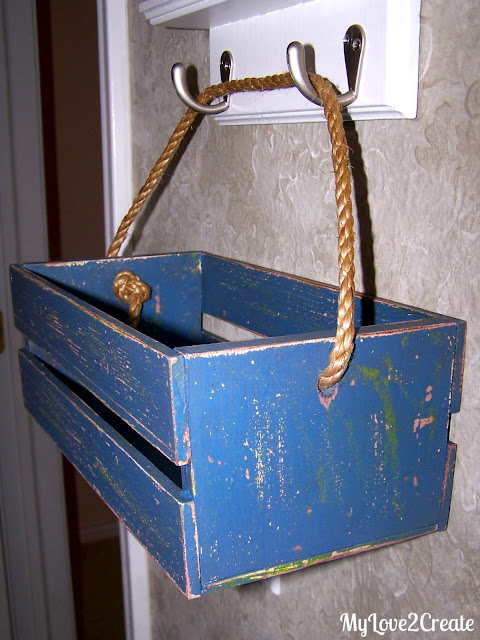
I even tested it out and it works great to hang on the wall ready to be filled with cute things (note I just used the hooks I had, but I was thinking a hook in the wall or even nails). I am considering making a couple for my bathroom and filling it with towels and such…wouldn’t that be fun….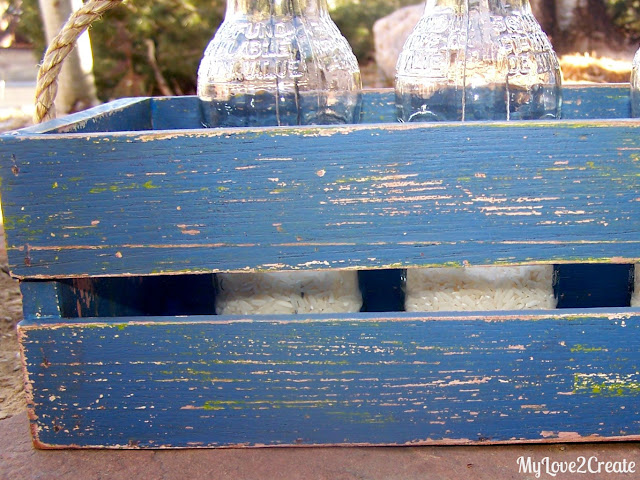
So there you have it! I hope you make one!
And this is what it looked like when I gave it to my friend, makes a great gift…
Thanks for stopping by!
Mindi
I will be linking to these parties.


OH My! I absolutely love it lady!!! This is fantastic! I love the aged look of the blue with the bright flowers!!!! I think you are on to something here! you could use these for book storage for your kids or for shelves on walls…love it!!!
I love it! Stunning color, great tut!
I L-O-V-E IT!!! I am a crate lover
So awesome and pinned for later creation
Ohhh! I love it! You did an amazing job on this little crate. Thanks for coming over and strutting your stuff.
What a great project and tutorial.
We are hosting our first party TODAY!! We would like to invite you to link up there and share with our readers.
Thanks!!
Myrna and Joye.
http://thebusybhive.blogspot.com/
You make me think I could actually make one.
Seriously cute! Turned out amazing, great job!
I love this project! You can use this crate in so many areas! Thansk for linking up to Talkin’ About Thursday – http://designeddecor.com/talkin-about-thursday-link-party4/
DeDe@DesignedDecor
Very nice! Thanks for the detailed instructions!
I found you from the Flaunt It Friday link up. I love the aged, rustic look your caddy has. I just started a new Saturday Spotlight Linky Party on my blog this week, and would love to have you stop by and share! http://angelshomestead.com/saturday-spotlight-1/
Umm soooooo cute! The flowers look adorable in there. You seriously amaze me with how handy you are with building things like that!
xo
summer
Thanks for the detailed instructions loved the tutorial.
Beautiful blue!!!! Pinned:) Can't wait for Spring! New follower for your page. Follow me back at http://www.sewsweetvintage.com/2013/01/valentine-tie-dye.html and http://www.sewsweetvintage.com/2013/01/choose-to-be-happy.html
So gorgeous, featuring it this week on "Think Tank Thursday!"
It's amazing, Mindi!
Mindi! LOVE this crate–omg! The flowers look so springy. love the blue, love it all!
gail
Thanks for sharing at Talk of the Town!
pinning!
You are so talented! I am happy to say my daughter was out in the garage with her dad this past weekend taking apart things & seeing how certain tools work. Maybe I can get them to make me one! Thanks for linking up & sharing at DearCreatives.com Hope to see you this week or soon!
Have a great weekend! Theresa
I love this Mindi! Thanks for bringing it back to life and sharing it at Throwback Thursday.
xoxo
Denyse
So cute Mindi! I can't believe you actually made the crate!