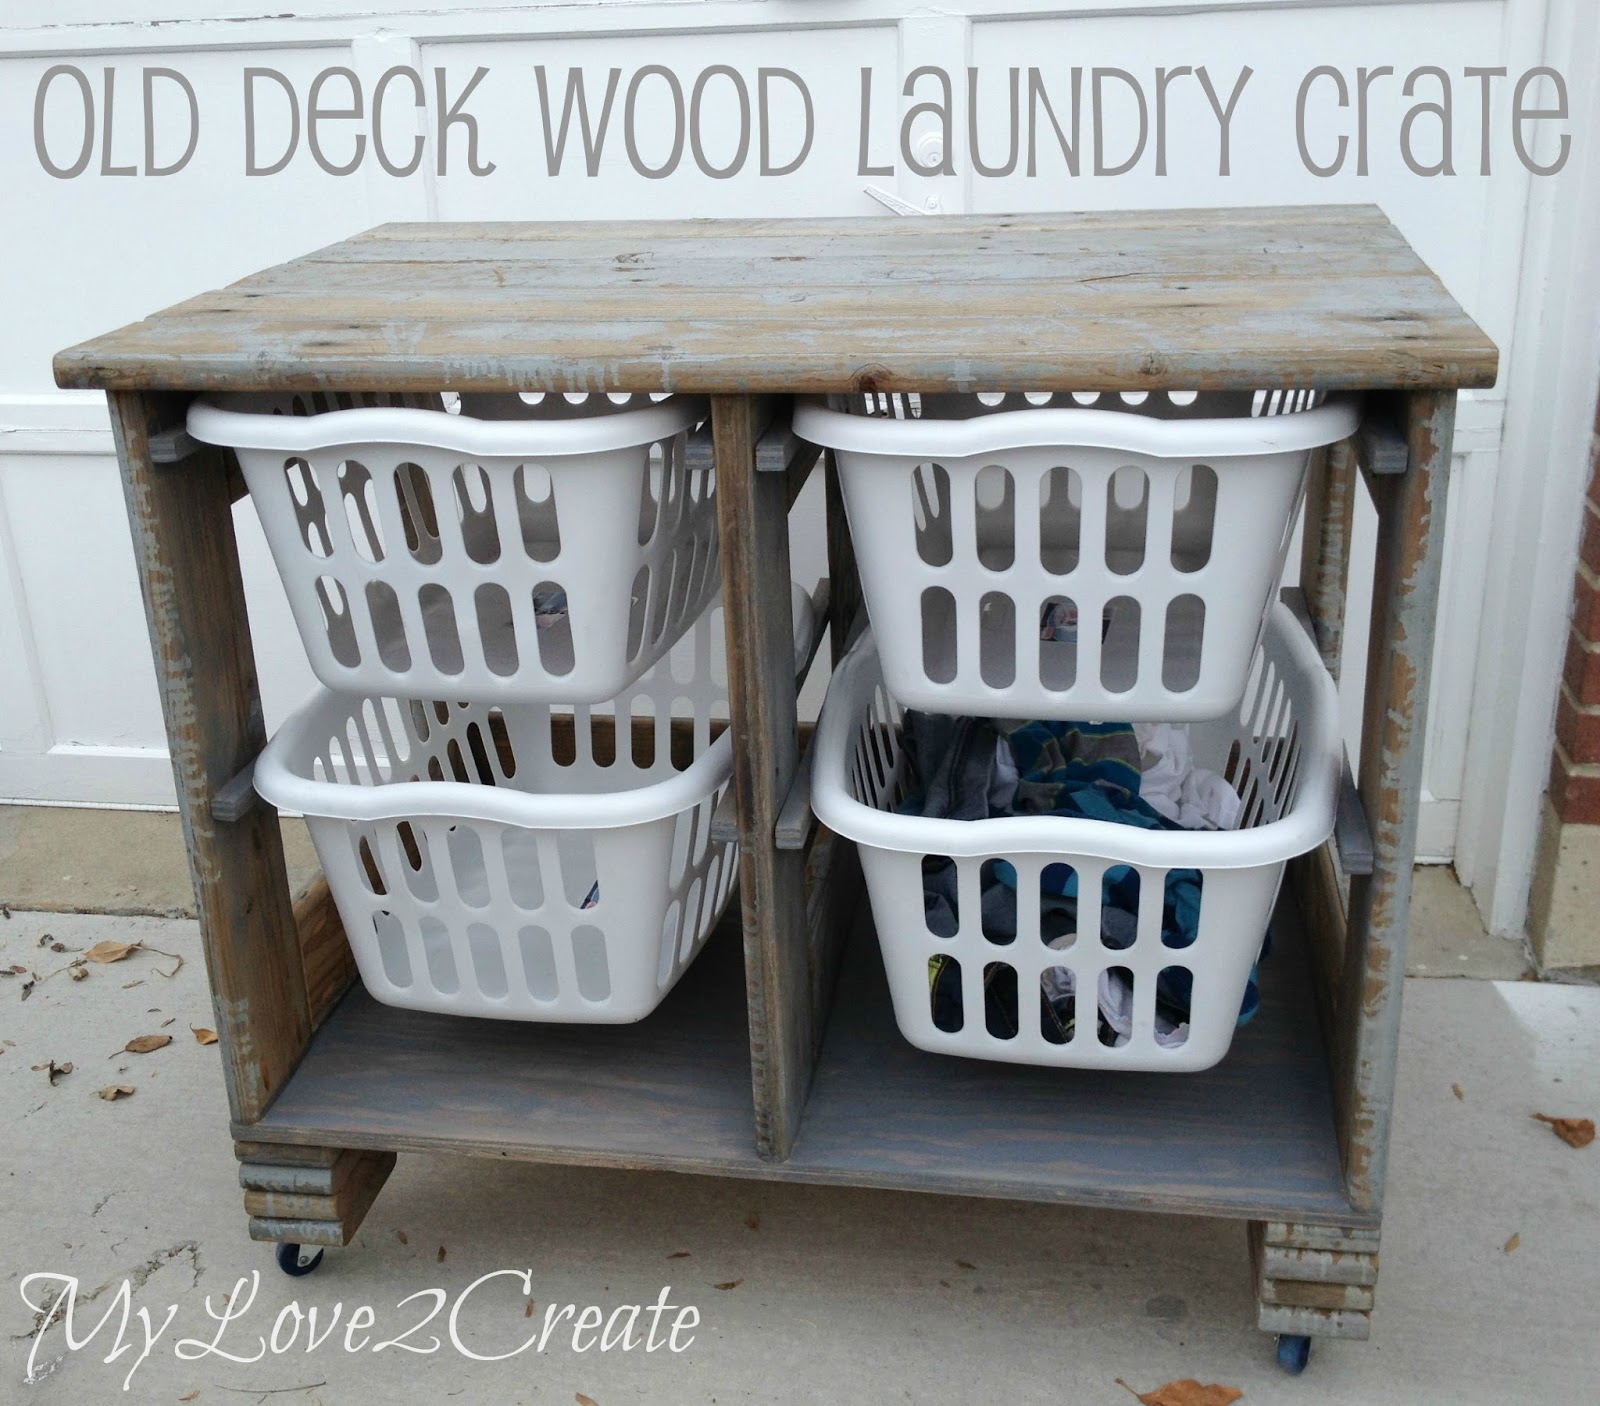
Old Deck Wood Laundry Crate
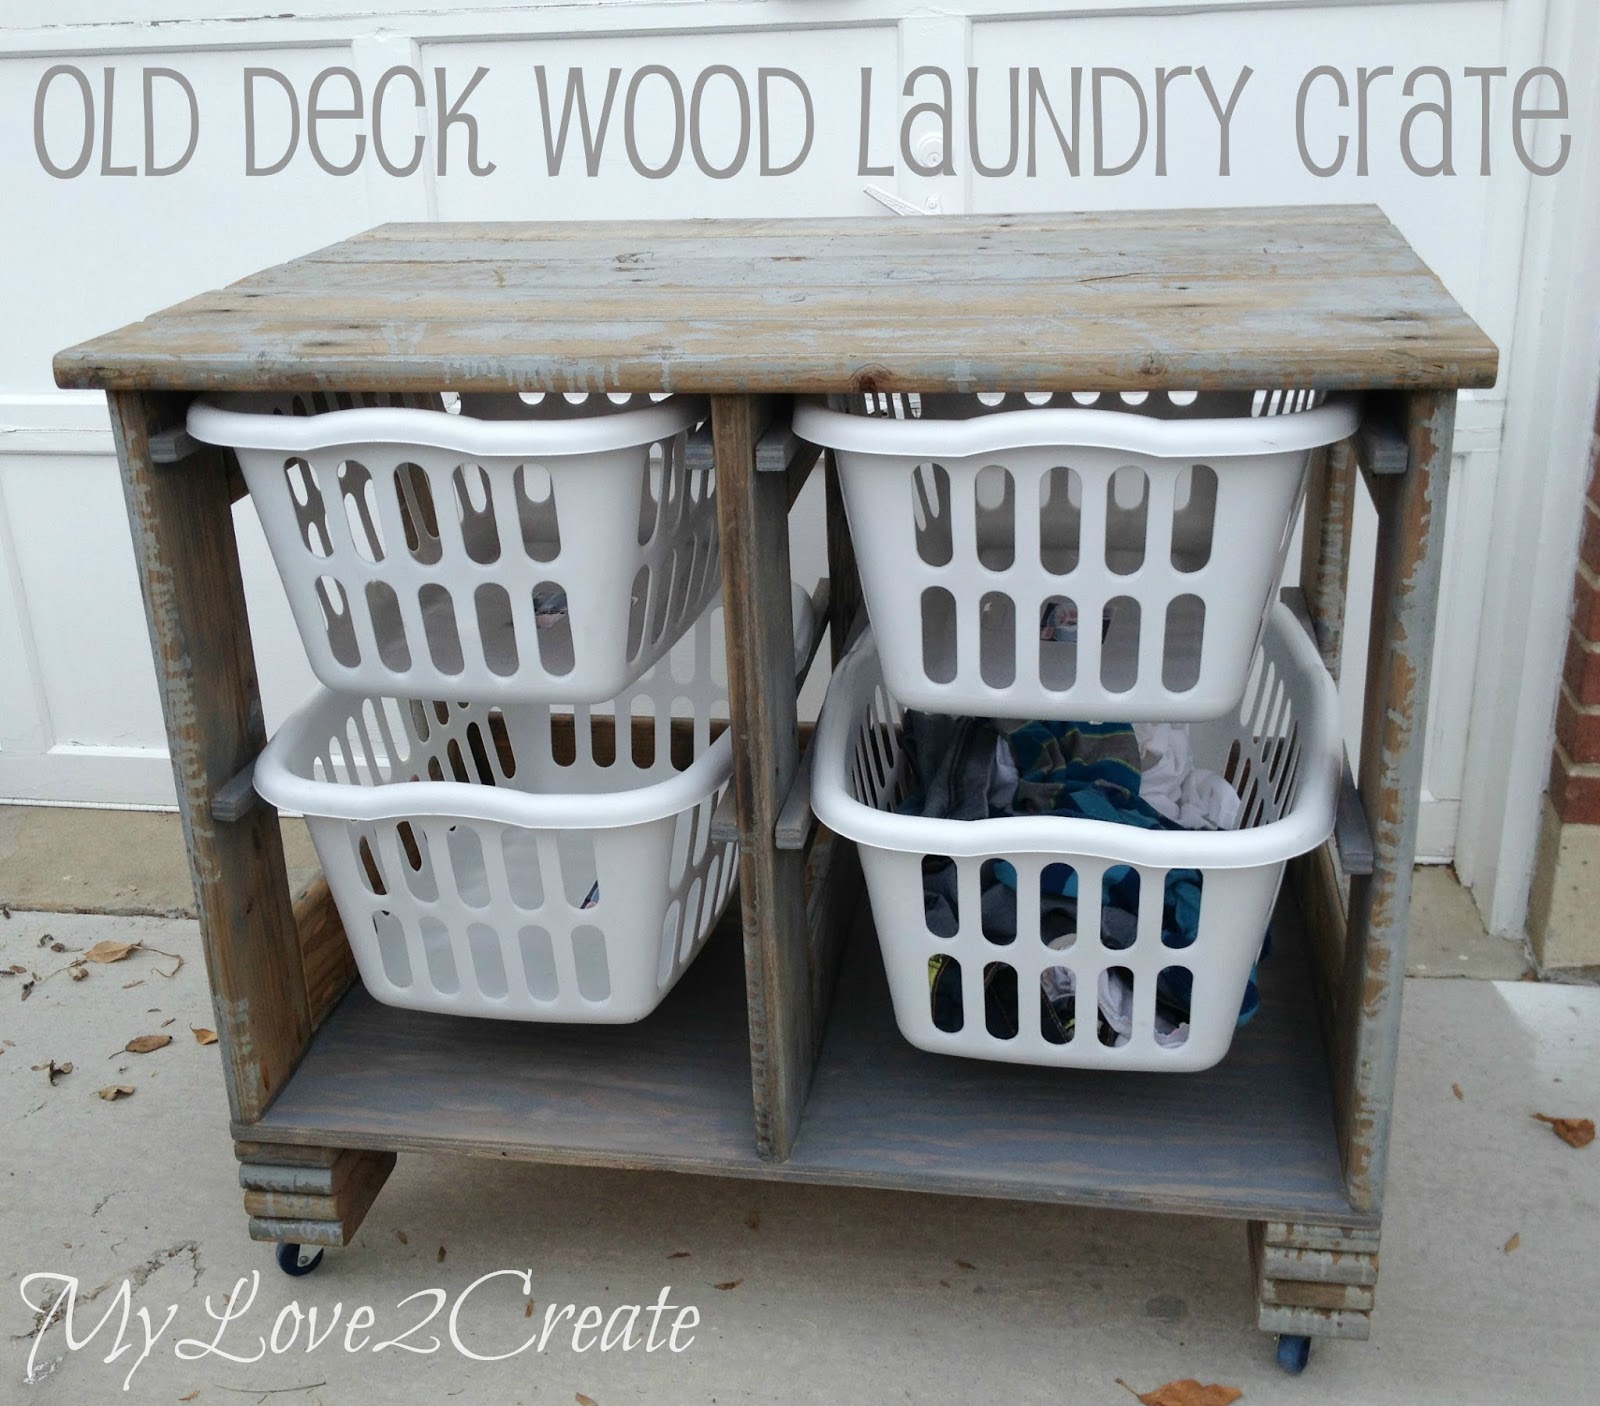
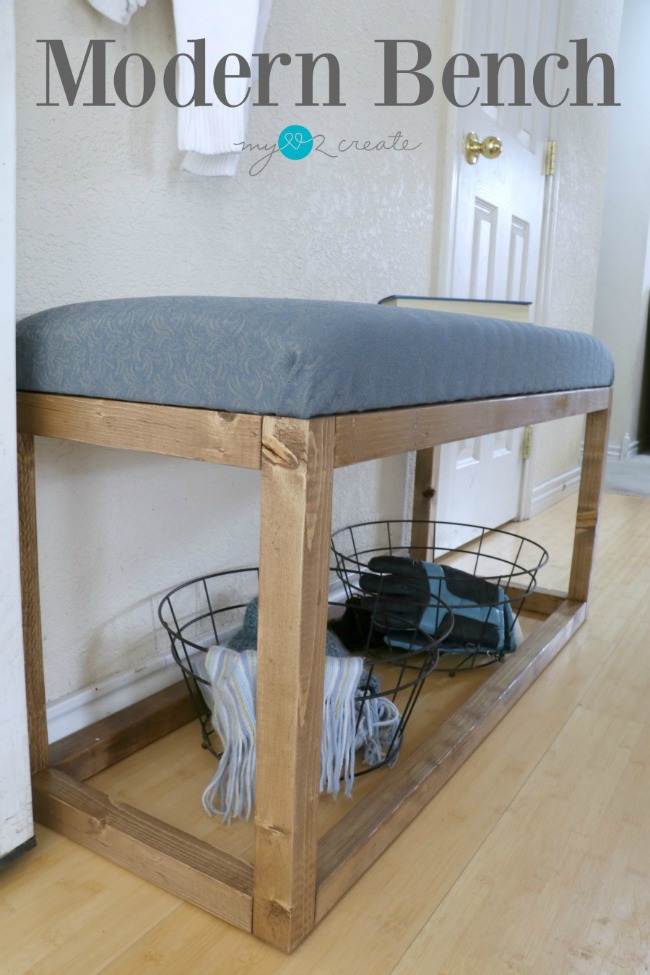
Finally! I am getting to this post! Last week I shared the DIY Upholstered Bench, and here is my other repurposed project for my sister’s closet/laundry room makeover, An Old Deck Wood Laundry Crate.
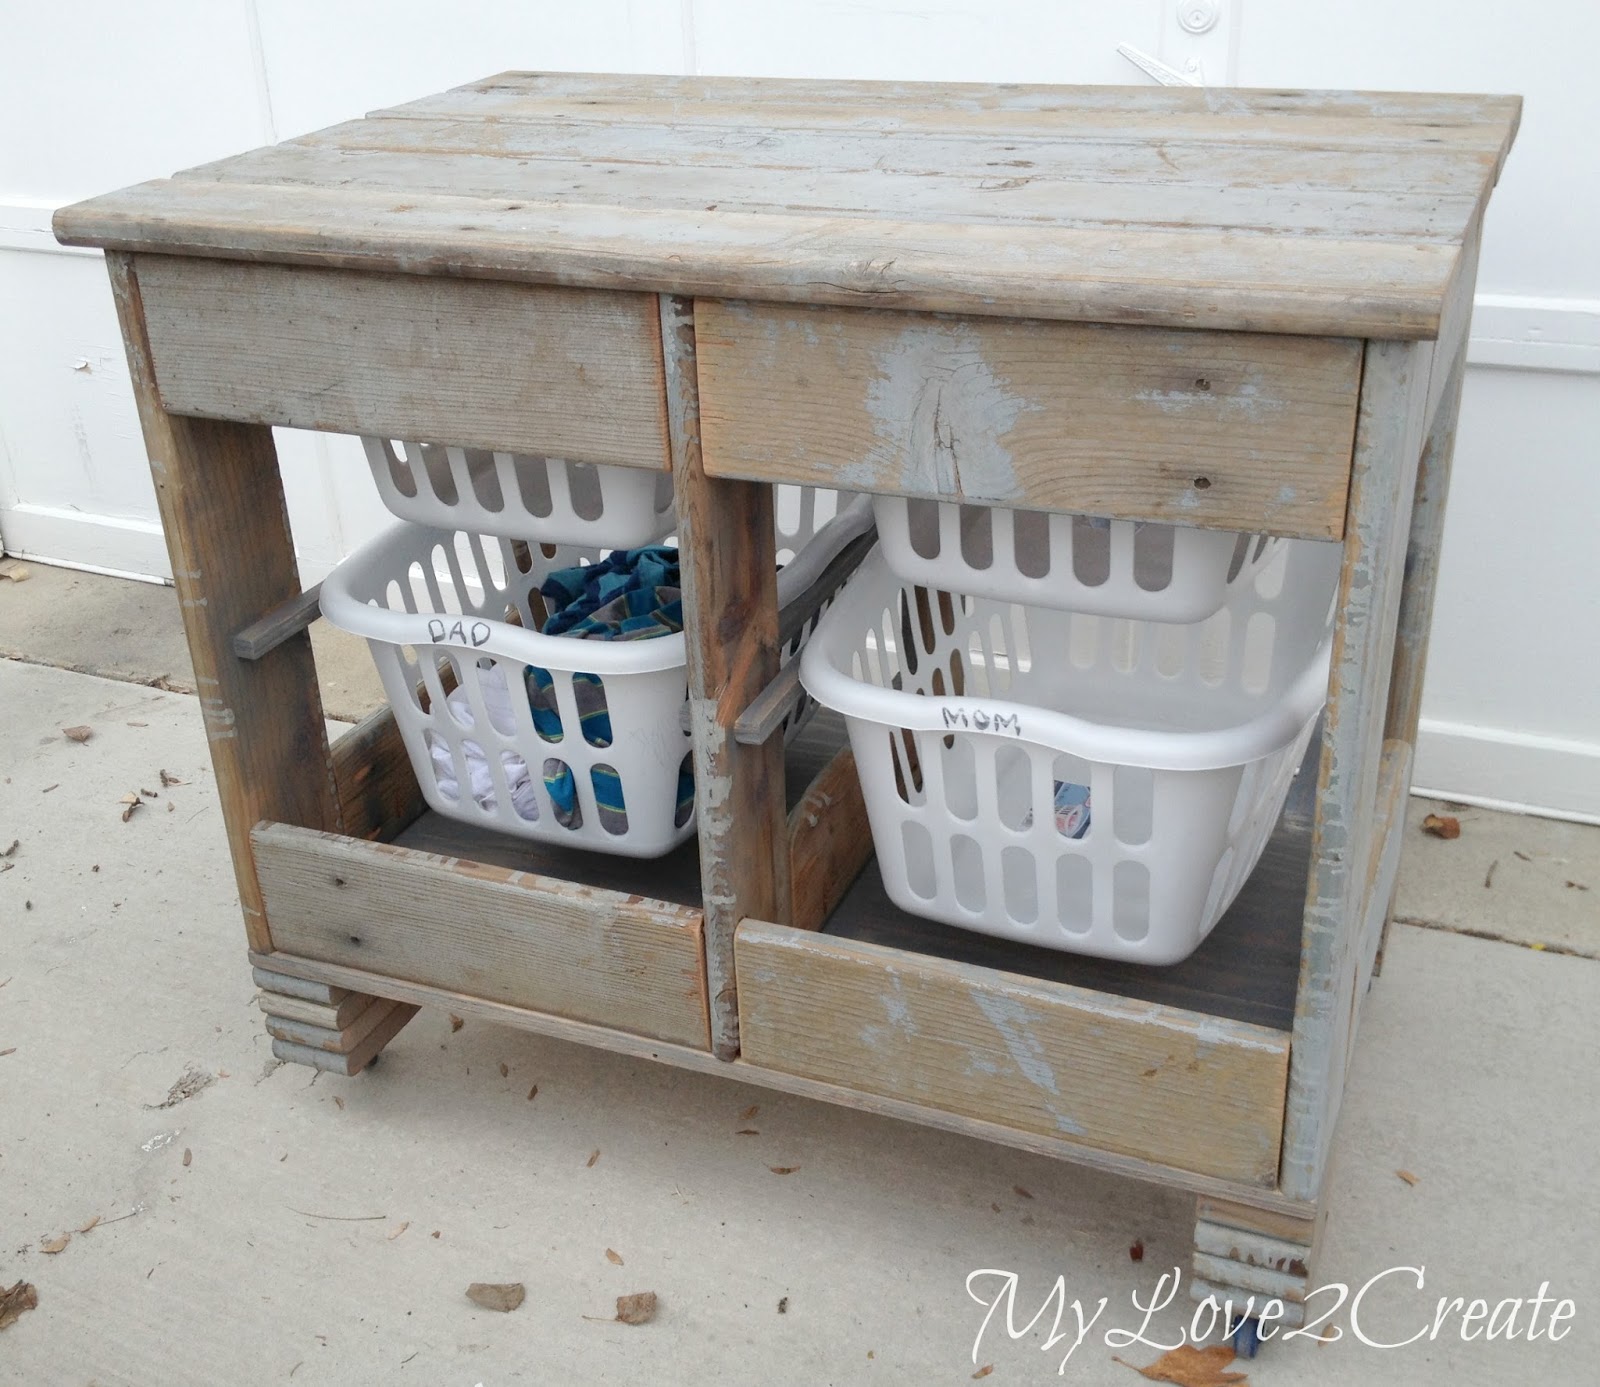
Isn’t it super cute, rustic, and just fun?!
I have always wanted one of these ever since I saw them on Ana White’s site. I modified my build from the Brook Laundry Basket Dresser. Since I did not have plywood, I was planning on using free wood off of the free section of KSL classifieds. This was another project that I wanted to make for my sister’s room, but we didn’t have money in the budget for it. And when you don’t have money you have to get creative!
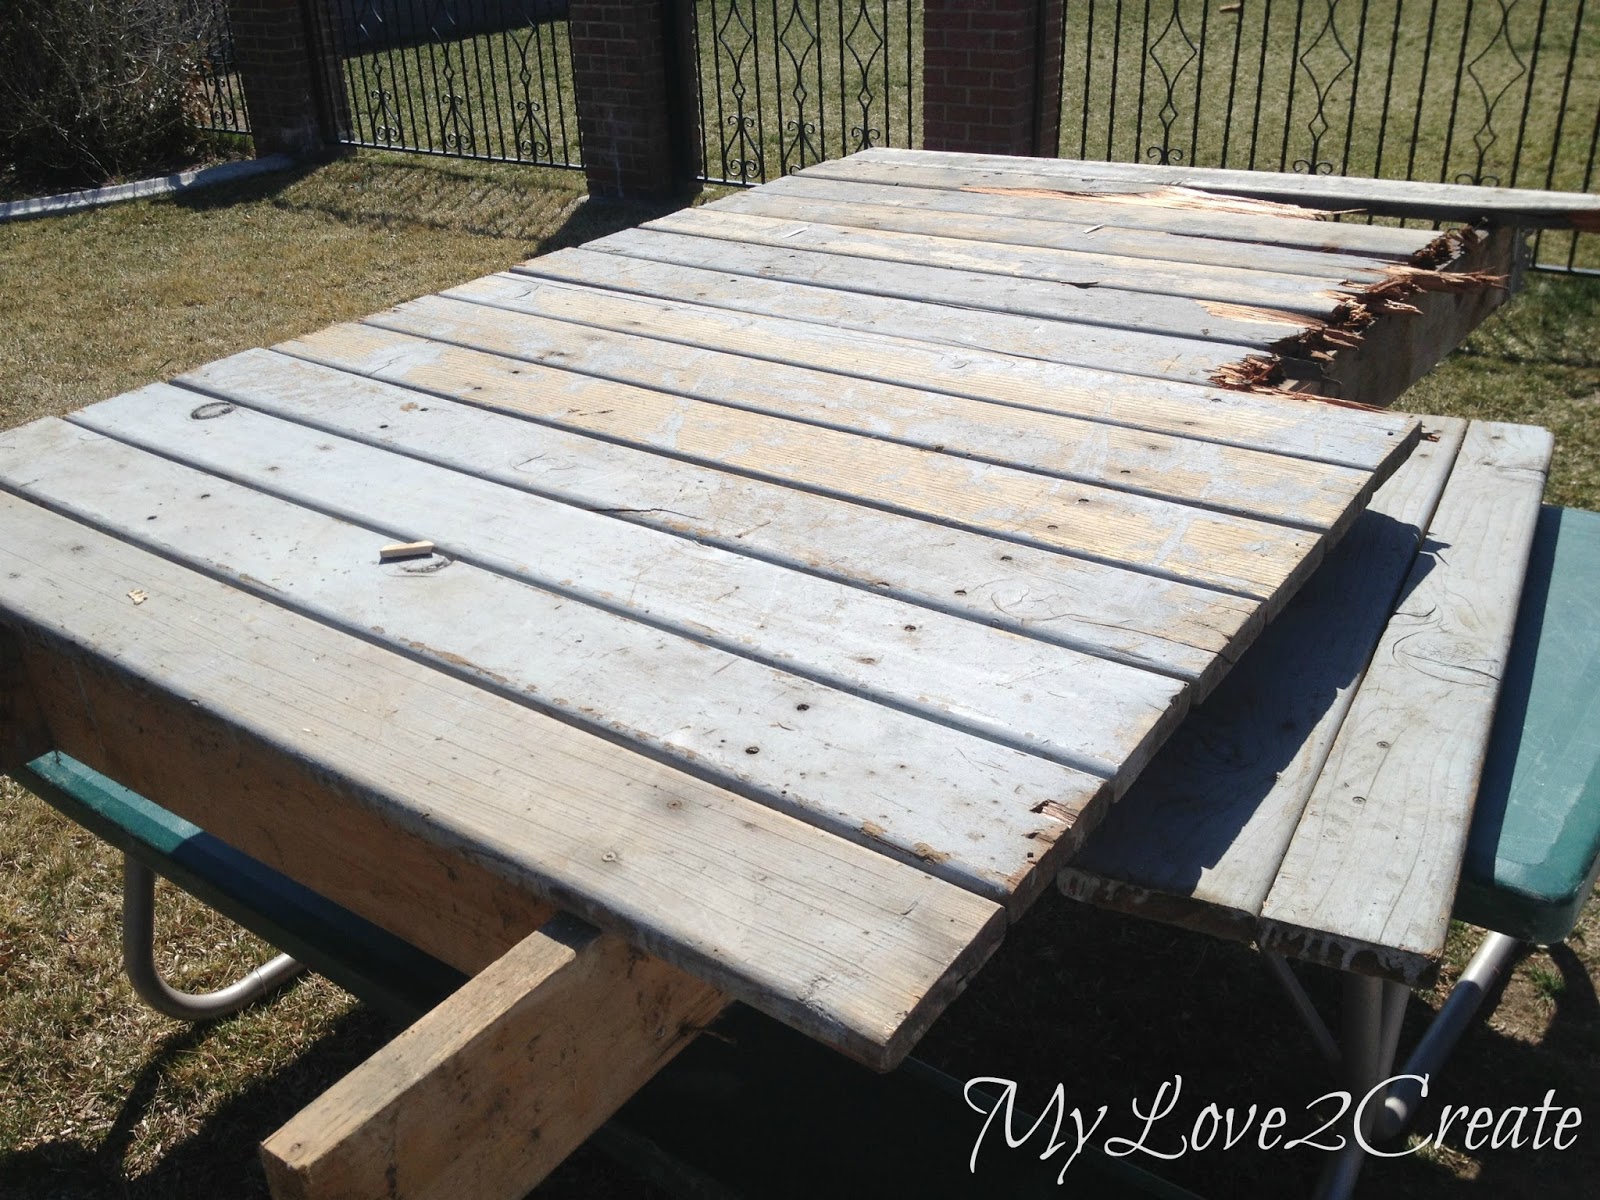
Early in the week my brother-in-law showed me some deck wood that was for free on KSL. I told him to grab it, it would be perfect. It totally was…
Here it is getting taken apart by your’s truly. I actually used almost all the wood you see for this project, I am so glad I had enough.
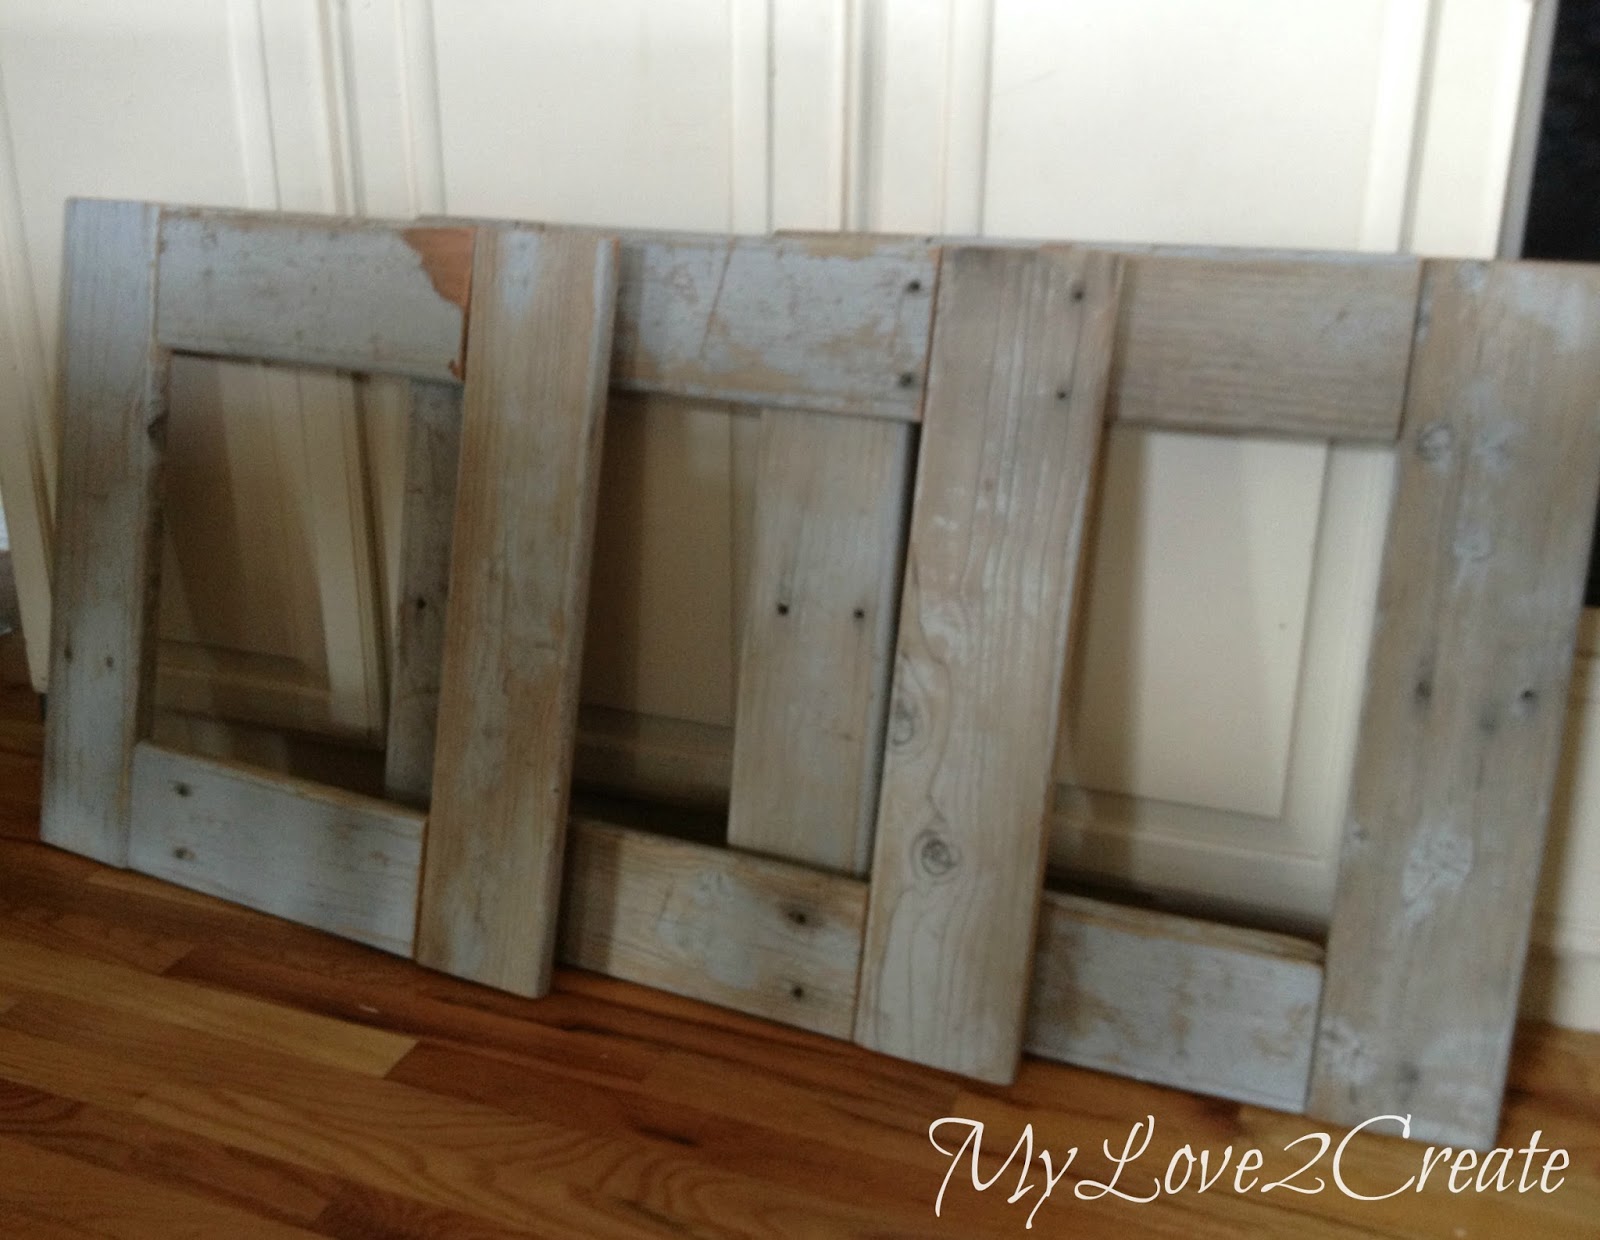
I decided to make three face frames. Two for the sides and one for the middle. Here they are ready to be put together. I cut to size, drilled my pocket holes, and sanded them nice and smooth.
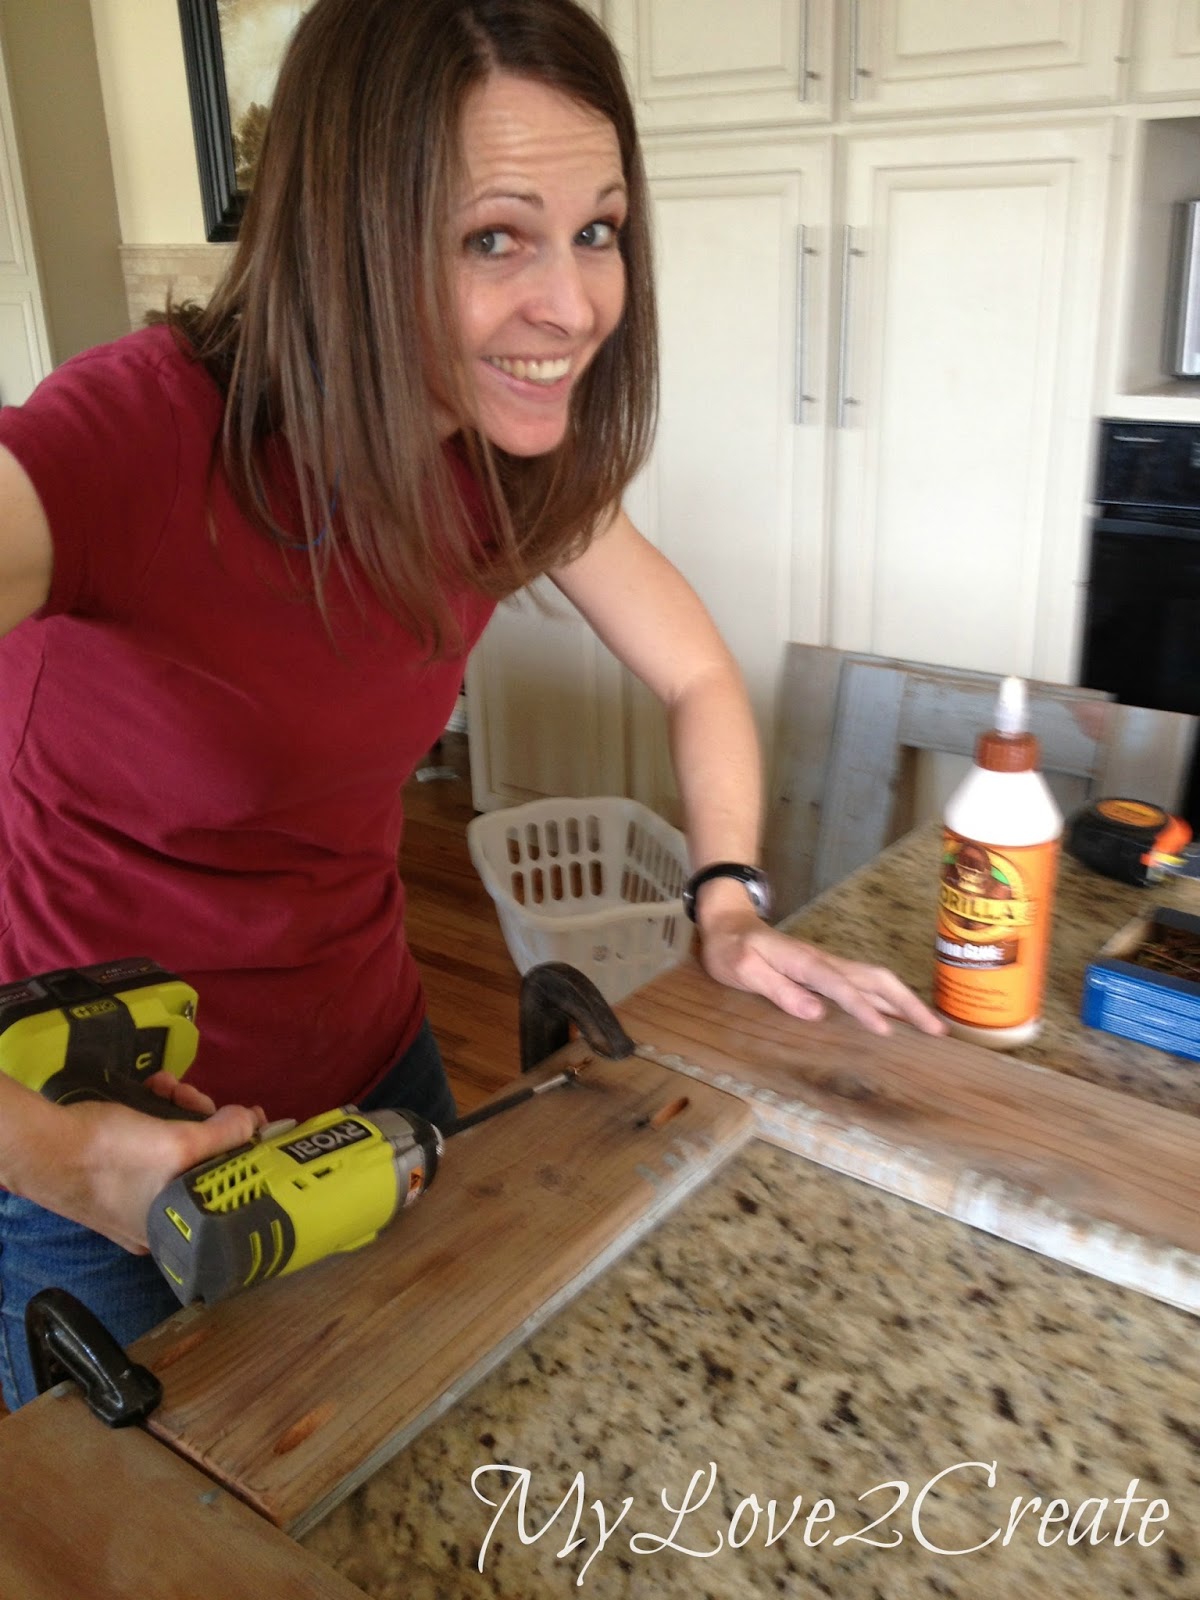
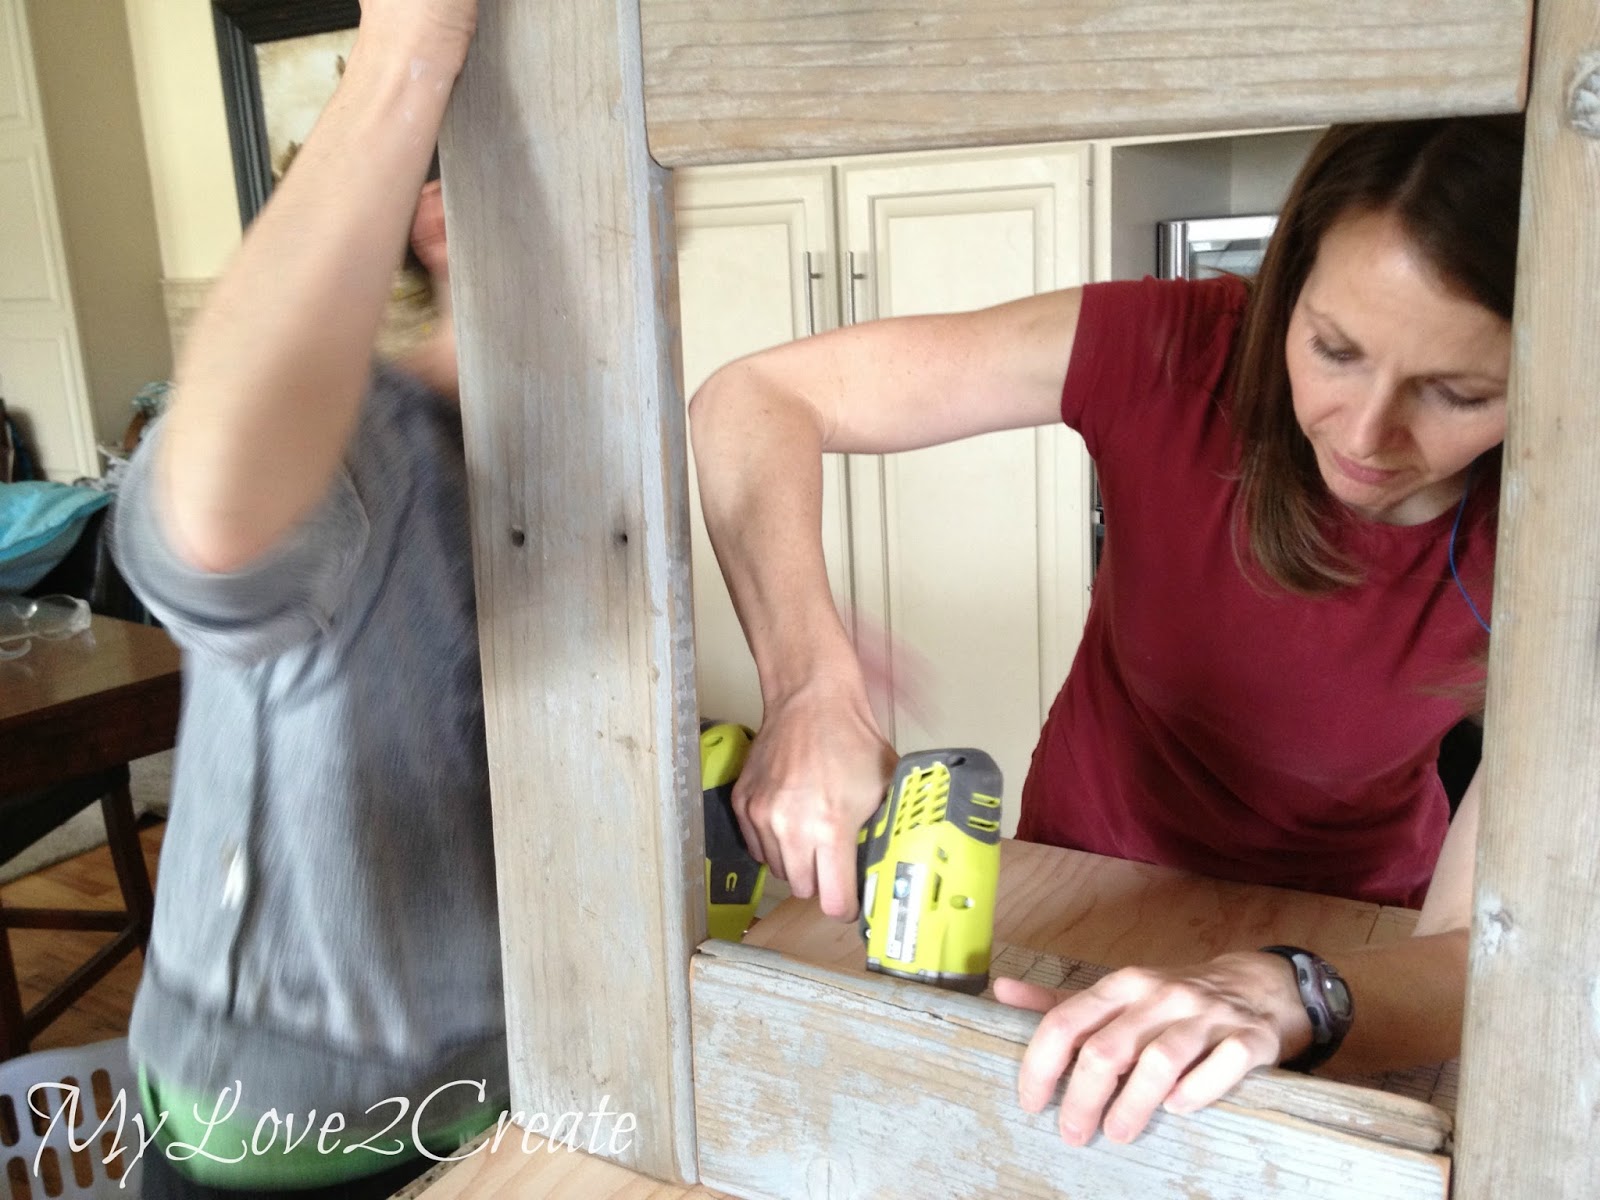
Ahhh, you don’t get to see many pictures of me building, because I am usually alone when I build. Not today folks!! Lucky you! I clamped the pieces down and drilled the screws through my pocket holes, of course I didn’t forget my gorilla glue.
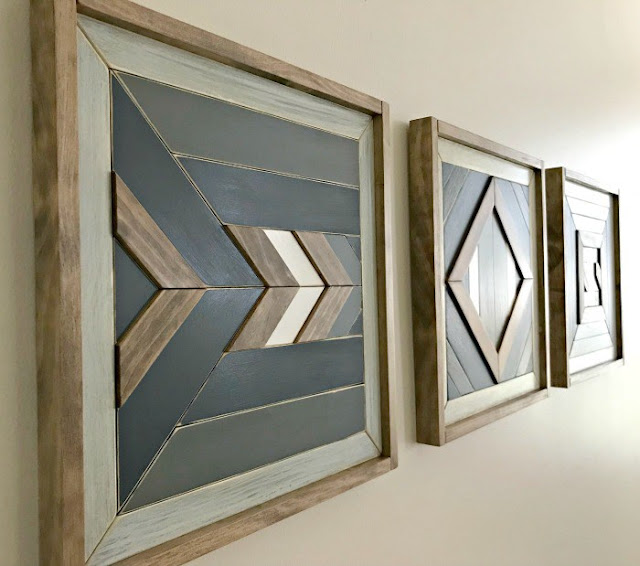
The face frames turned out so adorable…we were tempted to use them as picture frames and hang them on the wall! Don’t you think they would look awesome that way?
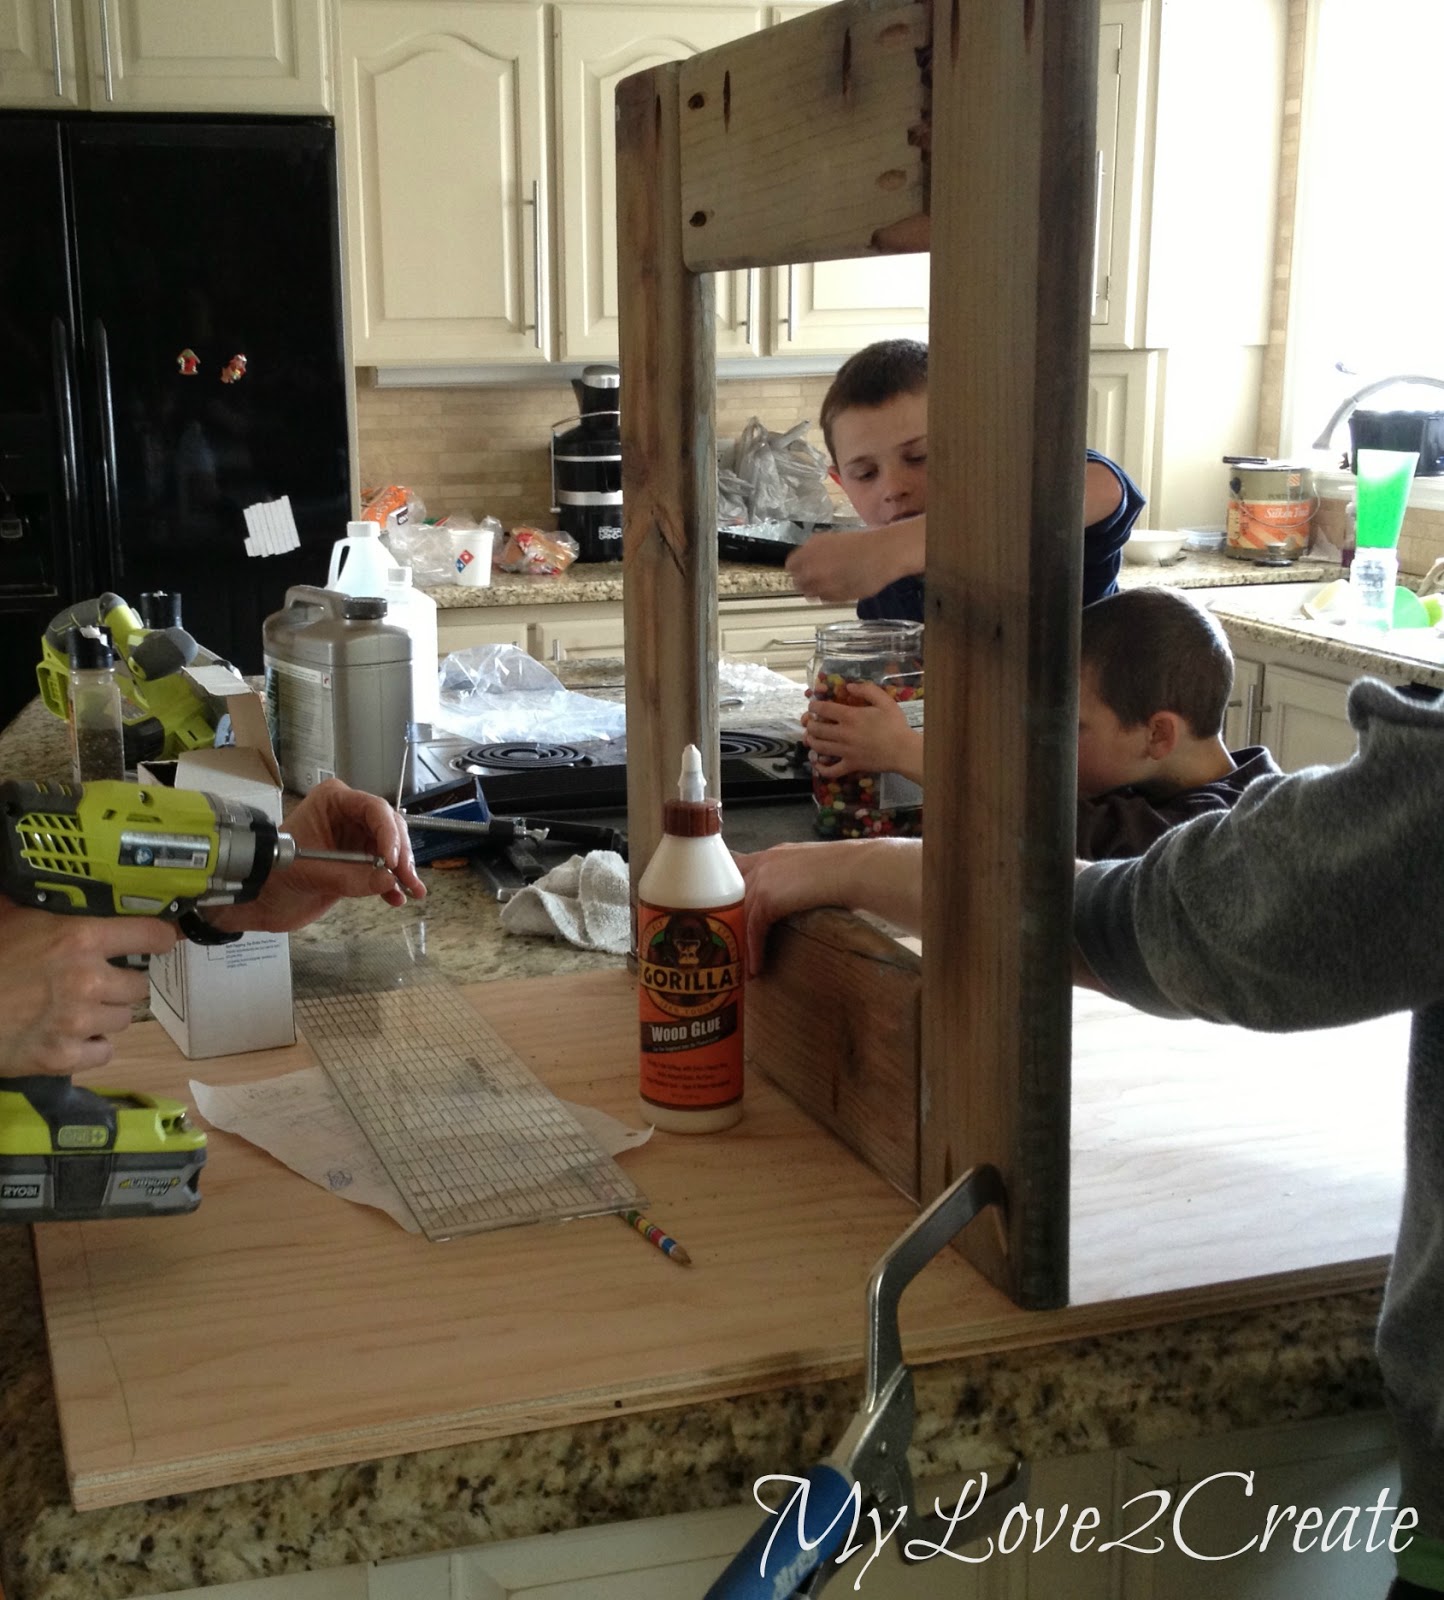
Next I attached the middle divider to the base. Oh yeah, I used leftover plywood scraps (from the closet built in’s) for the base. I actually had to put two pieces of plywood together to make the base the size I needed, since my plywood scraps were in strips. I used pocket holes to attach them, sorry I didn’t take a picture. But… you can see two of my boys raiding the jelly beans. 🙂
My sister helped hold it for me until I got a couple of screws in.
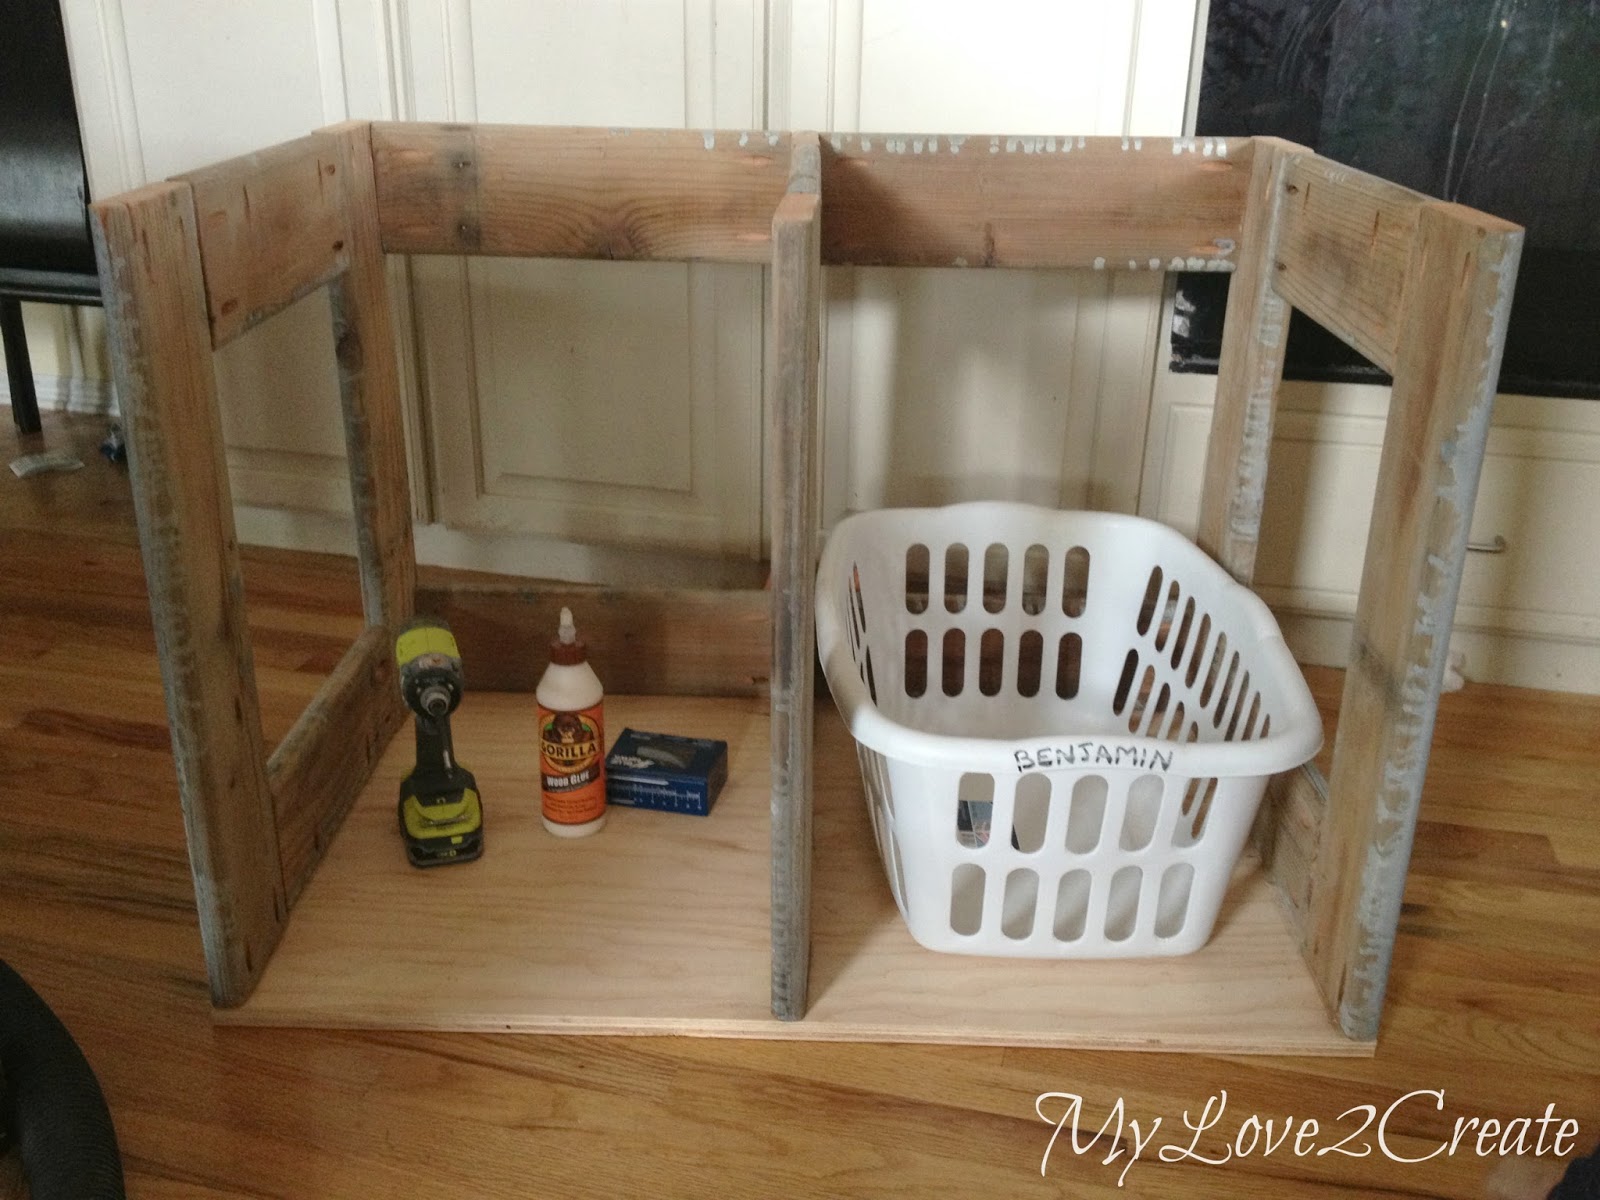
Obviously I got talking or something because I didn’t have any more pictures before this point. But it is easy to see, I added the two sides the same way as the middle, with pocket holes. Then I cut top and bottom support boards for the back of the dresser…or crate. I simply attached them with pocket holes as well. Look the laundry basket fits!
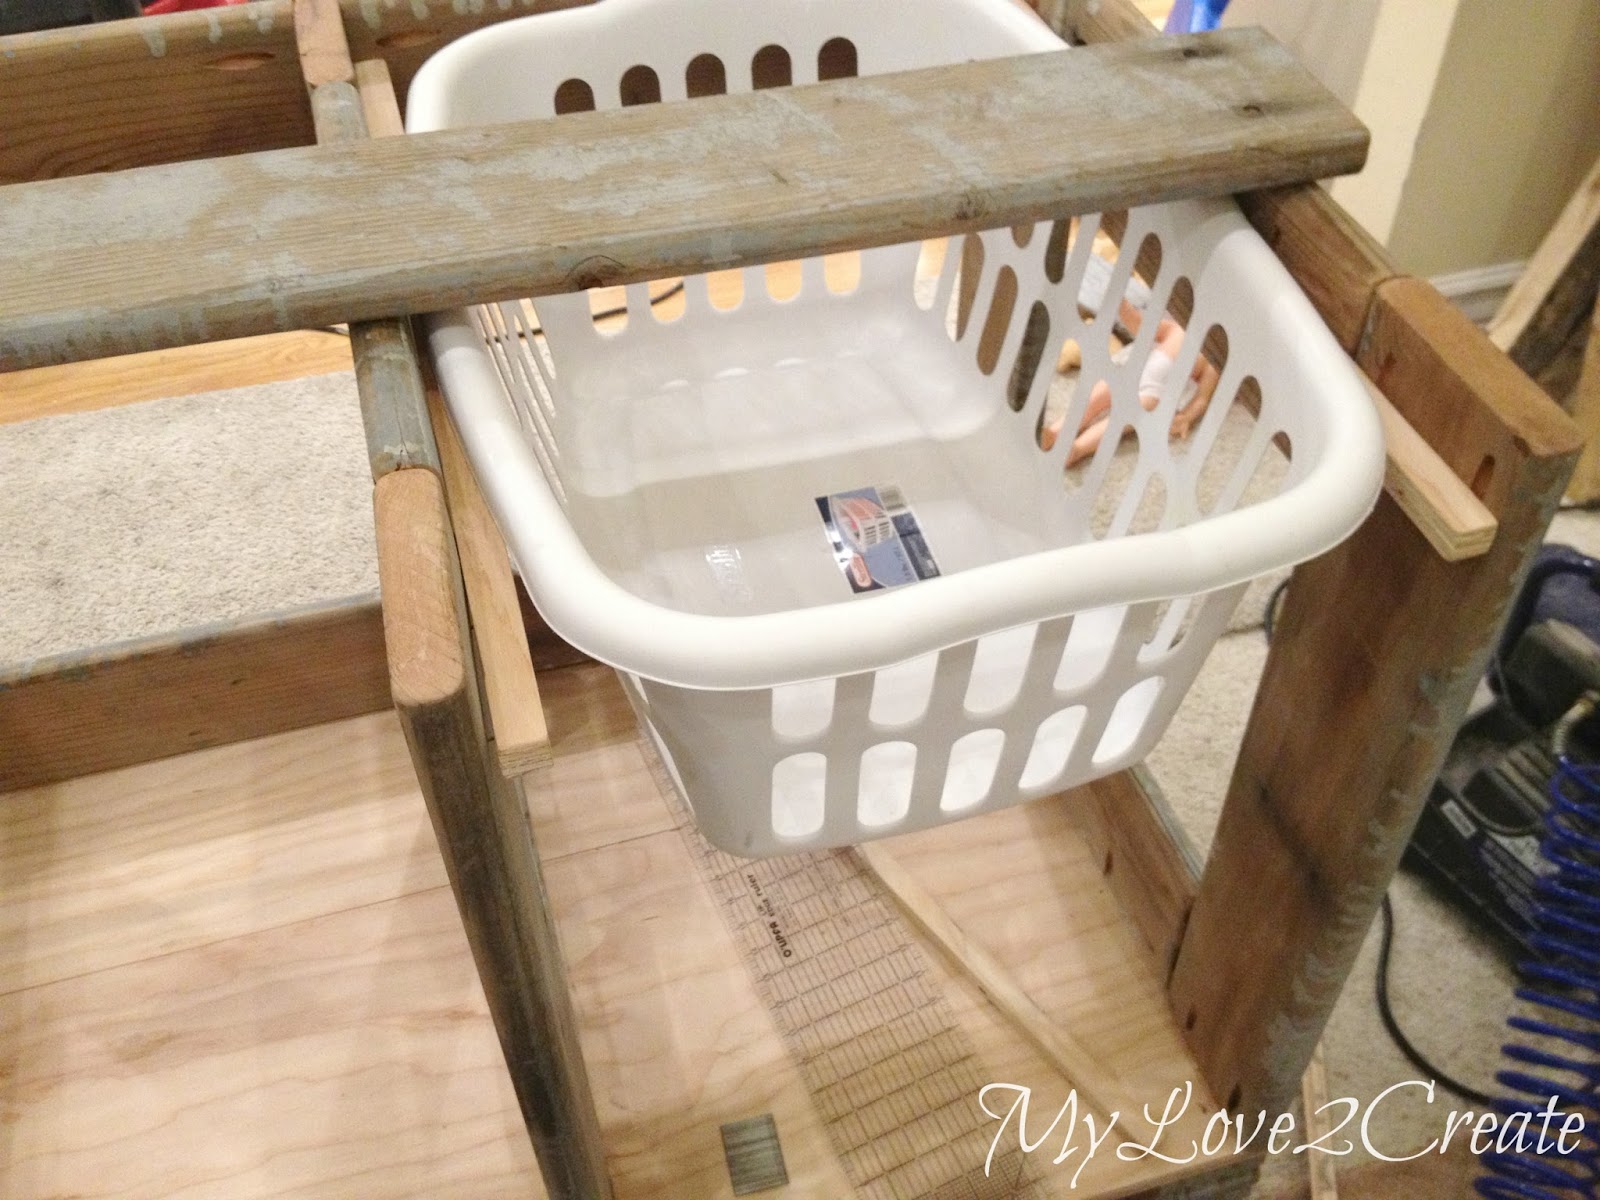
Now for the drawer glides, or basket glides. I had the plywood for the closet built in’s cut into 3 strips (as I already mentioned), what was left were these small little strips, they were perfect for my drawer glides. I just had to cut them to the right length. This shot also gives you a good view of the base so you can see the seam where I attached the plywood pieces together. I glued and nailed on the drawer glides making sure they were level.
I threw a top board on to make sure it worked with the basket. It did. Sa-weet! Then I finished attaching all the other three drawer glides.
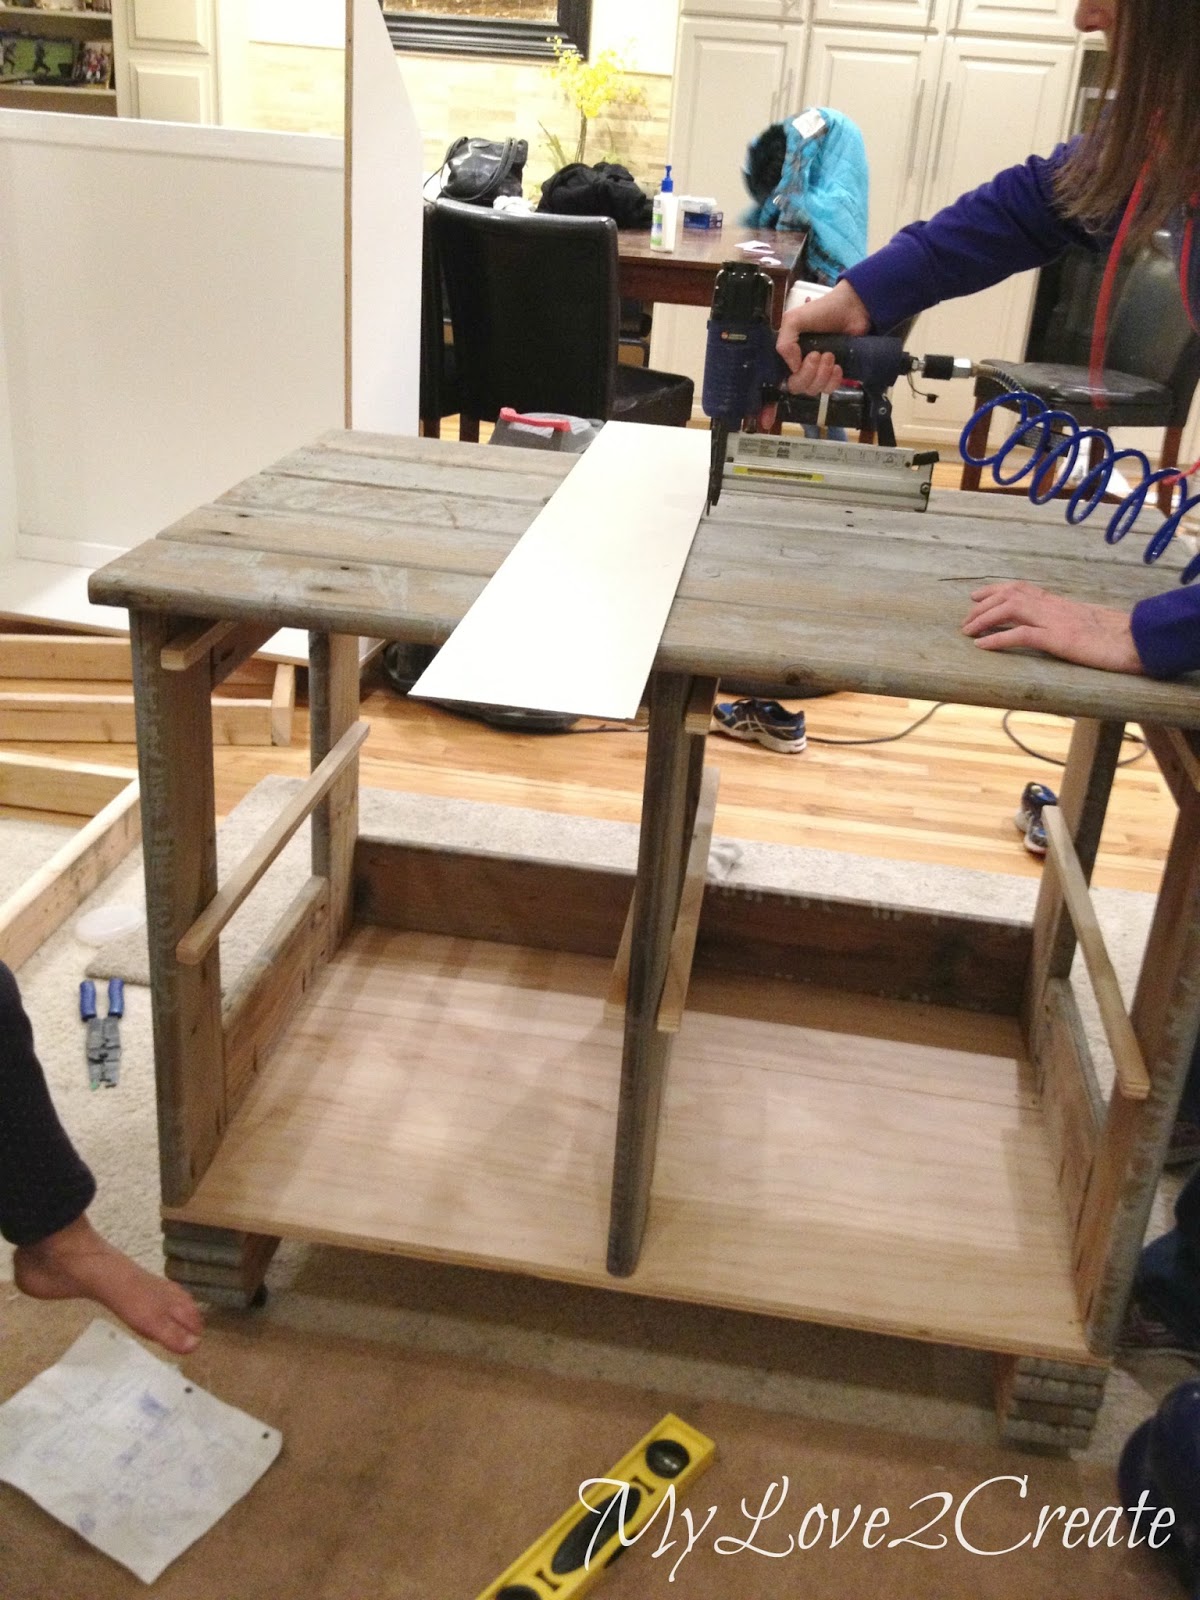
For the top I put glue on the top of the face frames, put down the boards, and nailed them on!! I had someone take this shot so you can see how I used a straight piece to make sure I was nailing right into the divider. Royce, my brother-in-law gets credit for this awesome idea! Have you noticed anything else in the picture? It is a sneak peek of one of the closet built in’s. Oh…the feet! We can’t forget those…
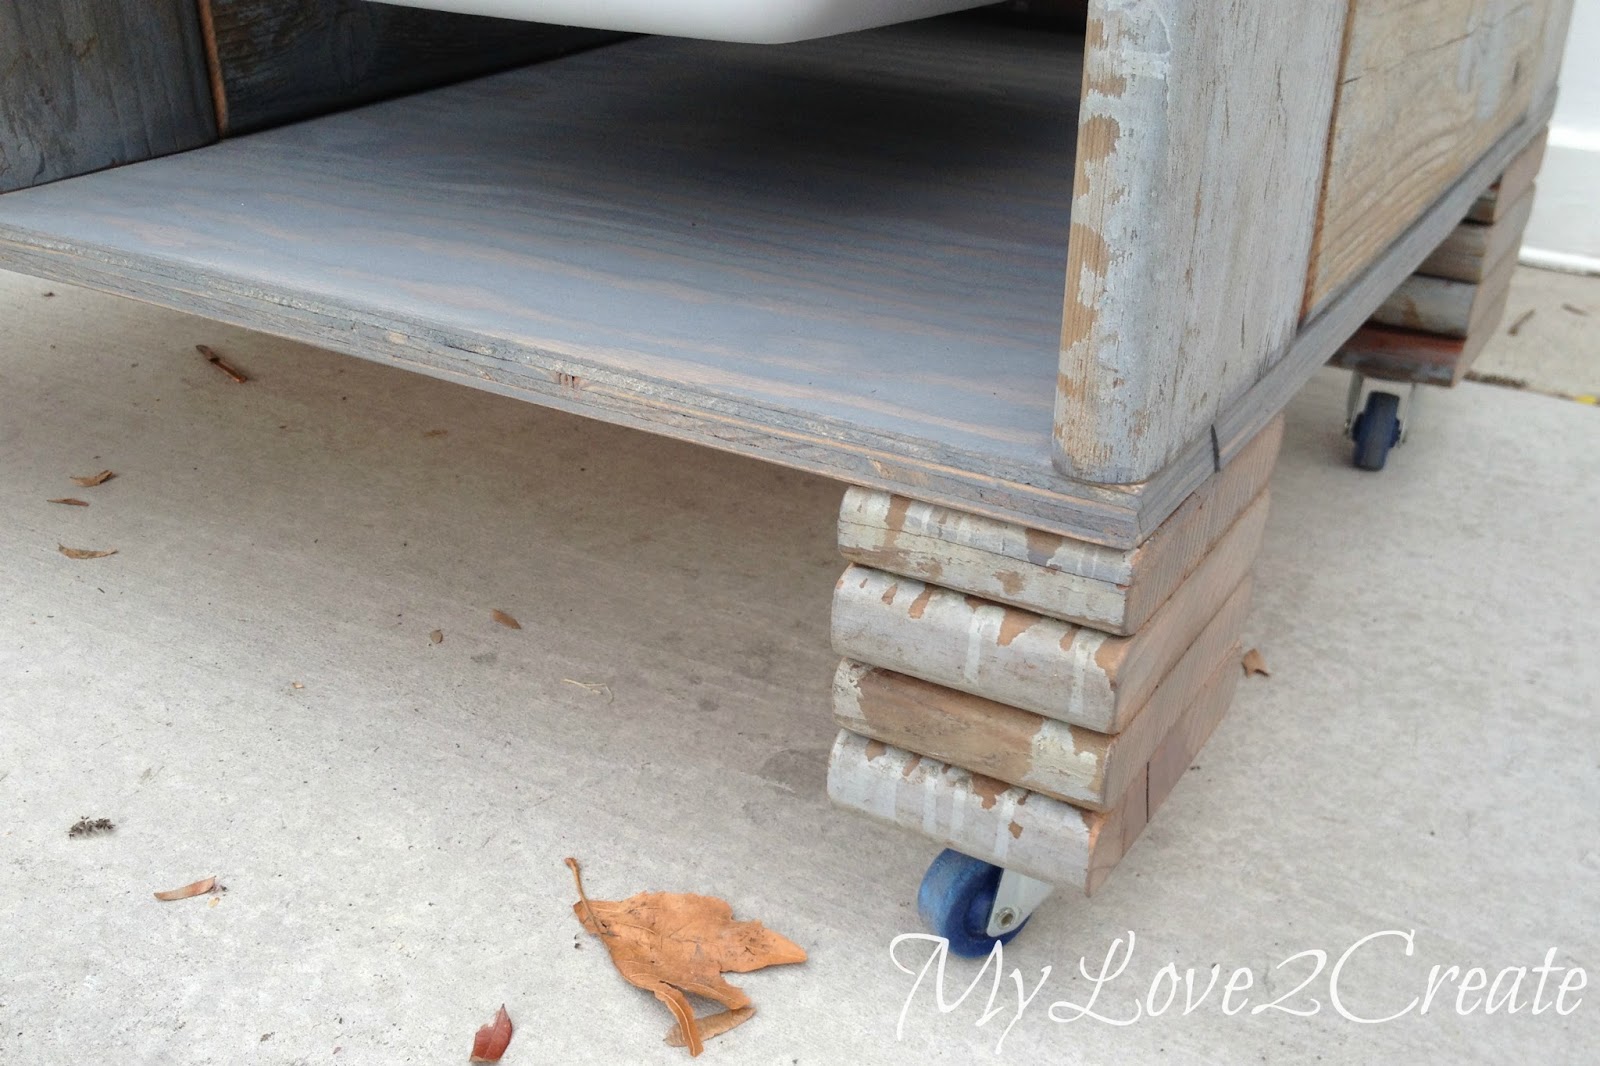
The laundry crate needed to be a little taller to make it easy for my sister to use as a folding table and we had no feet. But I did have a lot of small cut ends left over from the deck wood…I decided to cut them all the same and stack them to make cute feet! I started by gluing and screwing on each block one at a time. Once all four blocks were attached, I added the casters. These were only $1 each from Harbor Freight, totally on sale, score!!
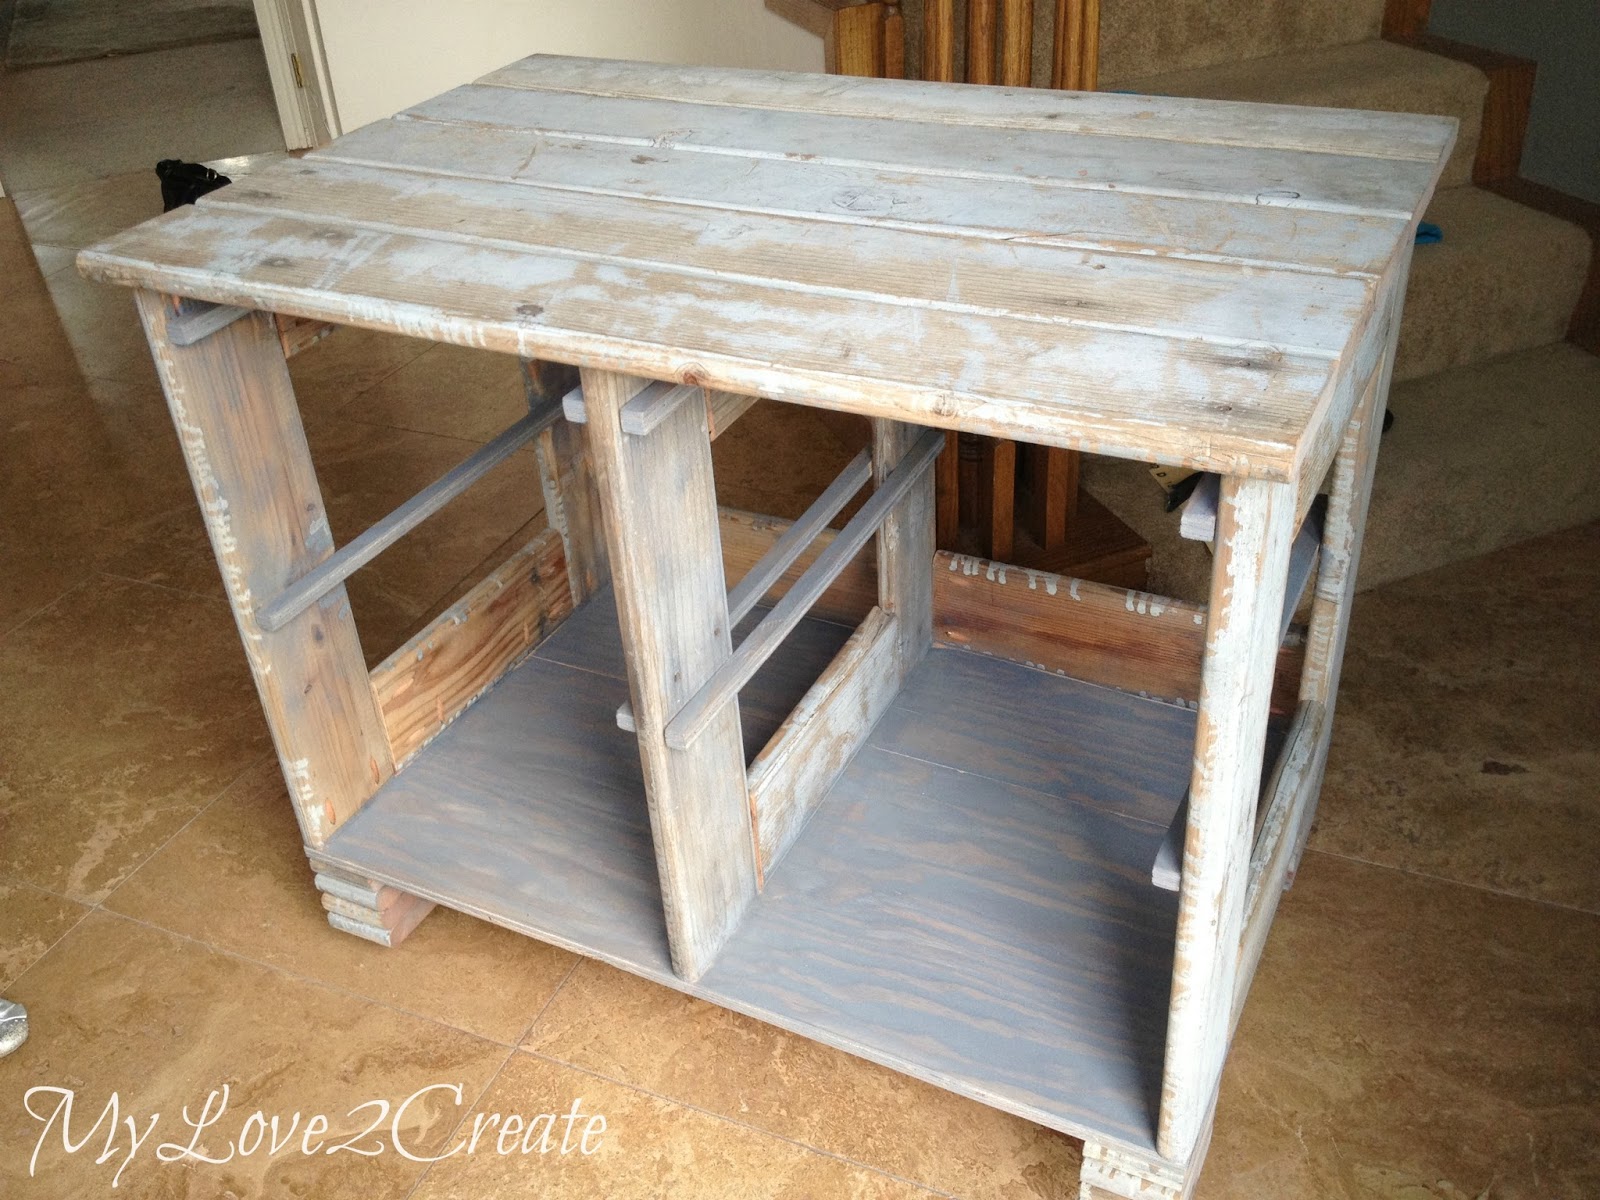
The only thing I had left to do was stain the plywood to “match” the rustic goodness of the deck wood. We loved it so much it couldn’t be painted over! I remember seeing a color that might work, and it totally did, almost perfectly! I used Rustoleum’s Weathered Gray.
It made the plywood blend in, and I think it unified the piece.
The baskets work great, they slide in and out like bu-ttar.
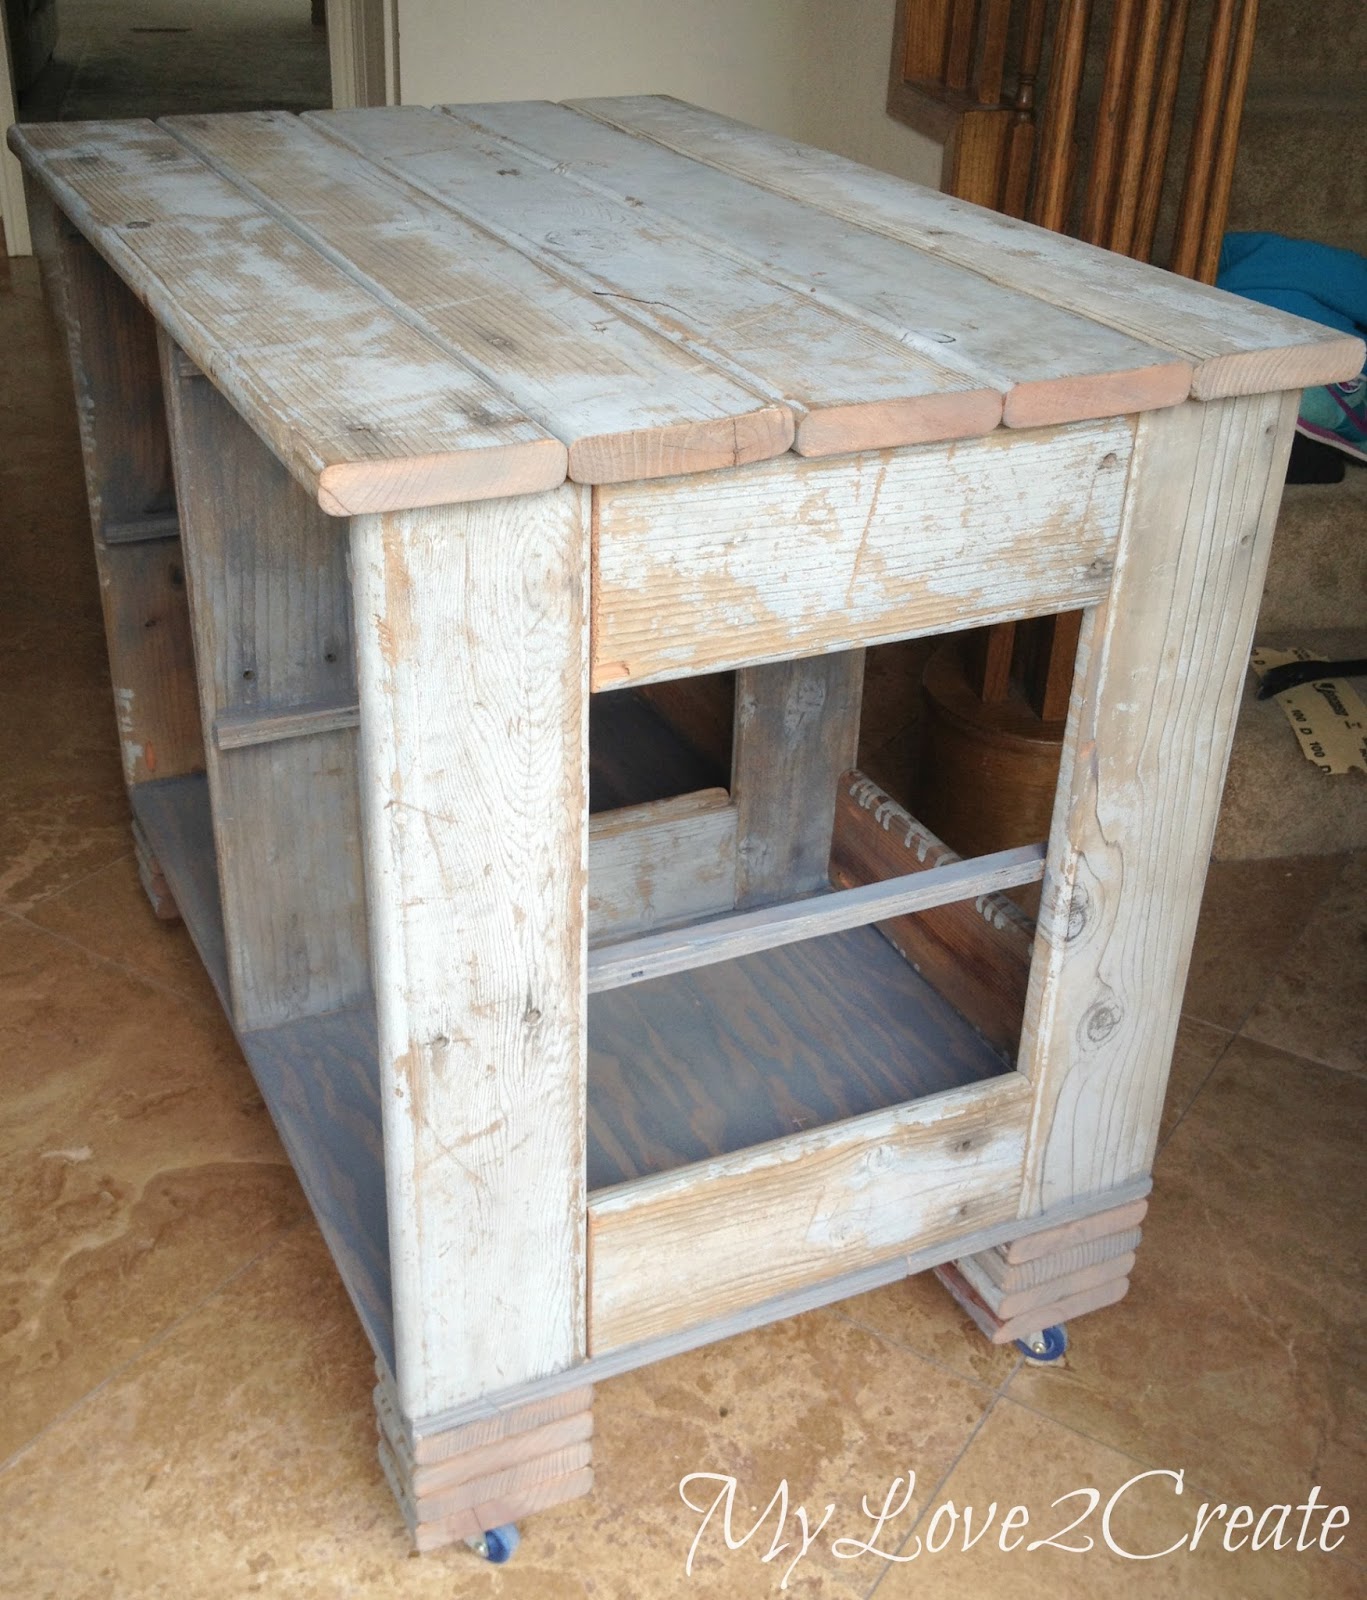
Here is a view from the back.
The feet are one of my favorite parts!
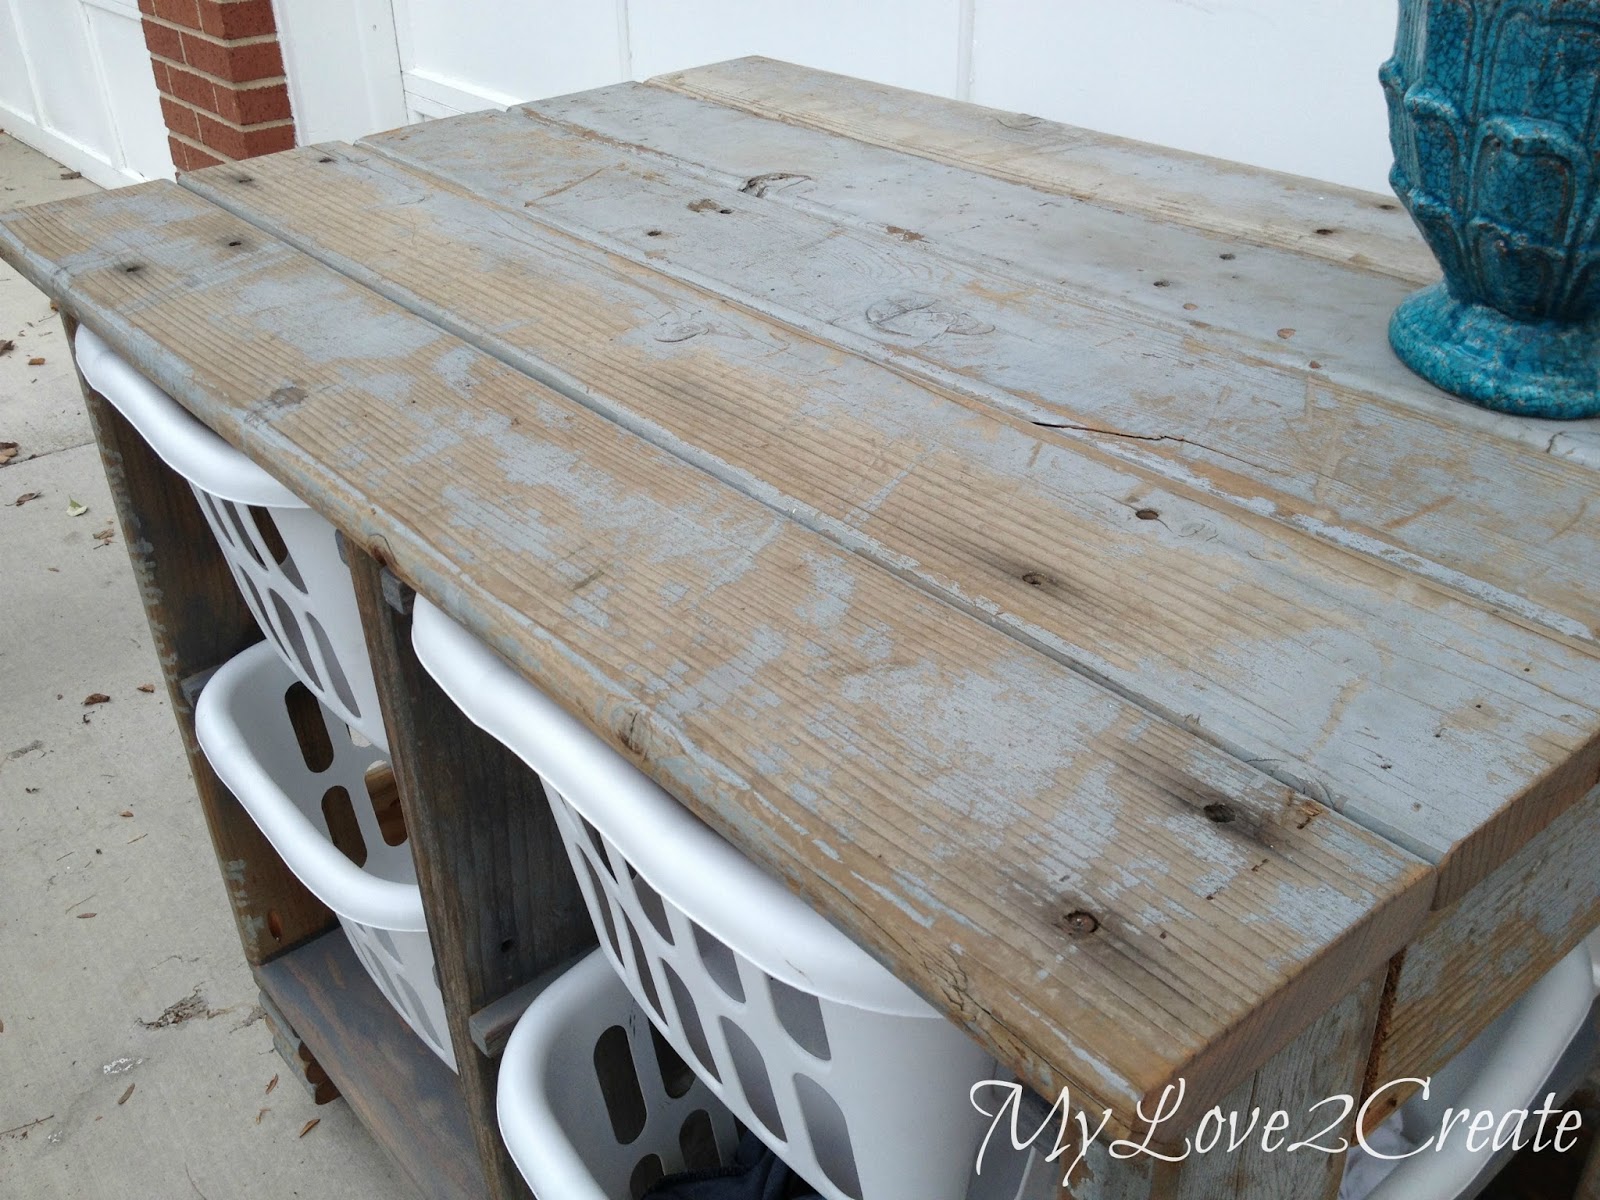
The top was sealed with three coats of poly to make it nice for using as a folding top, You won’t be getting any snags on this baby, but it still looks totally rustic.
I was very pleased with this project, and a little jealous, I mean when am I going to find cool wood like this again? Probably never. So it is a one of a kind and I LOVE it!
Update: My sister said she has finished with all the last minute touches in the room, and will be sending me pictures tonight or tomorrow… you know what that means? Get ready for the reveal…it is coming!!! I can’t wait!
Until then…
***Update, The Closet/Laundry Rome Makeover is now posted, click over to see this laundry crate’s new home!
***And check out how I built the Slanted Wall Built-in’s with Hidden Storage.
Mindi







It's PERFECT! Amazing job..! I have to include that it made me chuckle that this was being done in the kitchen. LOVED that. xo
Great build! Fabulous job and I love that you used deck boards!
Totally one of a kind and fabulous!
Fantastic! This is so adorable and practical. I am trying not to think of the laundry siting on the floor right now IN my laundry room. 😐 Anyway, I am looking forward to the big reveal! I know it will look superb! 😀
Two more things, you look too cute using your Ryobi and congrats on the feature at Someday Crafts! 😀
WOW!!! Thank you for sharing!
Mindi – you are seriously so talented! Wish I could rock the power tools like you do, lady. Love this. Pinning!
This is one super cool project! Wow, I totally need one of these in my life! You can bet this one is pinned! 🙂
Wonderfully rustic! You did a great job building this for almost nothing Mindi. Thank you for sharing at the party. Happy Easter! Blessings ~Deborah
Great recycle! Pinned:)
What a great way to recycle old wood! I love that the whole family is involved.
Your upholstered bench is such a great project too!
Would love to make those!
Deb
this is totally an awesome look! love it so much. Great job!
This is genius! Who wouldn't love laundry organization with great style? Visiting from Beyond the Picket Fence. Pinned this great project 🙂
Jeanette
I wish I had room for this! What a great idea
Mindi – I am one of the hosts of the Super Saturday Link Party that you linked to with this incredible project. I loved it so much and shared it on my social media. Thanks so much for stopping by and I hope you come back every week and share your wonderful projects with us!
This is such a great idea! You are so creative! Thanks so much for sharing it with us. I pinned it to the party board! 🙂
Mindi,
I love the idea that you had here…it looks GREAT! It will be featured at my party on Monday.
Blessings,
Linda
Mindi…this is amazing! Looks so beautiful – I just love it! You are so talented!!
Thanks for linking to last weeks Whimsy Wednesday! I featured you in my roundup today…you can see the post here!
http://www.ohmy-creative.com/home/furniture/thrifty-furniture-makeovers/
Susan
Wow! It looks so much harder to build then it actually is! Thanks for all the details!
I absolutely love this!! Nicely done! 😉
Awesome – I love it! Thanks so much for linking this up to the Friday Frenzy!
Featured and pinned! Best to you. Linda
OMG!!! I finally found someone that shows you step by step!!! Thank you so much I just sibscribed by email!!!
Wow,you come up with really great ideas. I will be pining you. Looking forward to your other projects.
So, cool! If that is your laundry room, I am jealous. 🙂 Nice work.
Great renovation.. I wonder how these ideas strikes to your mind.
Composite Deck Washing Michigan
This is such a fantastic idea. I am absolutely in love with the look. And you can honestly make this a storage unit for anything. It would be great for kids' toys and to store other things on. It makes for a cute surface too. If it is on your deck, you could put a plant on top or candle.
Traci Mcdaniel @ Carolina Material Handling