By Room | DIY Projects | Kitchen | Scrap Wood
How to make a DIY Trivet
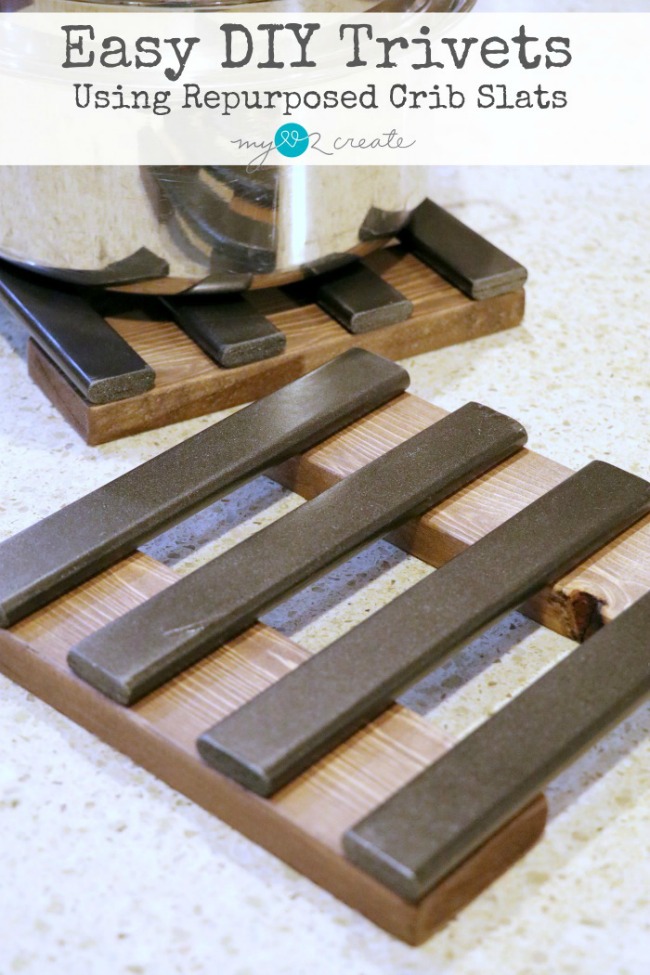
Today I am sharing some Simple DIY Trivets!
For the longest time I had no idea what a trivet was, but basically it is like a hot pad for your pans but nicer and not made out of cloth.
I first shared these fun trivets at My Repurposed Life as a contributor post.
I have been wanting to make some of these for a long time, because I have the ugliest hot pads. I am totally serious, they are…yuck.
I thought some trivets for the dinner table would be worth an hour or so of my time.
And I was so right! These are quick, easy and super cute!
How to make two 8” square trivets: This post contains affiliate links, read more.
Supplies:
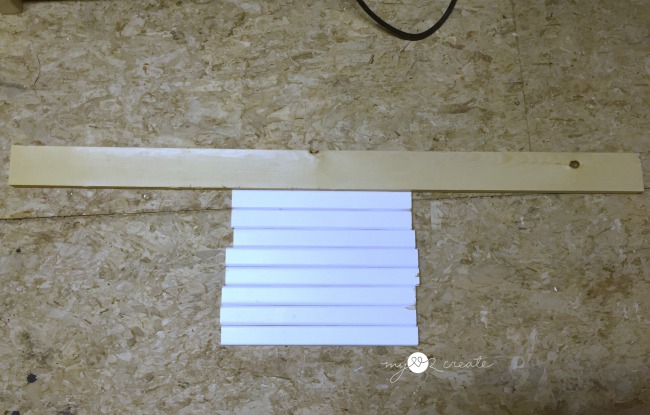
- 4- 8″ 1×3 boards
- 8- 8” old crib slats (that is what I used, but you could substitute another similar size wood approx 1/4” thick and 1” wide like this)
- DAP Rapid Fuse Fast Curing All Purpose Adhesive
(super awesomely amazing super glue)
- Black High Heat Spray Paint
- Rust-Oleum Kona
(if desired for 1×3’s)
- miter saw to cut wood and sandpaper
I had some left over crib slats from when I turned an old crib into a dog crate. I knew they would be perfect for this project, I also grabbed a scrap 1×3 board.
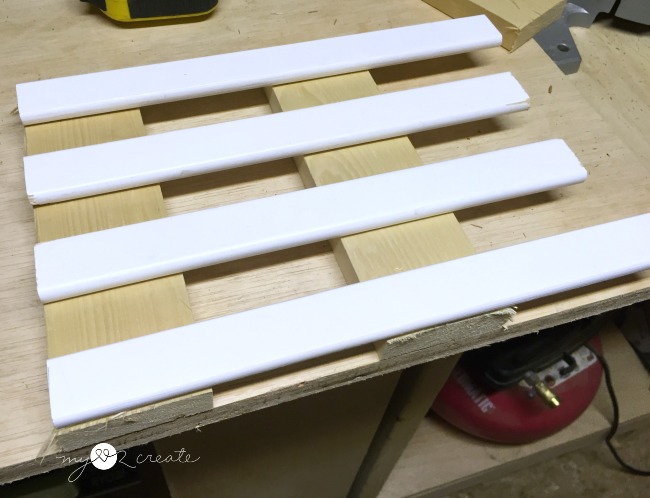
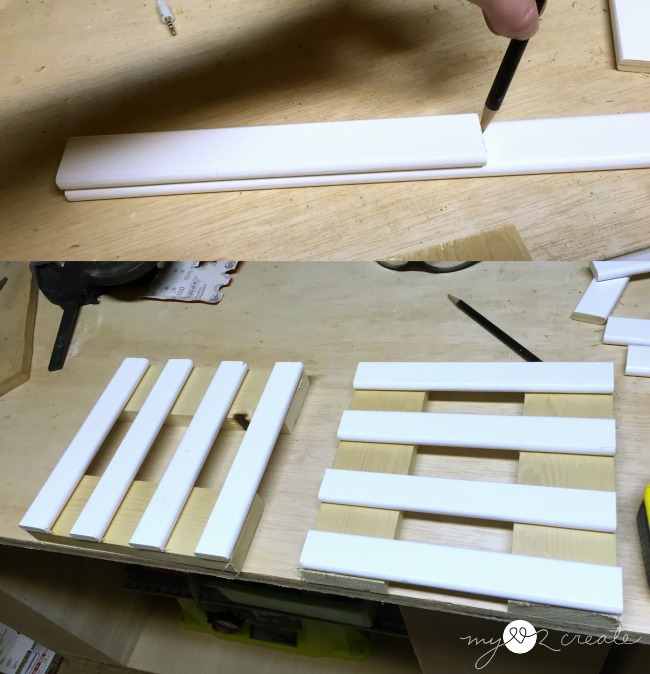
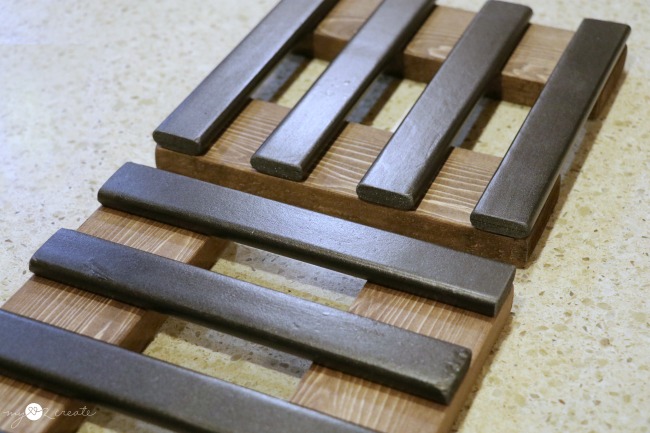
To make my trivets 8” square, I cut my 1×3 boards to 8” each. Then I tried several different designs with my crib slats, and finally ended up with the simplest one, just stripes.
After cutting all my slats to 8” I did a quick dry fit on my bottom 1×3 boards. You can modify the size to whatever you want!
That is the best thing about doing it yourself, make them to fit your pans!
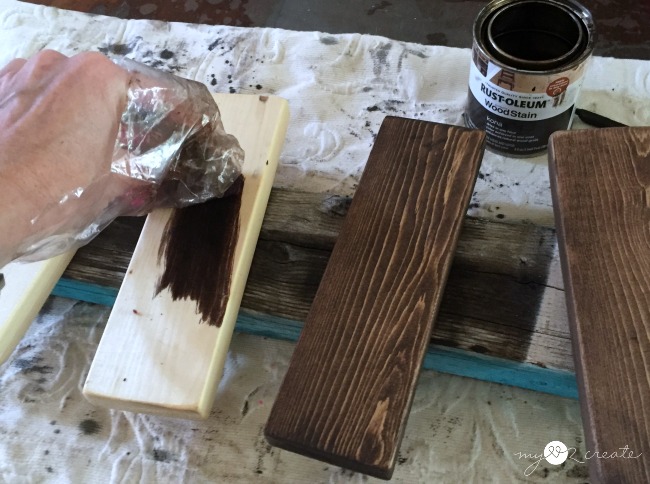
After some debating back and forth I decided to stain the wood with Rustoleum Kona stain or Varathane. I did use pre-wood conditioner before I stained the boards because this is soft pine and it helps the stain go on evenly.
Tip: When I use this brand of stain, I like to rub it off right away, after applying it to a small section. I have found that works best for me, instead of letting it sit longer.
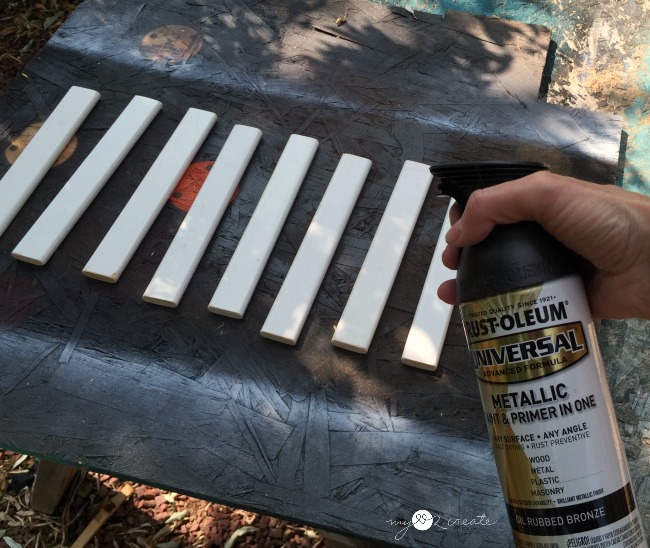
I was planning on leaving the crib slats white, but at the last minute I decided to spray paint them with oil rubbed bronze…except there is something wrong with this photo…
…I used the wrong kind of spray paint, ugh! I learned that the hard way, brain freeze!
Make sure to use a High Heat Enamel Spray , because you will be dealing with HOT pans, TRUST me! Learn from my mistakes. Ok, we are good, moving on.
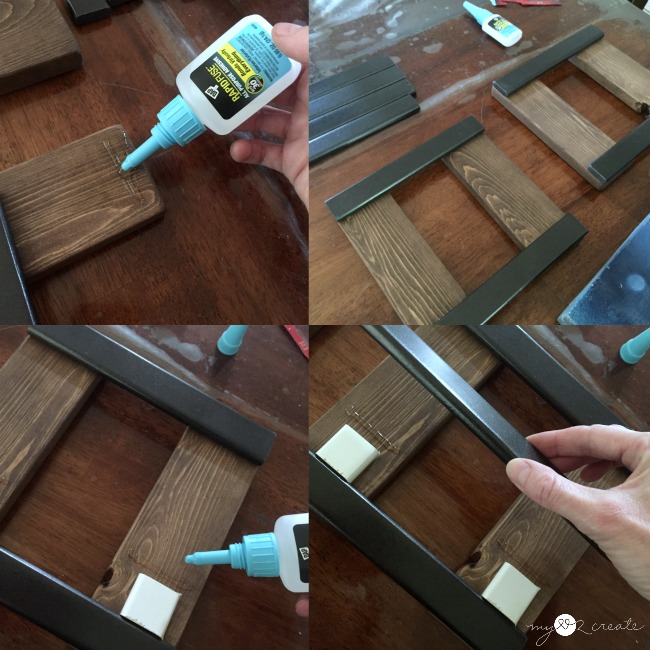
Now for the the fun part! This is the first project I have tried using DAP Rapid Fuse , and I LOVE it.
It fuses basically to any surface, you just hold it in place for 30 seconds and done! Plus it is ultra strong and cures in half an hour. I can see me using this a TON more in the future… Oh, and yet another do as I say and not as you see me doing…USE gloves, just trust me on this one. Good grief, at least I can make the mistakes so you don’t have too!
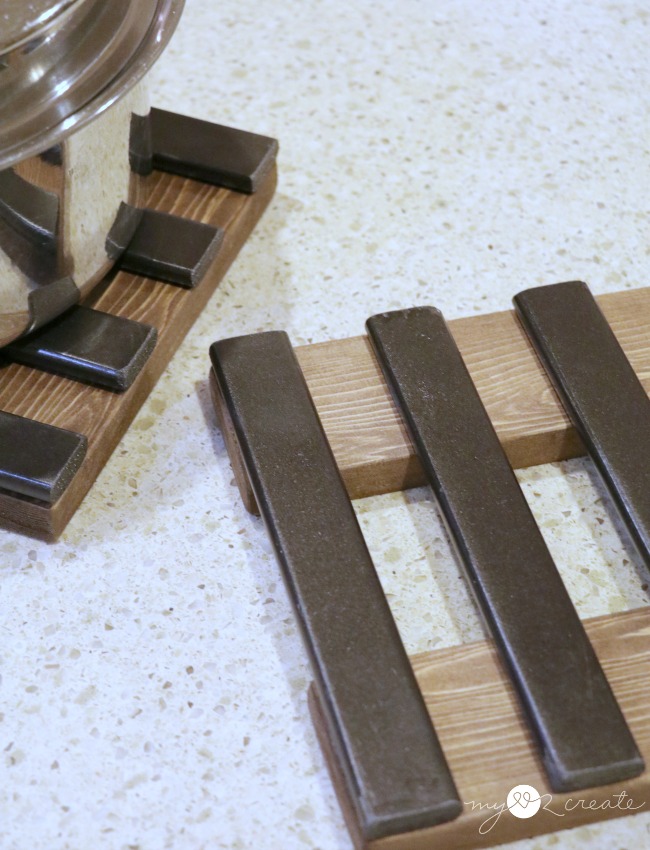
Anyway, I used it to glue the crib slats onto the 1×3 boards to make my trivets. I decided to cut spacers so I didn’t have to measure and mark for where my slats needed to go. They worked like a charm.
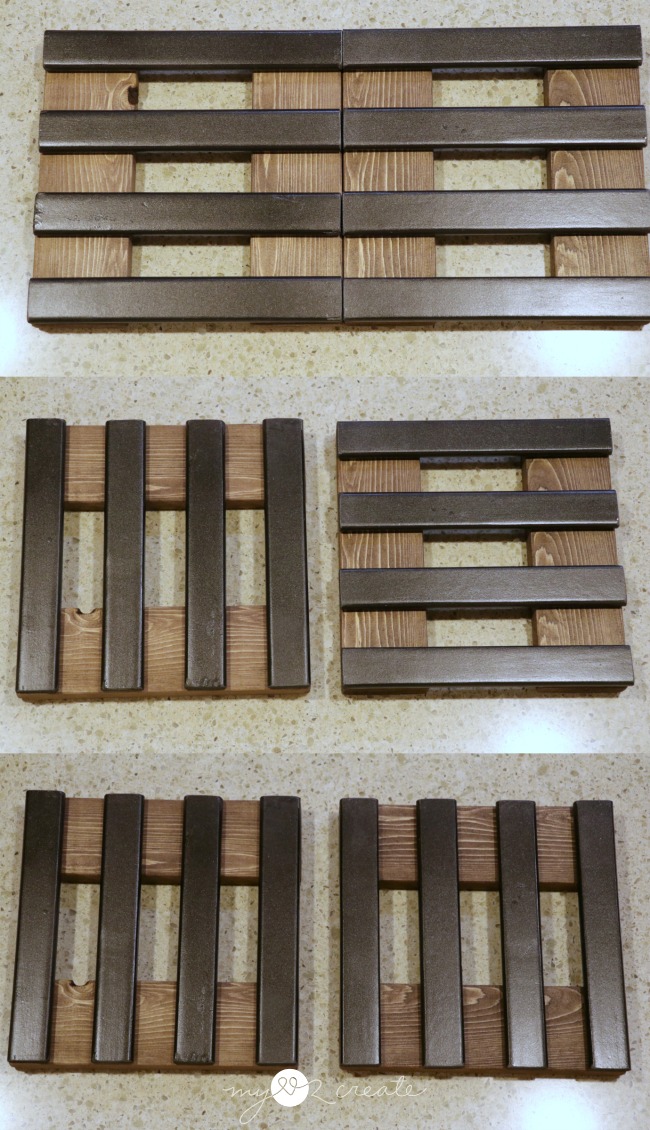
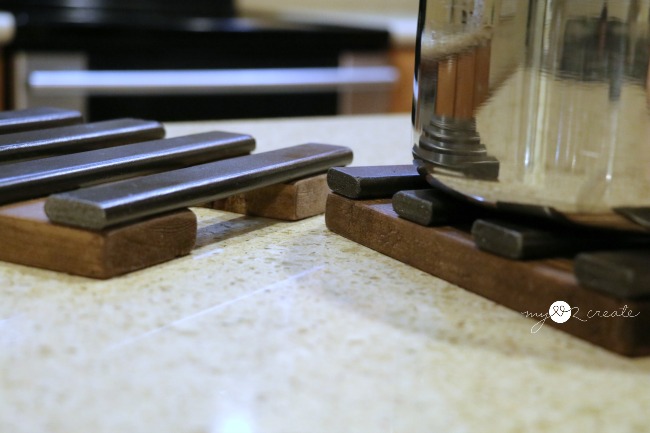
Even though this is a simple design, it can also be versatile. You can push them together for larger pots and use them separate.
I am thrilled with how they turned out and they will totally spruce up dinner table.
If you want to see a different design be sure to check out my Scrap Wood Trivet too, it makes me happy inside. (the trivet and the fact that I used up some scraps)
Do you use trivets in your kitchen?
Hugs!
Mindi

