I am so excited to share with you an inexpensive way to transform your Laundry/Bathroom Cabinets!
I have to share our basement bathroom with our laundry room. It is not so bad, we do have a laundry chute! But it is a dark place and dark cabinets only make it DARKER! There is only a tiny window, that provides a small amount of natural light.
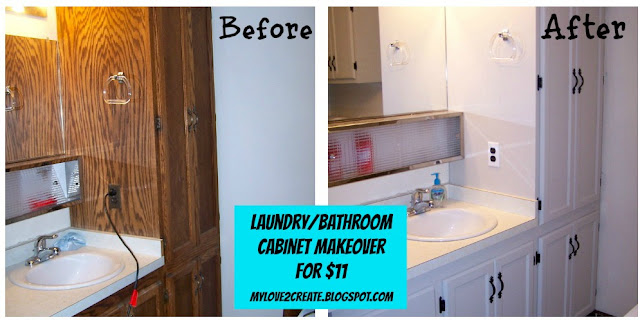
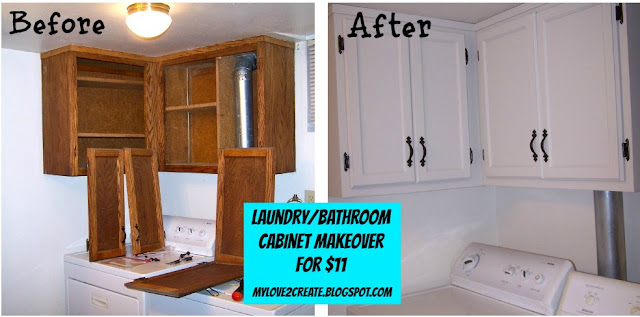
Let me give you an idea of the difference a little paint can make:
Oh it makes such a difference to brighten the space!
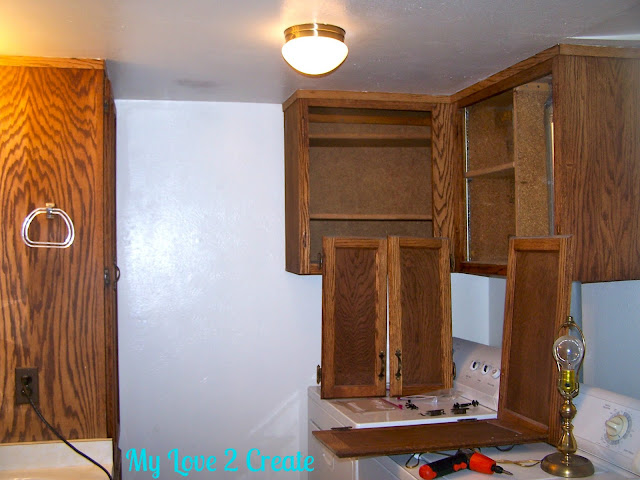
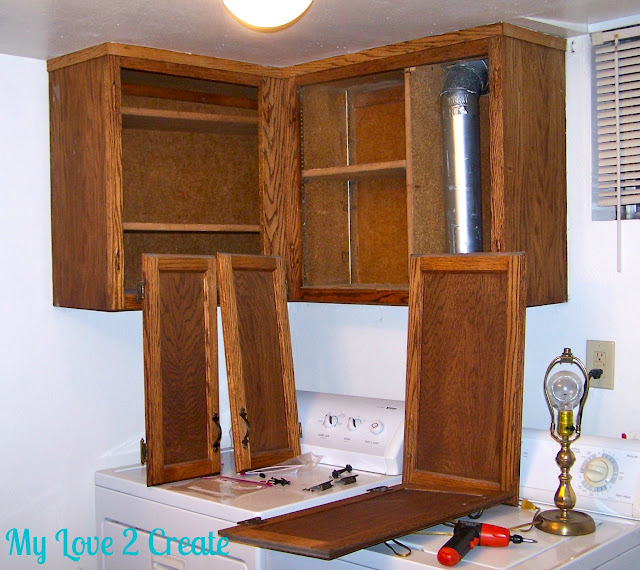
I started by removing all the doors. Make sure you put the hardware in a baggie and label them to match the cabinet door it goes with (when you re-install the hardware you want them on the right cabinet door… I learned not all handles are created equal) I previously mentally numbered the cabinets and knew which order they went in so I could hang them back in the same place. Trust me this is an important step!
I realized that I probably would want a before picture after taking down a few cabinets…
Do you see my baggies on the dryer ready to be labeled?
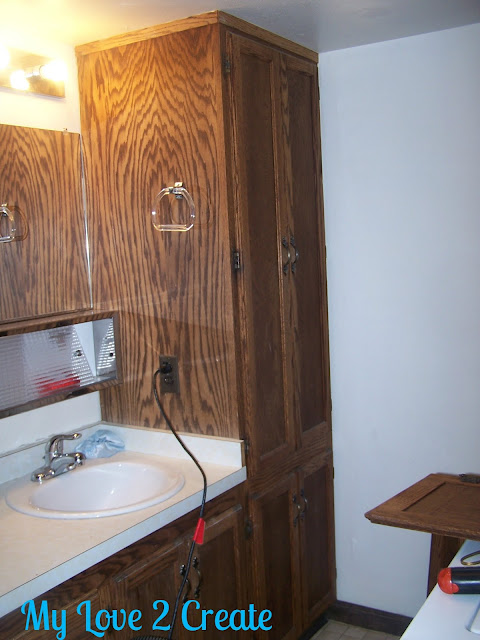
One last before:
I love the look of wood, don’t get me wrong, I just wasn’t diggin’ the dark wood in a dark room!
So now…on to how you are going to do this on the cheap.As a rule I never go into Home Depot without:
1. checking the oops paint section
2. checking the cull bin
You never know what treasure you may find!
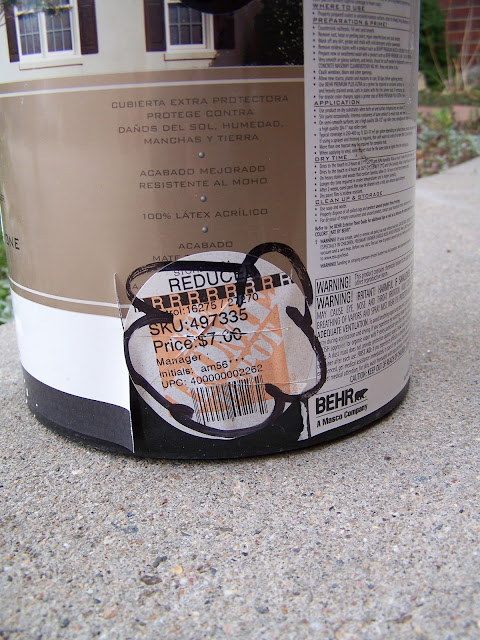
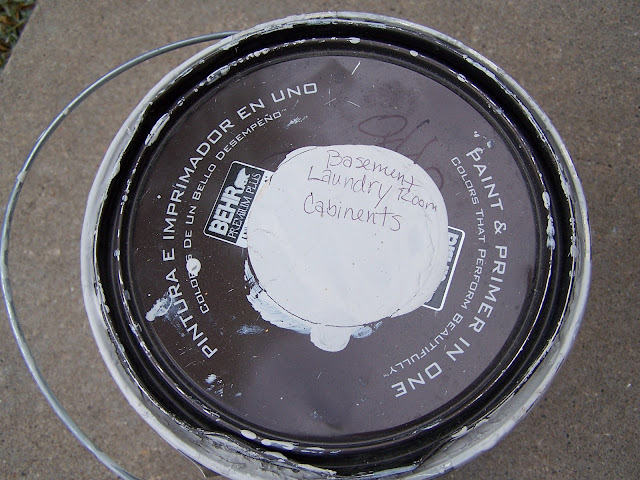
So one day I picked up this full gallon of paint for $7 in the oops paint!
It was not quite white, just a hint of grey. Perfect for brightening the cabinets! Plus paint and primer in one is a great way to go!
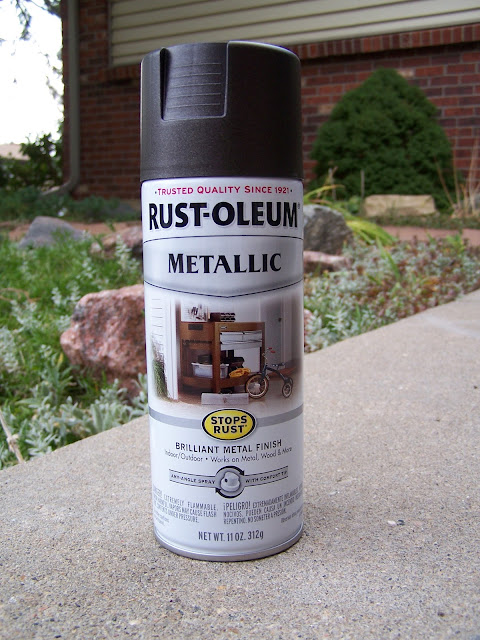
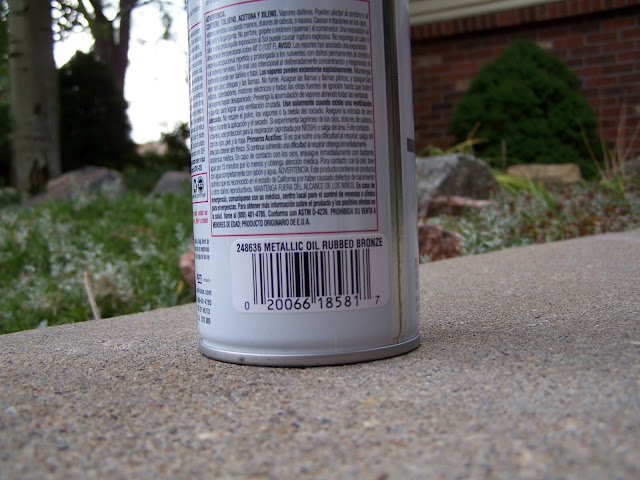
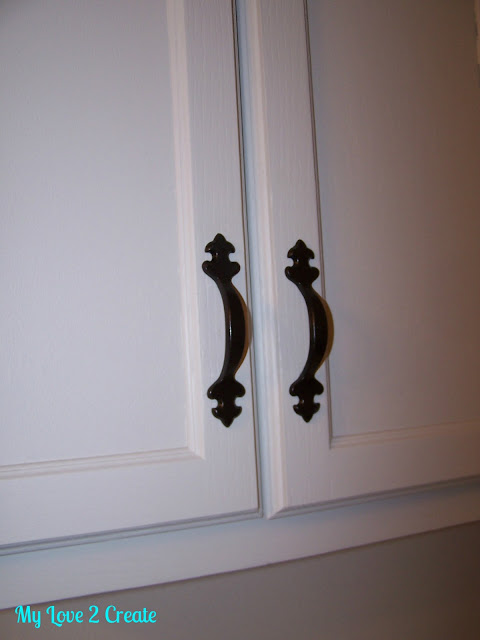
I decided that I wanted to get my hardware made over too, so I used this Rust-oleum metallic spray paint, in metallic oil rubbed bronze, for under $4.
I love this color!
Then I spent the day painting my cabinets. I used a cabinet roller that I already had and some cheap foam brushes, which I had as well. I did two coats, waiting for drying in-between. Then I waited, for several days, I got impatient at this point and put on the hardware and re-hung the cabinets!
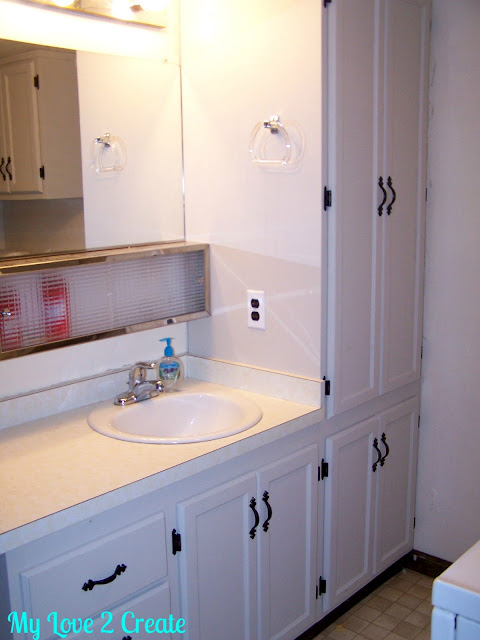
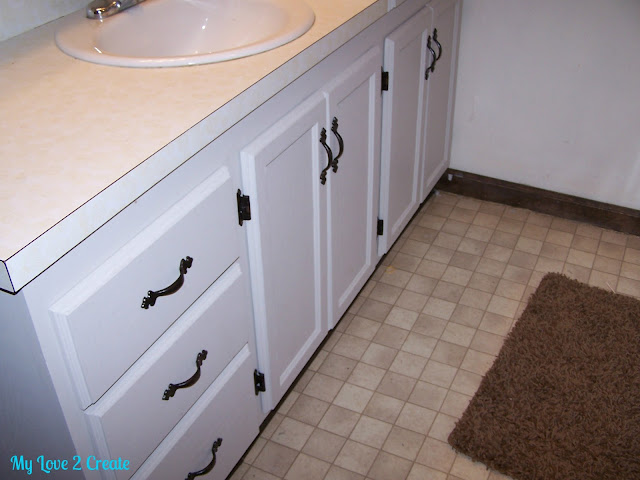
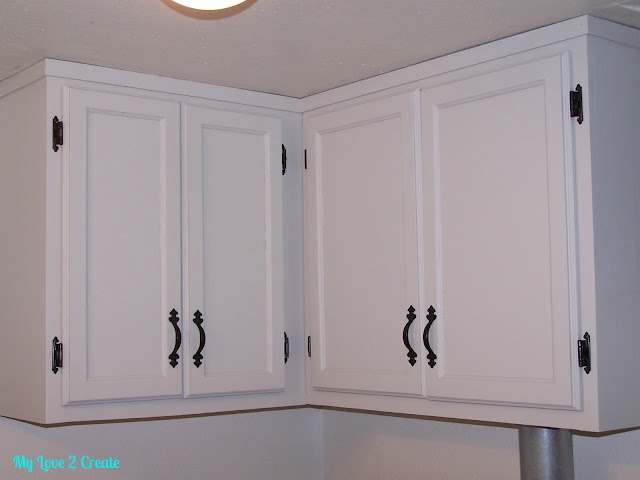
Here are a few after shots:
I plan on painting the walls too….eventually….
Gotta love that 70’s counter and vinyl floor. Obviously I have lots more work to do!
The handles look so much better!
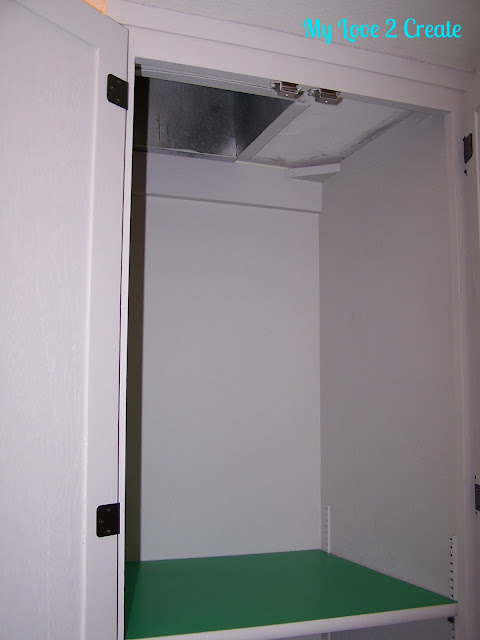
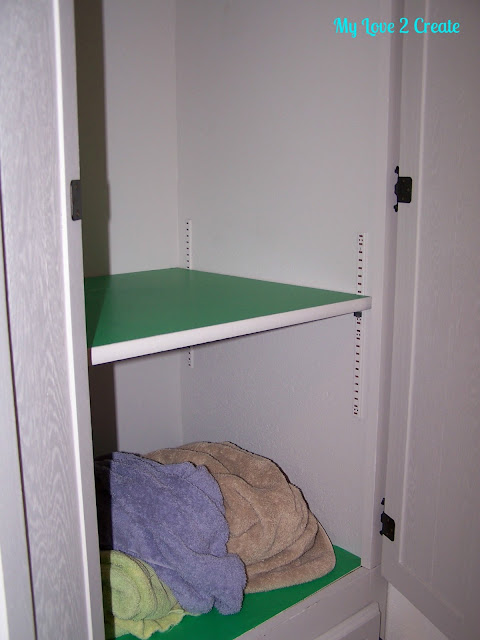
And here is my laundry chute! It was really big and I put that wasted space to good use by adding a shelf.
The brackets were like a $1 at home depot and I already had the shelf pins because this shelf was in the cabinet below (I didn’t need two down there). I added contact paper (the only color I had) and ta da, sorting room, or I have a laundry basket that fits in the lower spot (it just happens to be full of clean clothes ready to be folded).
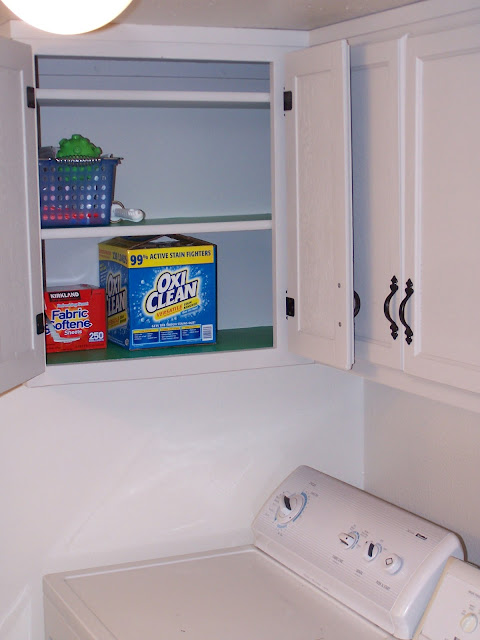
As you can see I also painted the insides of the cabinets, one of my boys helped me and we had a grand ole time!
I am so pleased with how much better the room looks! I know I have a long way to go before it is done, but I am glad I got it started.
Not bad for $11 right!?
Thanks so much for stopping by!
Lots of Love,
Mindi





What an awesome transformation!
Have a very good Organized Bathroom Cabinet blog. I really appreciate you for this good work keeps it up. You can also find a very good blog at Prodigg.
you really did a beautiful job! I love how bright & fresh everything looks.thanks for sharing
Truly beautiful! Love everything – from your new bathroom,You did an amazing job.
I love every single thing in your bathroom but especially those cabinet. You did an amazing job.