Repurposed bed to bench
I love it when I see someone repurpose something that is no longer wanted into something new and useful! Here is my first attempt at doing just that!
Let me give you a little back ground on this twin bed. A friend gave it to us and I was planning using it for my boys (it came with a trundle as well). My boys decided to keep their bunk bed instead. Okay, that was fine, I just posted it on craigslist in the free section.
And waited, and waited….
Nobody wanted it!
So it sat behind our shed for months and months.
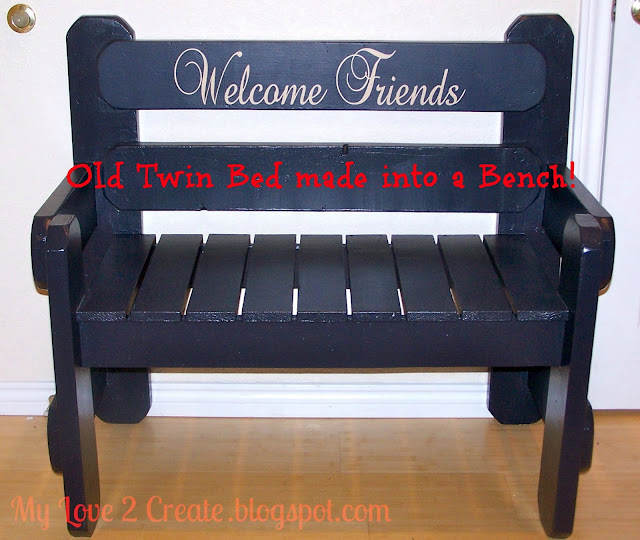
I decided to make it into a bench! It is now back at my friends house, (a gift to her, for being so cool) sitting on her porch, welcoming guests to sit and relax!
How did I do it?
I started by cutting the footboard in half, I actually cut out a middle section so the bench would not be too deep, sorry no picture, this was way before I was blogging.
There is no true “before” picture of the bed headboard and footboard, I must have deleted it! Oops!
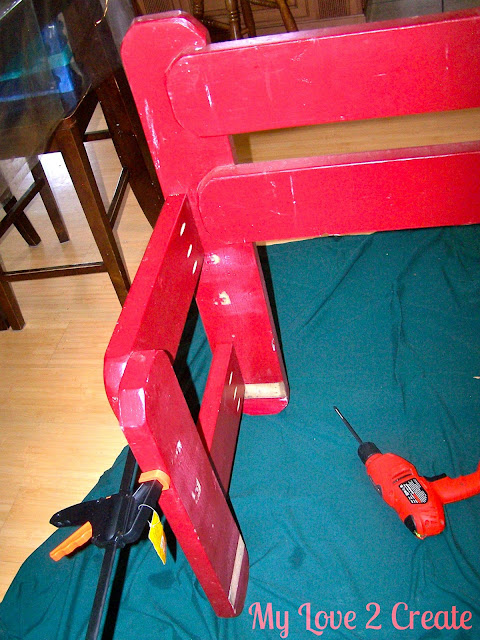
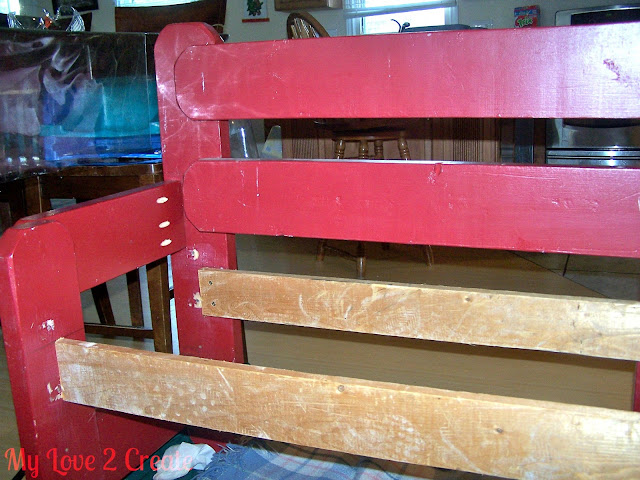
You can see that I clamped the footboards to the headboard. I had previously drilled pocket holes with my awesome Kreg Jig (my favorite tool!) into the ends of the footboard. Pocket holes make things super strong and sturdy.
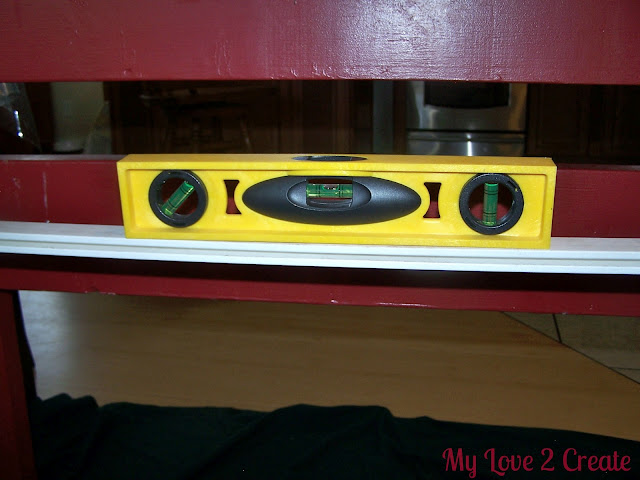
Once it was clamped on both sides, I laid a scrap piece of wood on the footboards to make sure the bench would sit level. Then traced with a pencil the around the footboard pieces where they were supposed to attach to the headboard. Then I zipped the screws into the pocket holes.
Now to make a seat!
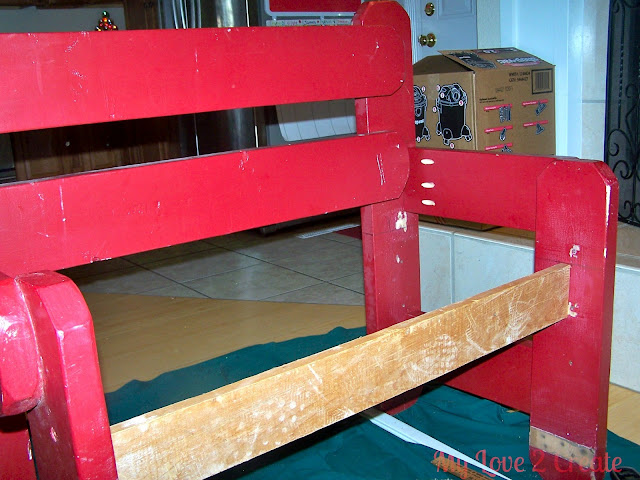
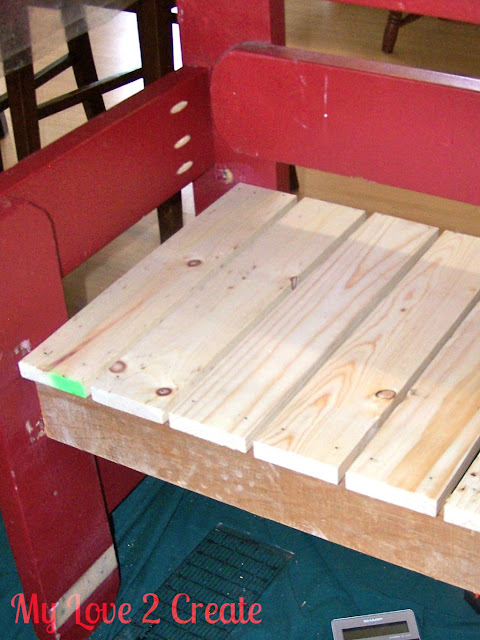
I went out to my hoard of wood I keep collecting from the craigslist free section. (I may or may not have a problem with collecting free things…) And attached a front apron with pocket hole screws (on back side), checking for level at this step too, of course.
Next was the back apron. All I did was countersink the screws straight into the headboard. I set a board on top of the aprons this time and checked to see if they were level.
Yea hoo! It is coming together! (this was my very first real build by the way, so there might have been a few squeals escaping at random intervals!)
Now to nail down the seat! If you notice the bit of green spray paint, that is a sign of my local Home Depot and their lovely cull bin. It is an awesome treasure in the back of the store that is filled with really cheap wood! I got all the wood for this seat for 51 cents. Yep, and I knew my measurements too, so the really nice guy cut it for me. Love it. I used gorilla wood glue and my nail gun to secure the wood to the front and back aprons, you could use good old fashioned muscle too, nails and a hammer. Super easy!
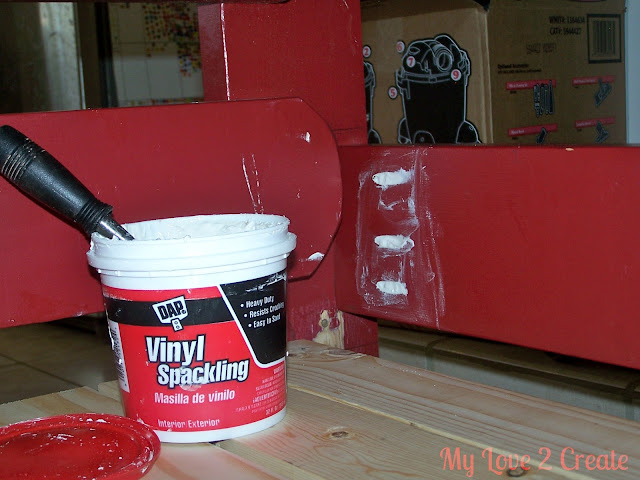
Since I am cheap and didn’t want to use all my wood filler. I grabbed what I already had in the garage… spackling! It works, but sometimes you have to sand and refill. I have heard that Bondo brand works for filling, and Home Depots sells it in quart size. It will be trying it.
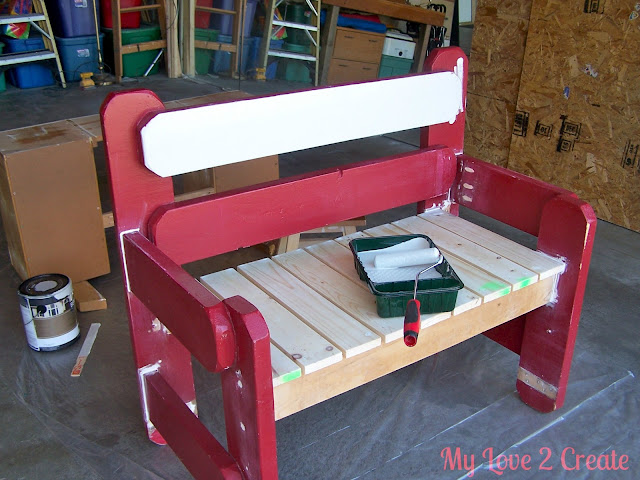
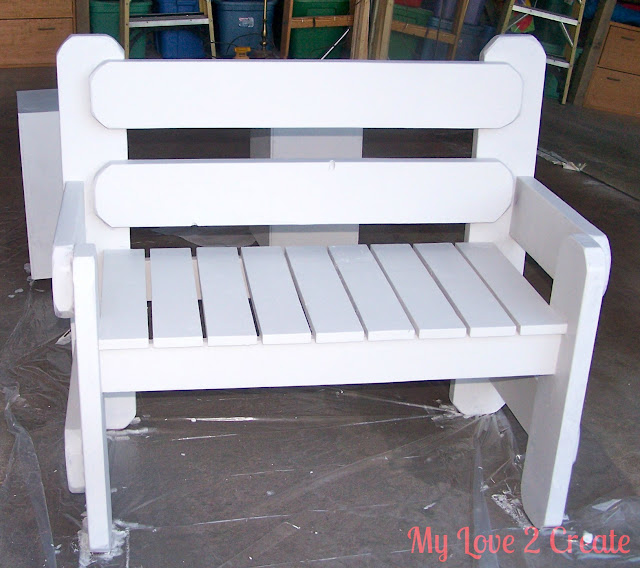
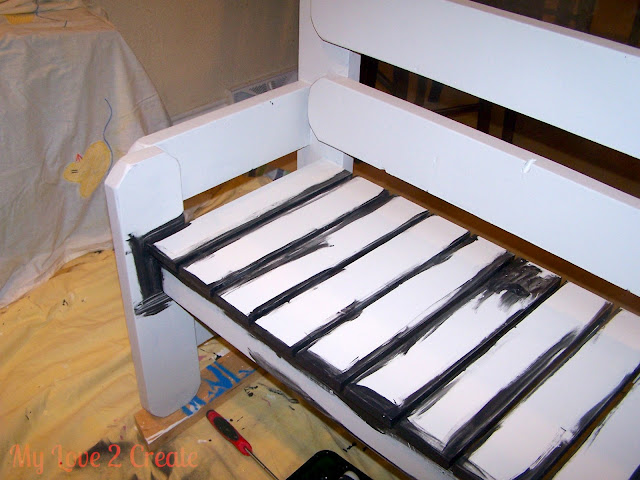
Prime time! You can see all my other spackling, I like all my seams nice and closed.
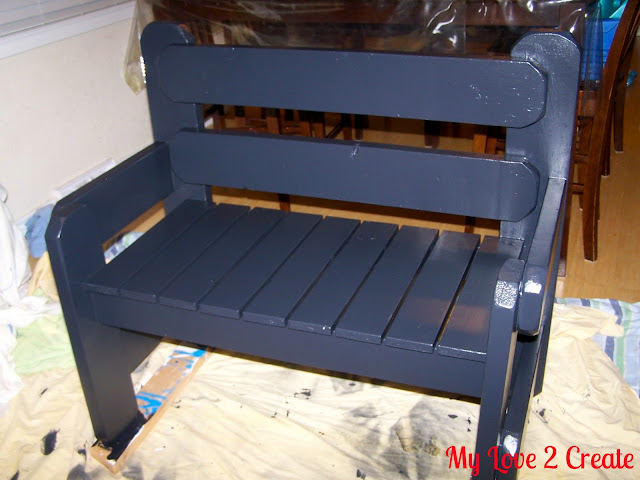
Looking good!
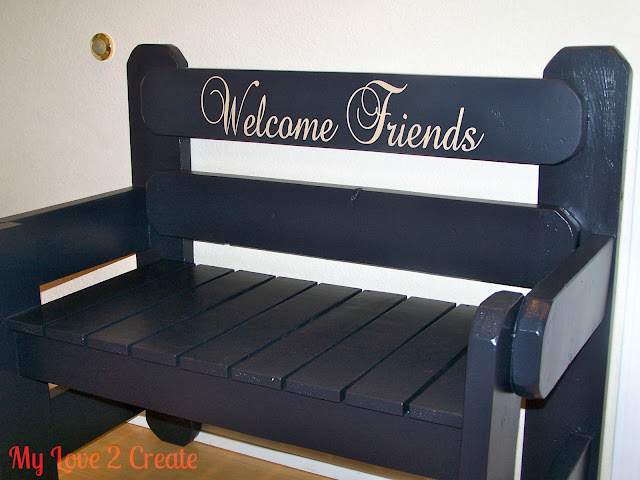
And here she is all done with a little vinyl flare! (note: make sure it is outdoor vinyl if you plan to use the bench outdoors!)
I love it! If you like beds made into benches check out Gail’s amazing benches over at My Repurposed Life She is seriously my Hero! And she taught me everything I know, well her awesome tutorials did anyway! Thanks Gail!
Lots of Love,
Mindi
I will be linking to these parties.



I love it Mindi! You are so creative! I have plenty at my house that could be repurposed-you ought to come visit me and help me out! haha:)
Any time chica! You know I would love too! Problem is with all our kids would wouldn't be able to get anything done!
I can't believe this is your first building projects – it looks amazing. I went and looked at Gail's tutorial and my brain exploded half way through. So, what I am trying to say – it takes a talented person to look at a tutorial like that and then be able to learn from it and, even more… actually do it. You are MY hero! Pinning this!
Thanks Iuliana, you are so sweet!
Mindi–I've built a LOT of benches…need to build about 4 right now. However, I must say I have never built one in my kitchen! hahahah
Great job on the bench. So happy that you've learned so much. I think you're an A+ student! Love the vinyl too!
gail
Yea! Gail commented on my blog! I guess that is funny that I build things in my kitchen, I never really thought about it!
Thank you so much, I truly do look up to you and your amazing talents!
OMG! I am looking for something on your blog and saw this! What?! H and I are cracking up. Lady, you are definitely an inspiration since you know what I am building. I must be channeling you. lol I had no idea you built this. You posted this a month before I started my blog. Too funny. – That bench looks great and what a great way to reuse wood.
Woman, why didn't you tell me you had done this?! lol
I was checking out your blog and saw this! Great job, what a clever idea! Next time you are here, you can make one out of our twin bed. Every time I look at your blog I am amazed and inspired! Love you girl!