Camping Crate
My kids have a Halloween Carnival each October at their elementary school. Each class makes a themed gift basket to donate in a raffle, and this year I wanted to help by making the basket, or in my case a crate or box made out of wood. I have four kids at the school but with all we have going on I only volunteered to do two of them. Today I want to share the camping crate I made. You can see the golf box here.
I have been smitten with crates lately and have been needing an excuse to make one….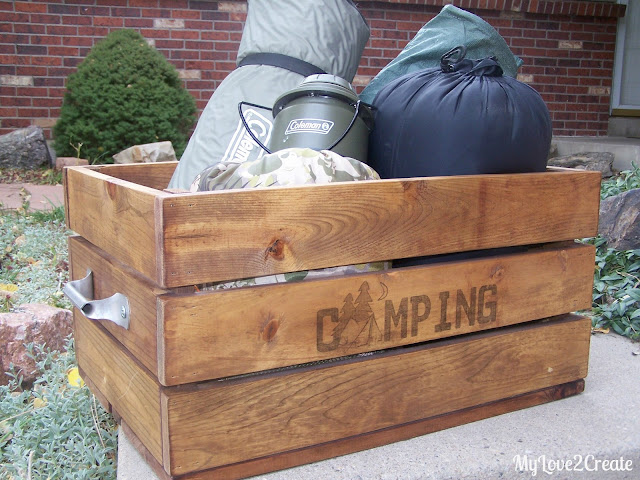
Eeek!
I Love it! (and that is just my camping stuff I threw in for the pictures, just for fun)

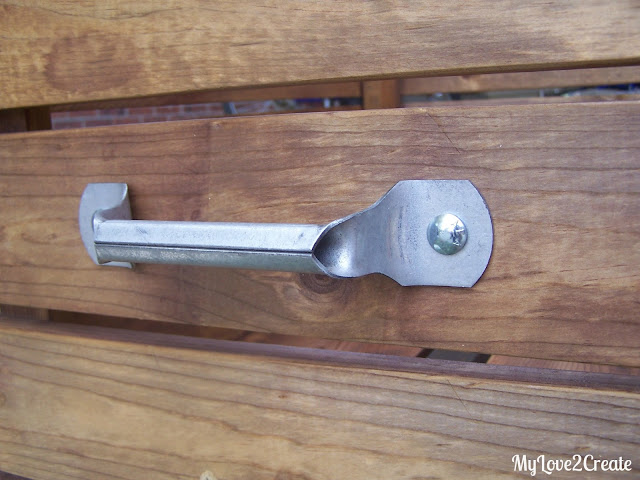
At this point I was a little sad to give it up….but I could make another one….minus the handles those were a great find. I got them at the Restore for $2. I know…a steal right? They are the real reason I had a hard time letting go, I love them!
Not only is this cute little crate useful for carrying your camping gear….
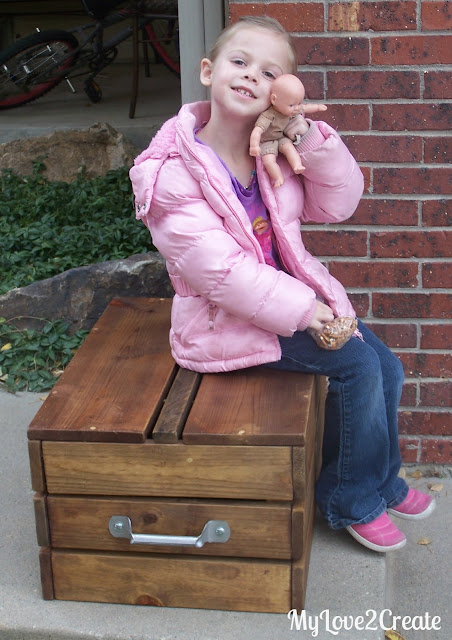
It can also make a great little seat for when you are out in the wild!
So here is how I made it.
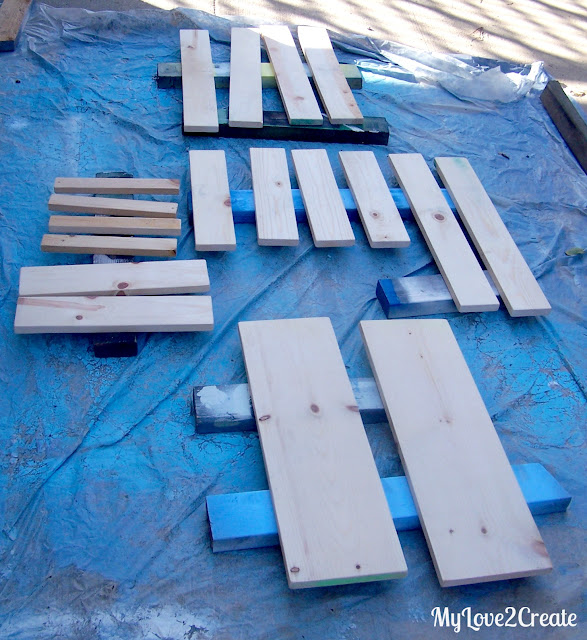
It got all my wood from the Home Depot cull bin….grand total….$4. Yeah, I love cheap! Well, actually the four smallest boards I just pulled from my stash. Then I figured on a size and cut the boards and sanded them. Here they are ready for a steel wool/vinegar treatment, or “natural stain”.
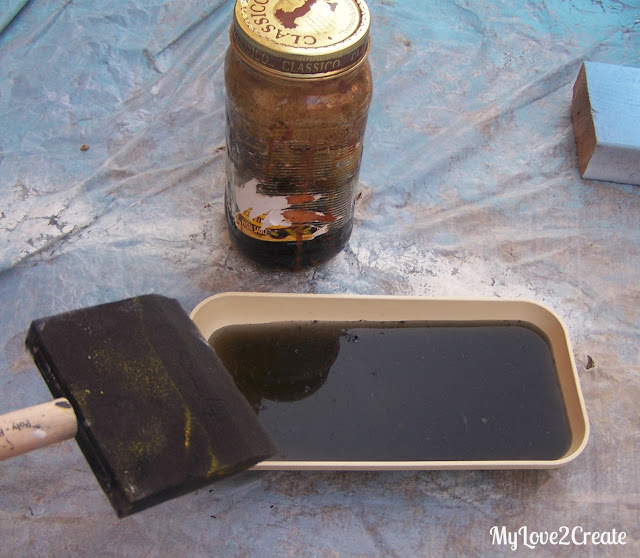
I had just enough left over from some of the gift crates I made. (I believe I treated the gift crate in the second picture of that post, I didn’t treat all of them) To make this all you need is one thing of 0000 steel wool, rip it into pieces and put it in a jar, then pour vinegar in the jar until it covers the steel wool, put the lid on and let it sit for 24 hours. Done!
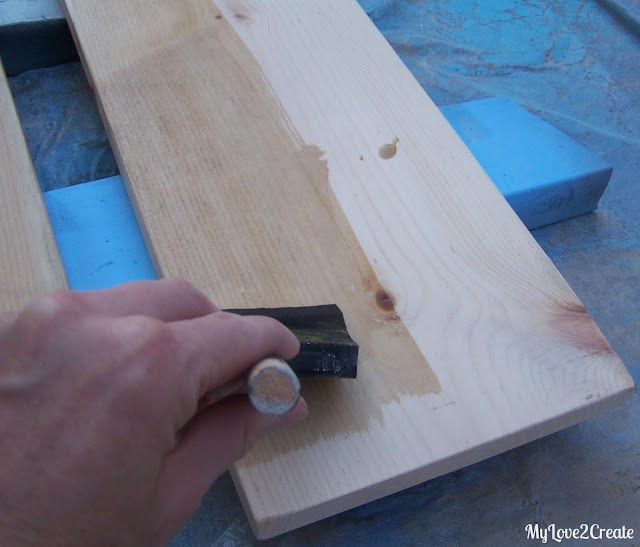
I just brushed it on. See how the wood changes instantly…
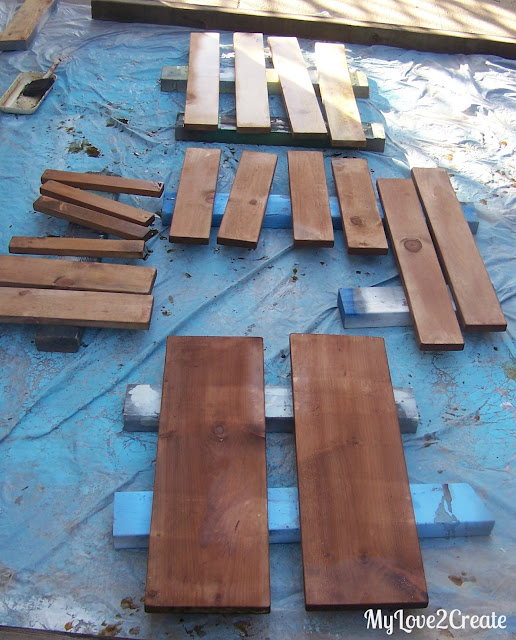
Look how dark it is now.
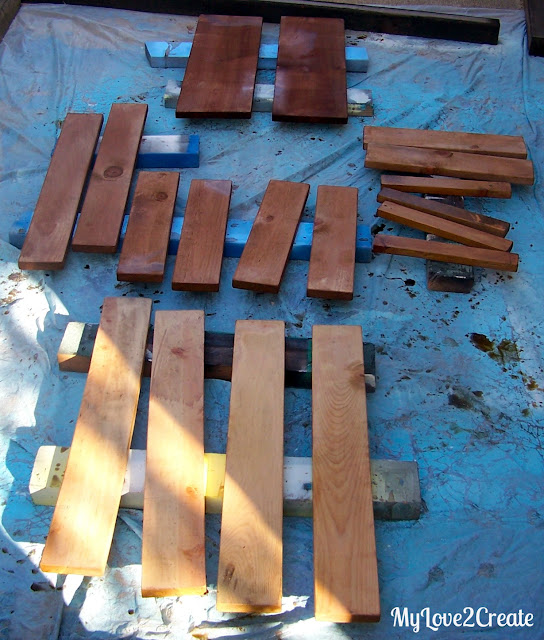
Here is a picture from the other side. You can see the progression as I stared with the wider boards in the back and ended with the ones in the front. They were all pine boards so they ended up the same color. What I love is that different types of wood with end up in different shades.
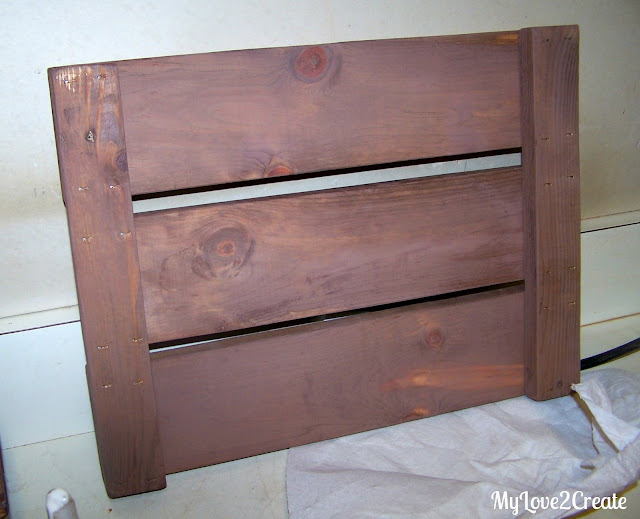
Now to build! I started with gluing and nailing the two side pieces just like the one above.
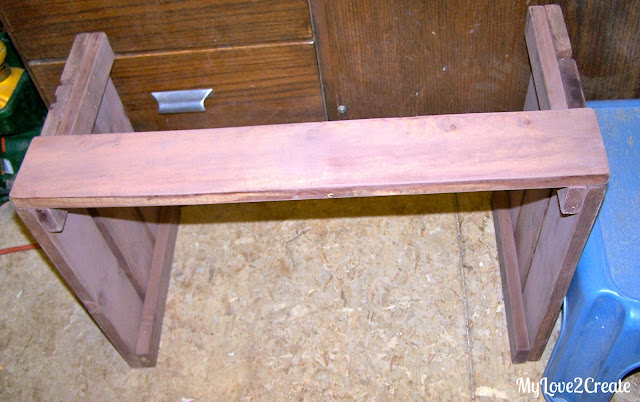
Then I propped up the short sides and started gluing and nailing the long sides on. Most boards in the cull bin are not very good. I lucked out with most of the ones I picked out, but a few were still warped a little. It adds character right?
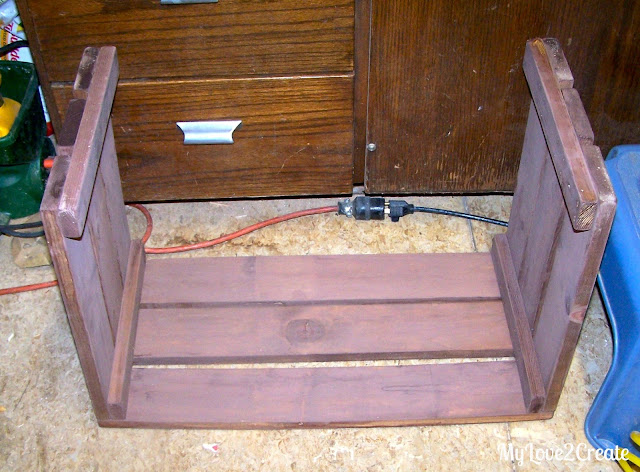
Then I flipped it over to do the other side.
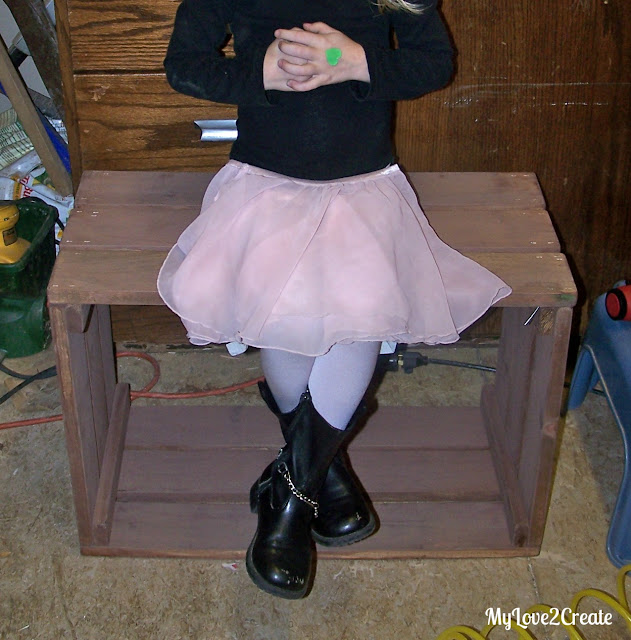
All sides are done! It is nice and sturdy! If you look to the right you will see a nail sticking out. I had a few that struck other nails and came out the side. I had to clip those off and use some wood filler.

Because I was just winging it on this crate, I had a gap a little to big at the bottom. I grabbed this middle piece to fill the gap. I treated it after I nailed it on. It really gives the crate some character, and I love that the wood ended up darker than the rest.
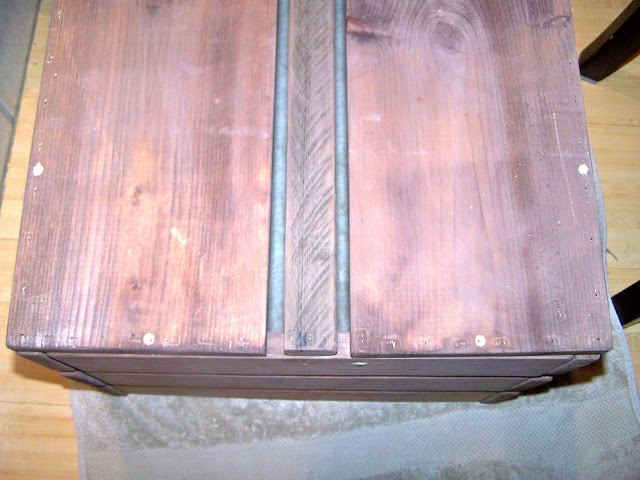
I also ended up adding screws to the bottom…just to make sure that it could hold lots of heavy stuff! This is a picture of when I had just drilled the holes.
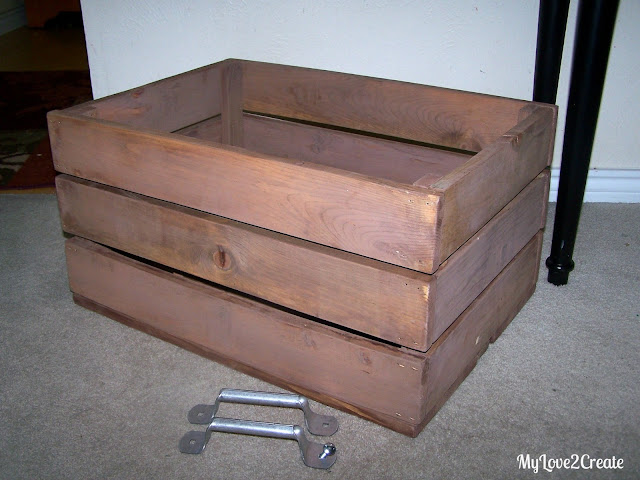
I had to try really hard to convince myself it was a worthy cause and that I should part with the perfect handles…..I eventually gave in….they were, after all perfect for the crate….(sigh!)
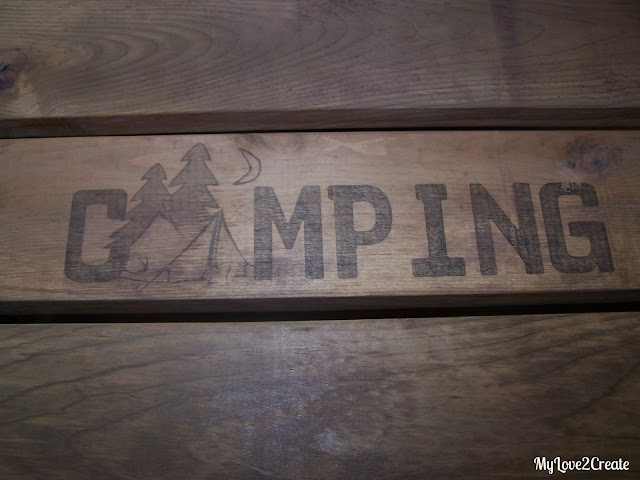
Because the theme was camping I wanted to add something….so I did the ink transfer method and added this cute label I designed. You can find a tutorial on how to do this quick easy transfer method Here.

I wiped it down really well, and sprayed some sealer on it, and it was done!


I hope who ever won it loves it as much as I do!
Mindi
I will be linking to these parties.

such a fun idea! I love the idea of having something packed already to go to make camping easier!
Love this idea!
Would make a great gift for my OUTDOORS-MAN son in law.
Pinning it to my homemade Christmas board!
…via MRL party, Patricia
Mindi–LOVE the camping crate…my cull bin would never have these pine boards because they are sold by the foot. lucky you!
gail