Good Old Fashioned Pencil Transfer Signs
Most of you probably know this method, I personally remember my mom using it when I was a little girl. She is pretty cool like that, very crafty.

So let’s see how these cute little signs were whipped out. I like to call them my subliminal message signs!
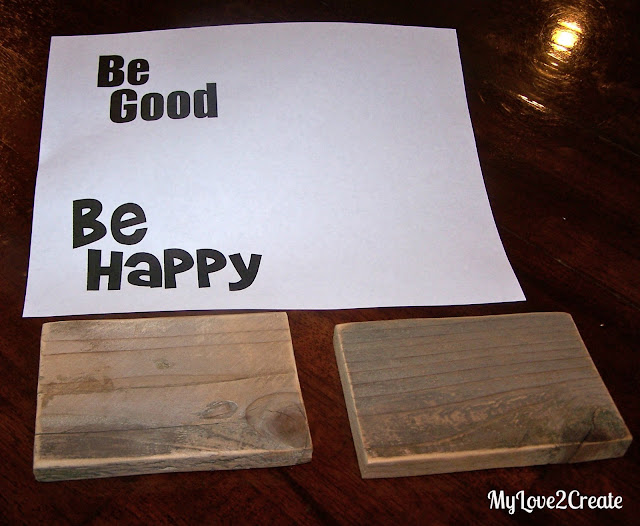
I literally went to my scrap wood pile and found these pieces already cut and sanded, they were left over from my Gift crates. I thought to myself, “Perfect!”
I then went and printed some words, I chose the nice straight font for be good and a little more fun font for be happy.
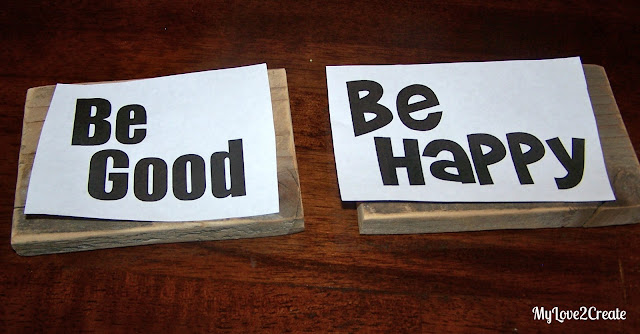
Then I cut them to fit on the blocks,
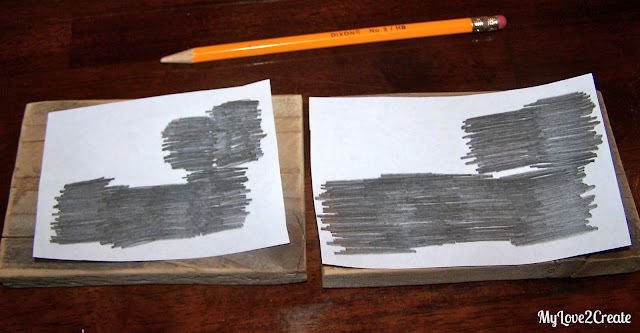
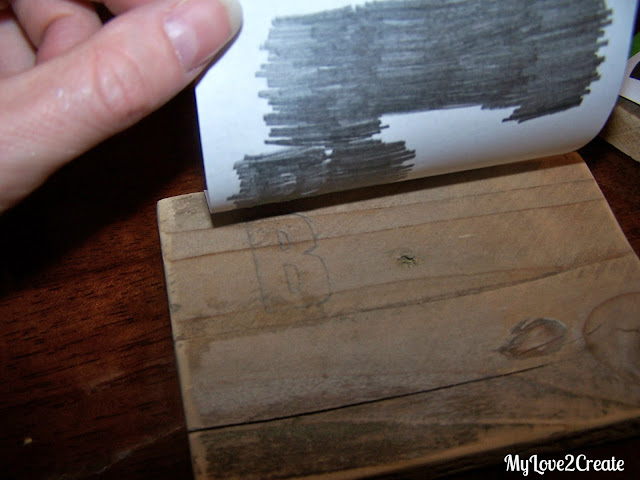
Then flipped the paper over and scribbled over the printed letters on the opposite side, making sure to cover all of each letter.
I like to tape the paper down so I can see if the transfer is working, and so I don’t lose my place if the paper gets moved.
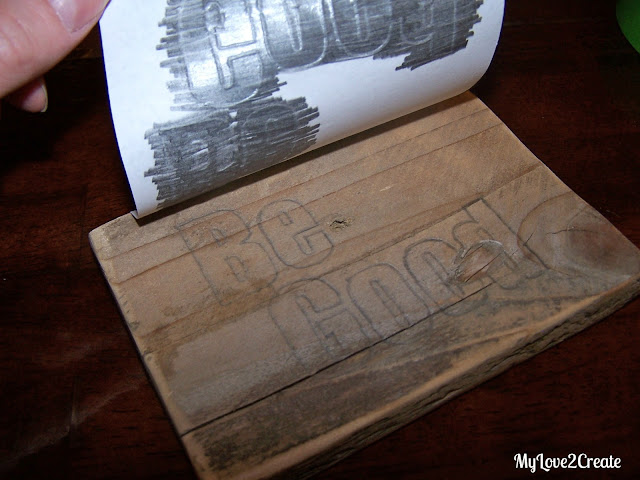
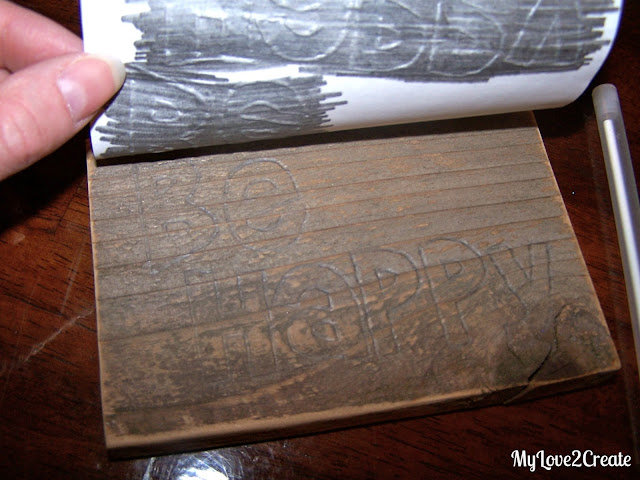
Then I just trace the outline of the letter with a pen. You could use your pencil, but a pen isn’t going to break… And…
It’s working!
At this point you do a happy dance around the room!
Yes, be happy!
You are making a sign!
Now, on to the painting.
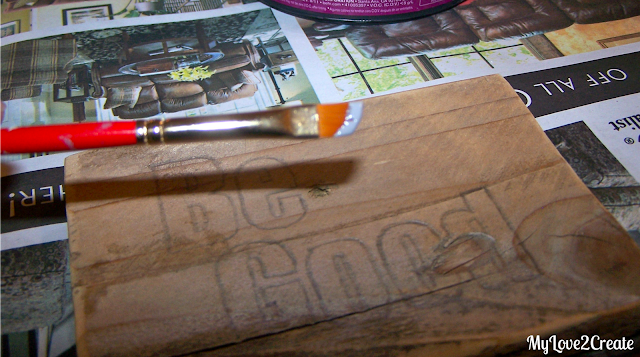
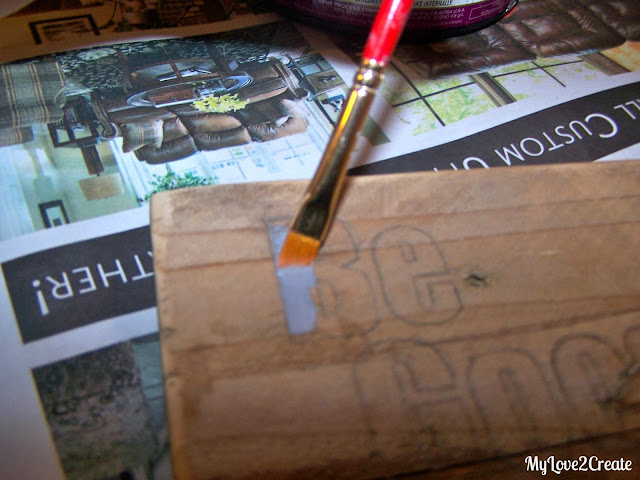
You will notice my little angle brush, I highly recommend you purchase one of these if you don’t have one. They will be your sign making best friend.
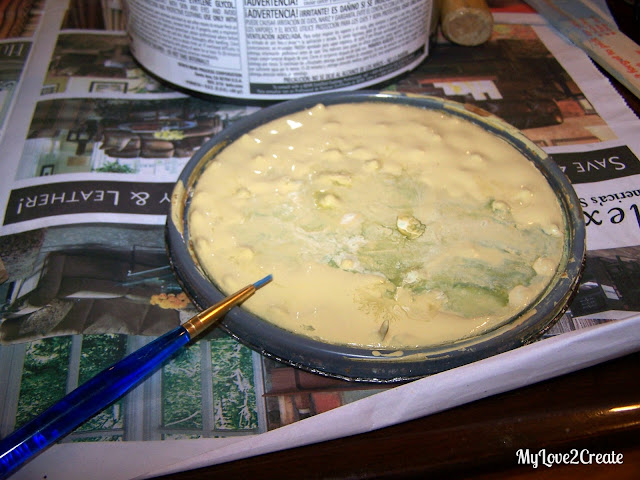
Put a small amount of paint on the end of your brush…and….
Paint within the lines! (sorry, blurry)
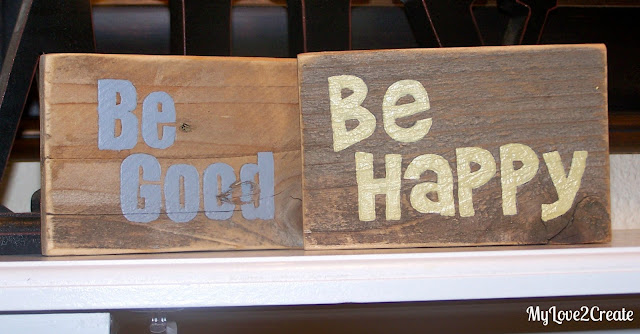
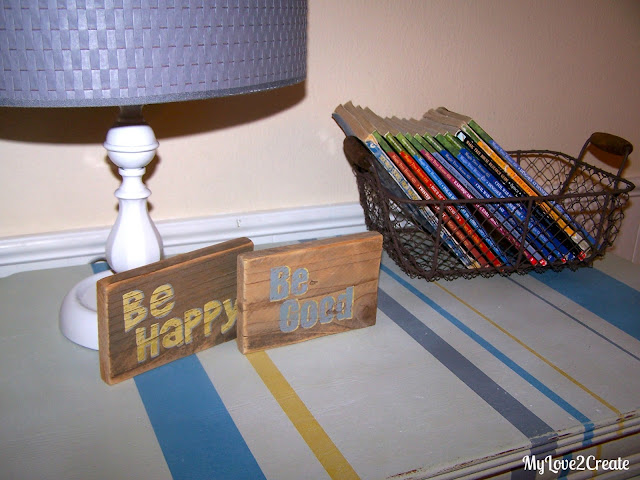
Here they are both painted! Notice my awesome skilz…I knew those toll painting classes I took as a kid would pay off!
At this point you could be done, but I wanted to add some pop.
I am going to use the same colors but on the opposite sign to shadow my letters. (not sure if that is the right term, but it makes sense to me….)
See, it is like a shadow, only on one side…. Anyway do this in a contrasting color. Since these little signs were going on my boys dressers, you can see those here, I chose to use same colors I used to make the stripes. I also did the Monogram Blocks in the same colors.
It really makes a difference…
One more thing to do,
Distress! A little sanding adds a lot of charm.
When I was making these my kids were watching the process and I showed them some things on the internet and explained what distressing was. Making things look old was one way I described it. It has been fun to see them recognize things that are distressed and hear them say, “Hey! They made that look old!” My kids are so cute!
So now they know to be happy and good and hopefully they will see these and not even realize my sneaky plan… to brain wash them…muh ha ha ha!
Now you have no excuse not to make your own sign, it is super easy and super fun!
Mindi
I will be linking to these parties.







Great ideas! It so much easier than vinyl 🙂
I have to say Mindi…you surprise me with every project you post. When your blog is big and famous, please remember who encouraged you to start a blog. 🙂
Somebody's birthday is coming up! Hmm….do you know what she might like as a gift?!
Hi, I saw thisj on a link party and wanted to visit your site. You have a great blog. I am new at blogging, but am loving it. I linked up a painting project also..see it here http://www.mydomesticdomain.com I will sign up on your blog.
these are super cute I love them thanks for linking up
Very cool! Pinning this!
Your signs are so cute!
Dee
This is absolutely the best transfer tutorial I've seen. I've pinned it to follow – so simple and I finally understand how to do it. Thank you so much!!