Felt Christmas Tree Advent Calendar
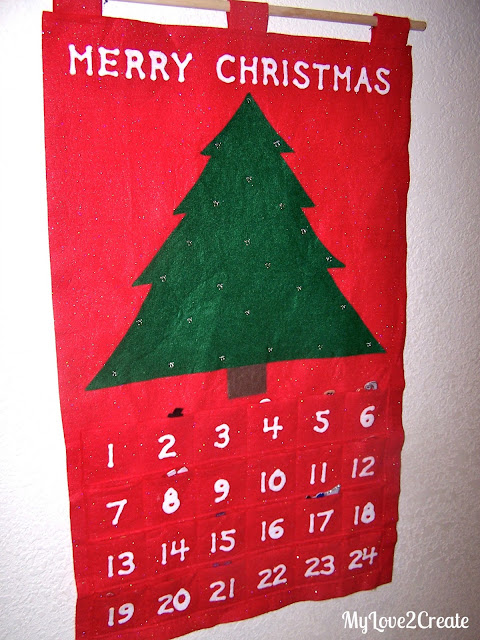
I made this years ago, probably 7 or 8 years ago, I really can’t remember. But it has been such a fun tradition for my kids!
My kids take turns each day putting up an ornament on the tree.
A simple homemade countdown to that very special day!
Since I made this so long ago, I will not have a full picture tutorial, just a written tutorial.
Supplies you will need:
1 1/2 yard of red felt (for main piece, and pockets)
1/2 yard of green felt (for tree)
1 sheet of white felt (for letters)
Several sheets of felt for ornaments, any colors you want
glitter glue, different colors (I used from the dollar store)
Hook and eyes, or velcro and hot glue gun
Red thread (sewing machine)
Dowel (to hang)
Craft glue
Stencil for letters and numbers
- First you need to cut the main piece of red felt, mine measures 19 1/4 wide by 31 1/2 tall.
- Next cut 4 strips of red felt 17 1/2 inches long by 3 inches tall. These will be your pockets.
- Then cut the tree in green felt, mine is 13 1/2 tall from the tip of the tree to the base, and the base is 16 3/4 wide at the very bottom. You can just eye ball the rest, I drew it on paper to make a pattern.
- Then with brown felt I cut a 2 1/2 inch square for the tree trunk.
- Sew on strips: I put the strips of red felt at the bottom and pinned them in place. First I sewed across the bottom of each strip. Then I sewed down the edges, and pocket dividers in straight lines. So that means I sewed seven lines from the top strip to the bottom strip. I measured so that each pocket is approx 3 inches wide. (don’t worry if they are not perfect, mine are not, and you can’t tell)
I know it is hard to see, but here is a close up of the pockets.
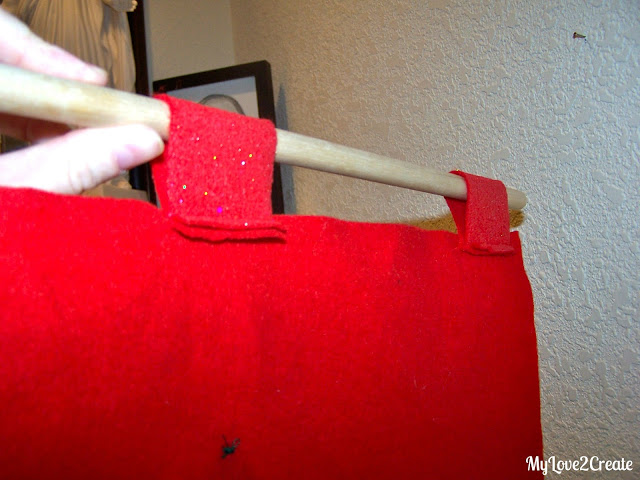
I made 3 tabs for the top and just sewed them onto the back.
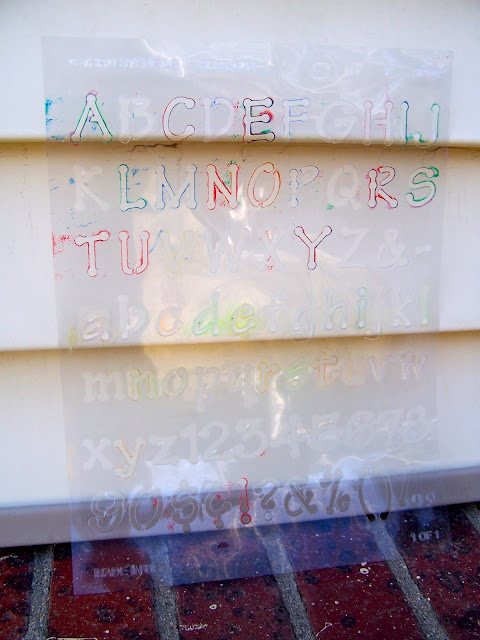
I used this stencil to cut my letters and numbers.
I simply traced them on the back of the felt, and made sure I traced them backwards. So when it was all cut out I could flip it over and it was the right way, and no pen lines would show.
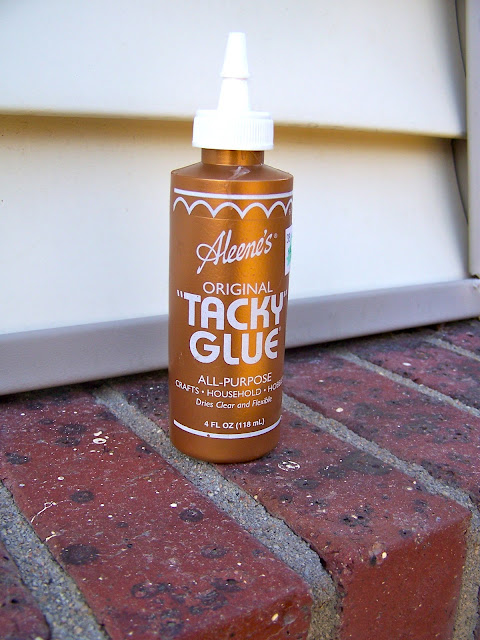
Then I glued on the stump and tree, and letters and numbers with this glue.
It is flexible and dries clear. I also used it to make all the ornaments.
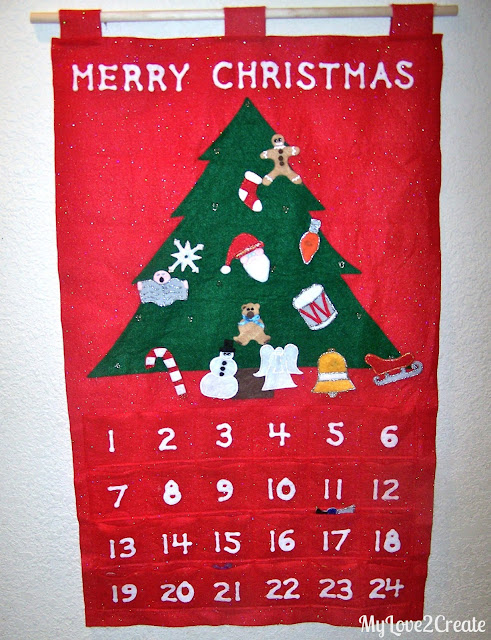
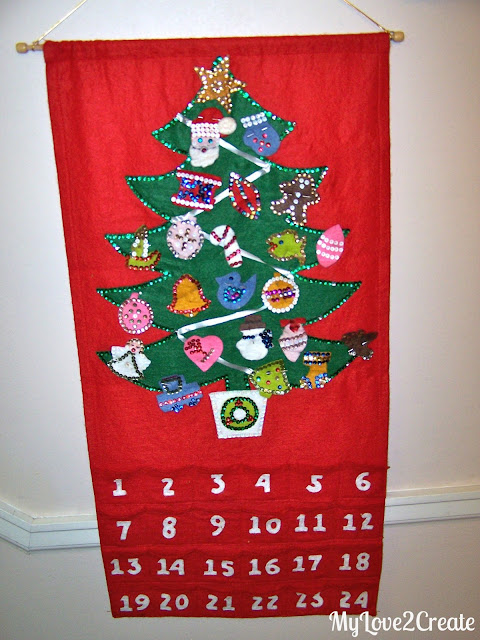
Here is what my advent calendar looks like today, we are about half way through.
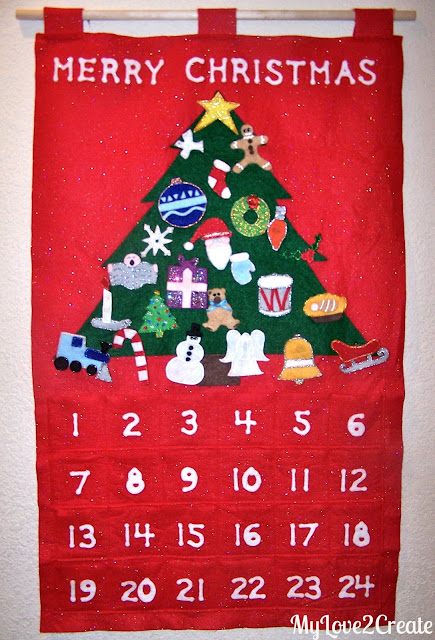
And this is what it will look like on Christmas Eve morning! Holy cow that is so soon!
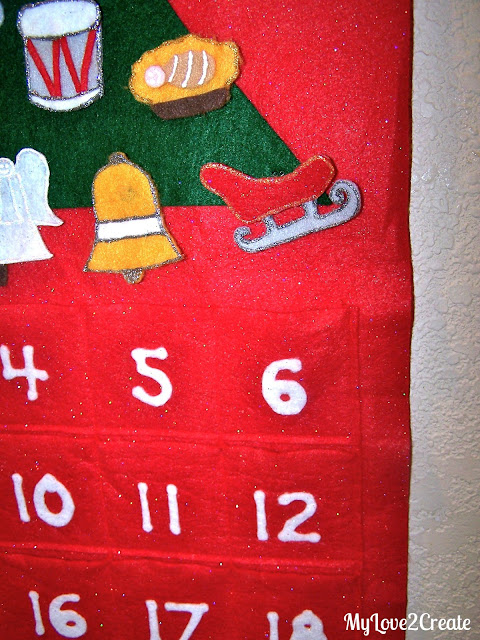
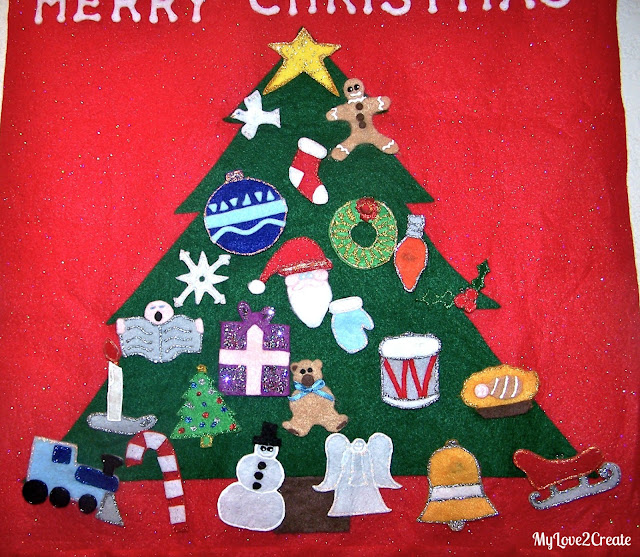
A close up of the ornaments.
I am not going to show you how to make these, I just used felt and glitter glue and what ever embellishments I had….You can make any kind of ornaments you want! I wanted them all different so it was fun trying to come up with ideas. I drew each ornament on paper to see what I wanted and then drew them on the back of the felt and cut them out. And, I am obviously not an artist….
Just make sure the ornaments will fit in your pockets when you are making them, and have fun!
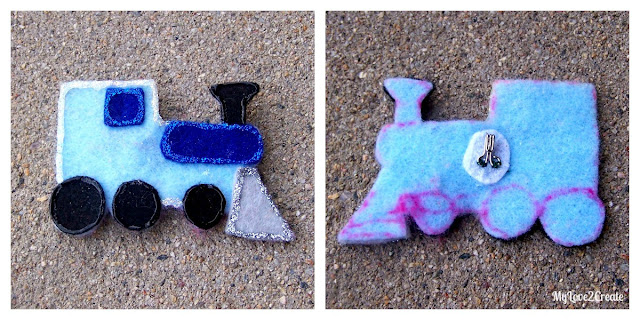
Until this year I had velcro on the tree and ornaments, but it was all falling off (the velcro had a sticky back and I had just stuck them on years and years ago) So, I decided to sew on hook and eyes… That took FOREVER! I ended up sewing the eyes to the tree, and then the hooks onto scrap felt. Then I cut them out and hot glued them onto the ornaments, see above picture (see how I drew on the felt, nice)
This is when I was having the revelation that I should have just hot glued or craft glued the velcro to the tree and ornaments…. HELLO!
If you choose to use the velcro option (which I recommend) here are a few tips:
- Put the rough velcro on the tree and the soft velcro on the backs of the ornaments, that way they won’t get caught on the felt when the ornaments are stored in the pockets.
- I also covered the tree with paper towels and then rolled it up so the rough velcro wouldn’t snag the felt, this is when you store it for the next year.
- I colored the rough white velcro with a green Sharpe so that it matched the felt on the tree.
- You could try using the craft glue to attach the velcro, if you use hot glue be aware that on light colored felt it might show through, you could layer the felt to prevent this.



Such a cute advent calendar. I love felt projects.
i love these! it's definitely on my list of must have christmas decor:) i just need to sit down and make it. i love the old vintage ones. isn't it crazy how history just comes back at us:)
what a cute advent! I can just picture your cute kids doing this!
What a great idea to decorate the Christmas tree for the advent. I've never seen that before 🙂 and the ornaments are so cute!
Thanks so much for sharing at Weekend Wonders. Hope to see you again soon.
I have one very similar to your husband's calendar. I remember putting it together with my mom when I was very little. It must have been a kit that you bought and assembled. The only difference is the santa ornament and my tree doesn't have ribbon on it. I forgot to hang it up this year! Better go find it in the attic! Thanks for reminding me!
Great job! The finished product looks very professional 🙂
Amy
This looks great! I've been looking for an advent calendar, but now I can just make one. Thanks for sharing 🙂
I would love to make one like this even if I gift it to someone in the family. Yours turned out great! Visiting from DearCreatives.com
Looks vintage! SO cute!!
Thank you soooo much for showing how to make this!!! We had one growing up that I loved and was wanting to make one for my kids but i'm not very crafty at all and you made this so easy to understand.
Strange question….any chance your MIL would still have the pattern for the one your husband grew up with? That's the exact one we had growing up and my mom wants to make 4 for her grandchildren but she wants the pattern to go by! Thanks – I know it's a long shot!
This is so sweet and such a great tradition for your family!
I love how you recreated the calendar! My MIL had a sequined tree skirt. I think sequins were all the rage back then!