I am so excited to show you how to paint a subfloor!
I am sure you recognize this fun striped floor from my sister’s closet/laundry room makeover. If not you need to check it out!
I am going to get to painting the subfloor in a minute, let’s back up and see what my sister and I had to do to get ready…
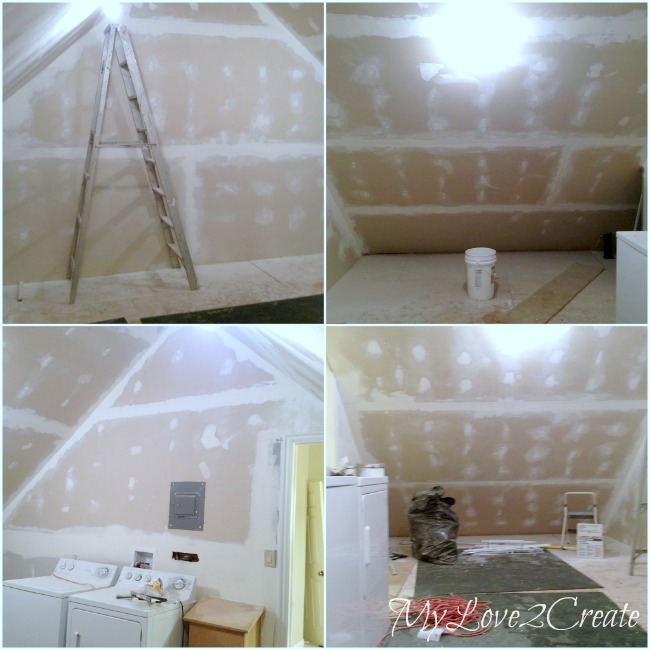
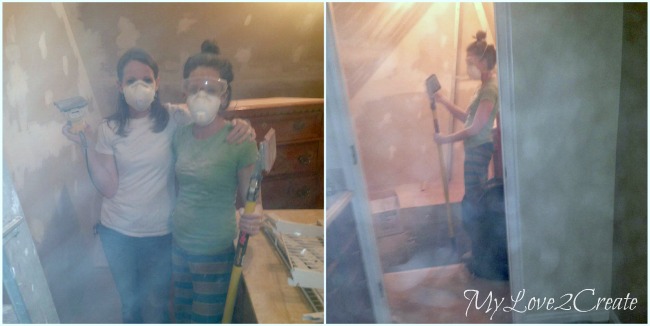
We had to finish the walls before we even attempted the floor, and believe me it was a mess! Sanding the mud between coats is a quick way to go “gray” in minutes.
You can’t tell in the photo, but we were covered in fine sanded mud, and we had to do this twice, lucky us. See the haziness in the photos? Yep…smart girls wear masks! And our hair was so gross after this, ugh! (sad part is, we may or may not have been sporting our new hairstyles for a few days…just maybe)
Once we finished the walls we slapped on a mistint paint (which turned out to be a mistake…we should have just bought primer, lesson learned) Of course we wiped everything down really well before hand, to get rid of all that dust.
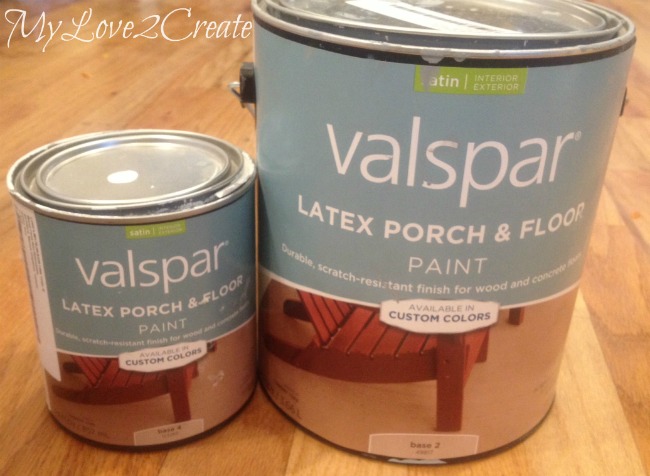
To paint the subfloor we went with porch and floor paint. It is made to withstand the traffic and does not need a top coat. That was music to our ears.
Here are the colors we choose:
White and…
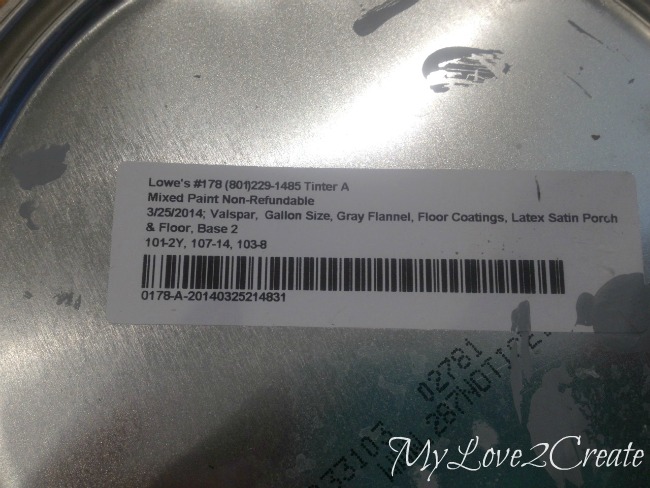
Gray Flannel.
Now we were ready do do the floors! I didn’t get photos before this one, oops! But you can see that we filled in all the cracks and screw holes with wood filler. It was pretty easy to do with a putty knife, and two of us working. Once it dried we went back and re-filled in any holes or cracks that needed it. After letting it dry over night we started sanding first thing in the morning. We used about a 100 grit and went over the whole floor until it was smooth. (actually my brother-in-law and sister sanded, I was building the closet shelves downstairs)
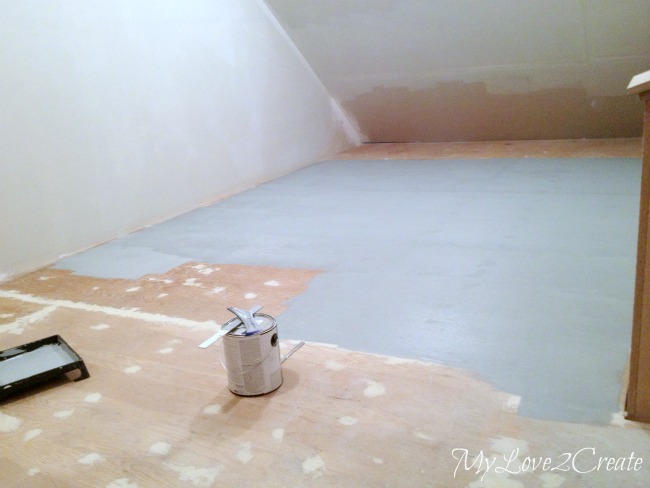
With the floor vacuumed (using a shop vac and a brush attachment) and wiped VERY clean with a damp rag we were ready for paint! We started painting our first coat above in gray flannel. And it was at about this point that we realized that we should have done the white first….Hello?! Let’s just say getting a few hours of sleep a night is probably not a good idea… So learn from us and paint the lightest coat first if you are going to do stripes. It worked out fine though, so not sure it matters.
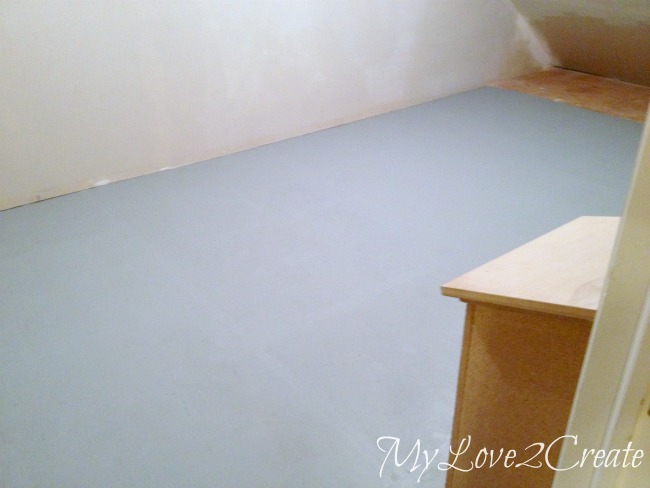
Here it is after two coats. My sister was a little concerned because it looked blue, not gray. It was because of the wall color (which we did wrong) but we plugged along anyway.
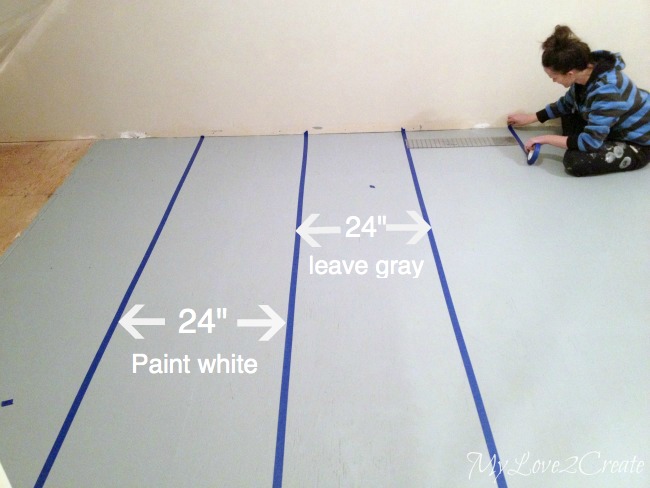
Kaelynn (my sis) wanted fat stripes and so I grabbed my quilting ruler, that I love, and used it for easy measuring. It is 24 inches long, we made sure that the sections we were not painting were measured from the outsides of the tape, see the tips of the arrows above, on the “leave gray” section. It is a little shorter than the “paint white” section. Our first gray section would be covered by the built-in’s so we just measured it 24”. To make sure the tape was straight I would hold the ruler and my sister would place the tape, then I would move the ruler down a foot and she would line up the tape, and we continued on pretty quickly that way. It is so nice to work with someone! I felt spoiled! If you are doing it alone you could just mark on the floor where the tape needed to go and then put it on.
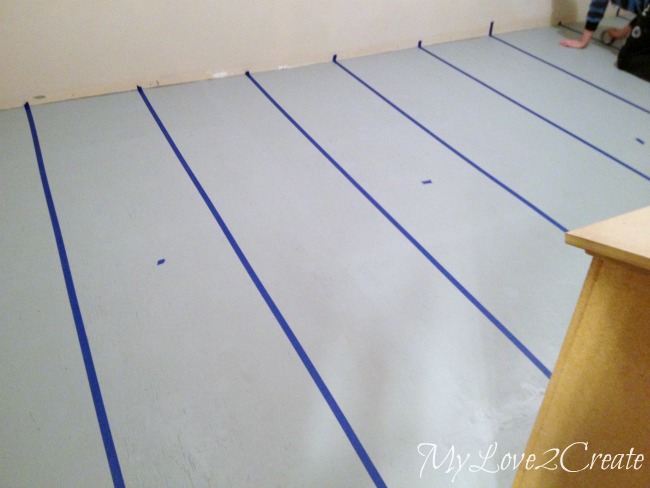
Here it is, all ready for the white stripes. The random pieces of tape are a reminder not to paint that section, it seems silly, but a very important step! If you look closely I told my sister how to do the trick to getting perfect paint lines, no bleeding, and she is working on it in this picture. It works for me EVERY time and this was cheap no name brand tape. I can’t take credit for this trick because I learned it from the ever awesome
Mandi at Vintage Revivals. She is pretty cool, and not just because she spells her name with an “i” on the end like me. 🙂 Anyway, just roll your tape roll over the tape ends firmly and you are good to go, you can see Mandi’s video
here. Simple and totally effective!
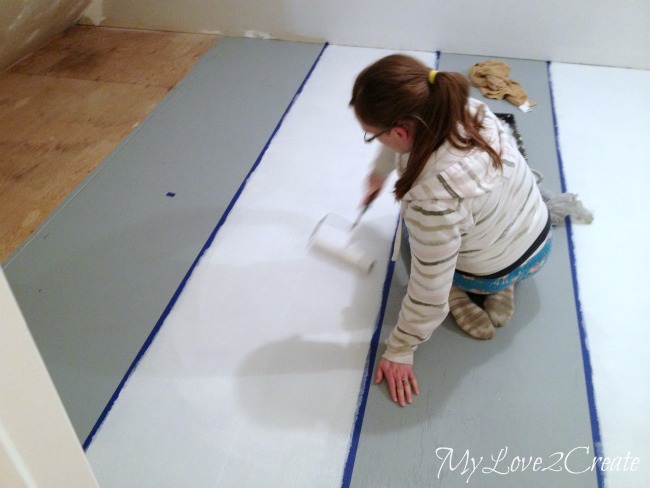
Now roll on the white baby!! Oh, I mean Kathy… (another sister), and she is with child, so I guess that works…go baby go! We did two coats. I keep saying we, I did not paint except a small part of one wall, so I guess I should stop saying we…I was busy building. And, that post will be up next week. Oh, and you can see the walls have been painted over with two coats of light gray. It is starting to look good.
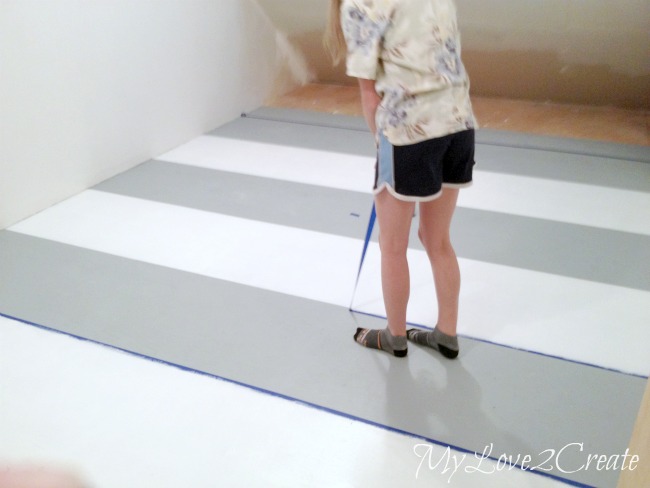
I had my niece start peeling tape off while the white paint was still wet. I know the picture is a little blurry, but those lines are crisp and clear! Not one spot needed touching up, bam! (I love you Mandi!)
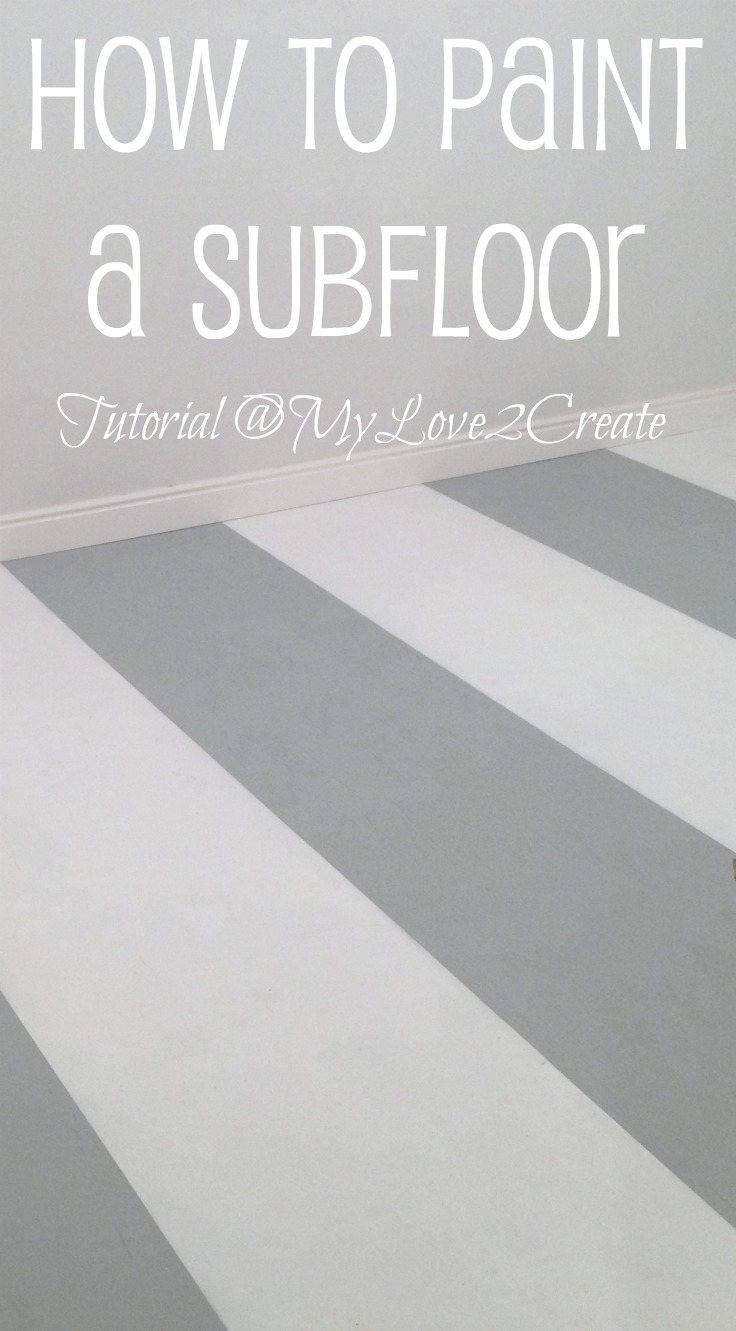
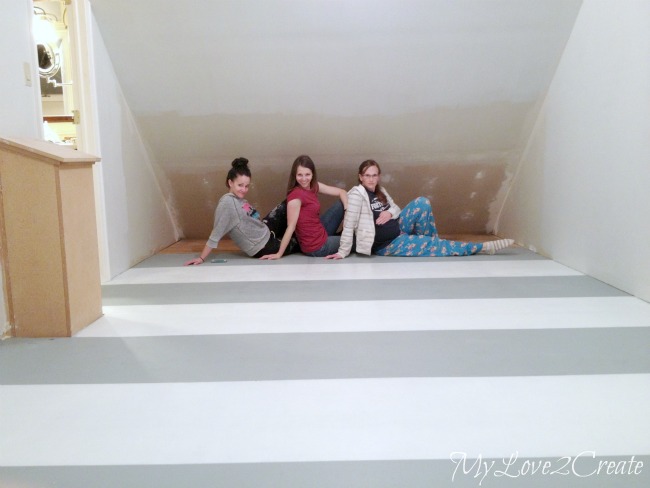
And that is it folks! Awesome floor in no time! There are cure times on the paint can for heavy use, but it dries really fast and you can walk on it as soon as it dries. We couldn’t help taking a photo shoot, my 13 year old took a bunch of awesome shots, this was the only non blurry one.
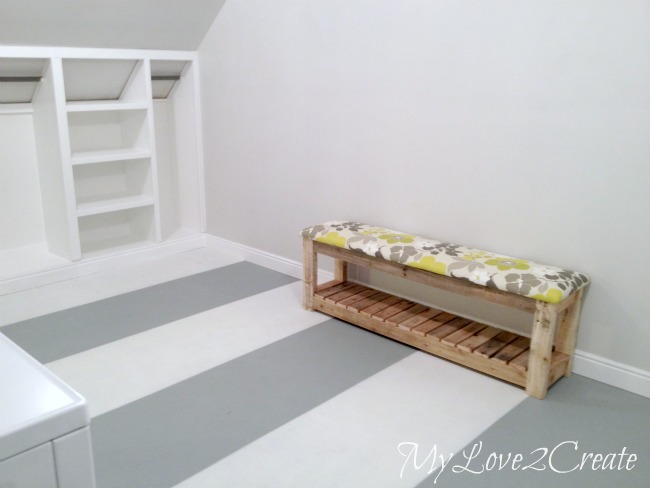
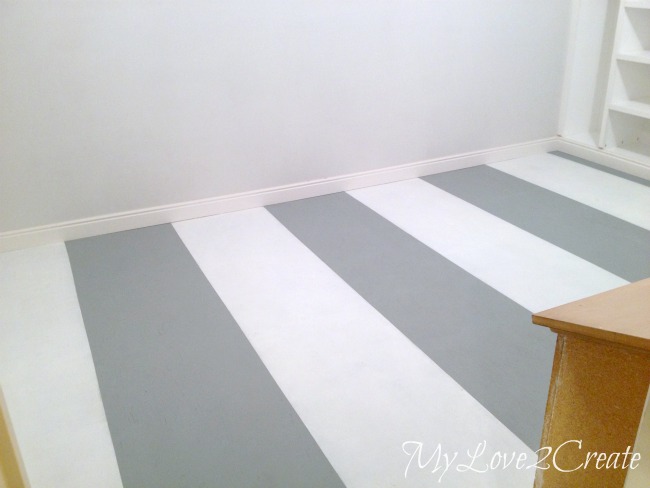
I can’t get over how beautiful it is! This is a painted subfloor people!! If you are super close you can see the wood grain, but even just standing and looking down it is hardly noticeable.
It was about $27 for the gallon porch and floor paint, and $12 for the quart size, we also bought wood filler for about $10 dollars (and didn’t use all of it), and the cheap painter’s tape for about $2. I believe we bought a couple of rollers too and so that puts this floor just under $60!! That. is. awesome.
Are you thinking a painted subfloor could be in your future? I sure am!
Hugs,
Mindi





Beautifully done. I love the wide stripes rather than smaller ones, which would have made it look too busy.
It looks great!!!
The floor looks fabulous! I love the gray and white with touches of yellow on the bench. Thanks for sharing at Fridays Unfolded!
Alison
Nancherrow
Love the floor.
Debi @ Adorned From Above
It beautiful and so creative! Thanks for sharing it with us!
*It's! lol
Mindi, You girls are so amazing! This turned out great! Happy Mother's Day in advance!! Thanks for sharing at the party! Theresa @DearCreatives
I love it! The chunky stripes and the colors were the perfect choice for the space!
I <3 stripes and your floor! Pinned
Mindi, I love how this floor turned out. Anytime I try to paint stripes, they turn out crooked. I even use a level. I gave up trying to paint stripes. 🙁 Not painting a sub floor but cleaning and painting the basement floor because it was nasty! lol
Wow this is so much fun! It turned out great! And the fabric on the top of the bench compliments the floor perfectly! Great job! Thanks for stopping by Creative Spark Link Party. Hope to see you back next Wednesday!
I love this tutorial about painting stripes……..you did a lovely job and it came out perfect.
Thank you for sharing with the Clever Chicks Blog Hop! I hope you’ll join us again next week!
Cheers,
Kathy Shea Mormino
The Chicken Chick
http://www.The-Chicken-Chick.com
The floor is awesome Mindi! You would never believe it was subfloor if you didn't know. Thank you for sharing at What We Accomplished Wednesdays. Have a lovely week! ~Deborah
We are working toward purchasing an old Ranch style home that has some nasty 1970 plaid glued down carpet….I think painted subfloor is in our future as a quick fix until the $$$ is available for wood floors.
Wow! Great, great job! This looks amazing! Thanks for linking it up to my Creative Ways Link Party. I hope you'll be back tonight with more awesome posts!
Blessings,
Nici
How difficult is it to keep clean?
Did you use some kind of sealant on it at the end? Can you walk on it in shoes without it leaving marks?
Wondering how this floor has held up???
I painted my kitchen subfloor and have not been happy with how it has rubbed off in spots even though I used four coats of paint and two coats of polyurethane specifically made for floors over the top.
You inspire me! Thanks!