Under the Bed Storage, Repurposing Drawers
Today I have a very easy and useful project for you! I am always coming across free things, and I have had these old drawers sitting on my back porch, just hanging out waiting for some inspiration.
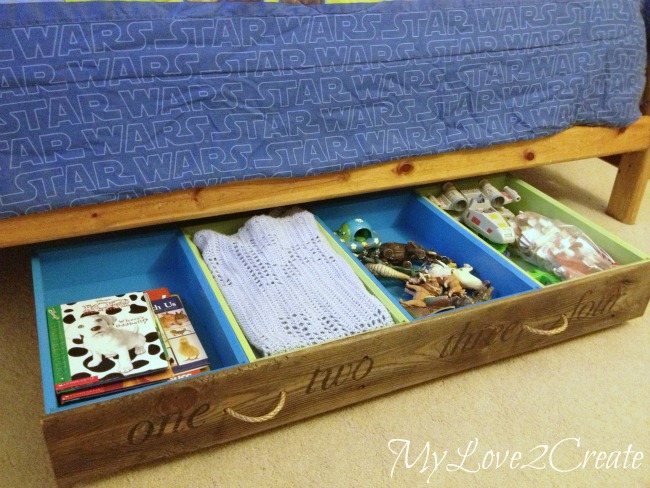
I decided that they could finally help me out by becoming some much needed under the bed storage for my youngest boy.
Aaaaand it didn’t hurt to get them off of my back porch….Anyway, this post was first seen at My Repurposed Life, where I contribute twice a month for Gail.
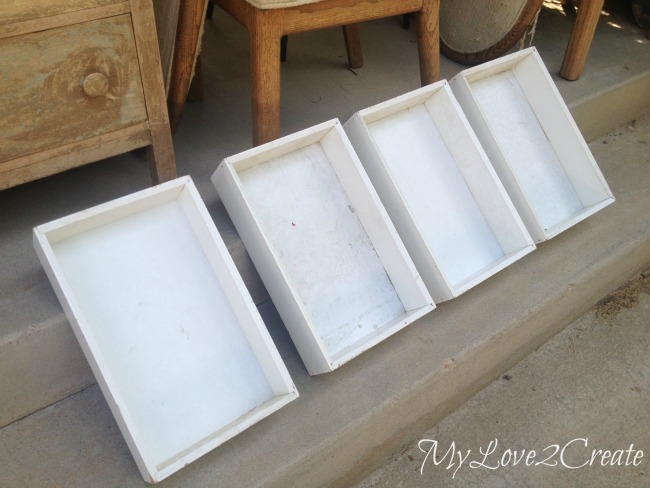
I love how they turned out! Let me show you a before of the drawers.
I am not sure what they were used for because they had no “fronts” and no pulls. But they were in great condition and good sized, just a little dusty.
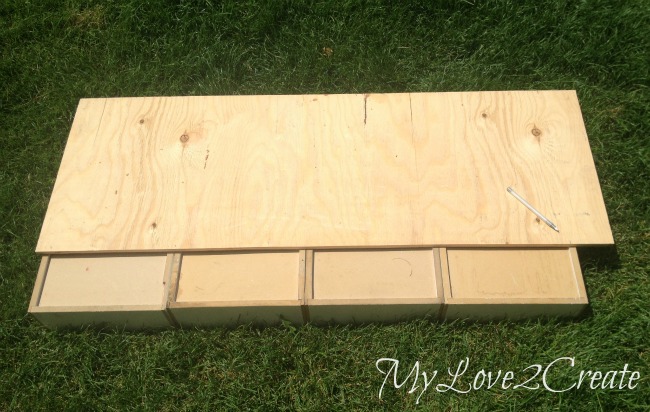
The idea to turn drawers into under the bed storage is not new by any means, I have seen several different versions…and here is mine. I started by laying out the drawers in a row and marking on a scrap piece of plywood where to cut to make a bottom. Then I trimmed off the end with my circular saw. Luckily I only had to trim one side. The depth was almost perfect already, just a little bit short, but good enough!
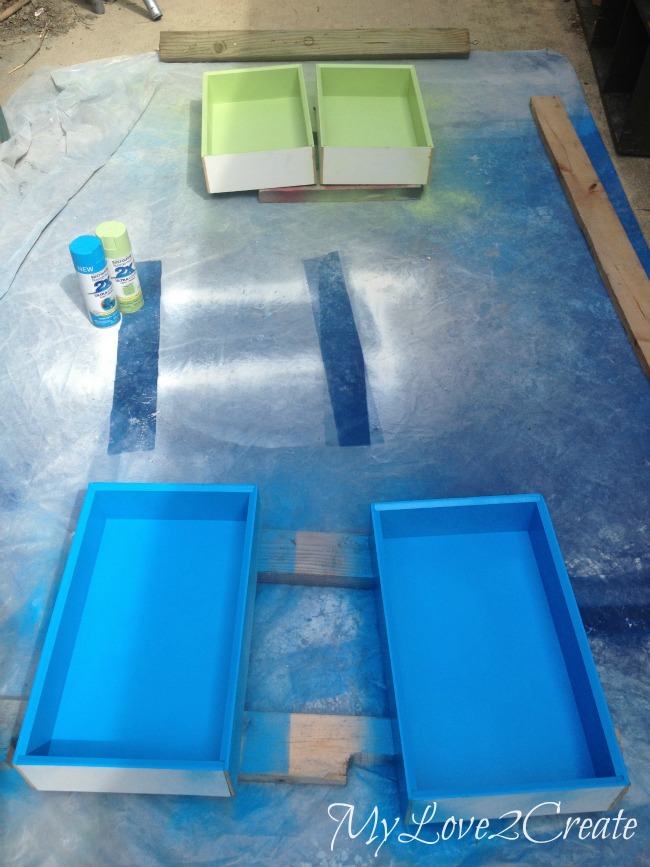
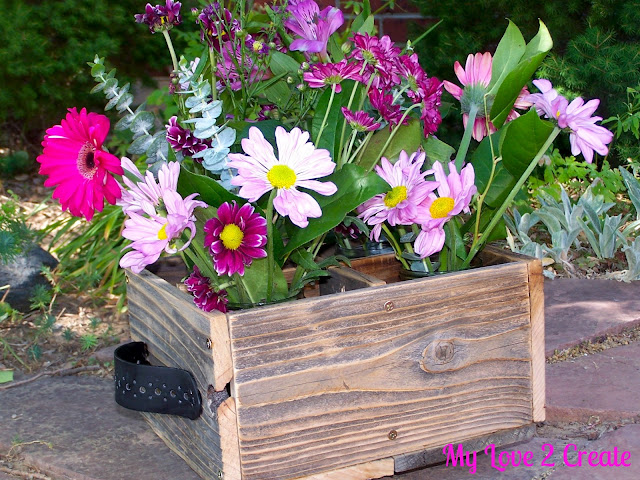
Instead of building first, I opted to spray paint the inside of the drawers. I had these two left over cans from my Old Chairs into New Bench and Old drawers into Porch Planters (wow…I come up with some really original titles, lol!)
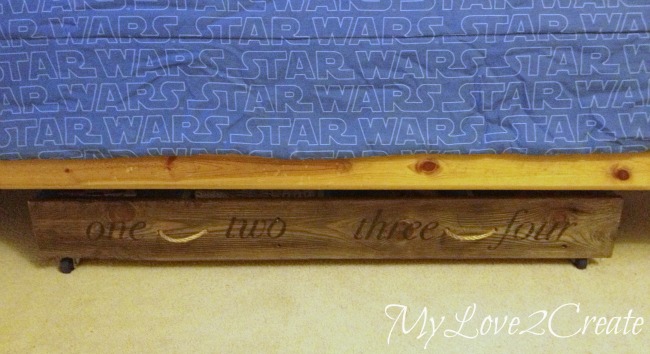
I thought these colors were perfect for my boy’s room, plus they match his bedspread, sa-weet!
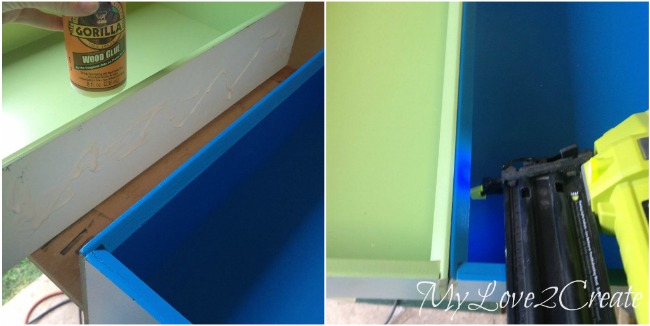
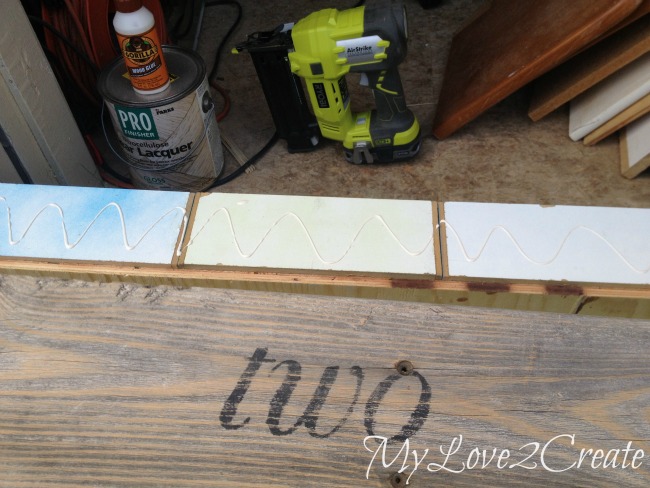
After the paint dried, I glued and nailed all four drawers together, making them into one piece.
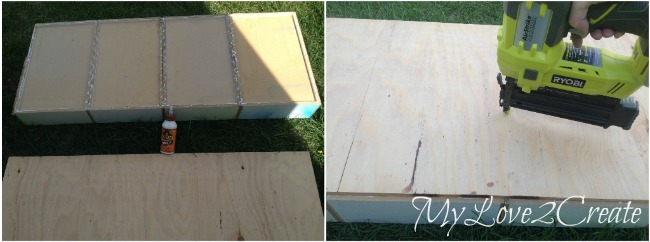
Then I flipped them over and glued and nailed on the plywood bottom to make them really sturdy. You could add screws as well.
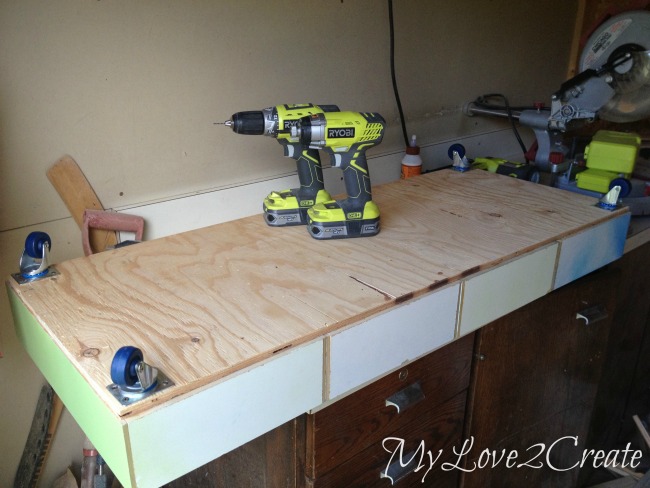
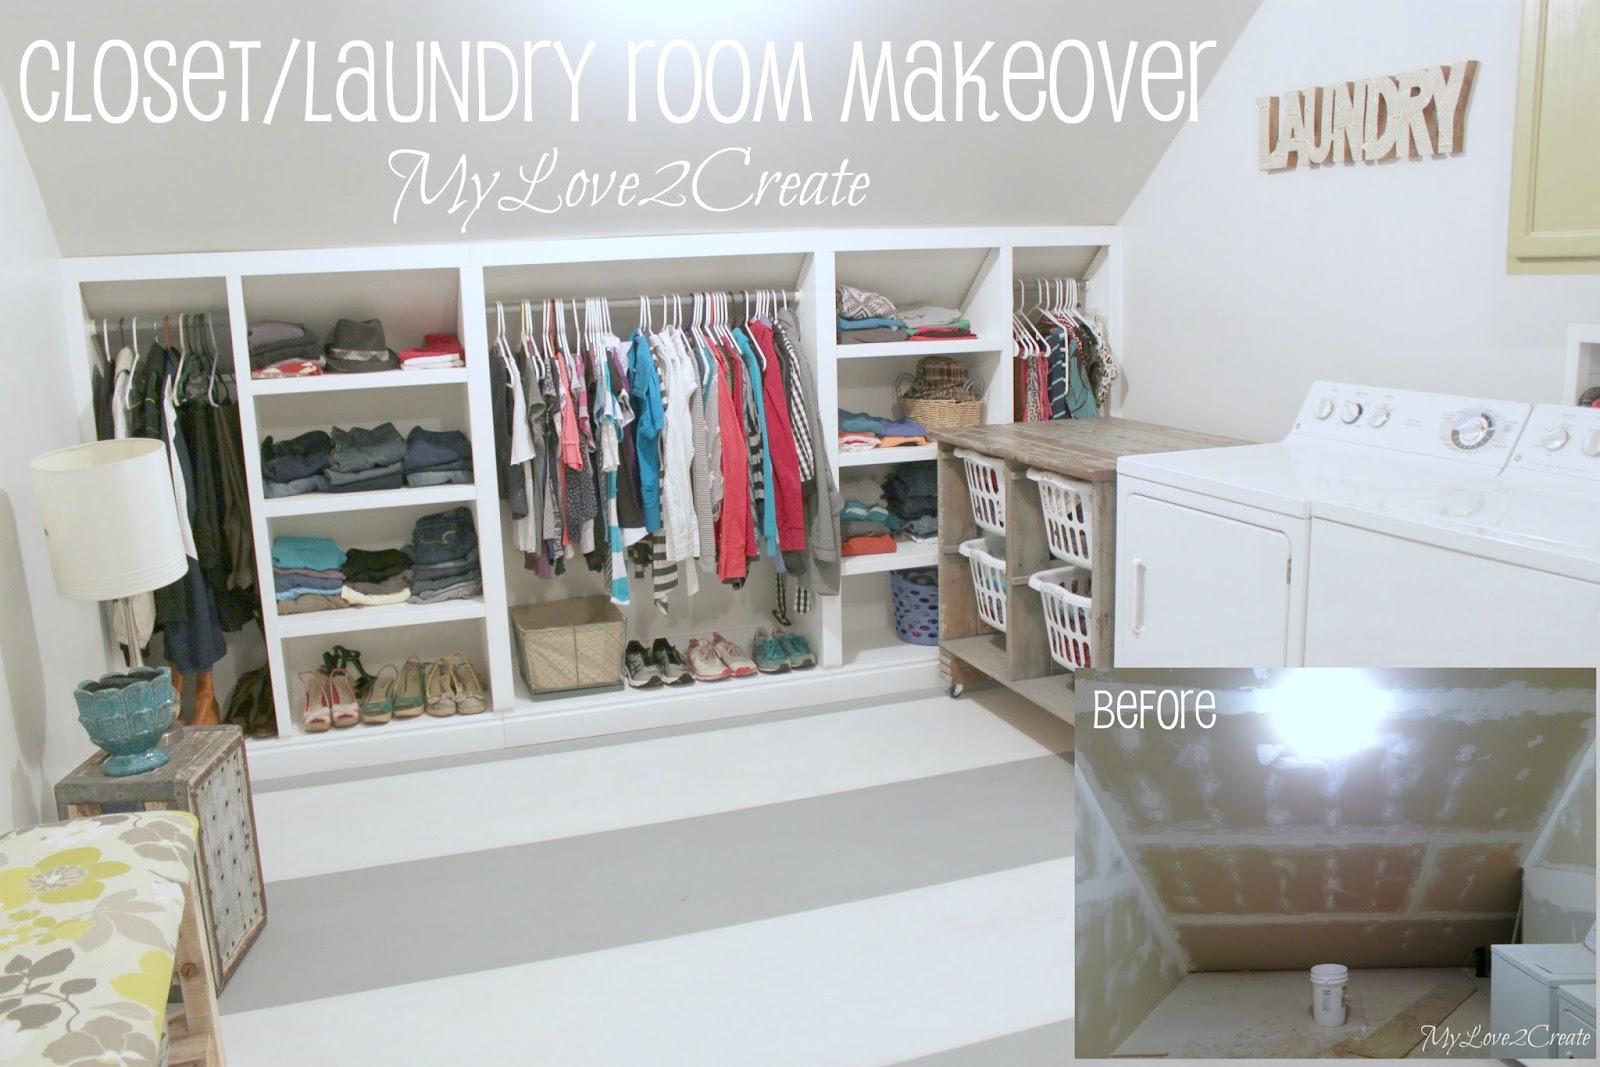
The most important part was adding the casters so my little guy can easily pull out the drawer storage. I picked these up on sale for a dollar each at Harbor Freight back in March when I was helping my sister do her Closet/Laundry Room Makeover. You can’t beat 4 dollars! I pre-drilled and screwed them on.
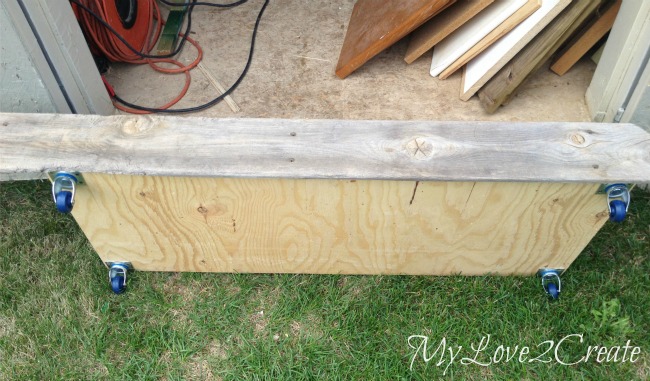
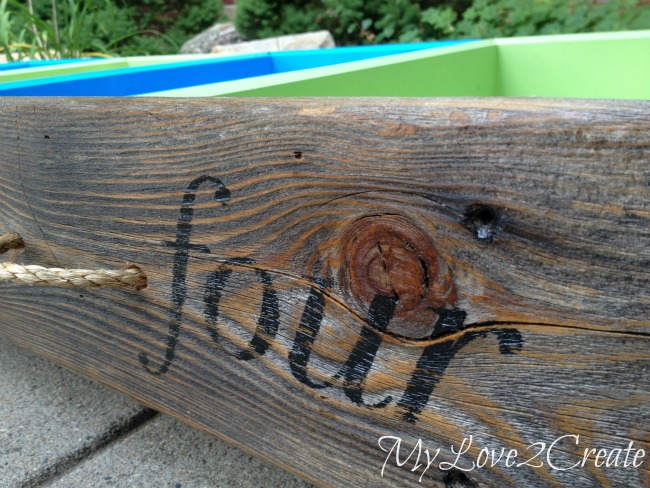
For a front piece I debated for a while and finally decided to use this great old fence board. It was the last one from when I made my Long Tapered Crate, and it was perfectly imperfect, awww the rustic goodness of reclaimed wood.
I set it on the drawers, marked the ends and cut it to fit.
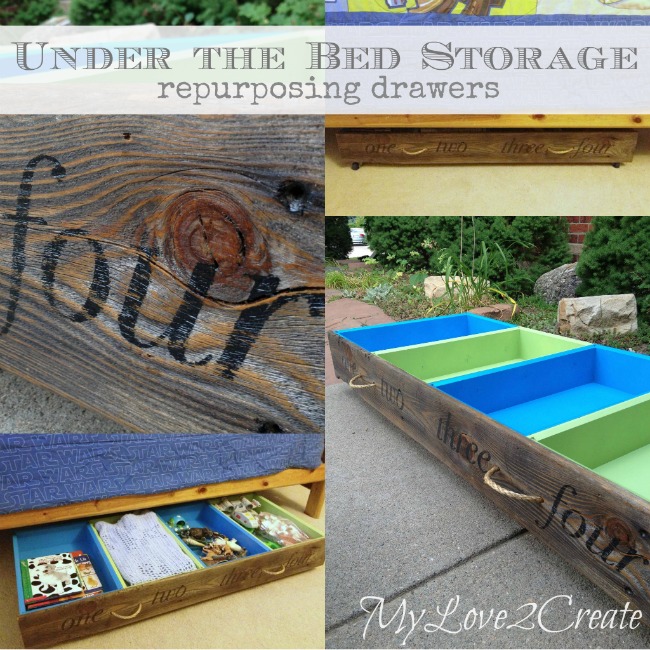
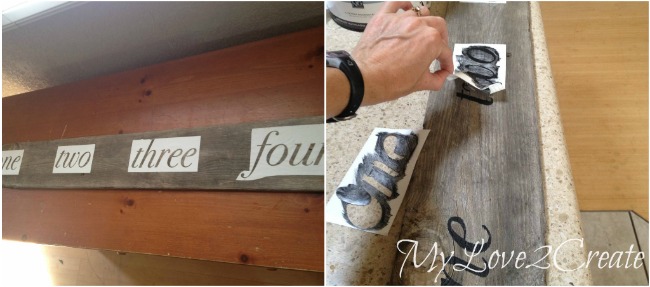
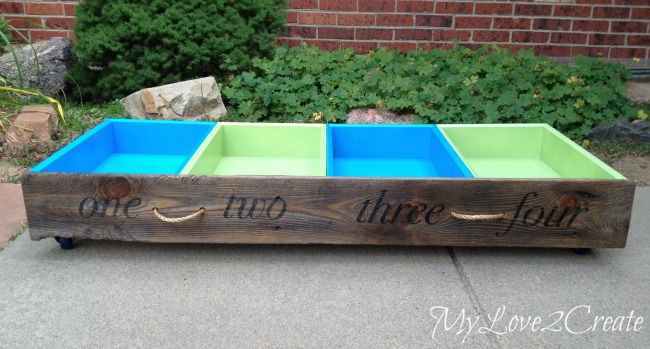
Since my little guy is in Kindergarten this year I thought it would be fun to add some “number words” I cut them on contact paper to make stencils and then painted them black.
After a little distressing the front was ready to be attached to the drawers! Again wood glue and nails did the trick.
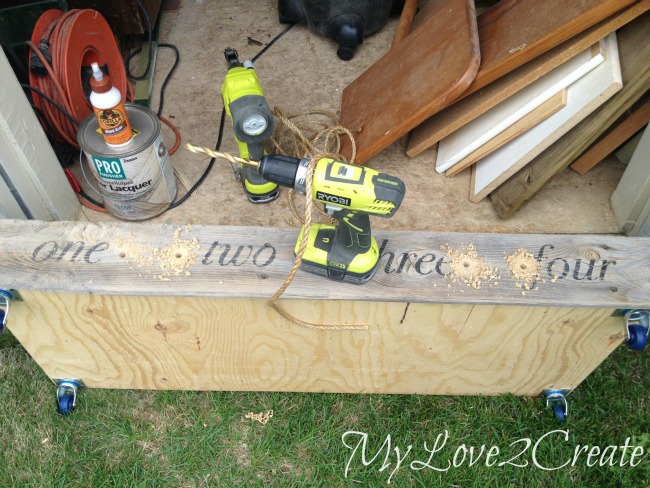
To keep with the rustic front I went with simple rope handles and drilled holes for those. You can also see the Laquer in the photo. I added a few coats to the fence wood to darken it up and protect it.
Mmmmm, makes it super pretty!
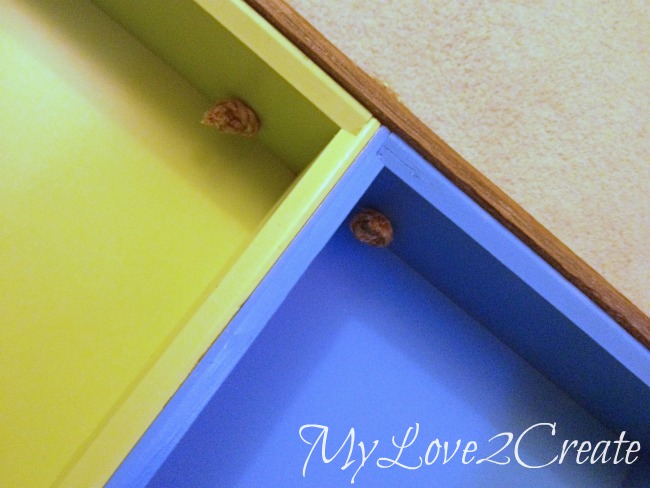
Here is an inside shot of how I just knotted the ropes, quick and easy!
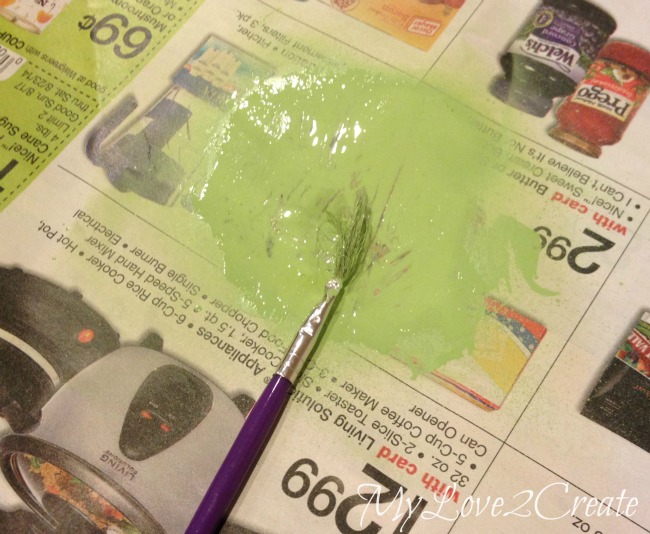
I did want to mention that I had a little bit of touch up to do, because I was building right after I painted. The best way I have found to touch up with spray paint is to spray a spot really close into some newspaper and use a cheap brush to quickly paint over the spots. You have to work quick because spray paint dries so fast, but it was SO much easier to touch up the nail holes, rather than tape off and spray paint all the drawers alternating colors…
I think these drawers were meant to be stuck together…
And under the bed storage never looked so good!
Truth be told I think it is just fun for my little guy to pull it out and push it back in, he could care less about being organized…but I am sure loving it!
Too bad I only found four drawers, I could use some more of these. Of course it would be easy to make from scratch too, but repurposing is so much better!
Old drawers are such a great thing to reuse and there are so many ideas on the internet, I am sure you have seen some. Maybe you should give it a try!
Hugs,
Mindi
I will be linking to these parties.


This project is so great! The colors are sweet, and the front and rope pulls are adorable. Must be in the air, because I just posted a rolling drawer project myself last week and, like you, I just want to look at it all the time! Hope you don't mind me sharing. http://heartworkorg.com/2014/11/06/rolling-boot-tray/
What a great job you made of this project! I would never have thought of fixing them altogether and then adding the rustic looking board to the front, that was a really clever idea! Well done.
great idea! I found 4 drawers last summer and still haven't done anything with them. Maybe i'll give this a try. I love the castors!
My goodness! I love this! I would have never thought about gluing the drawers together. lol They look adorable, I love the colors and the weathered wood front. Seriously, this drawer is too cute and the idea is very clever! 🙂
Visiting from Kammy's Korner, and this is such a great idea! I love how you reused the drawers and turned them into something so functional! Will have to keep this in mind for my little guy down the road.
Were you just in my house! Ha! I need these!!!!! You need to sell these as this is brilliant! We live in a small house and need all of the extra storage we can get! This is awesome! Hugs!!! Nicole xo
They look awesome! I love the colors 🙂
This is a great project! Thanks for sharing!
Pinned. Something like this has been on my list for a while.
Such a great project Mindy. Re-purposing something to make a great asset. Wonderful storage area.
These are just fabulous! I love the rustic looking wood and numbers on the front. Perfect for extra storage as well. Thanks for sharing with SYC.
hugs,
Jann
Such a great idea and I love the personal touches you added with the rustic front and the painted insides! Great job 🙂 Thanks for linking up at Fridays Unfolded!
Love this project Mindi. Featuring tonight at Vintage Inspiration Party:-)
Love this!!! I’m featuring this tonight at Worthwhile Wednesdays!
~Allie http://www.crafyallieblog.com
Hi Mindi, just hopping back to let you know that I will be featuring you at SYC this week.
hugs,
Jann
Just stopping by to let you know I'm featuring your under-the-bed storage on Fridays Unfolded this week! Thanks for partying with us 🙂
Oh girl, you totally nailed this project, I love it! The inside colors, the rustic outside and the written numbers, great job!