Easy to build Wood Shelves
For some reason January seem’s like a great time to get organized…everyone is making goals and trying to get their lives in order. Right?!
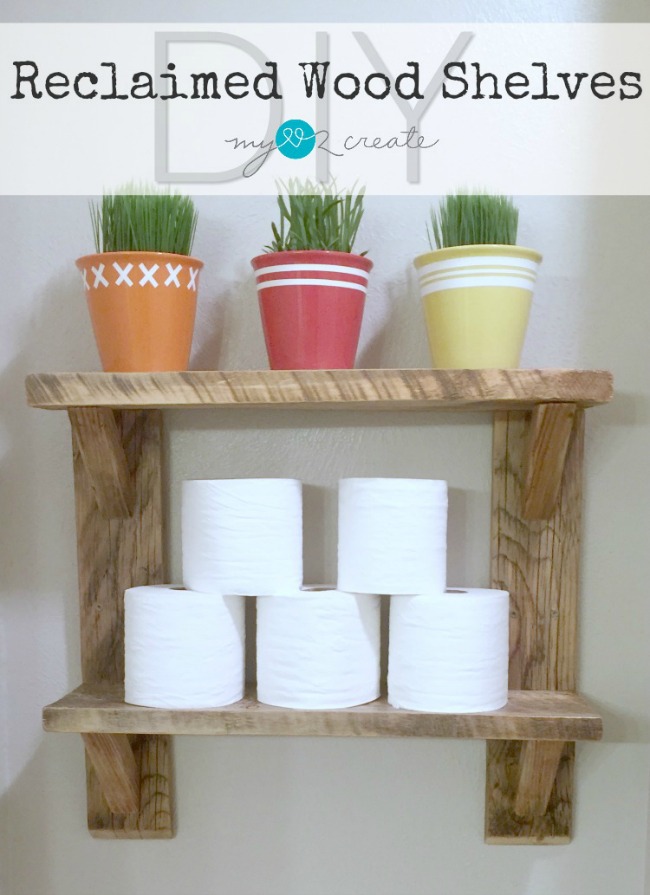
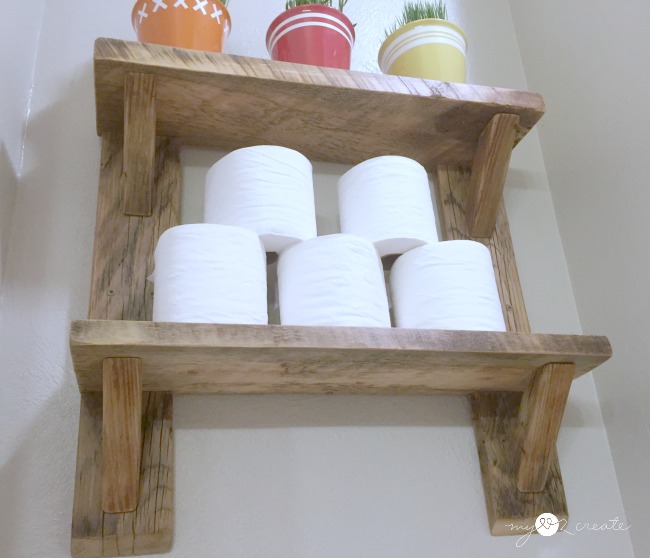
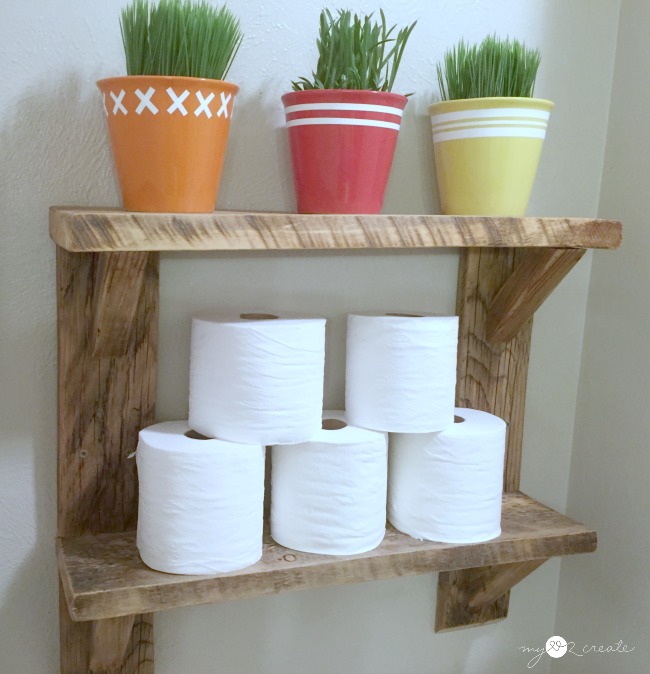
Well, I think these easy to build wood shelves are perfect for your “pretty” storage needs! Plus they can be hung in any room in the house. As you can see I put mine in the bathroom. 🙂
You better believe that the never ending search for toilet paper has been curbed. Thank goodness!
I shared this project last year as a contributor post at My Repurposed Life, and we have been loving it ever since!
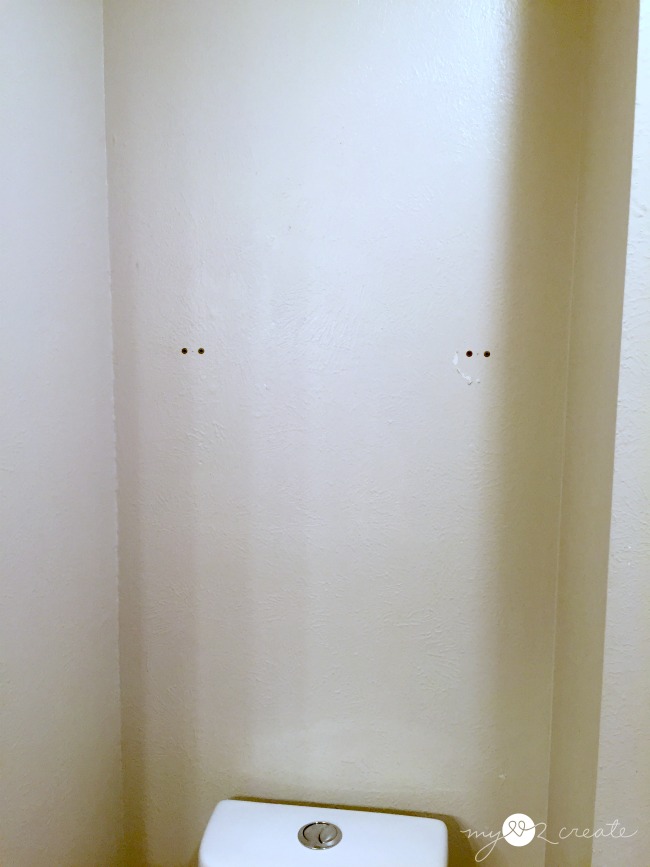
Here is a shot of the wall above the toilet before. Bleh!
There used to be a towel bar hanging there, once upon a time.
It fell down, like all towel bars eventually do.
This post contains Affiliate links (read more)
I love having something pretty to look at in this spot. Not to mention the easy reach of the toilet paper. Priorities people. 😉
How to build Reclaimed Wood Shelves:
Supplies:
1×6 or 2×6 board about 45” long (I used 1” thick reclaimed wood, you can purchase lumber too)
1×4 board about 45” long
2×2 board about 30” long
Kreg K5 Pocket-Hole Jig (or any Kreg jig)
1 1/4” pocket hole screws
2” finish nails
Cut list:
2- 1×6 or 2×6 boards cut at 22” (shelves)
2- 1×4 boards cut at 12” (middle shelf supports)
2- 1×4 boards cut at 6 3/4” to the long point (one straight edge one cut at 45 degrees) (lower shelf supports)
4- 2×2 boards cut ends at 45 degrees at 6 3/4” long point to long point (shelf support brackets)
I didn’t have a plan when I built these so I will show you how I built them on the fly.
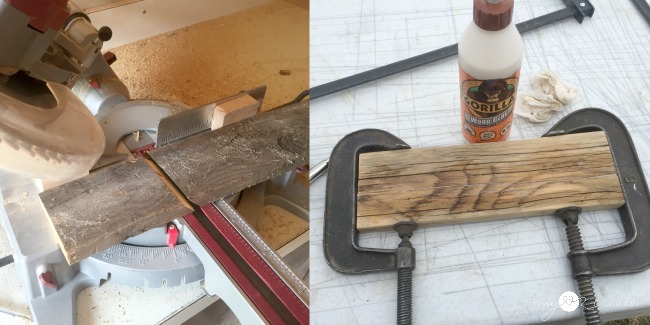
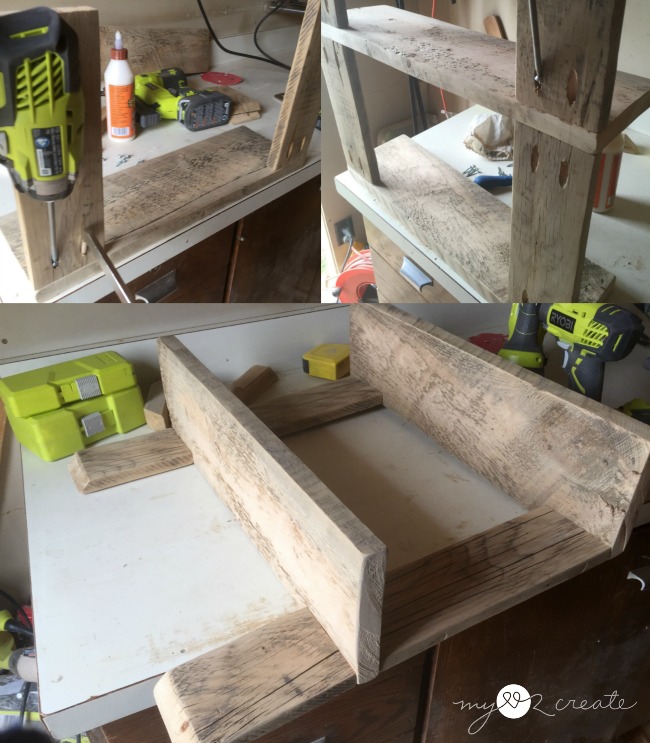
I started with some reclaimed wood, you know the free stuff that you get off of the craig’s list free section, or the side of the road. In this shot I was looking at different options and figuring out what to do.
I cut the weathered 1×4 board and into two small pieces with a 45 degree bevel at one end and a straight edge at the other. Cutting it to 6 3/4” to the long point. Then I cut two long boards at 12”.
Because it was so weathered, one of the boards broke in half and I ended up using my gorilla wood glue to fit it. I have done this so many times with reclaimed wood, but the glue just makes it stronger, so it’s all good.
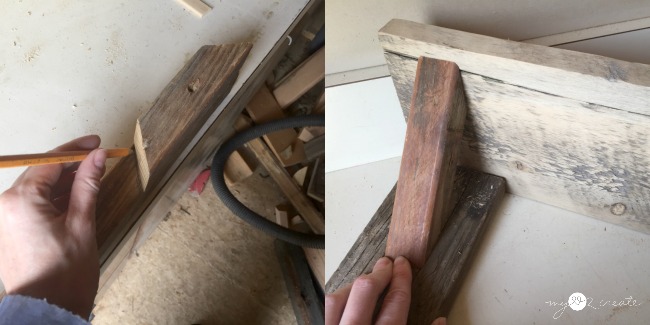
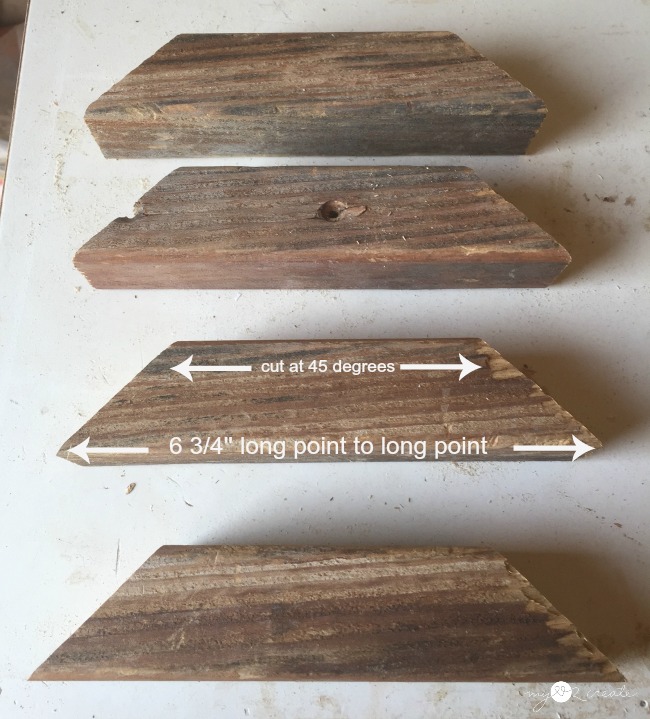
I used an old baluster for my support brackets, they are about the same size as a 2×2. These were cut at 6 3/4” from long point to long point, cutting at a 45 degree angle.
Here is a shot to show the measurements. Remember that you can change or modify any dimensions to fit your needs, the best thing about doing it yourself!
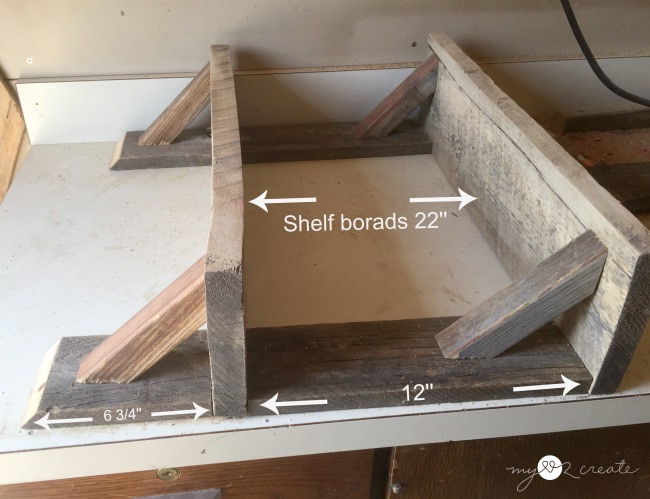
Once I had all my pieces cut I did a dry fit to make sure I liked it.
I did.
My shelf boards were cut to 22” and are 6” deep. You can also see that they were not very straight…so my shelf is not perfect, which is expected when working with reclaimed wood. Embrace the imperfections people! (or you may go crazy)
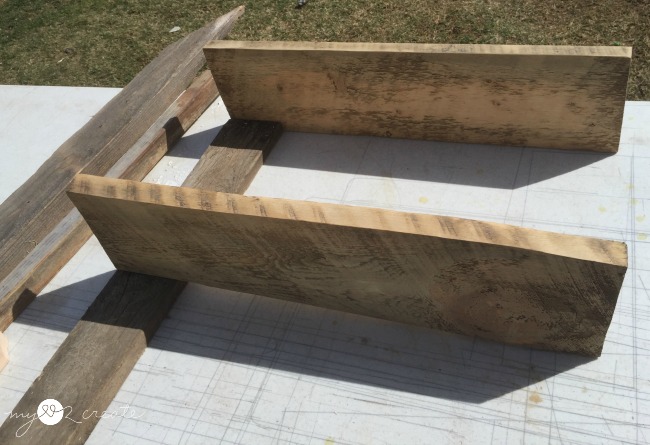
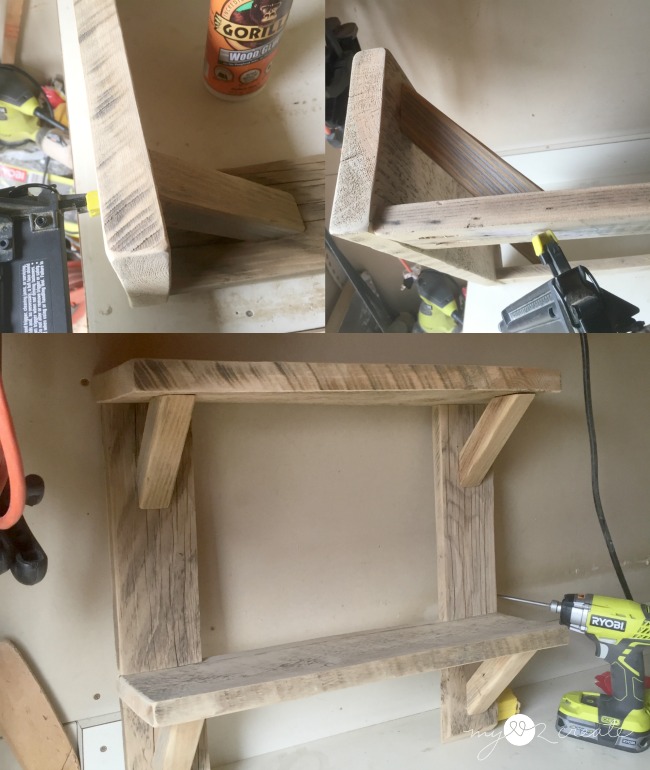
I opted to attach the 1×4 boards with pocket holes. I drilled them into the 1×4’s with my Kreg K5 Pocket-Hole Jig and attached the long boards to the bottom of the top shelf (top left). Then I added the bottom shelf to the other ends (not pictured) , and lastly attached the short ends to the bottom shelf (top right).
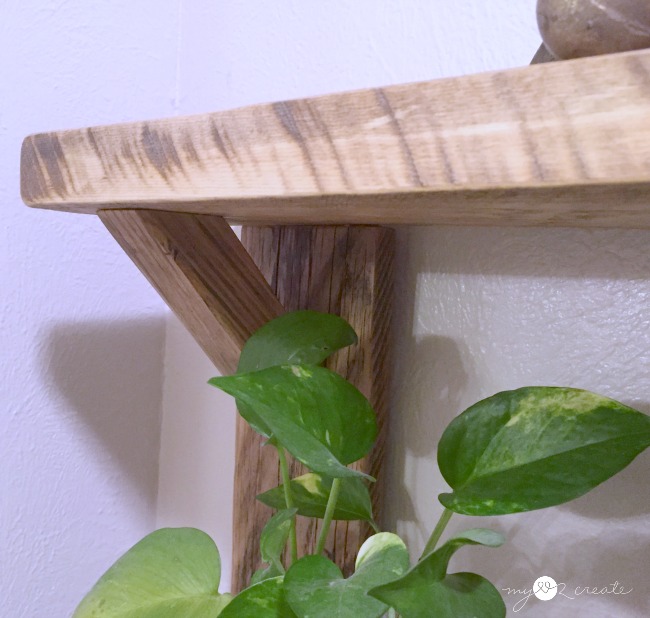
It was really easy to attach the shelf brackets. I gave each 45 degree cut end a generous helping of Gorilla Wood Glue and then used 2” nails to nail them on from the back and through the shelf.
That is it for building, so quick and easy! I love bringing new life to old wood!
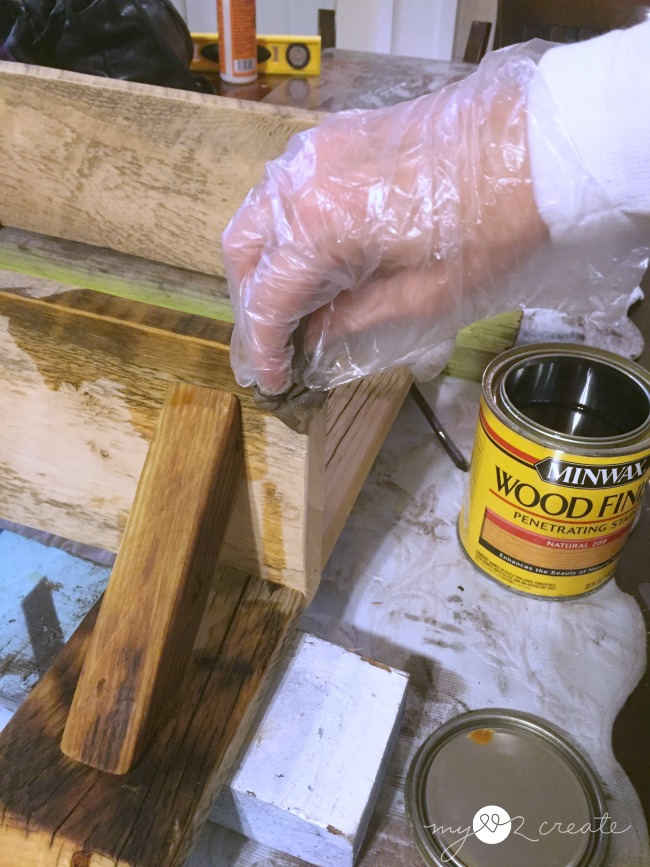
Struggling with indecisiveness, I finally went with natural stain to finish them, and I love it!
I used the same reclaimed wood on the shelves in my teen boys room makeover, and only went with the poly on those. The natural stain really darkens the wood up quite a bit, but I love it both ways.
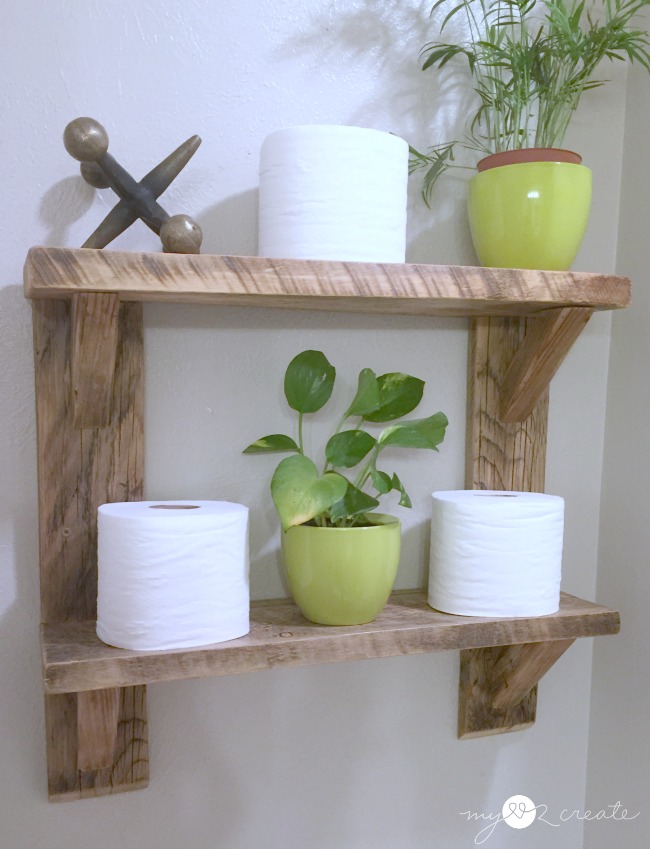
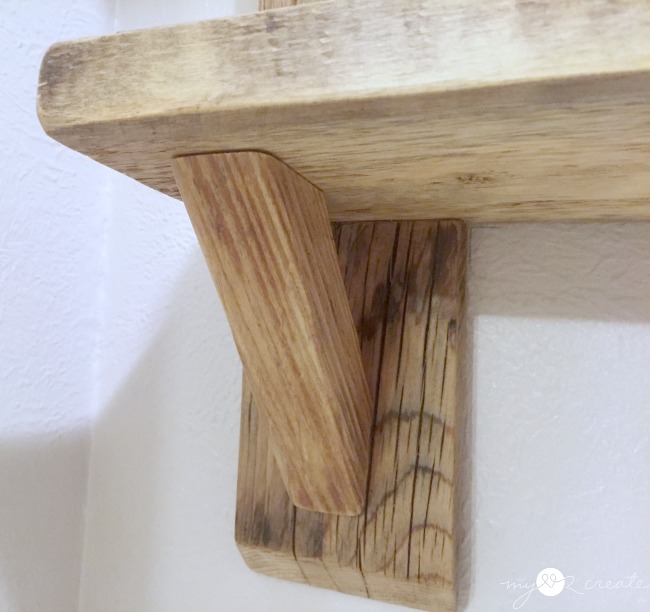
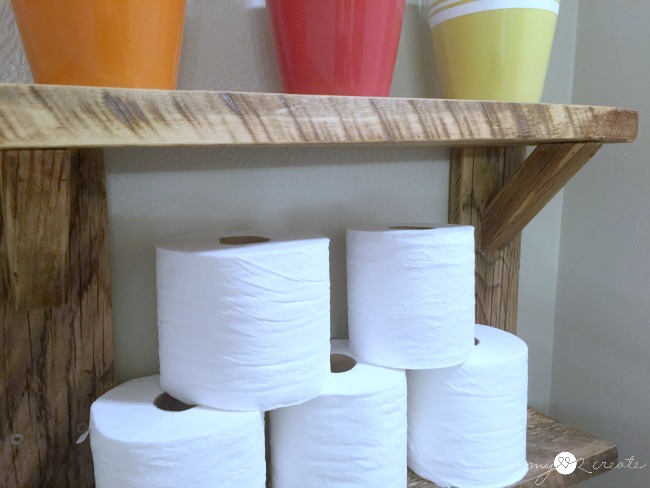
The brackets turned out so cute!
Reclaimed wood is so full of character, how can you not love it!
If you look to the far left you can see I secured two screws into the 1×4 to attach it to the wall. I did this on both sides. Be sure to use wall anchors if you don’t have studs in the right place.
How about that TP tower?! Ha ha, I don’t know why I love it so much.
With the addition of these shelves and my Rustic DIY Rustic Shelf and Curtain Tie Backs Repurposed into Towel hooks, there is definitely a rustic theme in the is powder room.
It is fun to have different options to style them, and I am sure I will keep changing it up!
I am quite pleased with it. So what do you think?
Would you like these shelves in your bathroom? Kitchen? Bedroom? They are a quick and easy build, not to mention super useful!
Hugs!
Mindi
I will be linking to these parties, Savvy Southern Style.


Great shelf and a very thorough tutorial! Thanks for linking up to the Talk of the Town party!
Great project, Mindi! Open shelves are so fun and the wood is beautiful!
This is so beautiful. I would like these in my bedroom, for some flowers, or even maybe some books.
Thanks for the great idea.
http://makeeasycake.blogspot.ro/2014/03/easy-simple-muffins.html
I saw you on Funky Junk Interiors. Thank you for this simple solution! I've been looking for the right idea and yours wins.
What a great project! I can think of so many places that this shelf could be used in my home.
I love the simplistic style of these shelves Mindi! Thanks for sharing with SYC.
hugs,
Jann
Nice shelving & tutorial.Thanks for joining us at the Inspiration Spotlight party.Pinned & Shared.
Oh Mindi, you've given me yet another reason to ditch my upper cabs and get building. I LOVE this design with the wood strip supports! MUST MAKE!
I've featured you in this weekend's DIY Salvaged Junk party. Thanks for linking up! 🙂
Hello Mindi,
Nice idea with the shelf of old wood. I love old wood. Thanks for the great idea. I showed it to my friends.
Yes, this is a great design solution for a small room. I ordered new shelves and even a small nightstand here https://youdo.com/india/chennai-services/repair-renovation-services/carpenters/ . So I decided to change some elements of the decor after renovation.