Modern Bench
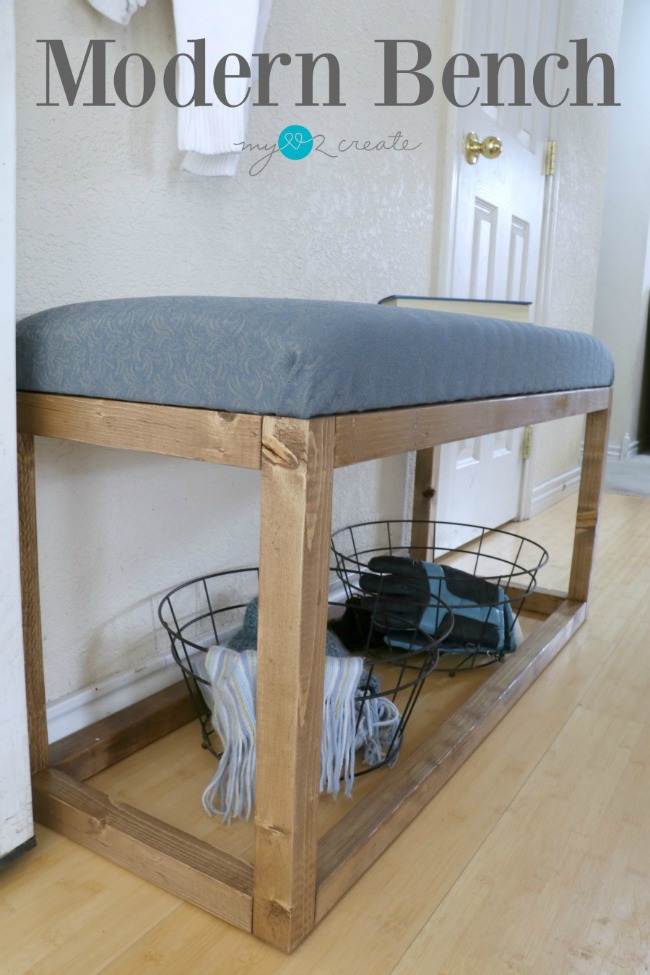
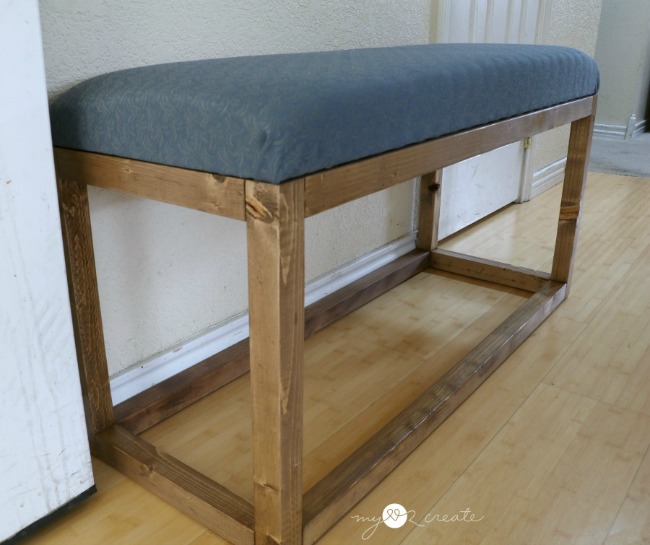
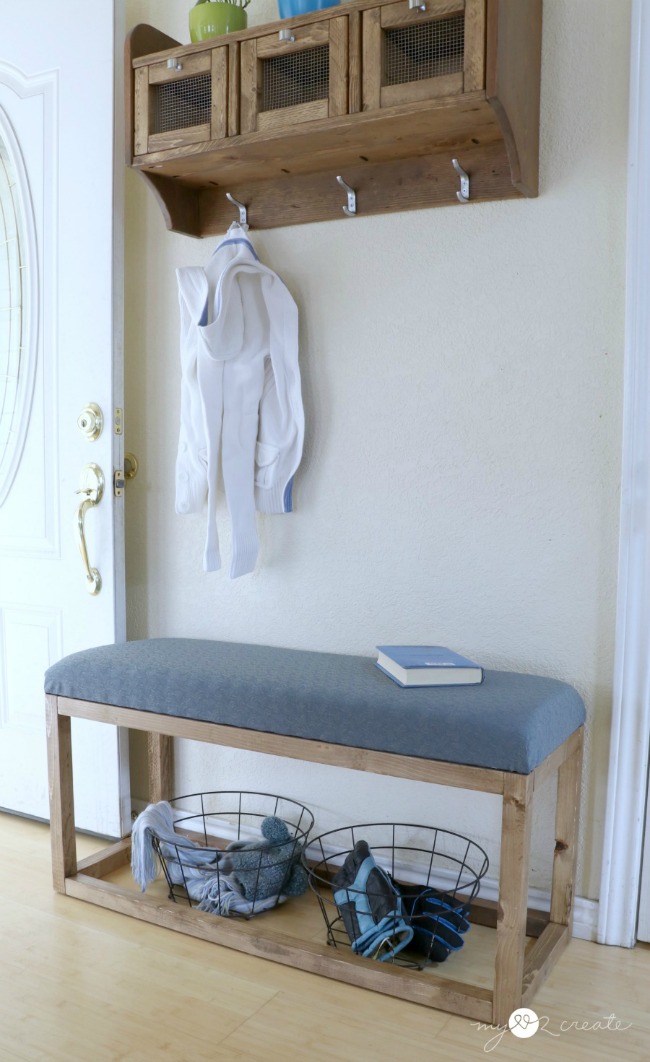
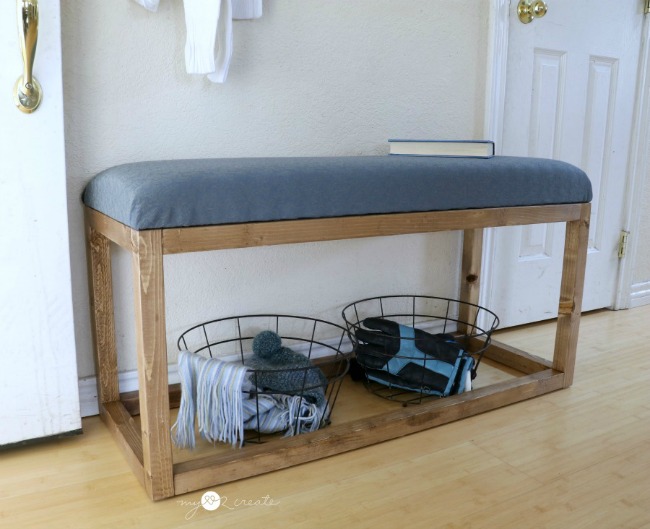
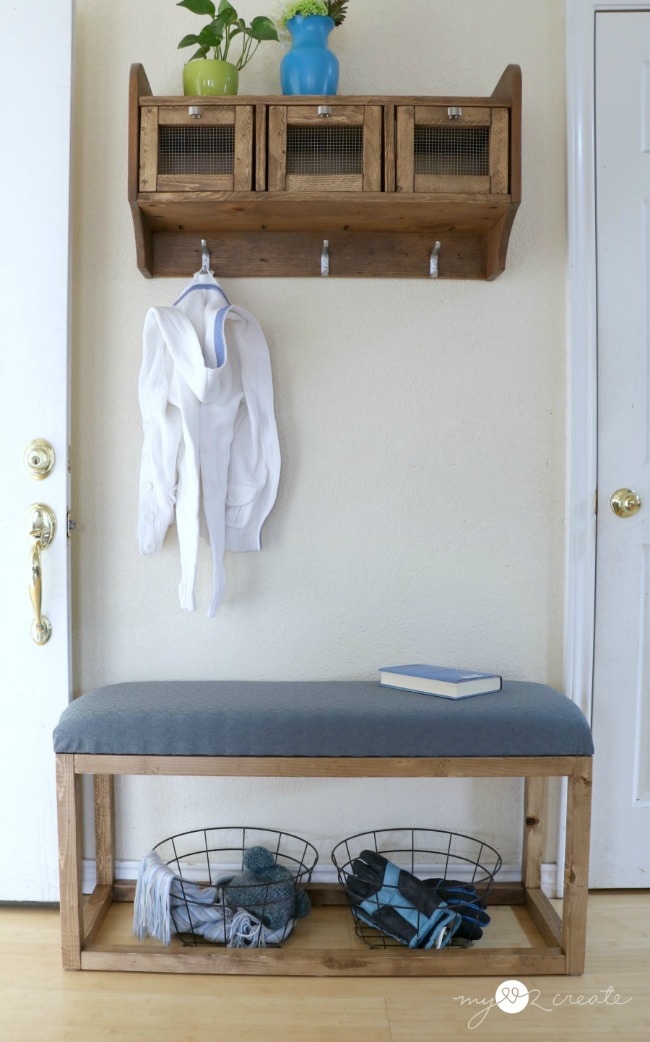
Hello! I am back to share my newest project today, my Modern Bench!
The bench that was in this spot previously was needed elsewhere so I have been needing to build something to replace it for a while.
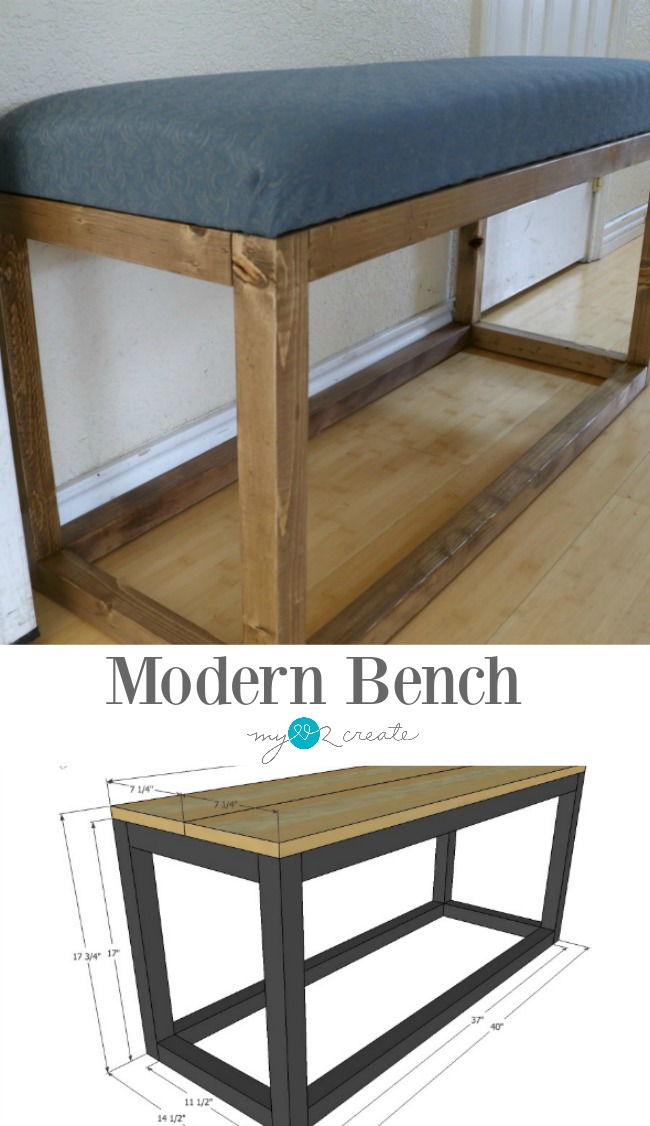
I was really wanting something more modern with clean lines, something simple. This bench is extremely simple to build, and I love how it turned out!
After I wrote up some plans I set to work cutting my wood. The wood for this build is less than $20! Seriously! You can’t beat that!
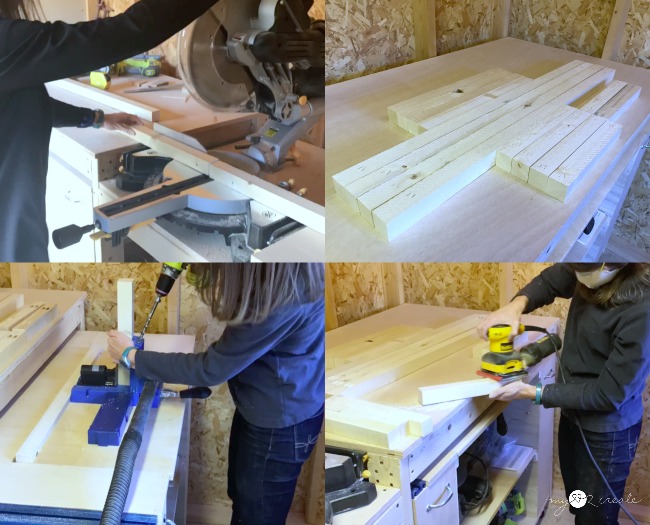
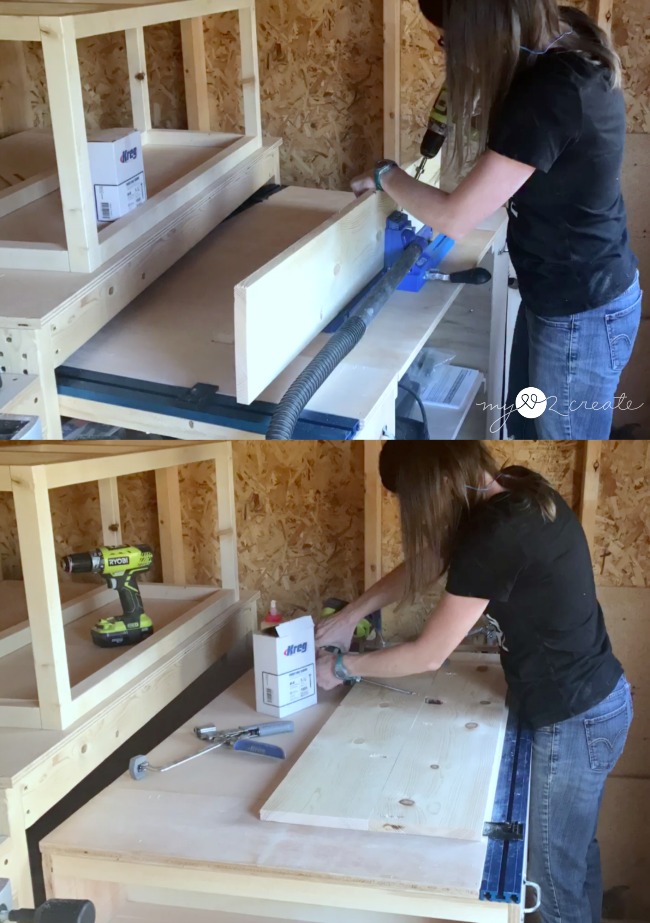
With all my wood cut I used my Kreg K5 Pocket-Hole Jig to drill pocket holes. Then I sanded all the edges smooth.
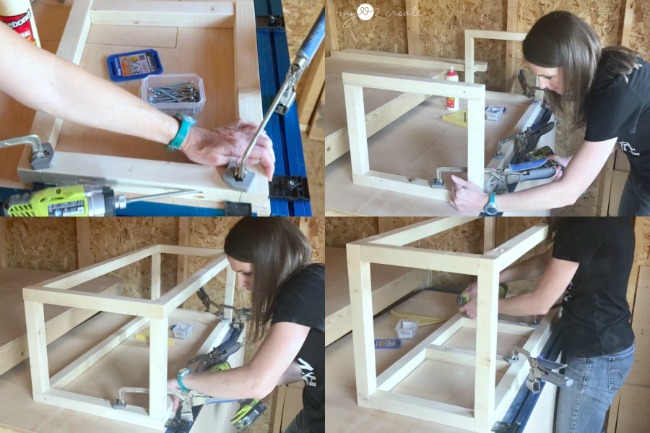
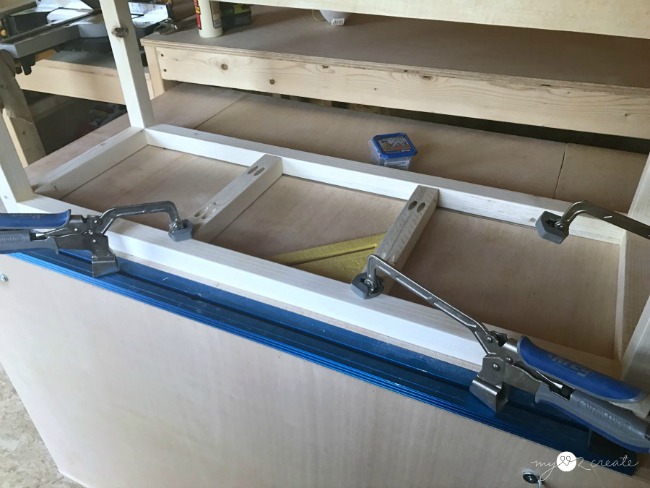
For this bench I started by building two side frames (top left). Then I added the long side rails (top right and bottom left). I finished it off by attaching two seat supports (bottom right).
Did you spy my newKreg Clamp Trak Kit? Ummmmmmm LOOOOOVVVEEEE!!! That is all I have to say. Oh, and my new workbench? I have a lot to share with you…I just need to find the time to write up the posts! Life is so busy! Argh!
Anyway…
For the top I used two 1×8 boards and attached them with pocket holes and wood glue! You also need to know how much I love my Ryobi Drill and Impact Driver. They help me on every single project.
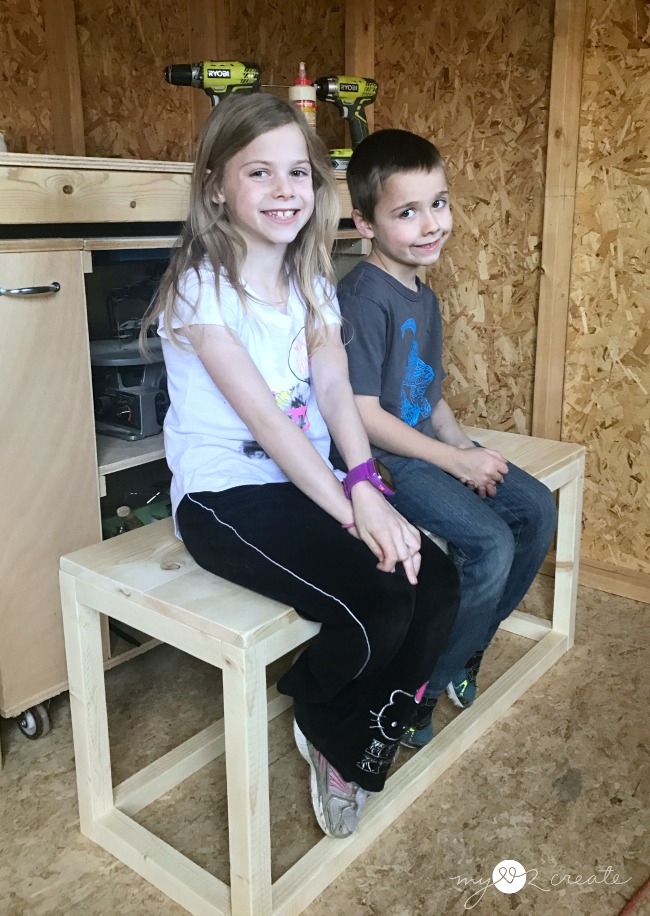
And in no time all I have a super cute, easy, modern bench! The kids approve. Little cuties.
I decided to give a shot at upholstering the seat, since it is always nice to have a soft place to sit. 🙂
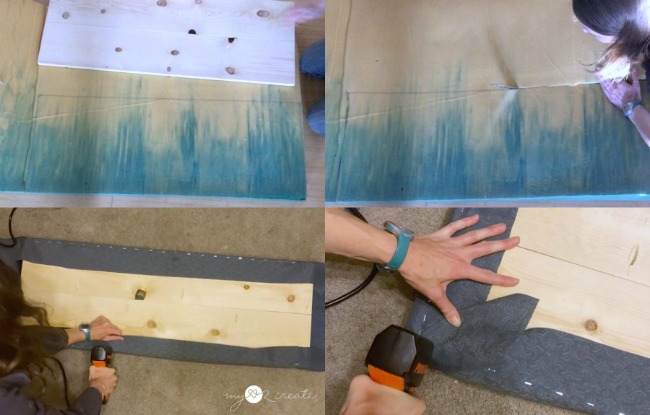
I had gotten this foam for free off of Craig’s List quite a while ago and I knew it was waiting for a project, so pulled it from the crawl space and set to work. I traced the bench top onto the foam and started cutting it with a long bread knife (top photos). I put spray adhesive on the top boards so the foam pad would stick better, then I used some left over fabric from my living room curtains and stapled it on (bottom photos).
Foam can be pretty expensive so if you are looking for a cheaper option I suggest you try using batting or maybe an old crib mattress like I used on my sisters DIY Upholstered Bench.
After I stained the bench frame with Minwax Special Walnut to match my Hanging Storage Shelf, I sealed it with a couple coats of poly making sure to sand with fine grit sandpaper after the first two coats.
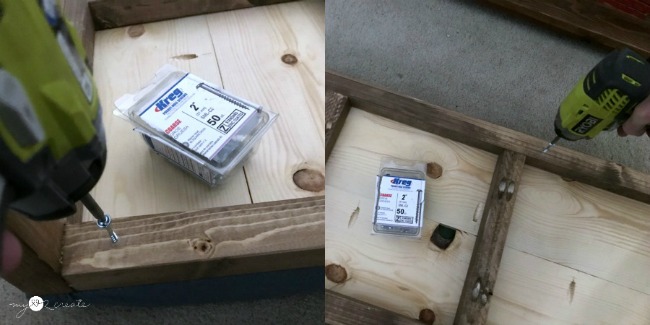
Then I used my 2” Kreg Pocket-Hole Screws to attached the upholstered top to the bench frame. These screws are great because I don’t have to pre-drill…plus I couldn’t find any regular 2″ wood screws. 😉
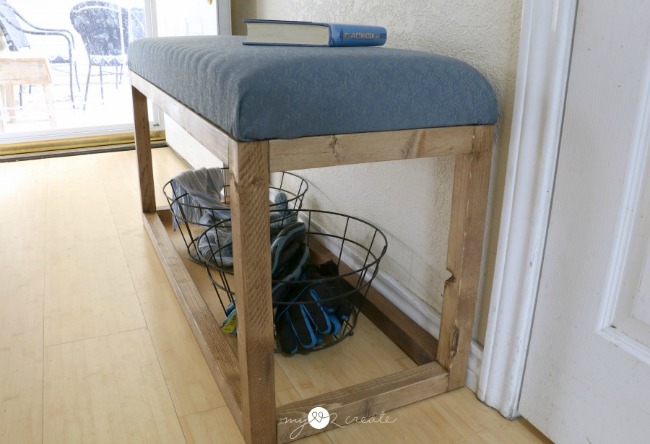
So simple and pretty!
A perfect spot to sit and relax!
My upholstery skills are not the best, but it doesn’t stop me from trying! Practice makes perfect right!? If I ever get sick of this top I can simply remove it, re-upholster it, or even just put a wood top on!
I also think it would be pretty cool if it was modified to be longer, but I needed it to fit my space. It would also look awesome with a faux metal finish on the bench frame for that industrial look!
Hmmm that makes me want to build another one…
So would you like to try this simple build?
I am partnering with Buildsomething, Kreg’s awesome project plan site, to bring you the free building plans for this modern bench!! Woo hoo!! If you love to build then you really should join their community and check out all their amazing plans!
Thanks for stopping by, come again soon!
Hugs,
Mindi
I will be linking to these parties, Savvy Southern Style.



Your bench looks perfect in that spot! Thanks for sharing at To Grandma's House We Go link party. xx
Beautiful bench Mindi! It DOES look perfect in that spot. I think you upholstery skills are great!
gail
pinning!
Wow arnt you clever I wouldn't know the first thing bout woodwork or even which end is which for the drill lol. Great little bench it fits perfectly in with your shelf they both look gorgeous & hey your upholstery skills are fantastic too . Well done , Louise x
What a fun bench! And yes, you found the perfect spot for it! Thanks for sharing with SYC.
hugs,
Jann
Thanks for this Informative and valuable article
the impossible game
bouncing balls
stickman
Beautiful bench,I love it since its easy to make one for my family.Nice idea Mindi
Looks gorgeous! Would you recommend staining before or after upholstering? I worry about getting stain on the fabric, since I can be a bit of a klutz.