Hey friends! We are in full summer swing around here and today the temperature kicked it up a notch…I guess I shouldn’t have been complaining about the cooler temps this past week!
I hope you had a great Memorial day! We enjoyed spending the time with family! I have some great projects to share with you that I have already done, but I just can’t seem to find time to write up the posts!! Being a wife and mom of six kids is my priority and we have been doing a lot lately!
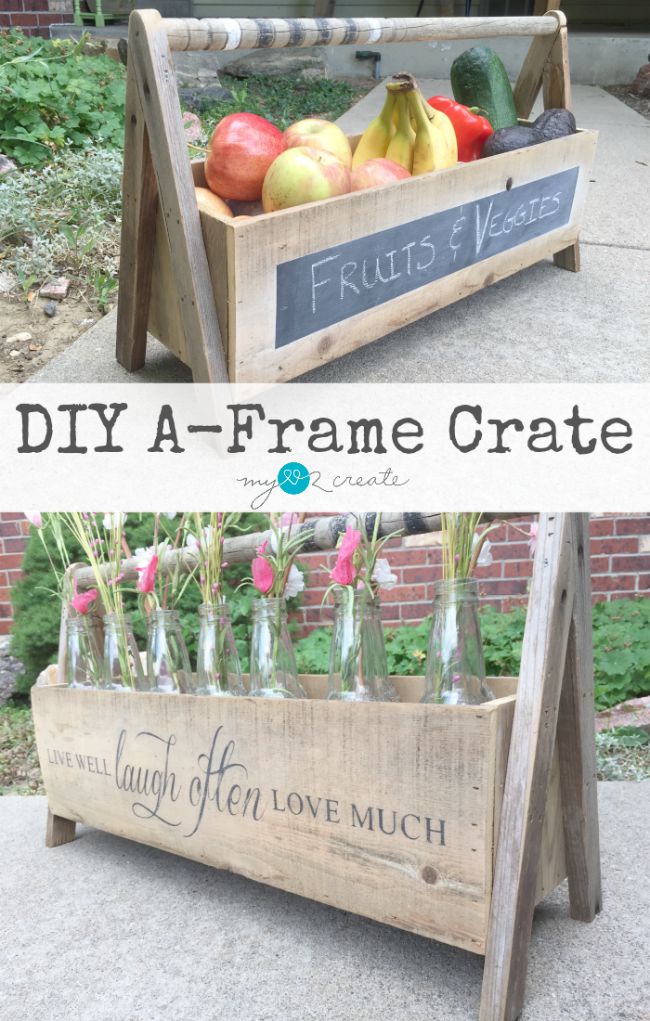
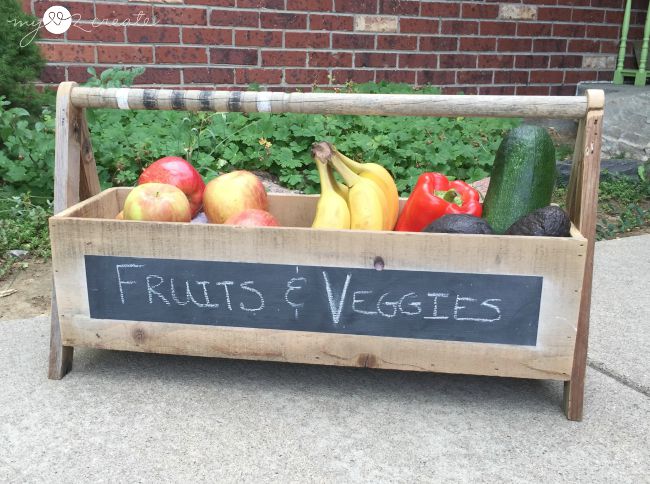
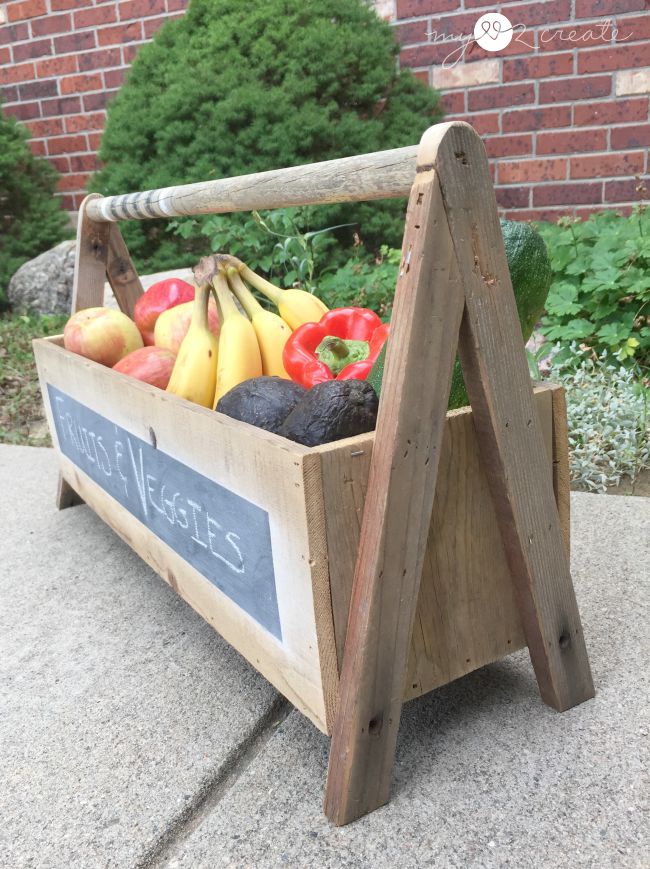
I am happy to share this fun DIY A-Frame Crate today, which I first shared as my contributor post last fall at My Repurposed Life.
I can’t remember where I got the idea for this crate, but I have been wanting to make it for quite a while.
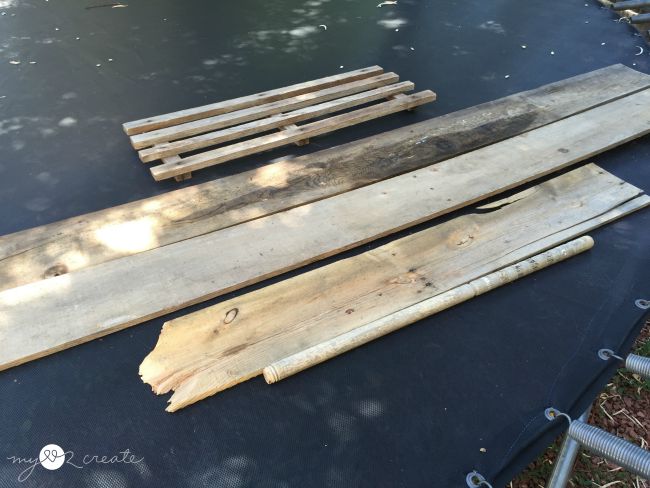
I pulled some nice reclaimed wood from my stash, an old croquet mallet handle, and some smaller skinny boards that were once part of an old wooden door mat. I ended up using two of the skinny (close to 1×2 size) boards, the two longer 1/4 x 5 3/4 inch boards, and the croquet mallet handle.
Building crates is fun because I like to grab the materials I have and do it on the fly, no plans, just me winging it. It kinda makes me happy.
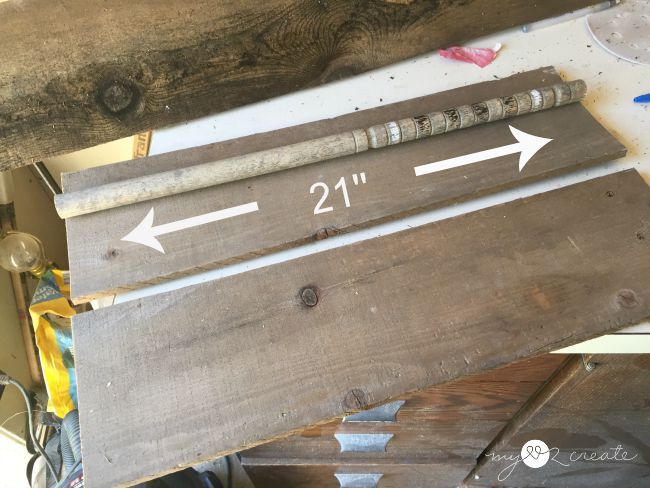
I started with trimming the ends of the croquet handle and then cutting two side boards to the same length. They ended up being 21 inches.
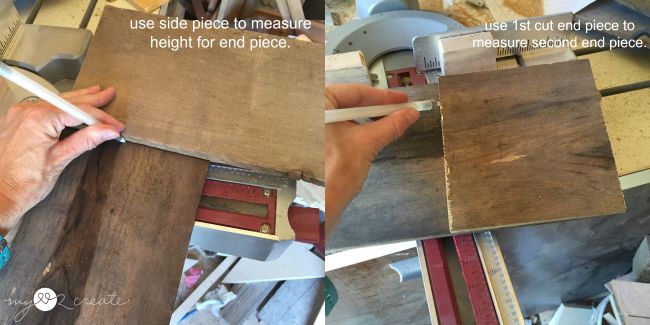
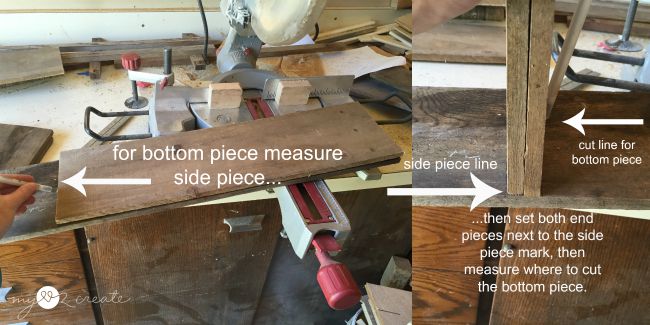
Now cutting the end pieces. I measured the side piece on the board needing to be cut, to make sure the ends would be the same height as the side piece. Once I cut the first piece I used it to measure and cut the second end piece.
Next up was the bottom piece which I made inset. I started by measuring and marking my board with a side piece. Then I used my two end pieces by placing them next to my first mark and marking the other side for where I needed to cut. Basically my bottom piece is shorter than the side pieces by the width of the two sides…I hope that makes since.
Buy doing it this way I eliminate the measuring process. 🙂
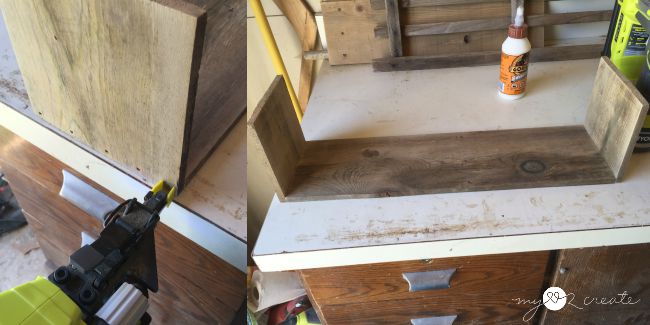
To add the end pieces to the bottom I used Gorilla Wood glue and finish nails.
Then I added the the sides the same way. Easy crate box built, now to make it cute!
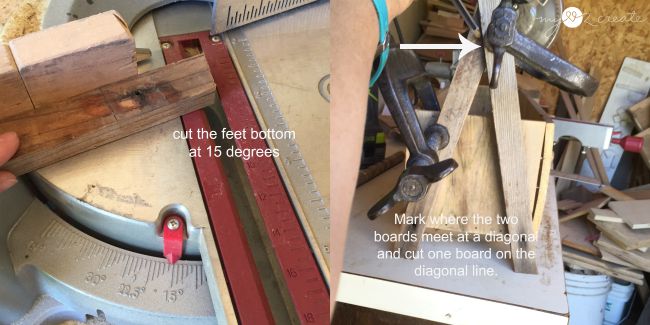
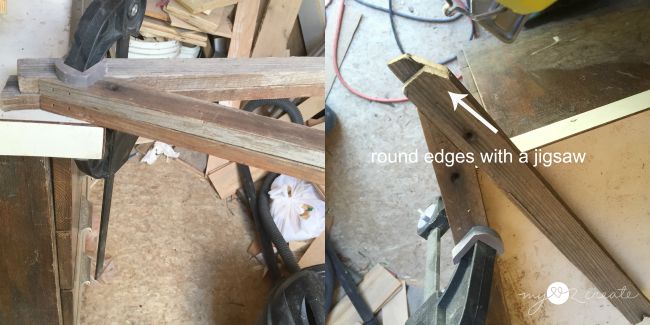
I took my 1×2 ish boards and cut two feet at a 15 degree angle on one side, the bottom. To cut the top parts I propped my crate up on a 2×6 block of wood to give it some height, then I clamped my legs to my crate and each other and marked where the two boards met at a diagonal, and drew a cut line.
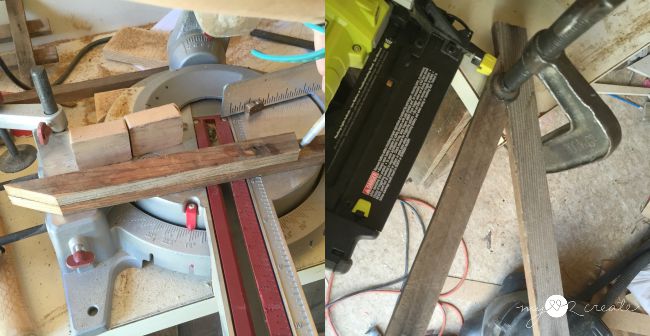
In the top left photo you can see two boards on top of each other with a diagonal cut. When I made my diagonal cut I used both sides of the board by simply flipping the second onto the first and measuring where to cut the 15 degree foot bottom for the second. So basically I got both A-Frame diagonal cut boards out of one cut. I used one on each side of my crate.
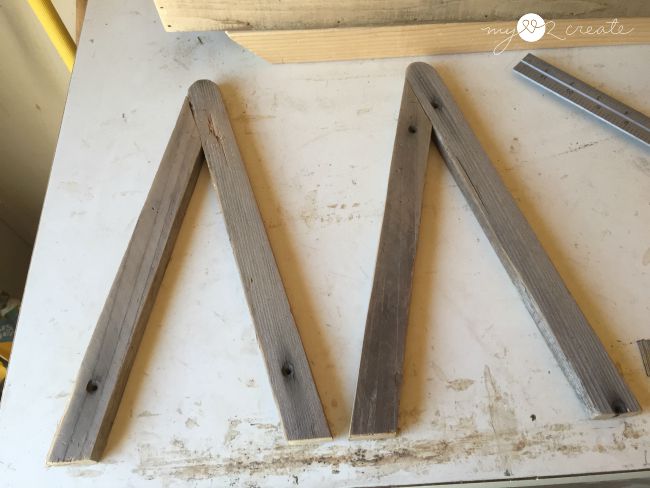
For the other side of the A-Frame I just cut the bottom at 15 degrees and the top a little taller than the diagonal board so I could round it off later. Then I used glue and nails to attach the A-Frame legs together. I nailed in from both sides and used a clamp to keep them together while I nailed.
When I nailed the second set of A-frame legs together I matched them up to the first set to make sure they were the same size/height, and then nailed them together (top left). Then I rounded the tops of both sets of legs at the same time with a jigsaw and sanded them smooth.
Here are my rustic A-frame legs! And my dried on glue workbench top, ewww! (I probably should clean it up…)
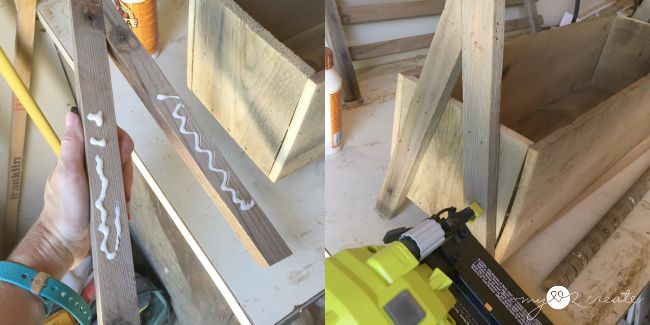
To add the legs I glued and nailed them on. To lift up the crate I used a 2×6 board underneath. I also glued and nailed on my croquet mallet handle to the top of each set of legs, but I forgot to take a photo, sorry!
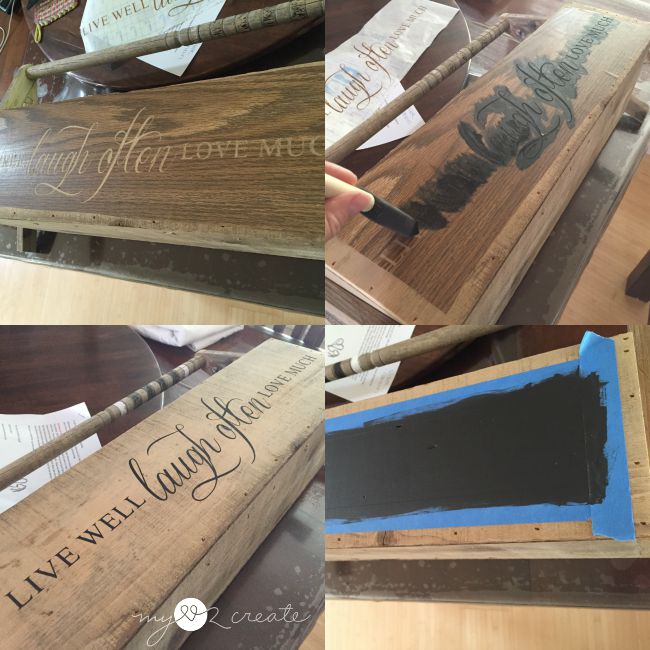
Of course I couldn’t be done…I had to add a bit more cuteness. I used my Cricut to cut a short phrase out of contact paper, and stenciled it on with some black paint, then because
I. Love. Chalkboards, I put one on the other side.
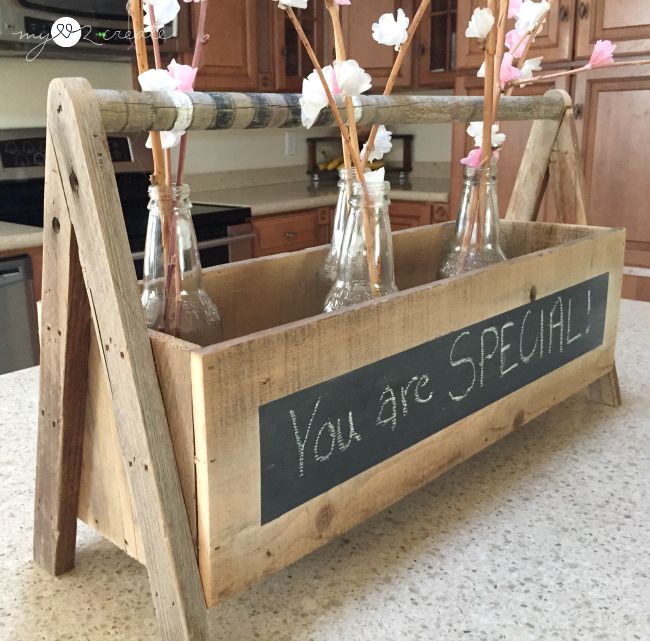
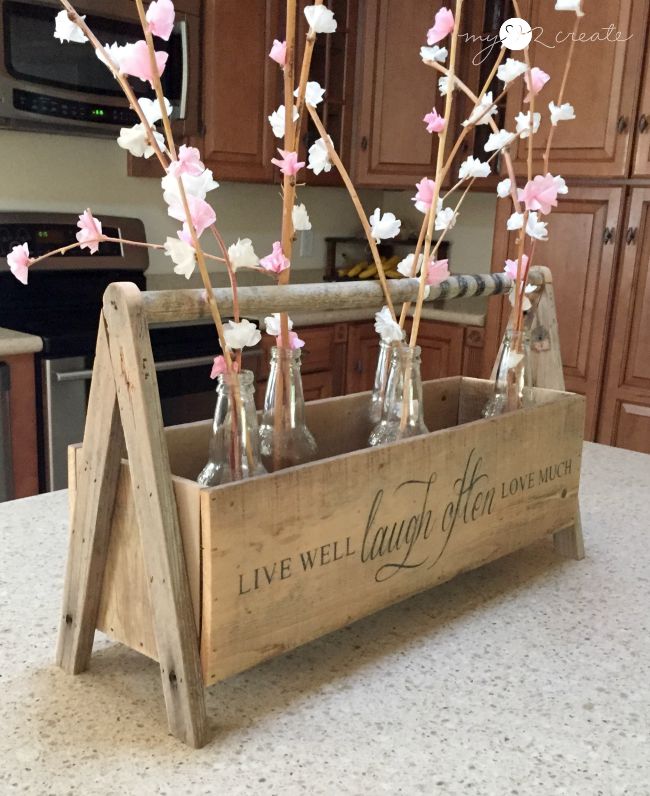
How fun is this! It is super awesome on my kitchen counter.
I am loving the A-frame legs, in fact this crate was the inspiration for my
Large Porch Planters that I shared last week! And I am seriously loving them!!
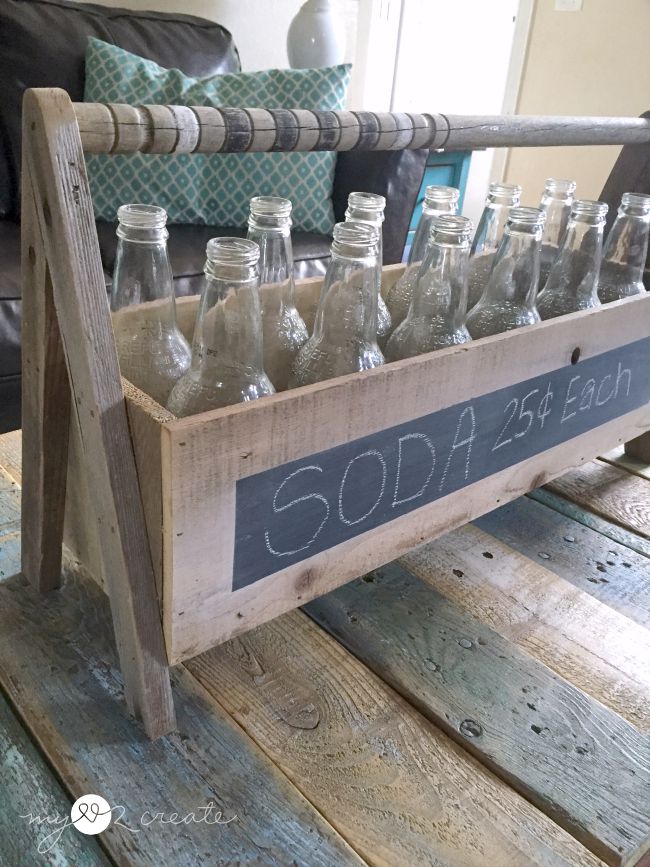
Use it as a soda caddy for your summer BBQ or Party!
Or add some DIY Cherry Blossoms for a pretty decorative touch.
I have used this crate for TONS of things since I built it. Besides for decor, I like to put mason jars in it and fill it with utensils, napkins, and cups, for when we have get togethers! I LOVE it!
Hugs!
Mindi
SaveSaveI will be linking to these parties, Savvy Southern Style, and Bloom Designs


So cute! I love that you used a croquet mallet for the handle. I would have just thrown it away without thinking!
Another Super cute 'planter box' style. You are on a roll!
How cute! This would come in really handy for in the garden. I'm always forgetting to take something with me when gathering veggies.
This is amazing! I love DIY planters and this one takes the cake! great post!
I would love it if you would consider sharing this on my weekly Link Up:
http://www.twentysomethinginthe2010s.com/peace-love-linkup-010/
Hope to see you there! : )
Adorable! I think I have all the makings in my own stash. Thanks so much for the detailed tutorial and pictures.
I love this! This would make the cutest planter for our porch! Thank you for sharing the tutorial!
Thanks For sharing on Lou Lou girls fabulous party
This is such a cute idea!
Thanks for sharing with SYC.
I love this! Sharing on FB. Thanks for linking up to Talk of the Town!
That is so cute! and very smart I love it!!
I would love for you to come participate in our Blog Hop. The Homesteader Hop every Wednesday, I do hope you will come out and join us. https://www.floydfamilyhomestead.com/2016/06/08/homesteader-hop-6/
Style of this is great, love a style. Instead of crate I call them "trugs" (old name/description). Don't know why but can't seem to have enuf of these carriers. Also known as toolboxes depending on who is using this "thing". I use them for magazines, jars, bottles, plants and whatever else needed. Do you have a few of these around your house and porches? I like to make them somewhat of pallets and go from there to whatever I can find.
Hubs won't let me use his power tools as my eyes and hands don't work too well anymore (if they ever did). So am dependent on him to make things for me then he changes my plan, how I want it. Envy you being able to make things yourself.
Enjoy rest of week.
I love the Laugh Often stencil and how you styled it with the cherry blossoms in the bottles!
LOVE the A-frame idea for your wooden caddies, Mindi. I just made some wooden caddies on the weekend and cutting the angles on the side pieces was a pain. How fun is the chalkboard idea too. Pinning to share.