Bathroom/Laundry Room Demo, One Room Challenge Week 2
Hey everyone! It is week 2 of the One Room Challenge!
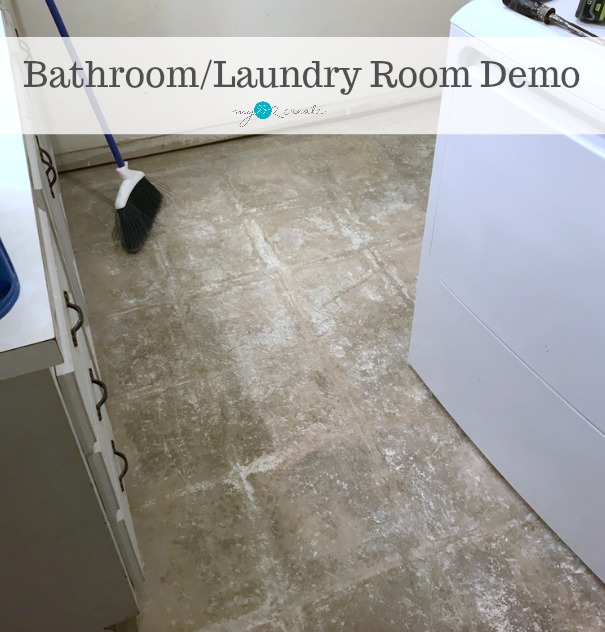
Fair warning, there are NO pretty shots in this post…none! This week is all about demo, not about looking good…
In fact this is probably the cleanest you will see this floor in this post!
If you are stopping in for the first time you HAVE to pop over to my Bathroom/Laundry Room, One Room Challenge Week 1 where you can see all the before shots and my design inspiration. It is totally worth it!
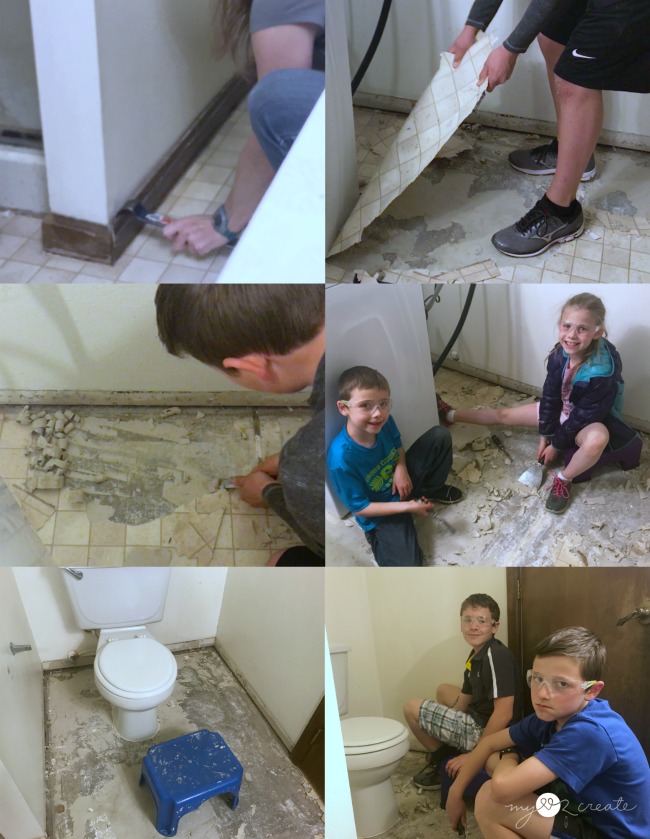
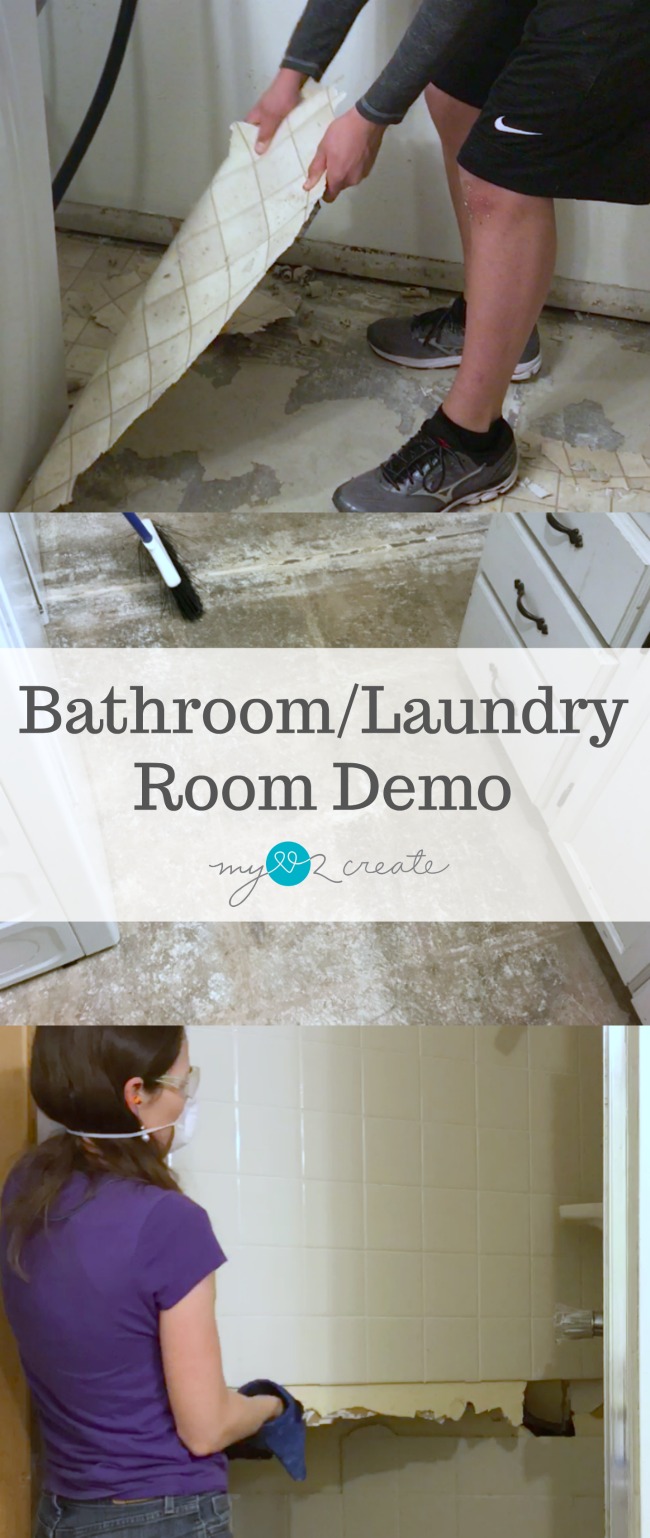
The first thing we started with were the baseboards and the floor. I ripped off the old nasty baseboards with my crowbar.
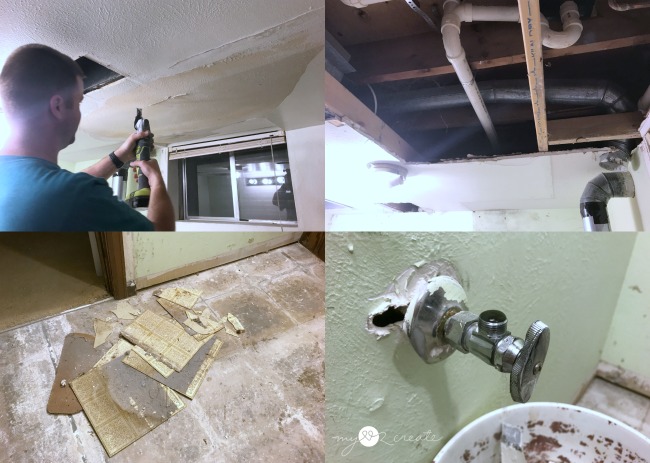
To remove the vinyl flooring it was totally a team effort, this took the longest and you can see it was tedious. The flooring peeled up pretty well, but scraping off the left over paper stuff (not really sure what to call it) was time consuming…and we may or may not have had a few blisters. 🙂
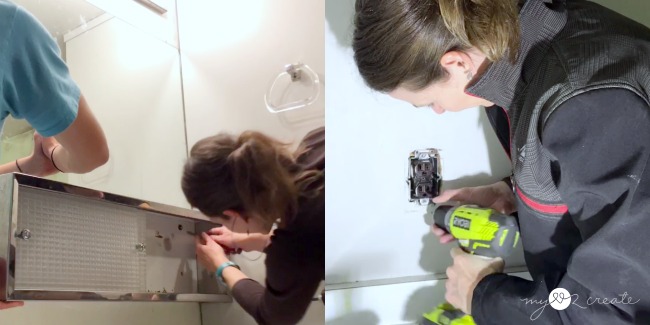
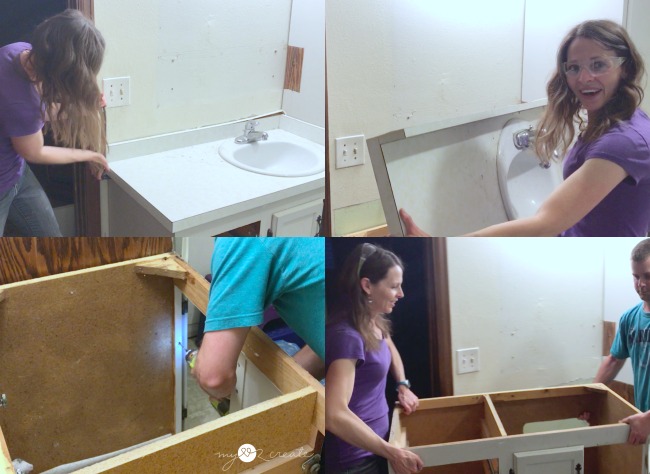
I unscrewed the medicine cabinet and the mirror with one of my boys and their friend helping. I had to shut off the power so I could remove a plug from the side of the cabinet by the vanity. Because the cabinets were coming out, I needed the outlet secure in the wall not the cabinet.
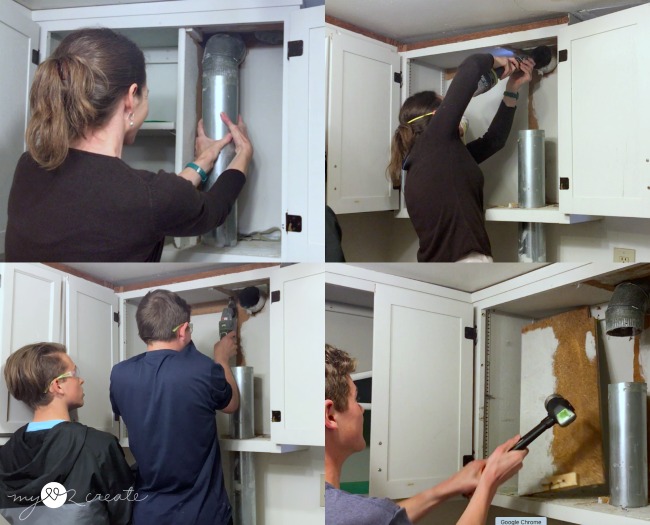
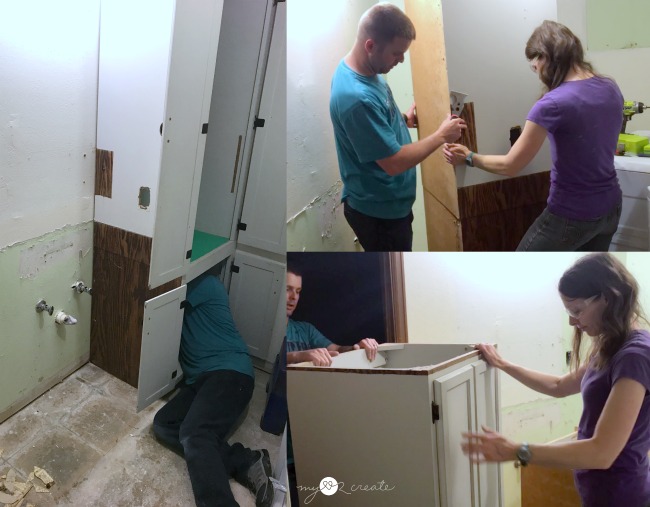
The cabinets over the washer and dryer were a bit challenging to remove because of the dryer vent going up through the bottom of the cabinet in to the wall.
We ended up having to cut the back of the cabinet and bust out the divider in order to make things work. The vent pipe was too long to pull out, without getting cabinet off the wall, it was like a big puzzle! But we finally prevailed!
In order to remove the vanity we had to shut off the main water because one of the sink valves was broken.
Then we unscrewed the screws that weren’t totally stripped and I pried off the top of the vanity. I am so grateful for my friends helping out!
The tall cabinet that holds the opening to the laundry shoot had to be removed. Luckily they built it in two halves and we were able to take them apart pretty easily.
The damaged drywall was cut out from the ceiling, and then my friend’s husband replaced the valves for under the vanity sink. This is a shot of the old one…it was pretty bad!
Do you see that old 70’s flooring that we found under the vanity?! Niiiiice!
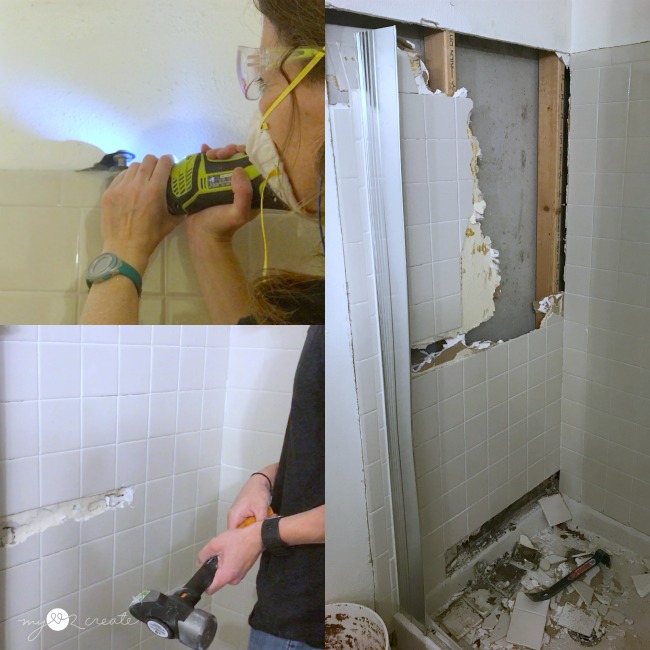
Some of my kids friends were eager to help with removing the tile in the shower. In the top left photo you can see I used my multi-tool to cut through the drywall all around the tile.
Then using a large hammer we knocked out a row of tiles in the center. With a crowbar we were able to pry away the tile and the drywall in a large section. Except…see the problem? NO GLOVES!!! We had a cut hand as casualty so I called it a night at this point. That tile is super sharp…lesson learned.
Oh, and if you are wondering why the metal shower door sides are still on…the screws were so stripped it would NOT come off, I ended up just getting if off with the tile. Luckily we were able to get the glass door off.
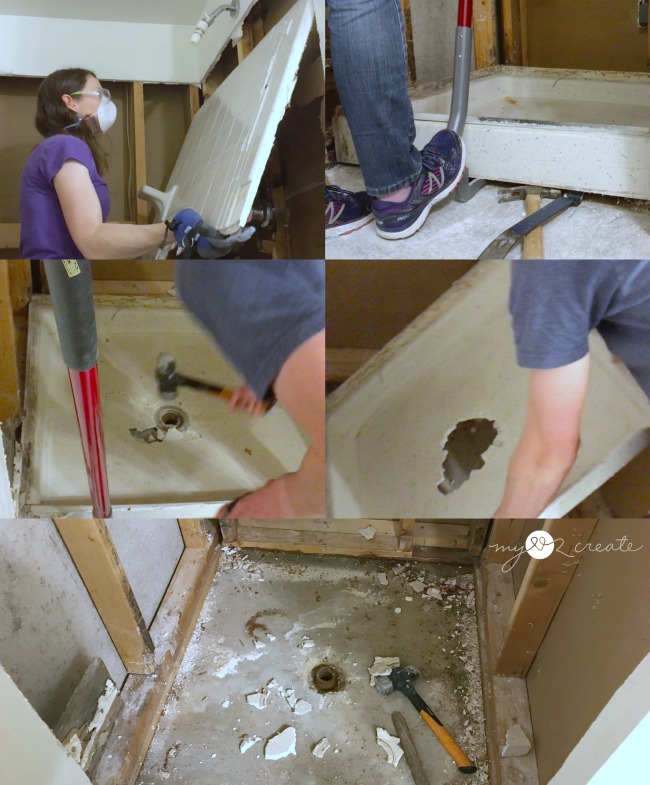
I removed the rest of the shower walls by myself using the crowbar and prying off large sections at a time. It made for a lot less clean up, plus it went really fast.
Do you like my gloves? I couldn’t find my work gloves so I grabbed some old snow gloves. The funny thing is they were both lefties and I didn’t bother to get a right handed one, so I wore one backwards…I have no idea why…I guess I am either lazy or just weird.
I started to try prying off the shower pan, but I finally relented because I could tell the drain was preventing it from budging.
I finally let my oldest son do some demo, and he enjoyed hammering around the drain. After that it came right out and then we were able to remove the pan drain. Yay! I should have handed him the hammer sooner!
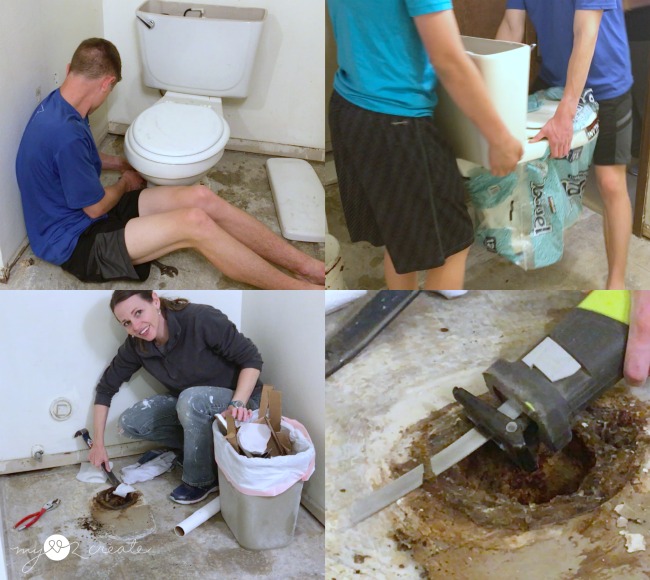
My oldest two boys were able to help take the toilet out, and I even found a bag to go around the bottom of the toiled to prevent dripping, as was my friend’s brilliant suggestion!
I then had the fun job of removing the old wax ring residue….ewwww! What was left of the flange (I am assuming that is what the screws were from) was cut off with my sawzall.
And now with the bathroom gutted and the washer and dryer removed…the floor is almost ready for tile!!!
And I am ready for a nap! Stay tuned next week for more, and hopefully some pretty pictures!! It always gets ugly before it gets pretty!
Don’t forget to check out The One Room Challenge Week 2 and all the other participants! It is so fun to see the progress! Click here to see my before shots and bathroom inspiration HERE!
Wish me luck getting my tile floor down this week!






Mindi! Wow! That is great that you had everyone help out. Good idea since everyone will one way or another benefit form the makeover. Yes, I am still reading your blog and am so sorry I have not commented in a long while. 🙁 This room is going to look AMAZING! I did read your post of what you have planned and I am mentally cheering for you. I love your ideas / visual board. 🙂
Julie *hugs*
Hey Mindi, I'm ready to renovate my bathroom and it feels like I'm taking classes here with you! Wow, that's lots of work, but like you, I can't wait to get rid of my ugly bath.
When did your boys get so tall and so grown up!! Eeeek time's flying. It's so good to have that extra help. 😉