Bathroom/Laundry Room Progress, One Room Challenge Week 5
The duct work that goes from the inside to the outside needed to be trimmed down. That is how much it was sticking out of the wall into the bathroom! I am so glad it will be hidden now!
I used a hack saw to cut the top and then I just pushed down on the sides and it ripped of right around the cement! Then I replaced the vent cover. I am able to clean out the vent from the outside, so I can keep that up every six months. It looks like I still need to clean a little more. 🙂
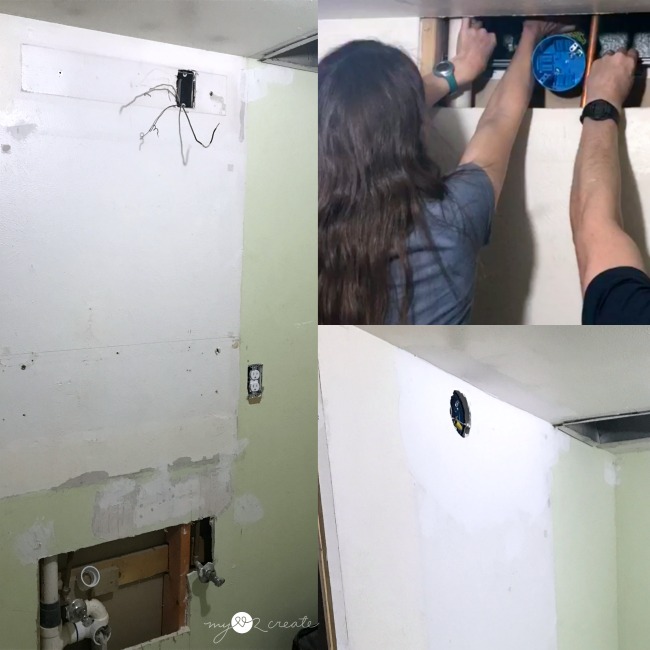
Next up was drywalling! Woo hoo. I know how to drywall, I had to learn when I did my Teen Boys Bedroom Reveal, but I was so grateful for some friends helping do the drywall and mudding and taping while I ran my kids places!
There was a lot to do! They were amazing!
We also did some electrical. Replacing plugs and moving my vanity light over. I didn’t want a bar light and I wanted it centered over the vanity…soooo we made it happen and it took some serious team work to get that light box in with two pipes in the way! That is my drill inside the duct work! (top right)
We used something similar to This for the light box, and eventually we were able to screw it to the studs. Phew!
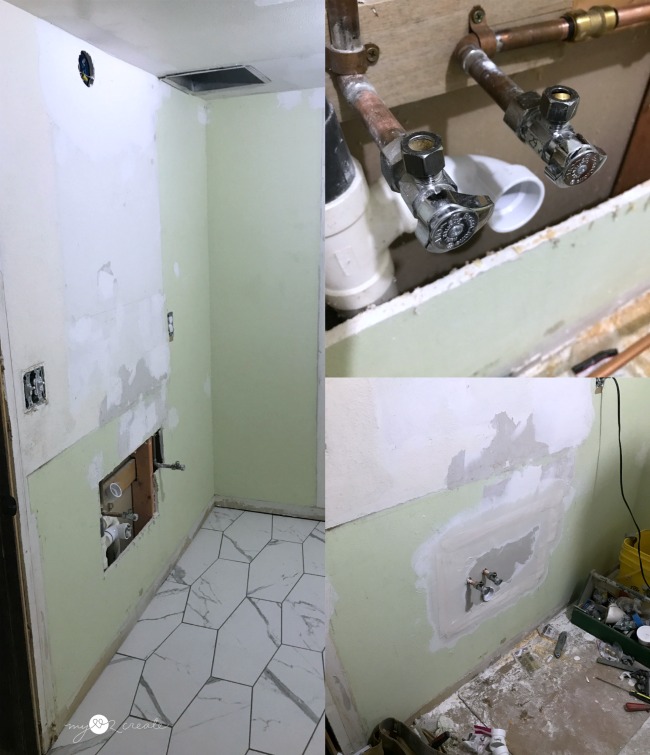
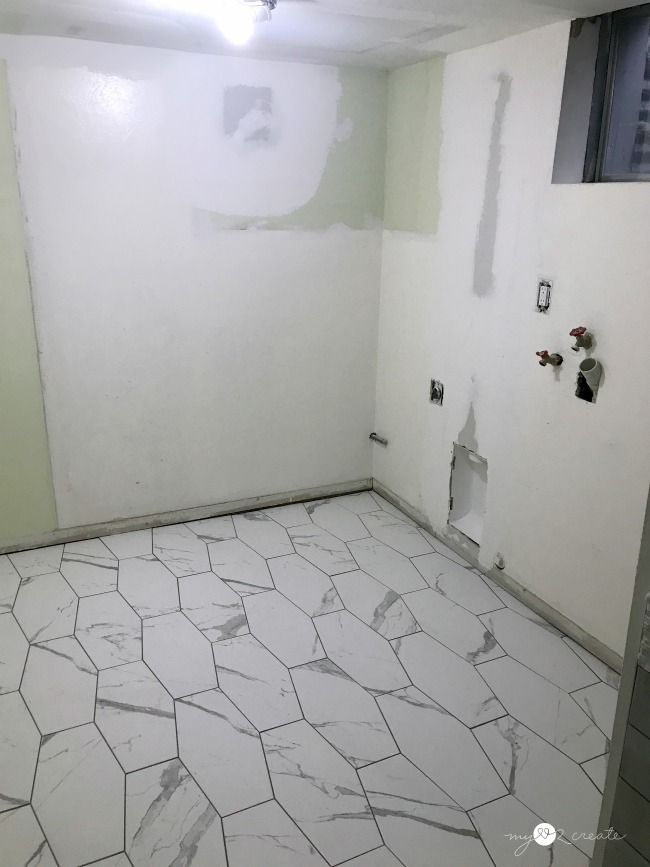
And of course while we just started closing walls up, we decided to open up another one. The washer valves and pipe were worked on, and still look this way today, so yeah…can you see why I need a miracle? SO MUCH TO DO IN A WEEK!!
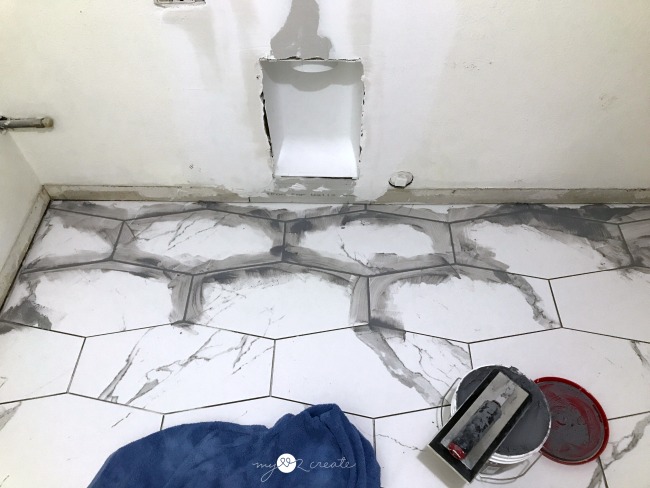
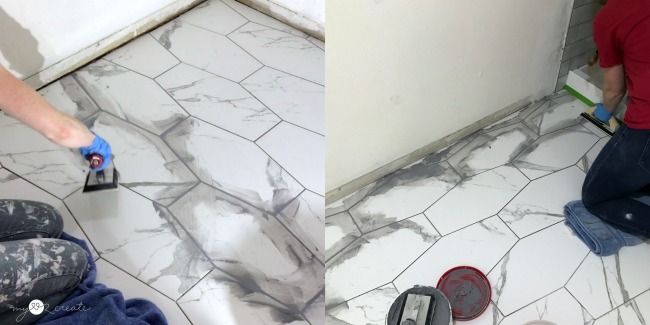
Here is a shot before the washer wall got opened up. Look at that grouted floor!! Yippee!!
Texture needs to happen on the patches, but it is so nice to have a ceiling filled in! That open part is for the HVAC vent.
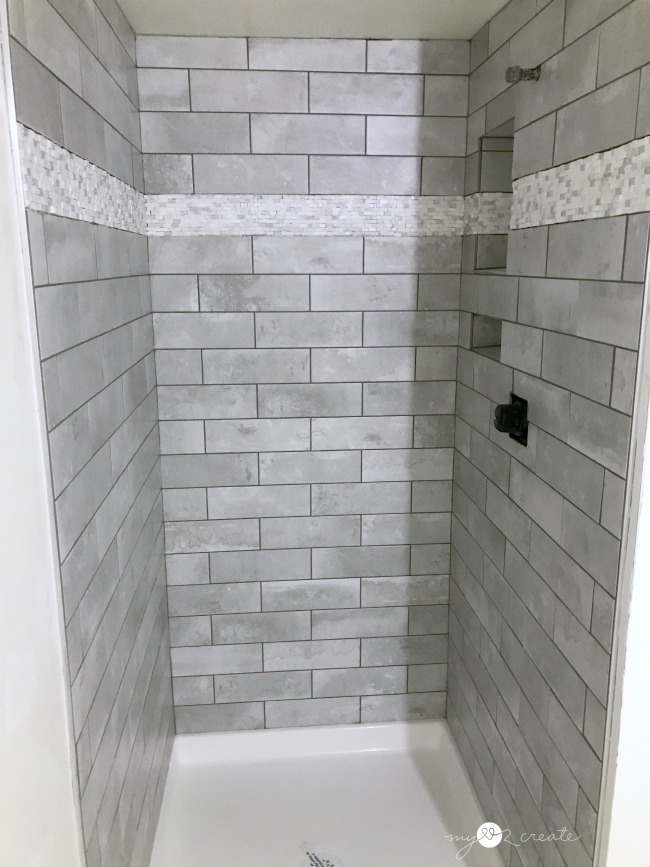
The mosaic tile still needs to be grouted…
Not to mention the rest of the shower needing to be put back together.
And a toilet? Who needs a toilet!?!
So there you have it. One week and I have a mountain of work to do!
I think I want to cry, but I am determined to finish strong!! Wish me luck!!
Don’t forget to check out the rest of the participants in the One Room Challenge Week 5!








Wow!! It looks great- I love your tile!! We're in a similar stage in our bathroom remodel project for the ORC. Glad to know we're not alone! Keep it up!
Wow! Nothing but respect for all your hard and time consuming work! Mindi, you are amazing and the new floor and shower tile are gorgeous! Geesh, I can only imagine how many hours you have spent renovating this space.
Good luck during the final week and I am cheering for you. 🙂
Julie
Your home's bath looks like it definitely went through a lot, but man the results were definitely amazing. The shower stall was definitely the crowning glory of this project. Great job!