Build a Custom Ski Rack
This is a great beginner project, and a useful one to boot! A perfect combo in my book, I am excited to show you how to build a custom ski rack you will love!
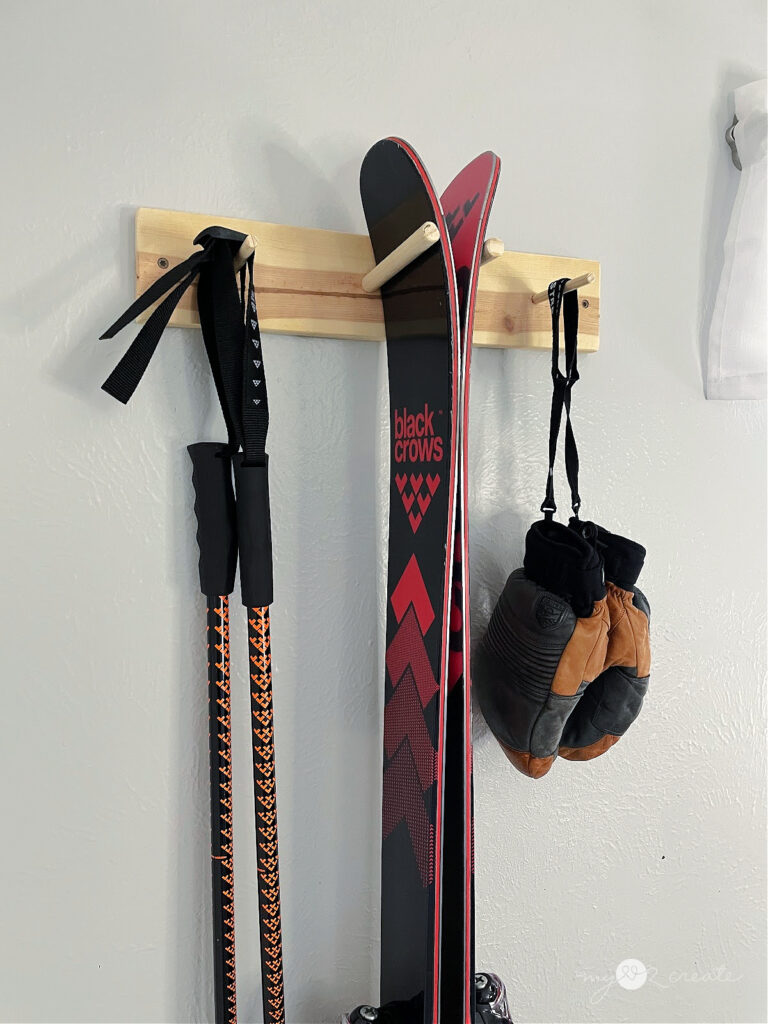
I made two ski racks, one for my son to hold his skis at his apartment and one for me, that can hold three pairs of skis. It will be great to have room for storing skis when others come to visit. 😉
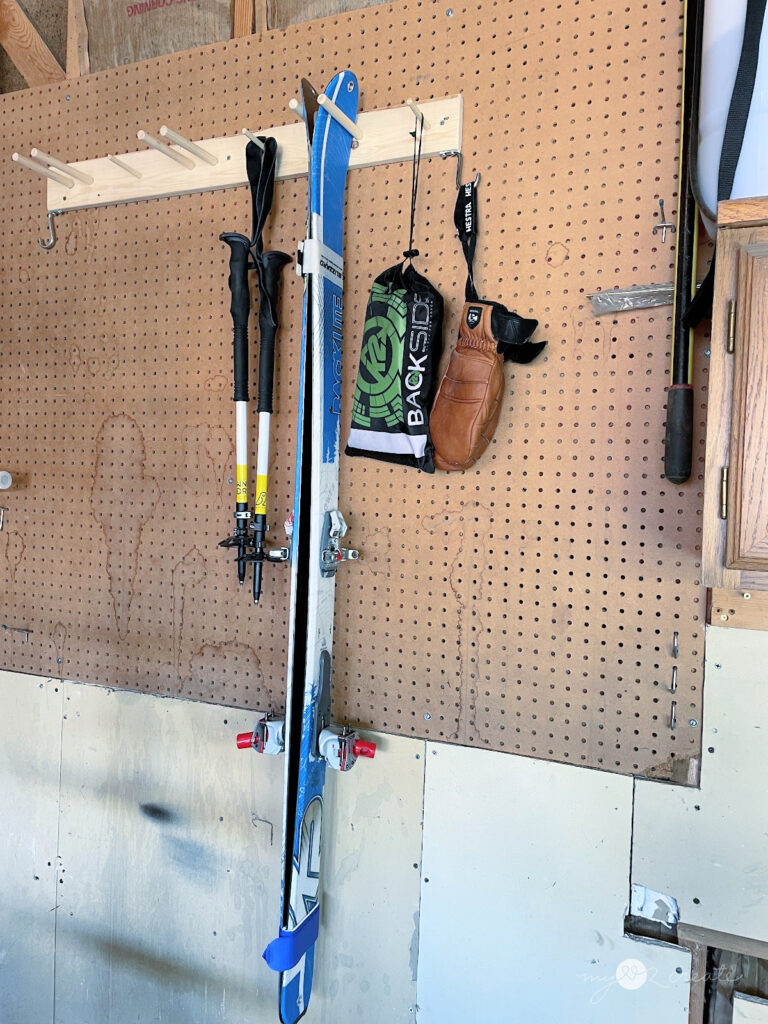
Super fun, right?! I am so happy to have a spot to keep them safe from kids tripping over them in the garage. The great thing about this project is that you can build it quickly, with minimal tools, and customize it how you desire. If you have 7 pairs of skis to hang, no problem. Build it to fit your needs, the whole point of building a custom ski rack, woot!
Let’s get started!
How to build a custom ski rack
What you need: (This post contains affiliate links, learn more)
- 1×4 piece of wood (3.5” x 3/4″) cut to desired length
- 3/8” dowels cut to desired length (I cut mine at 4 inches) Cut the amount you need for hanging ski accessories
- 5/8″ dowels cut to desired length (I cut mine at 6 inches to accommodate multiple sizes of skis) cut two dowels for each ski
- 3/8″ and 5/8” drill bits or spade drill bits
- Saw (any saw to cut wood and dowels, I used a Miter saw)
- Drill and Driver
- Clamps
- Sander
- Wood glue
- Stud finder
- Level
- Tape Measure
- 3 1/2 self tapping (or pre drill holes if you don’t have self tapping) screws to attach rack to studs in the walls
Step 1: Cut ski rack board and dowels to length
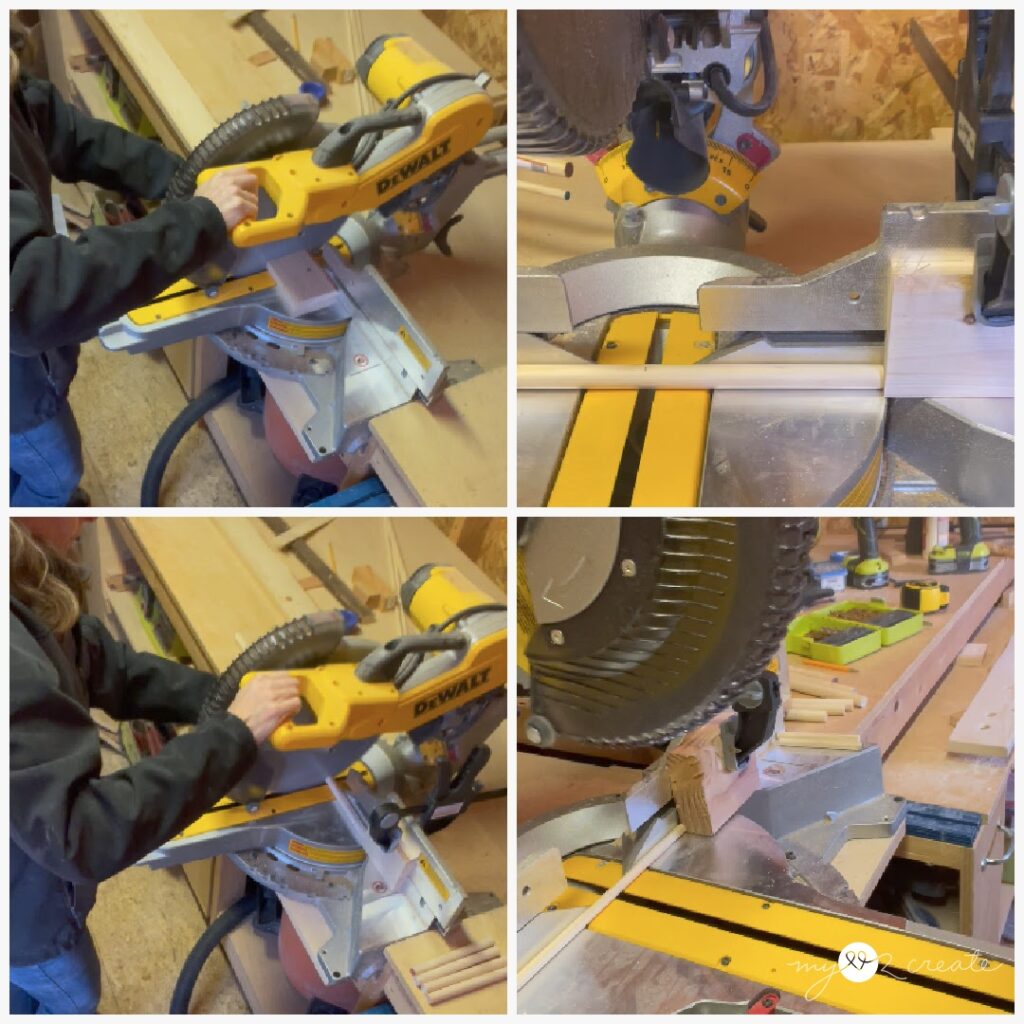
This is the fun part where you get to decide exactly what you want your ski rack to look like. When cutting multiple dowels to the same length, it is smart to clamp a scrap of wood to your circular saw fence as a stop block so you can cut them quickly at the same size without measuring every time.
A few design tips to consider before you cut your wood and dowels.
- How many skis and poles or other accessories will you be hanging? This is very important to create your design.
- How wide are the tops of your skis, I figured about 5 inches for larger skis, thus my dowels for hanging the skis were cut at 6 inches. 3/4” of the dowel was glued into the board which left 5 1/4” for the skis to hang.
- How wide are your ski bindings/accessories, you will need to know this so that you space the dowels far enough apart so the ski bindings don’t interfere with the items hanging from the adjacent dowels. I figured about 4 1/2 inches at a minimum on either side for my skis.
- How far apart do you want the dowels that hold the skis to be spaced. I spaced my 5/8” dowels 2” apart from the center of each dowel, I think you could do it even a little closer, you don’t need a lot of space, but it is a good idea to measure the width of the skis together.
- Do you want space on the ends of the board if so, how much.
- Studs are usually 16 inches on center, I recommend taking this into consideration so you can screw the rack into 2 or more studs, depending on how many skis you will be hanging.
I know that sounds like a lot, but really it is just making sure you measure out all the items you want to hang, how much space needs to be between the hanging items, and how much space you want on the ends, in order to figure your board length so you can cut it to the correct size.
Step 2: Measure and Mark
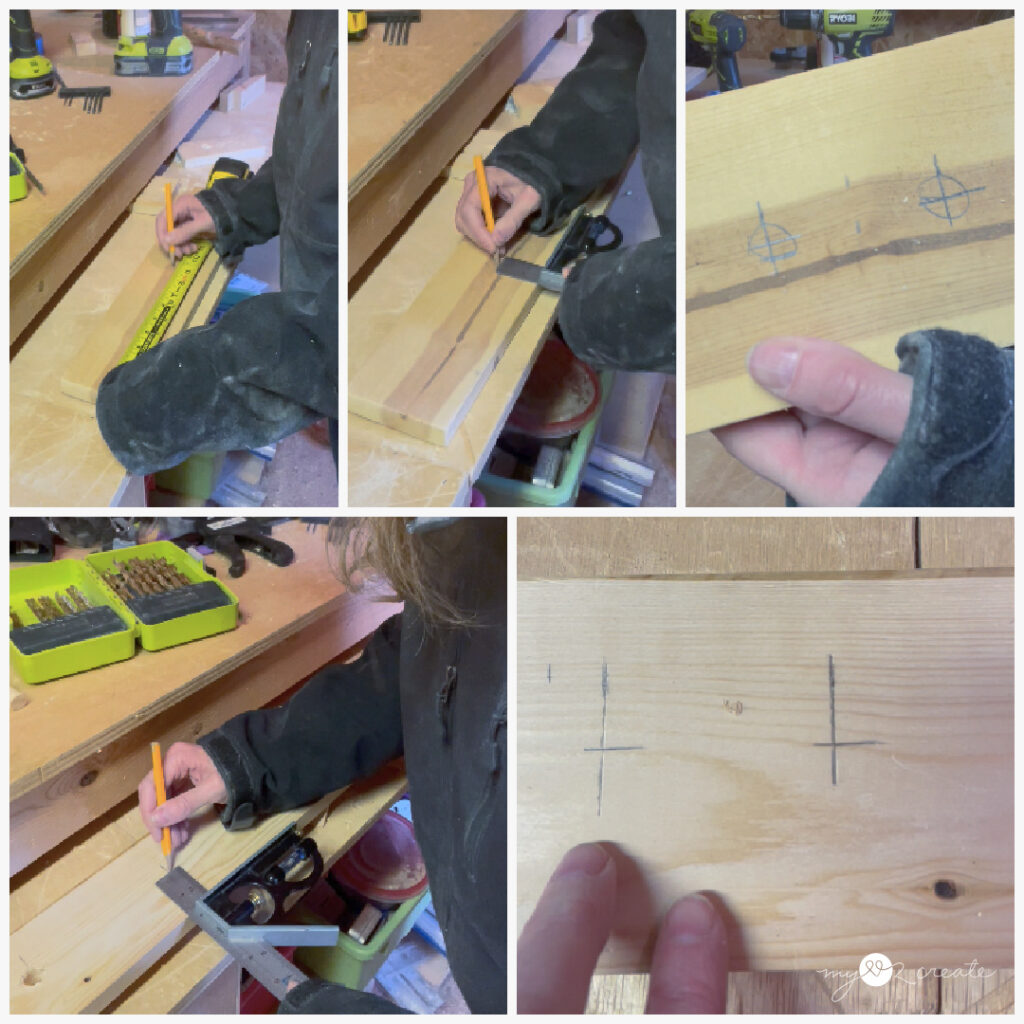
Once your board and dowels are cut it is time to get all the points marked so you can drill the holes for your dowels.
I like to use my tape measure and mark where all the dowels will be placed from the one end of the board. Then I mark the center line from the bottom of the board and it gives me a great “X” to mark the spot where I need to drill, I guess technically it looks more like a “t” but you know what I mean. 😉
Step 3: Drill your dowel holes for the ski rack
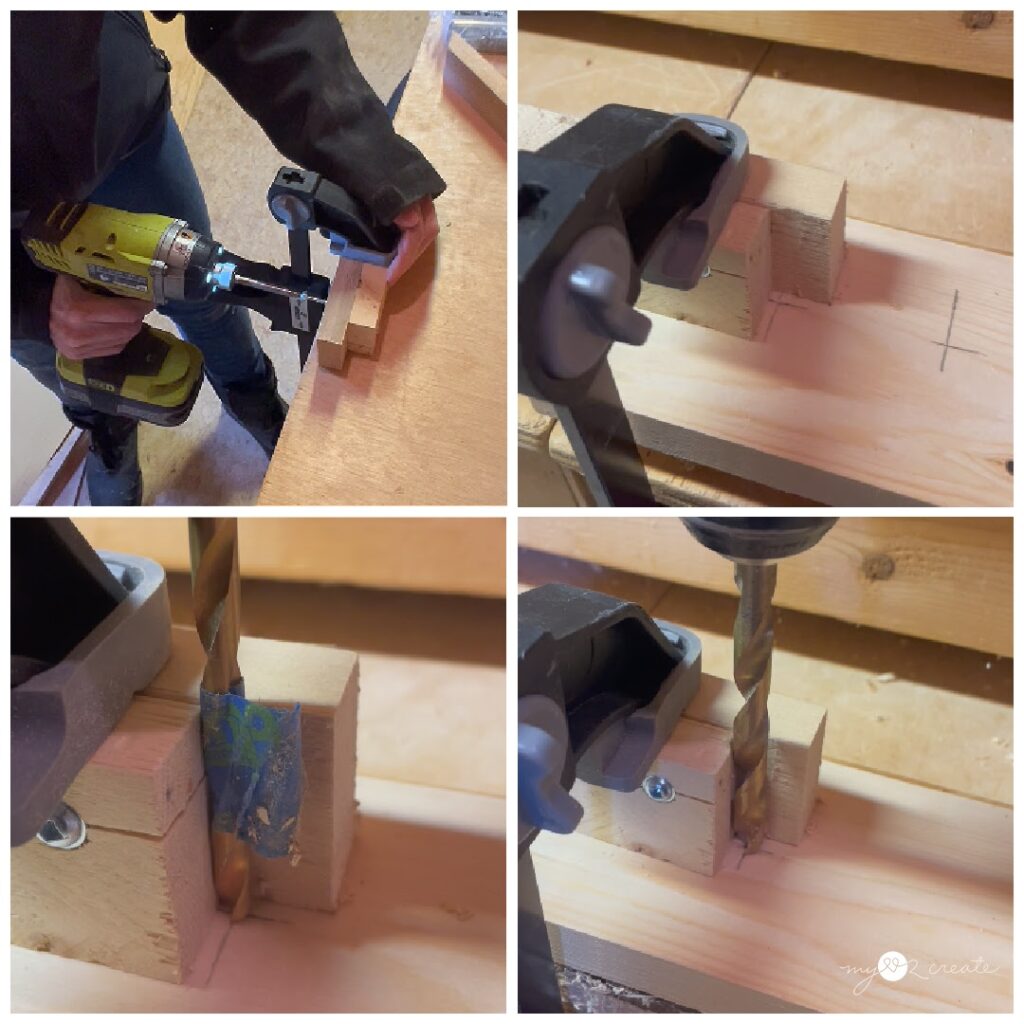
Because I want my holes to be drilled as straight as possible and since I do not own a drill press…I created a little jig out of scrap 1×2 boards to help me drill perpendicular to the board. I clamped my jig down to where the drill would be centered on my X and then used the jig as a guide to drill straight down, using my drill. It worked pretty well! You can use some painter’s tape to mark how far to drill down on your drill bit if you desire, I went all the way through the board which is 3/4″ thick. I advise having a scrap piece of wood under your board so you don’t drill into your workbench, if you were to accidentally drill down too far…TRUST me, that is easy to do!

I only own a spade drill bit in the 5/8″ size so for these dowel holes I predrilled with a smaller drill bit using my jig. Then those predrilled holes served as a guide to drill straight down with the spade bit. I set the spade bit into the hole made sure it was square and drilled straight down. This type of bit doesn’t make as pretty of holes, but it is WAY cheaper than other bits this size. Plus once the dowel is added the prettiness of the hole is irrelevant. 😉
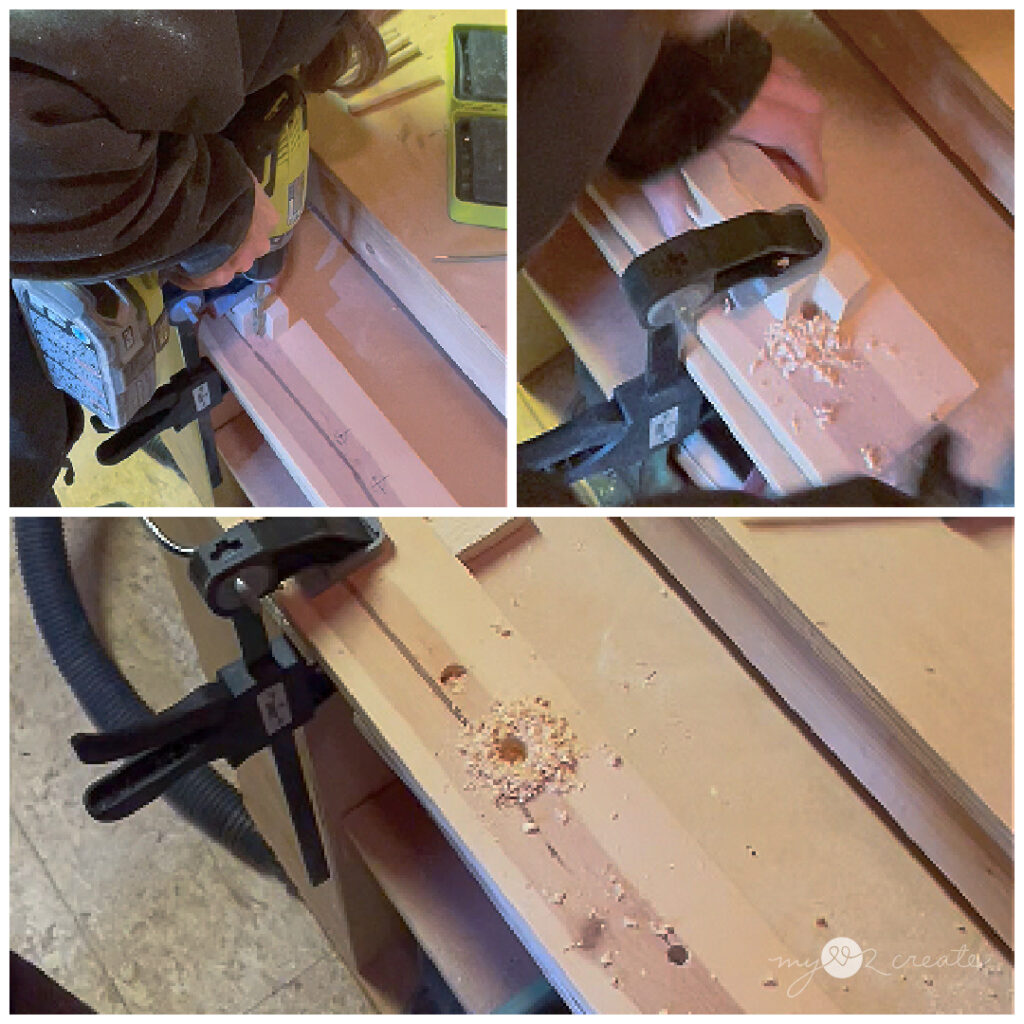
Here are a few shots of the holes getting drilled. Always clamp your board when drilling holes, especially with the spade bit, the board will try to shift and could mess up your drilling.
Step 4: Sand and glue in dowels
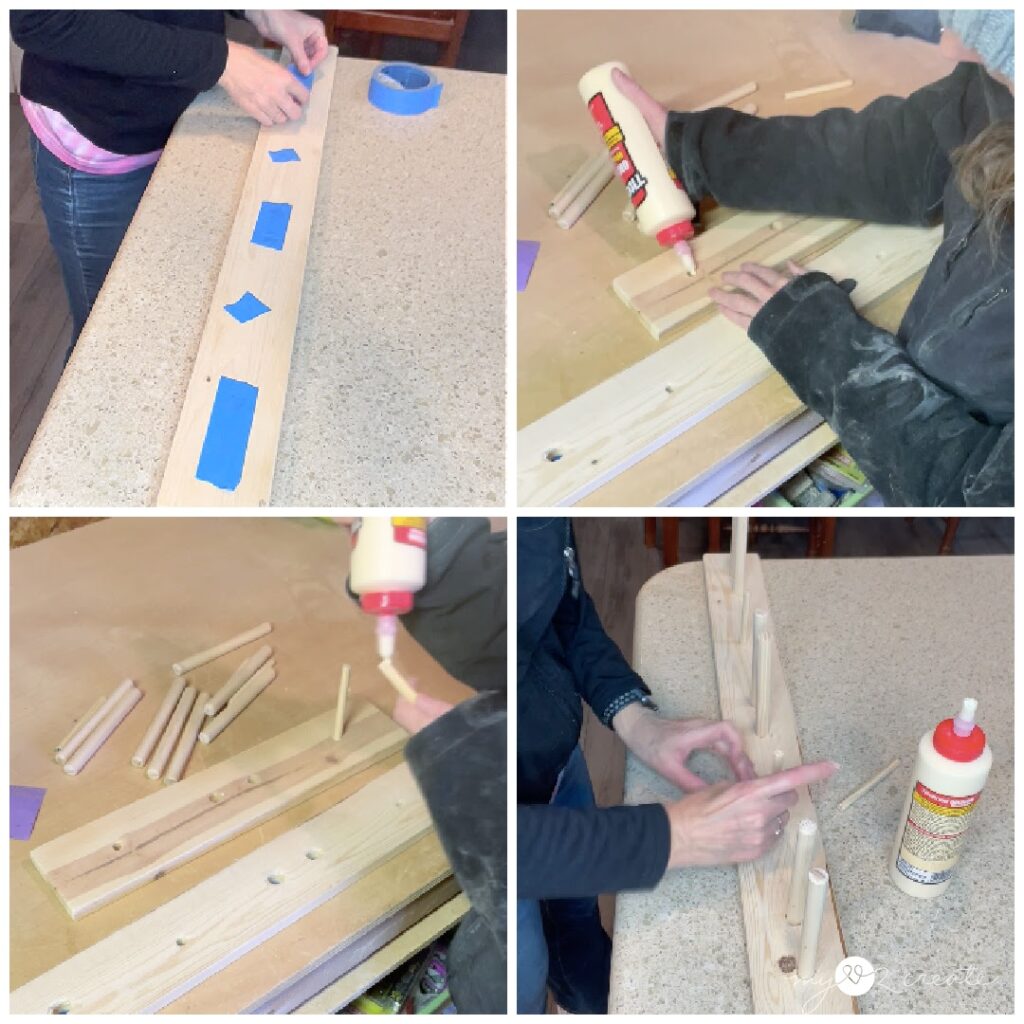
Once all your holes are drilled it is time to give your wood and dowels a good sanding. I start with a 100 grit sandpaper and then finish with a 220 to make it nice and smooth.
The last step is to glue in your dowel. I recommend adding painter’s tape to the back of your board under each dowel hole so that you don’t have leaking glue under your project. Next, add wood glue to the inside of your holes and some one the outside of the dowel, then place it in the hole. Make sure to wipe off any excess glue with a wet cloth before it dries so that if you are staining it won’t affect the finish. Spots where glues is dried onto the wood will not take the stain.
Once the glue is set and dry you are DONE…well almost.
Step 5: Finish with paint or stain on your custom ski rack
Finish as desired with paint or stain and a top coat. I choose to leave mine natural wood, no finish, mostly because of time. I may go back and add a finish later.
Step 6: Install Ski rack by screwing into the studs
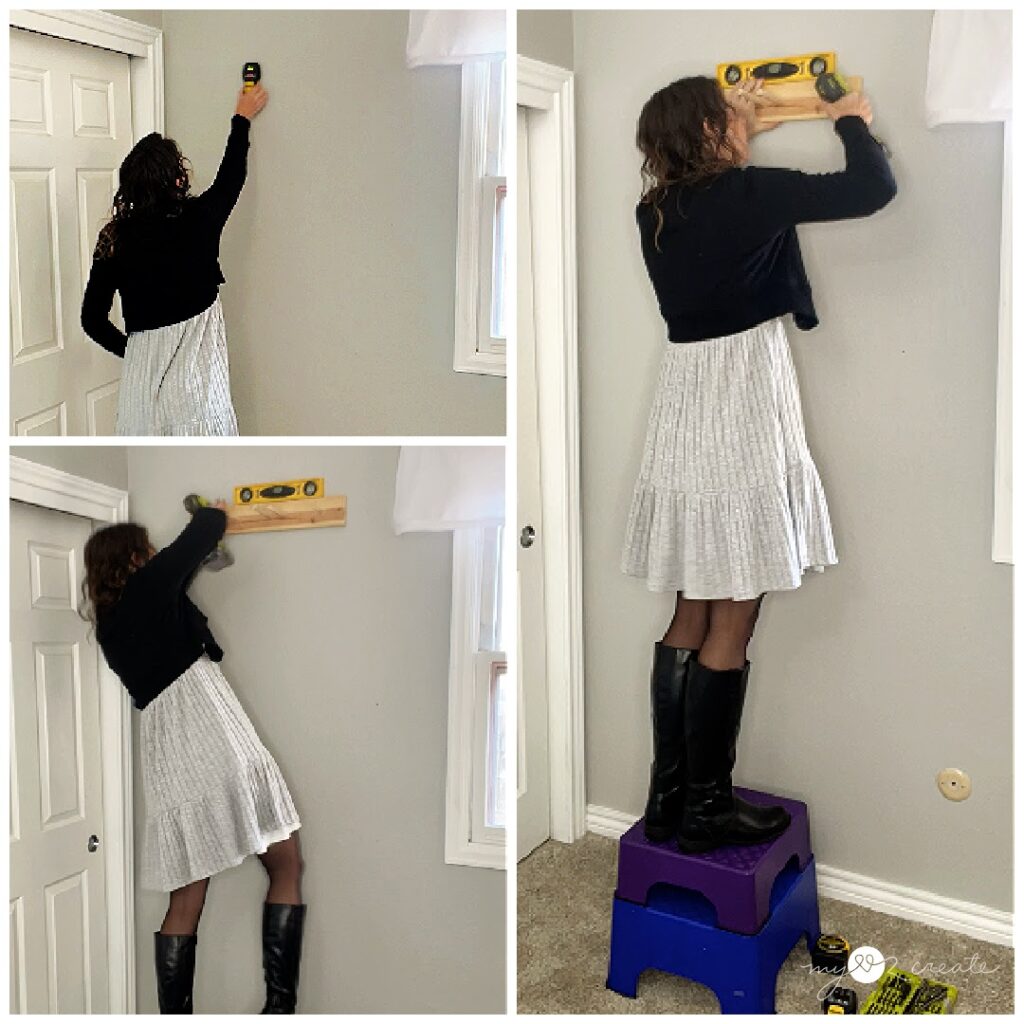
The most exciting part about a project is seeing it in action. It is vital that the ski rack is secure and will not fall and ruin the skis. Using a stud finder, find and mark the location of your studs in the wall. Next mark on your board where to pre drill holes for the screws (I recommend using self tapping screws so you don’t have to pre drill). I like to start the screws into the wood before I place it on the wall to drill into the studs. This is helpful have the screw started into the wood and makes it easier to keep it level as you screw it in. Make sure you are securing your rack to at least two studs and or more if your ski rack is longer and will hold more skis.
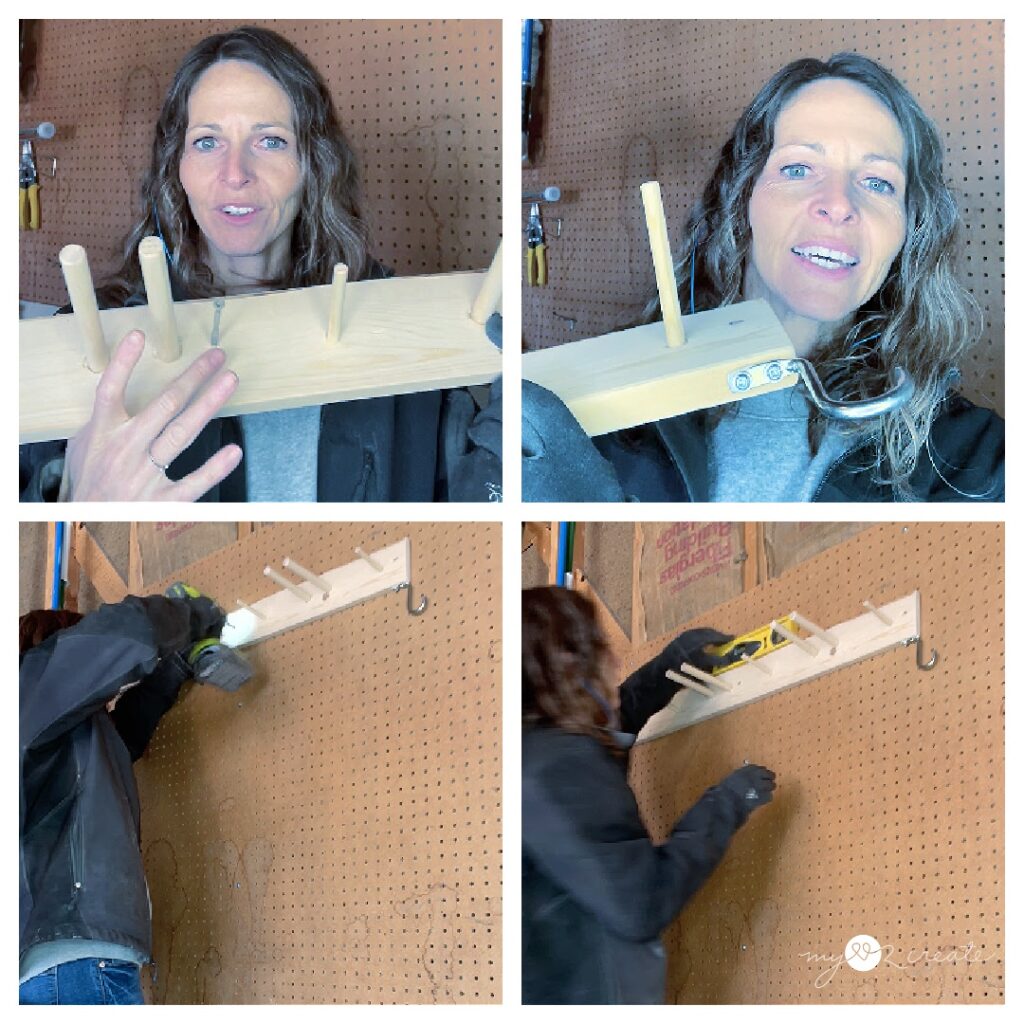
You can see on my bigger ski rack the screws started in the board first. I also found these random hooks I acquired somewhere at some point in time, I have no idea when. I decided it couldn’t hurt to add them on bottom of the board to hang items like gloves. Not a bad addition for free!
Step 7: Hang your skis and accessories on your custom ski rack!
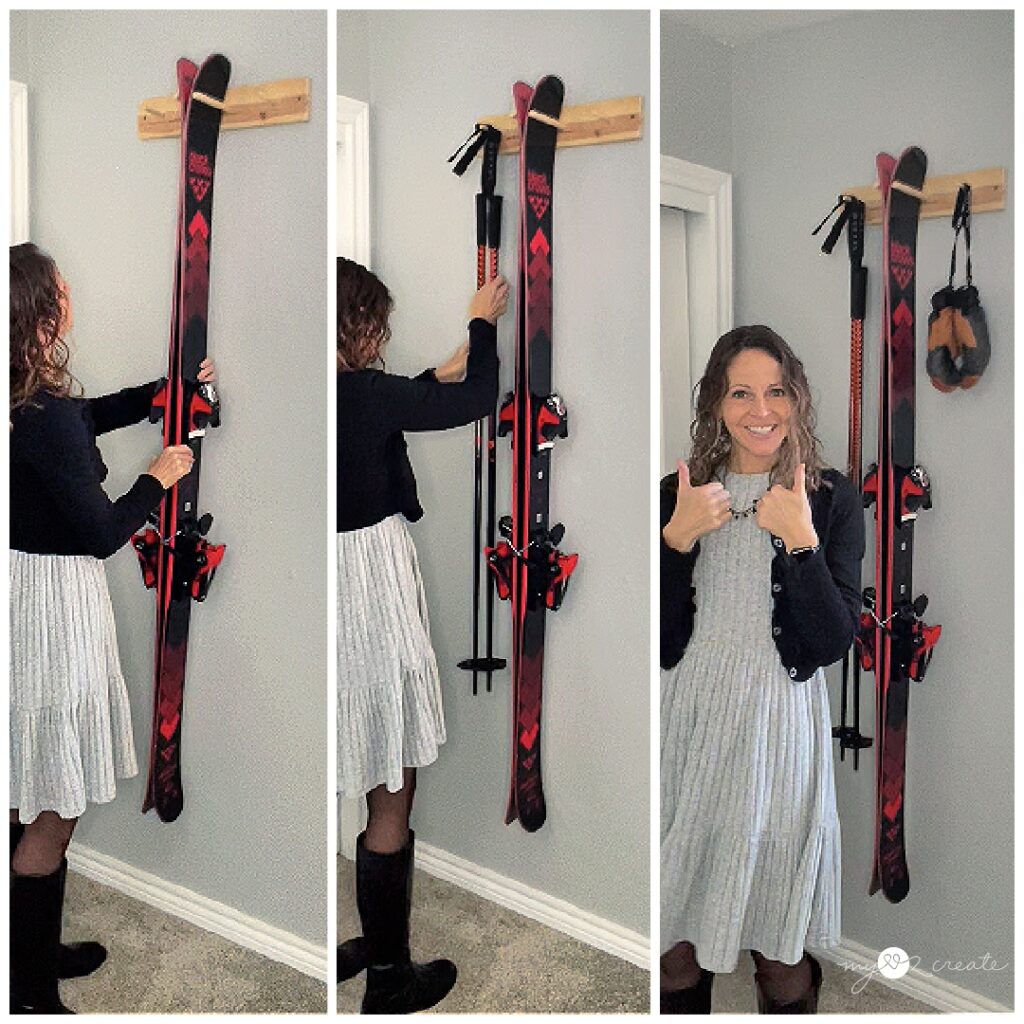
Hang up your skis and accessories onto your newly designed and build custom ski rack. Step back and enjoy your work!
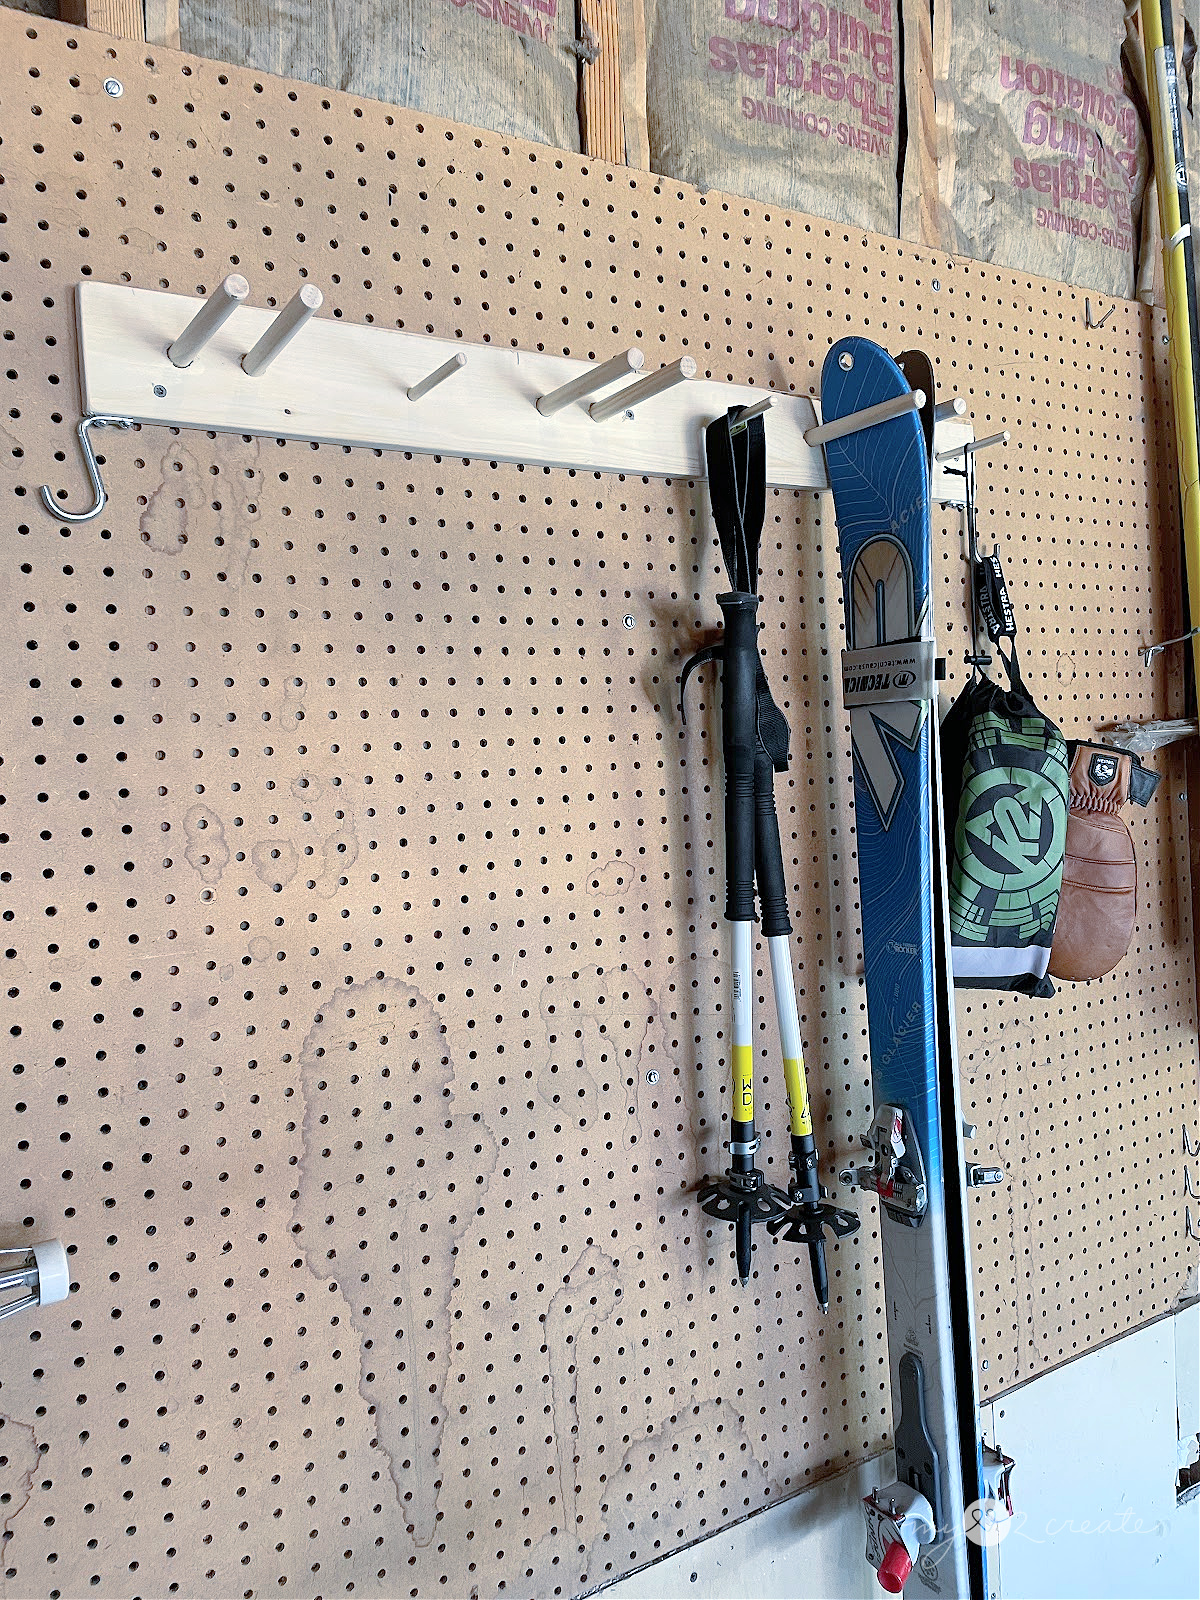
DIY organization at it’s best!
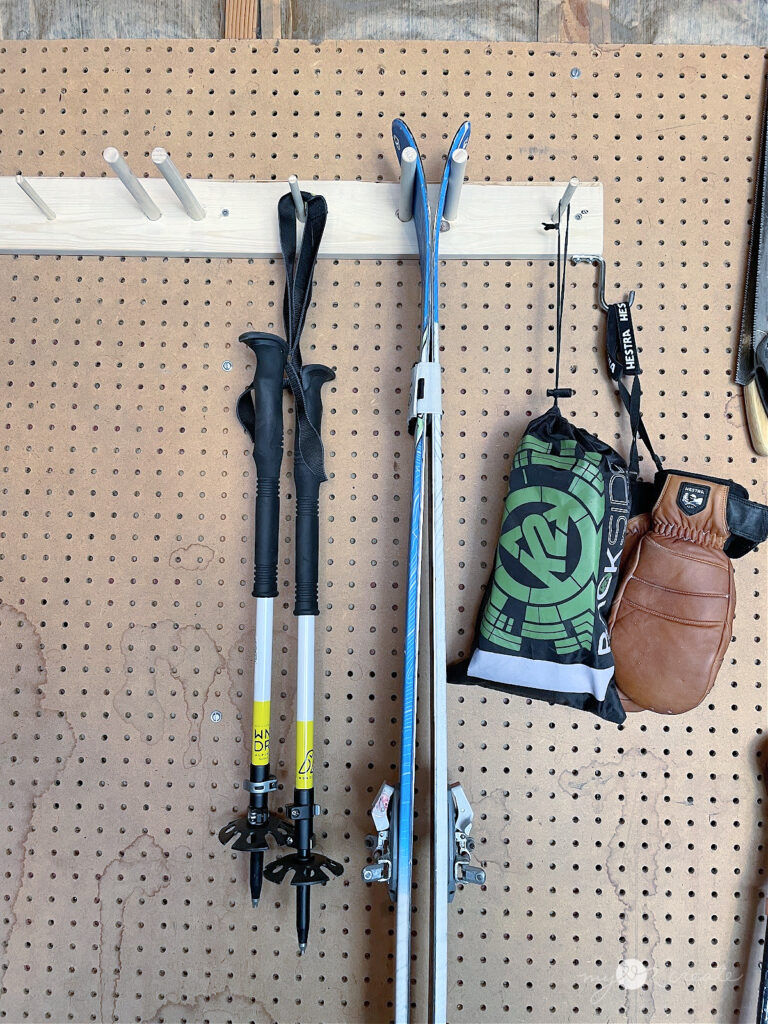
It is a no brainer to get your ski items organized and stored safe with minimal cost and time, right?!
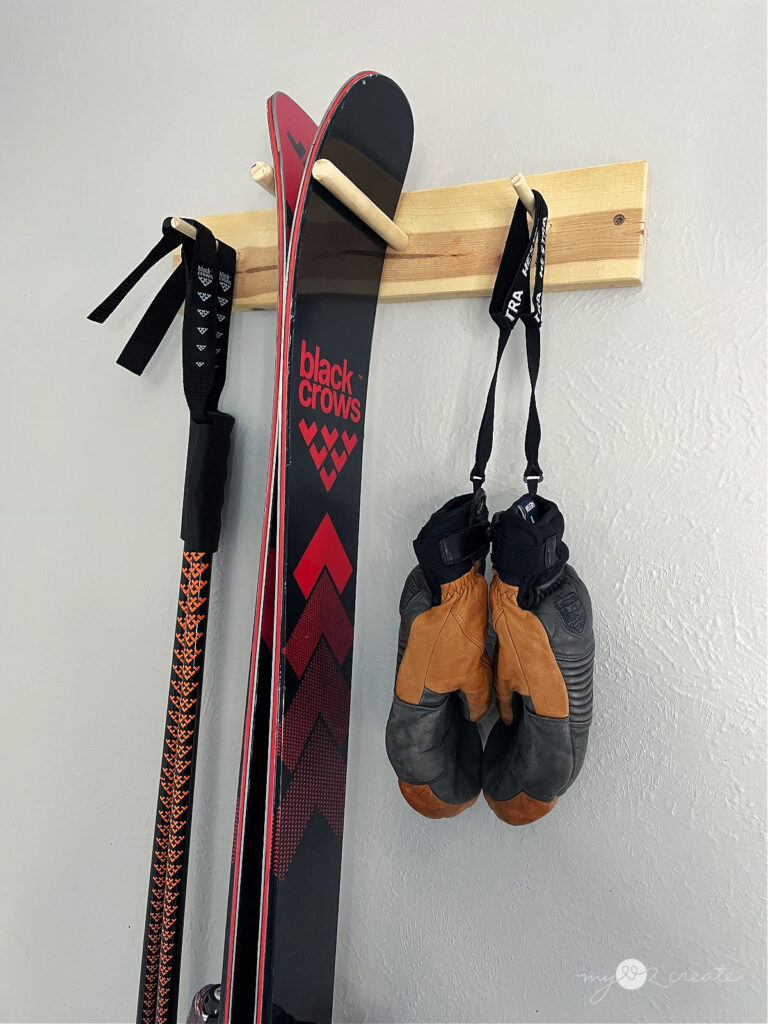
I am talking less than an hour to build this you guys…more if you do a paint or stain, but a half day project at most. Totally worth it to build a custom ski rack!
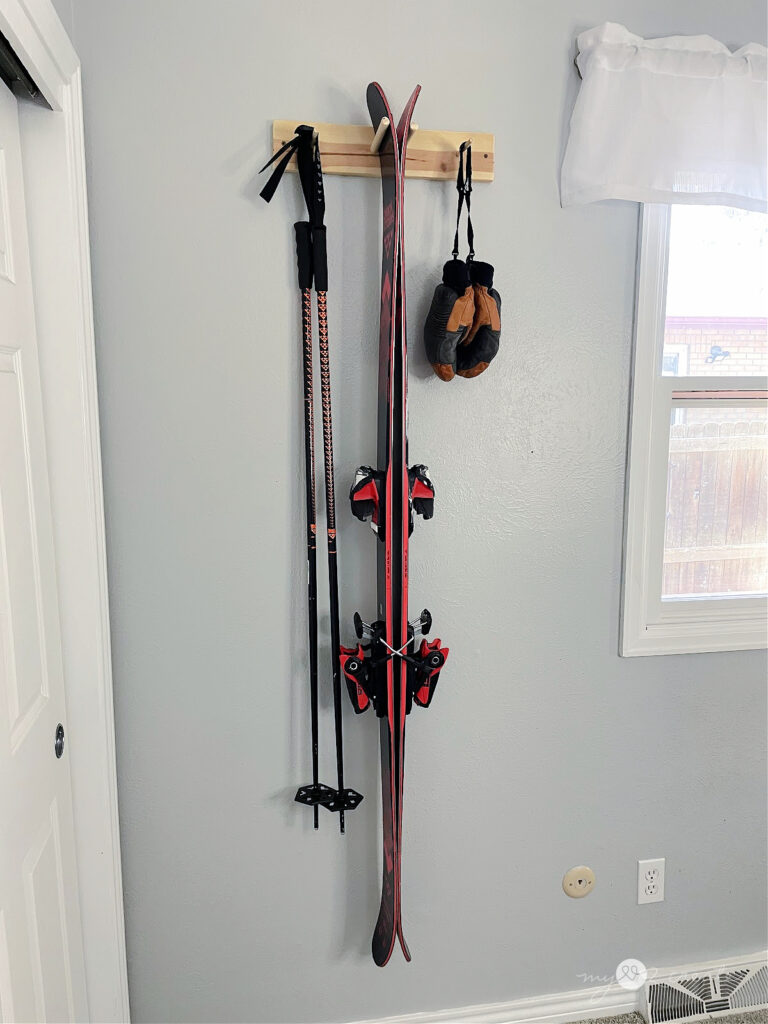
I sent this smaller rack home with my son for his skis. Hopefully he will use it!
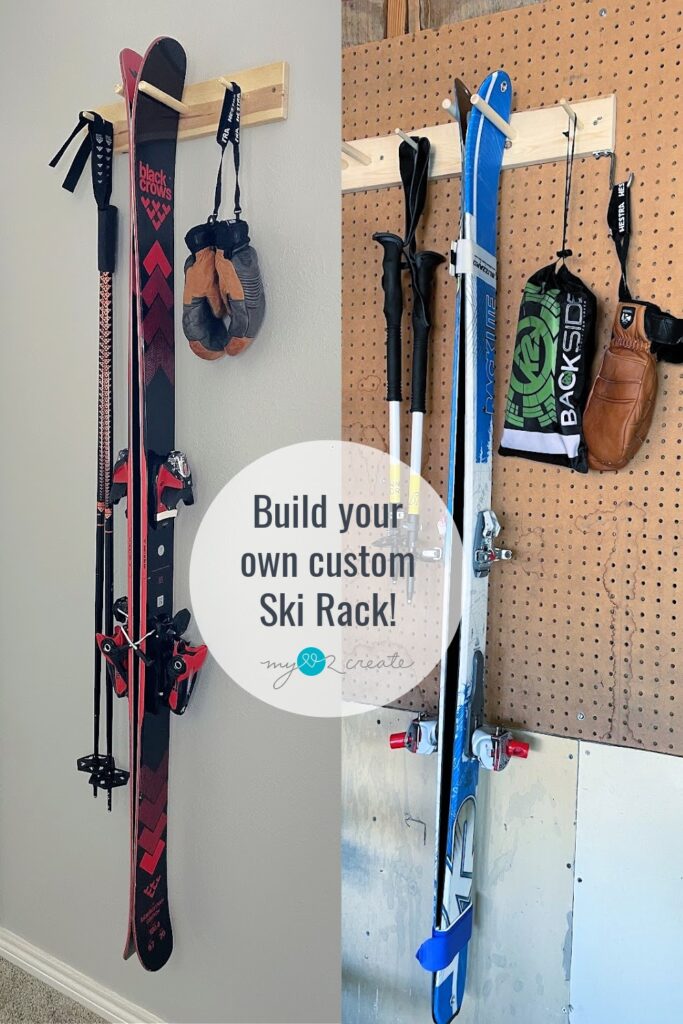
I hope this project inspires you to get your skis organized!
Click HERE for more great projects to keep you organized!
Thanks for following along, and I hope to see you next time.


