DIY Chalkboard Easel
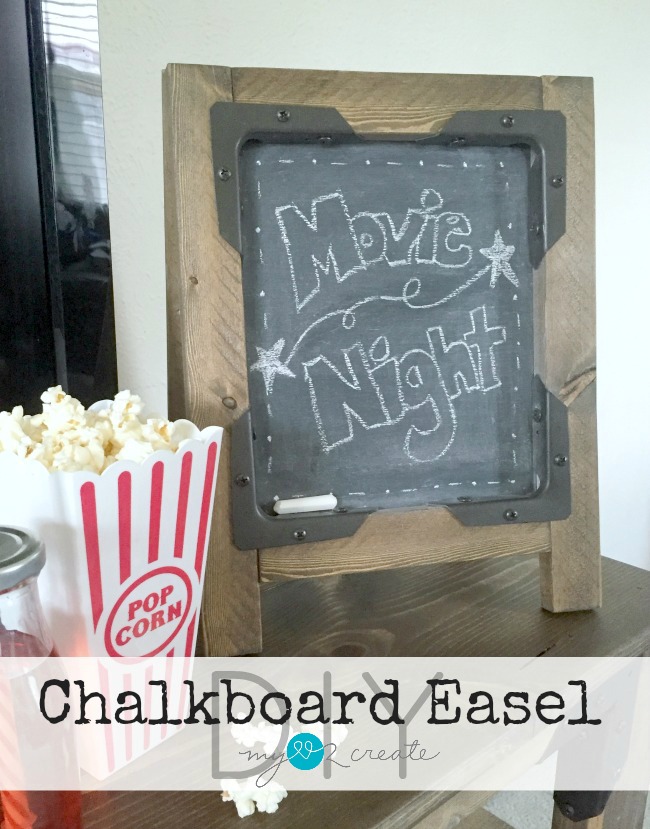
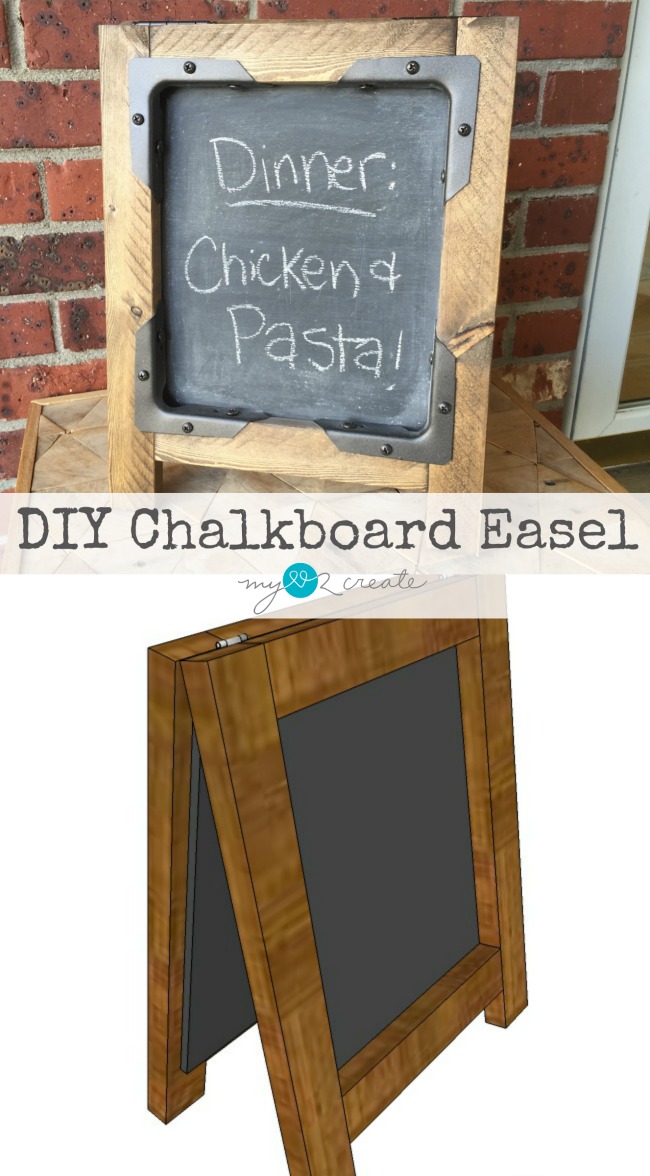
Today I have a fun and easy project to share with you, a DIY Chalkboard Easel!
I kind of love it. 🙂
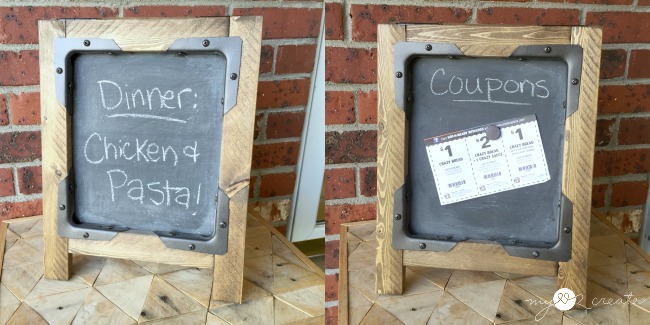
Probably because is so useful and super cute too, my favorite kind of project! It can be used in the kitchen for a dinner menu, or shopping lists, or at your desk for reminders or notes. Make it a chalkboard easel, or add sheet metal and make it magnetic as well! I made one side magnetic so I can throw on a recipe or a note and have it stay put! You could also add cork board too if you wanted. 🙂
This project came about because I was working on my kid’s media console for our basement, which I will be sharing on Monday so make sure to come back!
Anyway, we are big movie people, which I told you about when I made my Reclaimed Wood Media Console, and I thought it would be fun for the kids to have a chalkboard to help them pick and choose movies, and just to play with in general. And cause I love Chalkboards and just want to make them anytime I can! 🙂
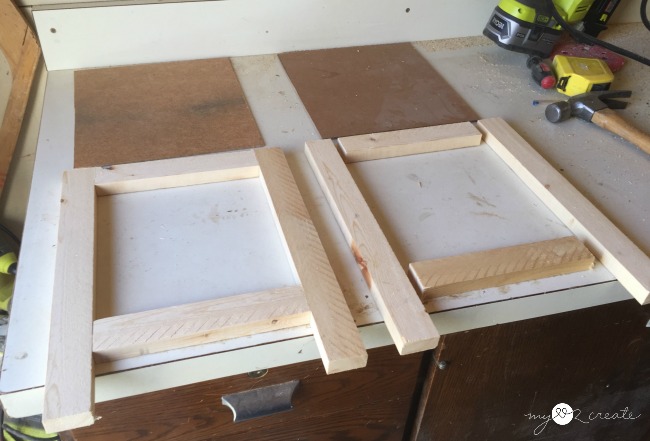
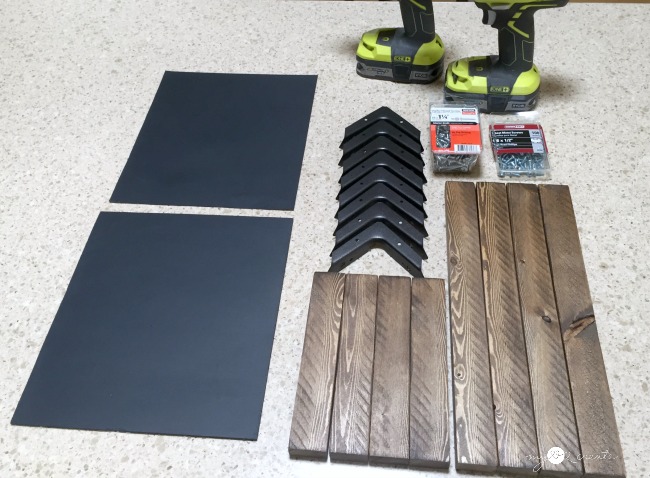
I started by grabbing some scrap 1×2’s and chip board and cut them to size.
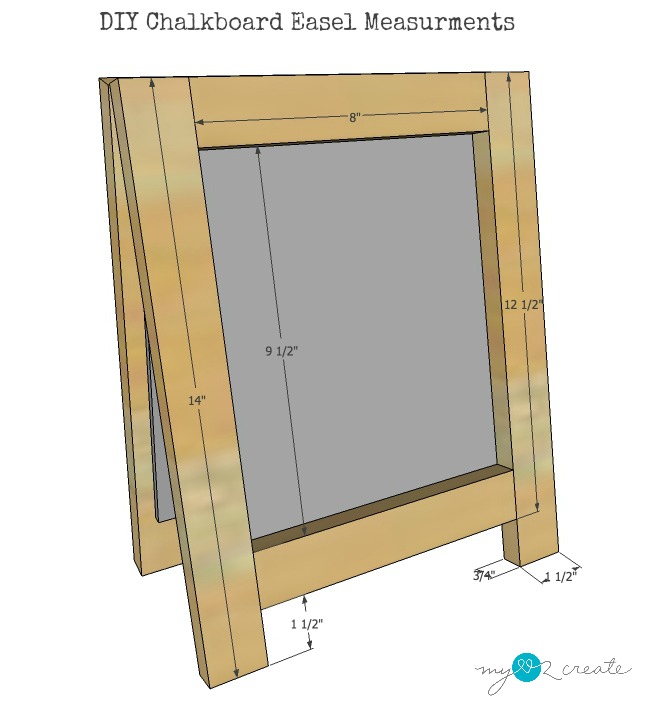
Here are the measurements I used for the 1×2 wood. Obviously you could do it any size you want and customize it to fit your needs. I made two frames to make the easel.
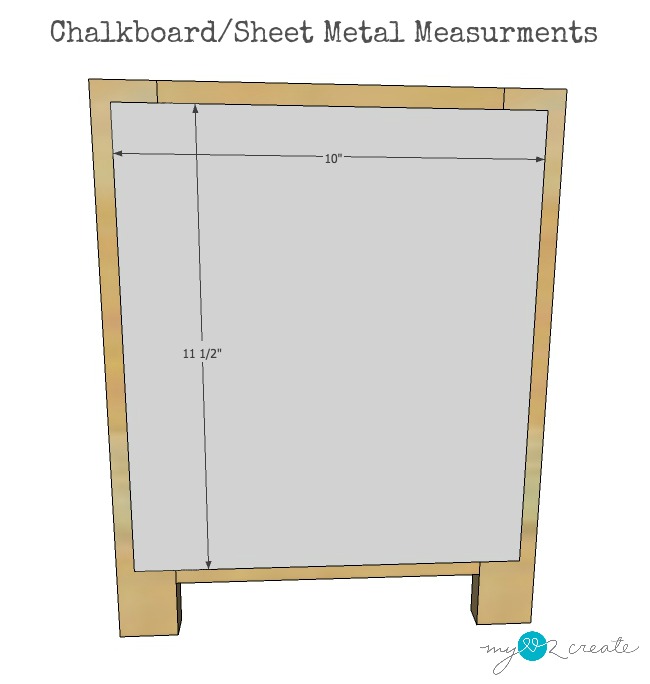
Here are the measurements for the backing. I used chipboard at 1/4” thick, but you could use any 1/4” material.
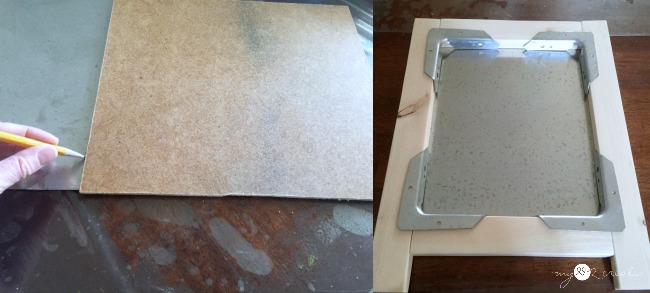
I started out with two chipboard backs for the chalkboards and then had the idea to use sheet metal to make one side magnetic. If you purchase sheet metal make sure to take a magnet with you, as not all metal is magnetic!
Once I had the metal cut I did a dry fit. I decided to use Simpson Strong Tie RTA1 connectors to give the easel a fun industrial look, AND to have it match the media console since I built it with Strong-tie connectors as well. 🙂
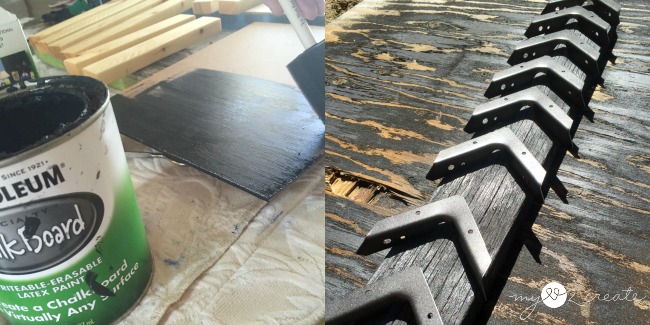
I painted my chipboard and sheet metal with Rustoleum chalkboard paint and I spray painted the connectors and screws with Rustoleum’s oil rubbed bronze spray paint. For the easel frame pieces I used pre-stain wood conditioner and then stained them with Minwax Jacobean and Special Walnut mix.
Here I am ready to build! If you want a finish on the stained wood, I suggest doing it before you build. I ended up just spraying on a few coats of sealer.
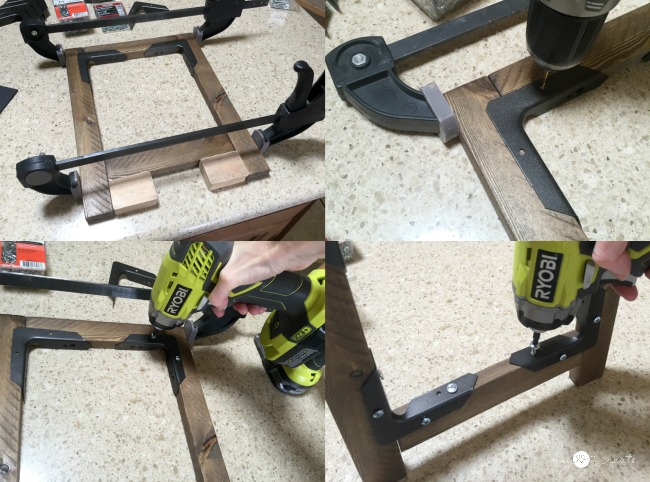
To build the frame I started by clamping my boards together. You can see in the top left photo I used some 1 1/2” blocks of wood to raise up the bottom rail for the legs, it was easier then measuring, sometimes I am lazy.
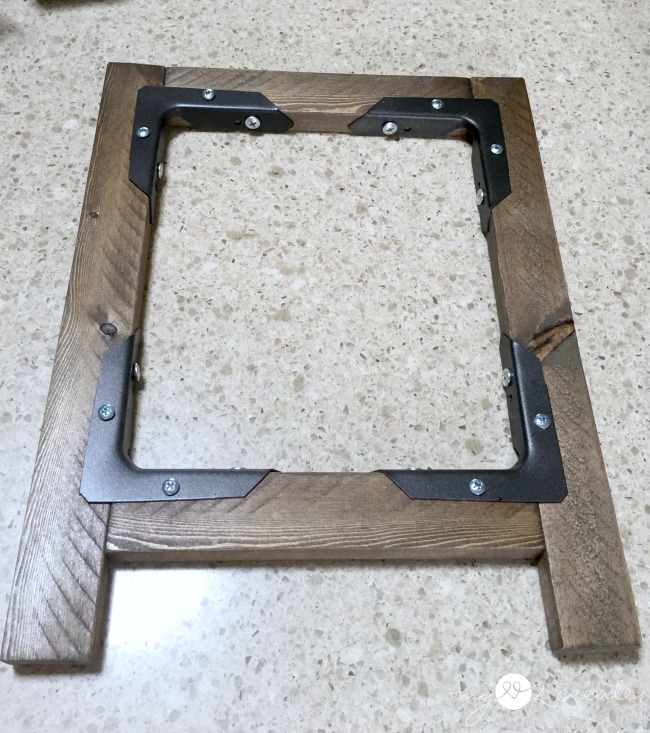
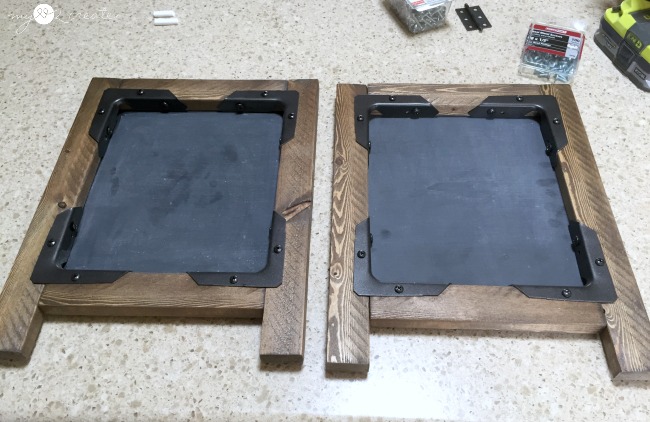
To attach the connectors from the front I used 1/2” screws. I made sure to pre-drill first, then I screwed them all on. To connect the inside I used 1 1/4” strong-tie wafer head screws. These are self tapping and you don’t have to pre-drill, it is like butter! 😉 Love.
See cute!! For the first one I built I forgot to spray paint the screws, so I had to touch up the screws afterward. For the second one I just spray painted the screws first, much easier.
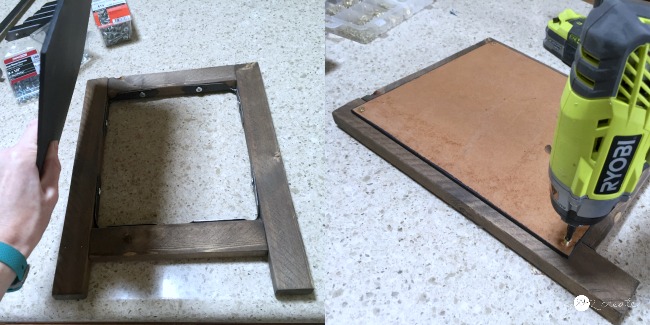
If I was really awesome and had a cool Roybi Staple Gun (on my wish list) then I would have simply stapled on the chalkboard backing. But I am only slightly awesome, (just kidding, the amount of cool tools you have does NOT determine your awesomeness, it just makes you feel awesome-er).
I pre-drilled and screwed on the backing with 1/2” screws. Since the back does not inset into the frame the easel does not close totally flat when not in use, it will remain open a little, just FYI.
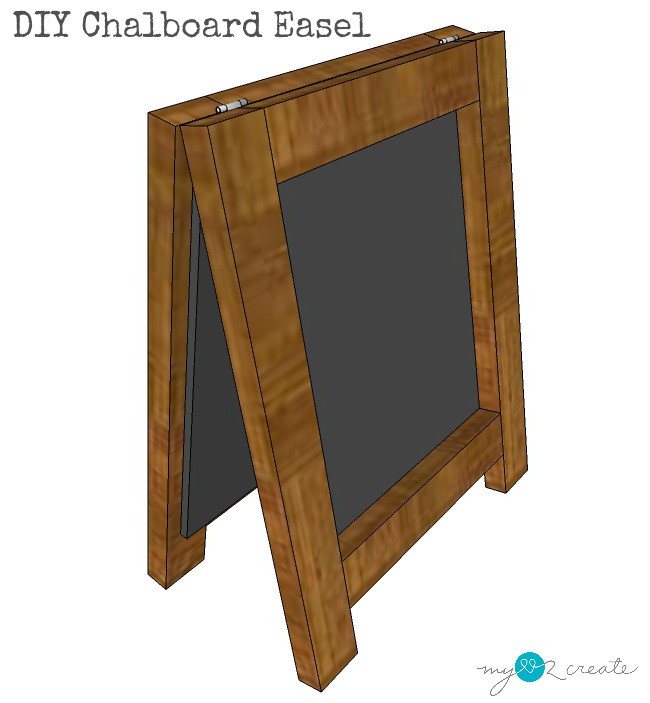
Here they are ready to be attached together with hinges, you can see one of my hinges at the top of the screen, I spray painted them to match. I had these hinges on hand, a regular butt hinge would work great.
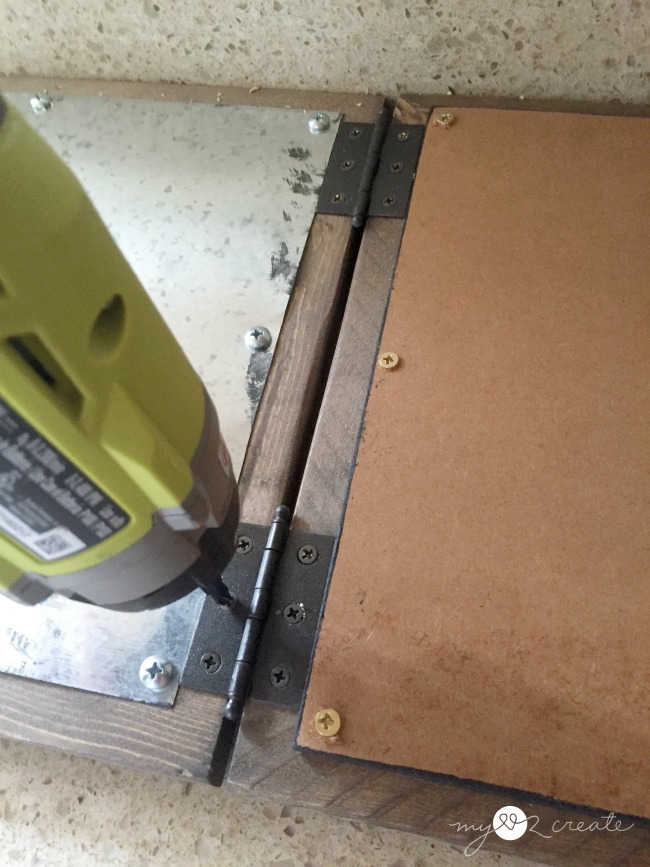
I put the easel frames against counter wall so they would be straight, and then added the hinges, PRE-DRILL first so your wood doesn’t split. You can see that I have room for the hinges because I have a 1/2” space at the top of the frame, make sure your hinges will fit that space, adjust the chalkboard back accordingly.
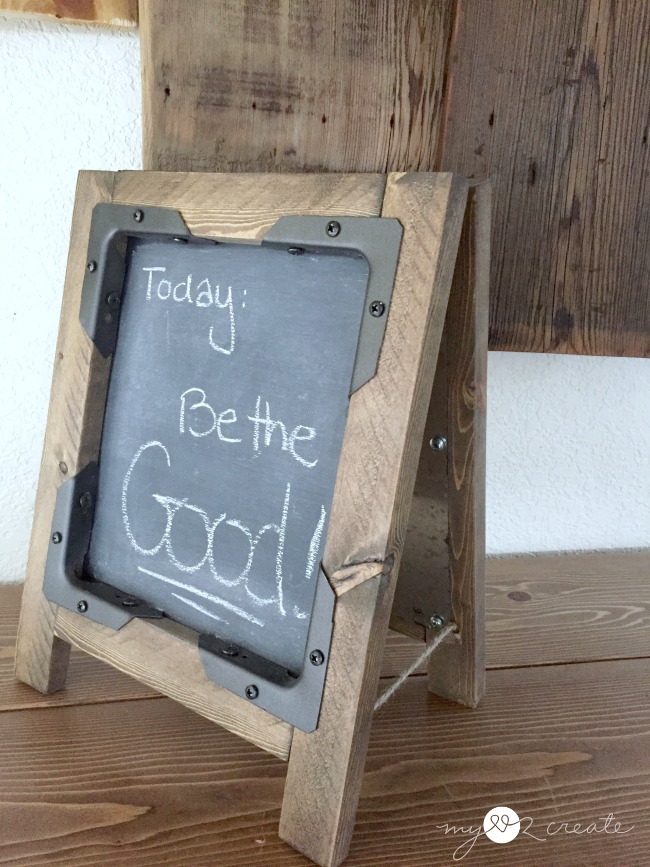
And that is it! Super easy! Oh, and you will need to add something so your easel doesn’t open too far and fall. I used some twine, tied knots in the ends, and nailed into the knots with carpet tacks.
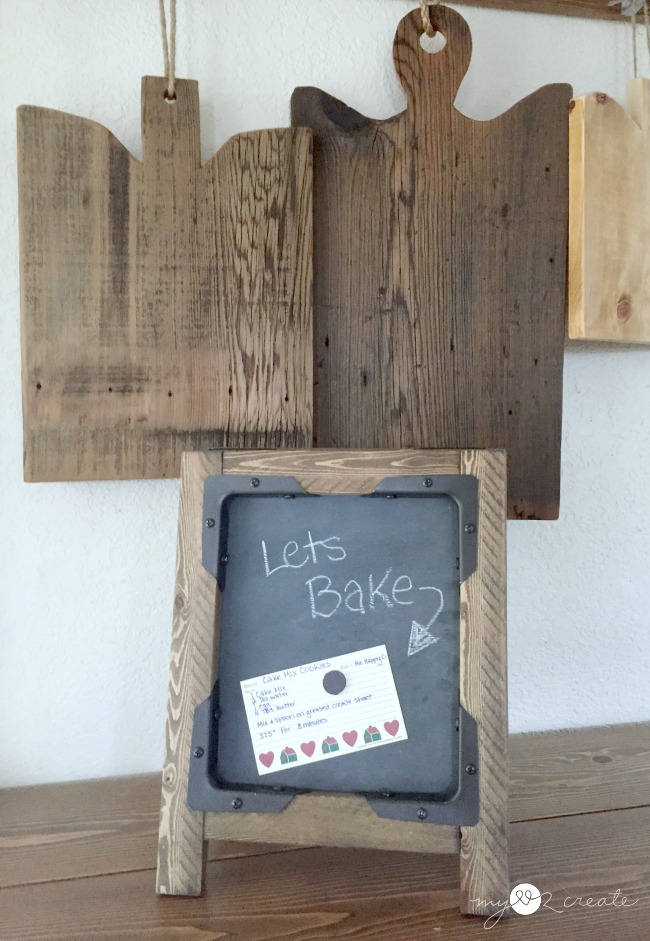
Here is a shot of it as a recipe board, and obviously it is the sheet metal side, painted with chalkboard paint, of course. 🙂
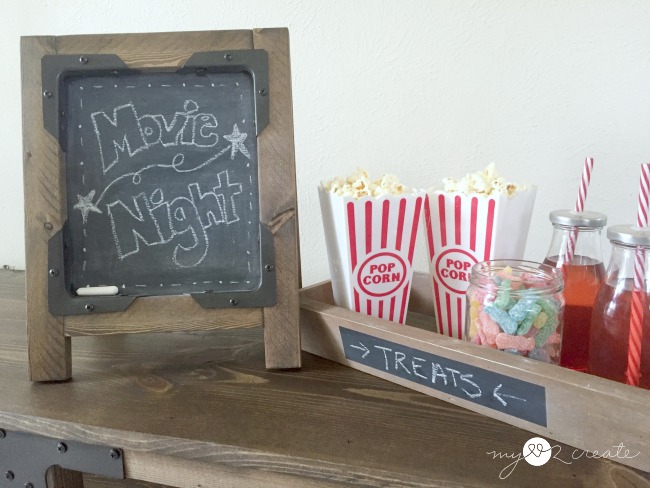
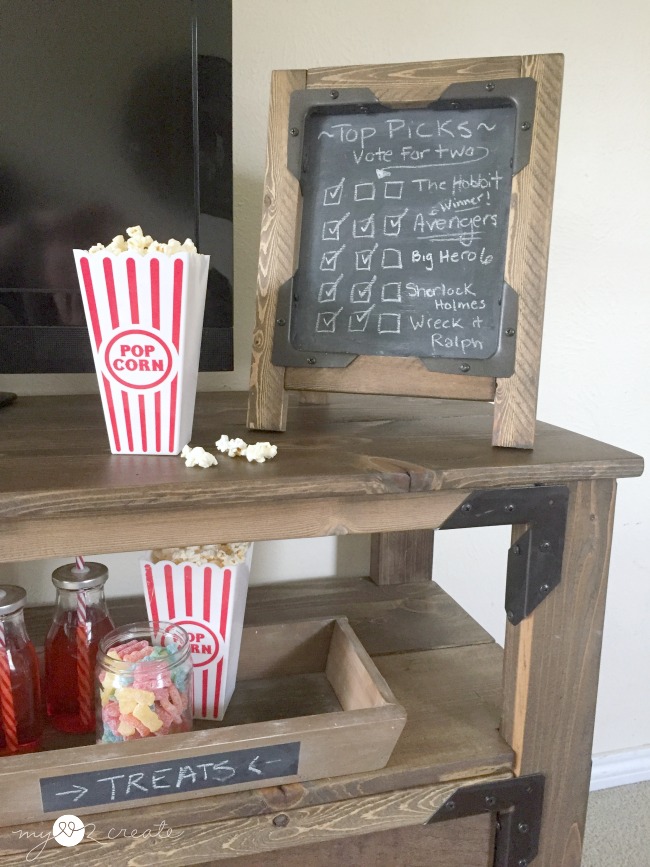
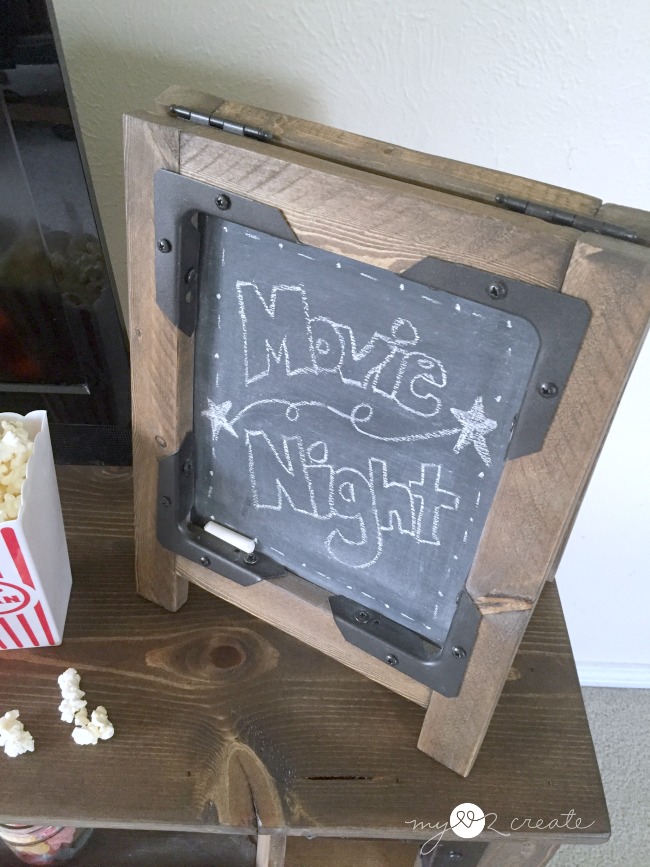
My kids are all ready for a movie night, complete with sour patch kids and popcorn!
Now the hard part…deciding what to watch!! This easel can help them, ha ha!
What about this sneak peek of the console?! 🙂
I can’t wait to share it with you! But for now…go and build a cute chalkboard easel!
If you missed my first periscope video I thought it would be fun to add it here! I have to be honest it was pretty scary to push the broadcast button, but I made it through! Ha ha! Be sure to follow me on Instagram, @MyLove2Create!
Thanks for pinning and sharing!
Have a great weekend!
Hugs,
Mindi
I will be linking to these parties and Savvy Southern Style


Mindi! So so so cute, those metal brackets just put it over the top.
How cute! I love the idea of the magnetic chalkboard. At first I thought that you used a baking sheet but never seen one quite like that, but it is metal brackets. Nice touch, they look great! Pinning to my chalkboard board. I love chalkboards too!
What a fun project!
Thanks for sharing with SYC.
What a neat project Mindi. I love how you connected everything with the metal brackets awesome idea.
Carole @ Garden Up Green
Amazing project – I just love it. Thanks so much for the really detailed photos and explanation.
Very creative project. I'll be sharing on my FB page today. So glad you shared with us at Merry Monday. I really like the magnetic side, perfect for cooking and glancing at recipes!
So cute! I love adding small chalkboards in my vignettes now and then. Picked up a small one at a damaged goods store, but what a clever idea to make your own! Thanks for sharing with SYC.
hugs,
Jann
I love this project Mindi! Shared.Thanks for sharing at the Inspiration Spotlight party.
I love this project Mindi! Shared.Thanks for sharing at the Inspiration Spotlight party.