DIY Chalkboard Frames
It is kind of a long story how these fun DIY Chalkboard Frames came to be…
But it is the process that I love, and so I will share it with you, don’t worry I will keep it short! 🙂
In my church I help teach the girls ages 8 to 11 twice a month, outside of regular church, we do fun activities and encourage them in goal setting…that type of stuff. We call it Activity Days.
In planning our up coming Daddy Daughter night we decided it would be fun for the girls to give a gift to their dad’s. I promptly volunteered myself to make some fun frames…
This post contains affiliate links
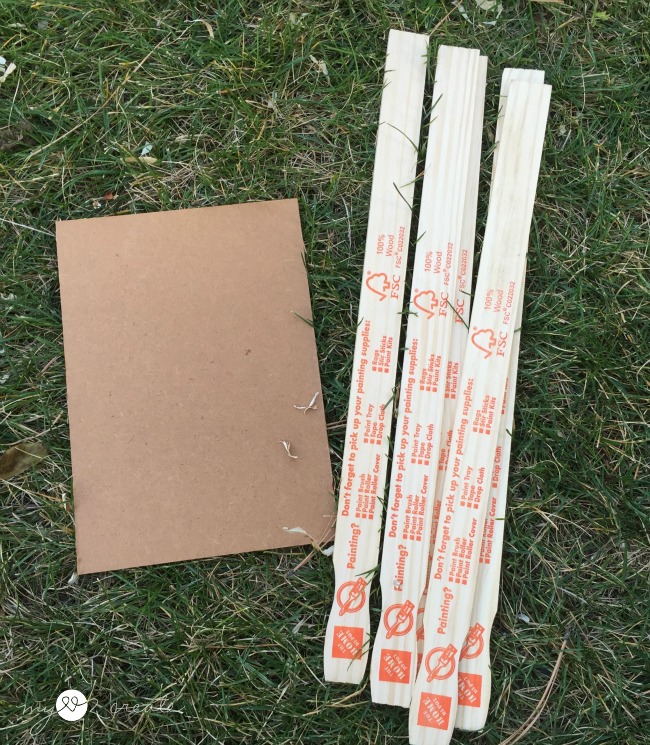
I didn’t want to spend any money on them, so the first thing I thought to use was 5 gallon paint sticks. They are free! Yay for Home Depot! For the middle section of the frame I knew I had some scrap hardboard (which is super cheap if you need to buy it) left over from, something…
Hardboard or chipboard is the stuff you find on the back of a dresser or the bottom of a drawer…it is very thin and very hard, and usually smooth on one side and rough on the other. 🙂
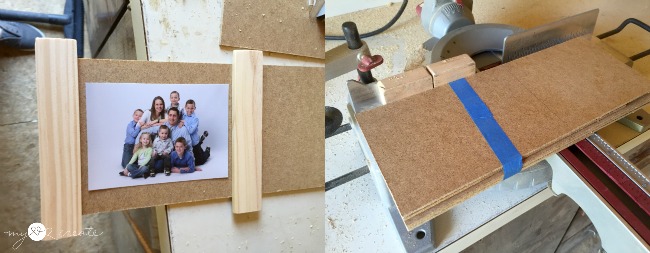
My idea was that the girls could make the frame special by decorating it however they wanted for their Dad. Then we would take a picture of them with their dad at our daddy daughter sock hop and they could put it on the frame. I went with a 4×6 photo, and just grabbed one of mine to use as a guide for building.
No measuring, just eyeballing it folks, that’s how I roll, but I will give you the sizes of my final product. Once I had it to the size I wanted I cut all the hardboard pieces at the same time by taping them together.
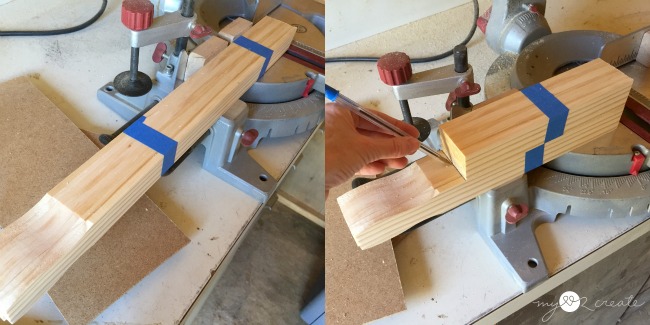
I did the same thing with the paint sticks, and made sure to cut two for each frame.
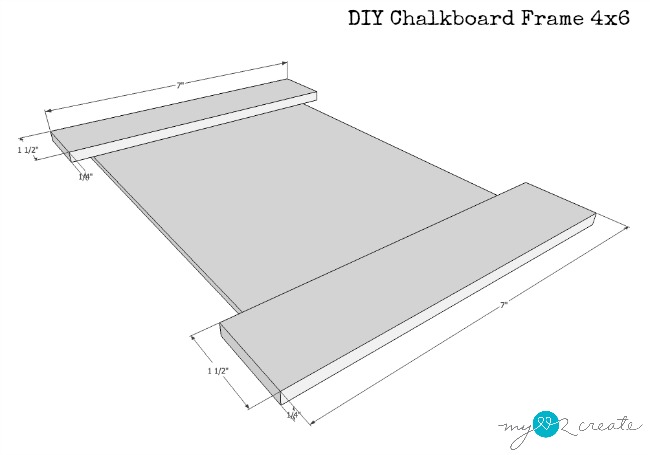
Here are the dimensions for the front of the 4×6 frame.
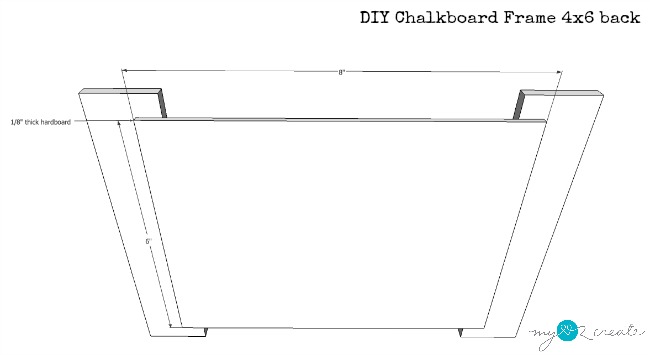
And the back.
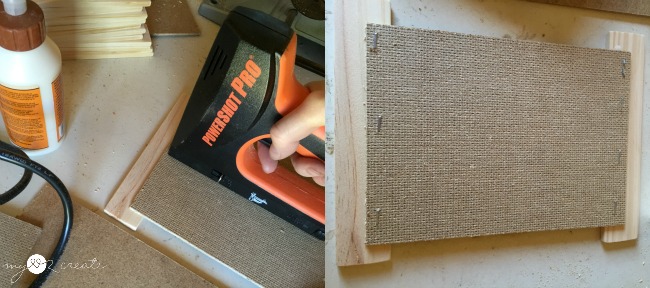
To secure the hardboard to the paint sticks I used gorilla wood glue and a staple gun. I did this method on all my 4×6 frames, but hot glue works just as well.
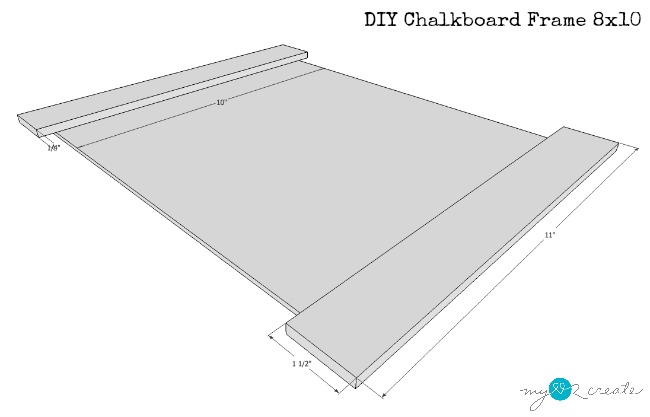
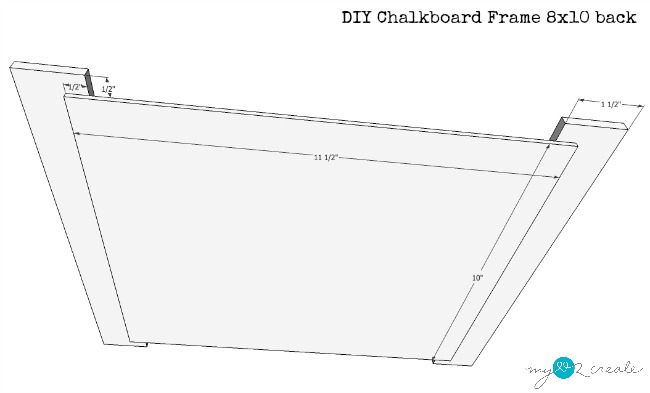
I also made an 8×10 frame and secured it with hot glue. I think I liked this method better, it was fast and easy.
The size for my 8×10 frame.
And the back. Just know you can do any size you want…which is the best part of DIY!
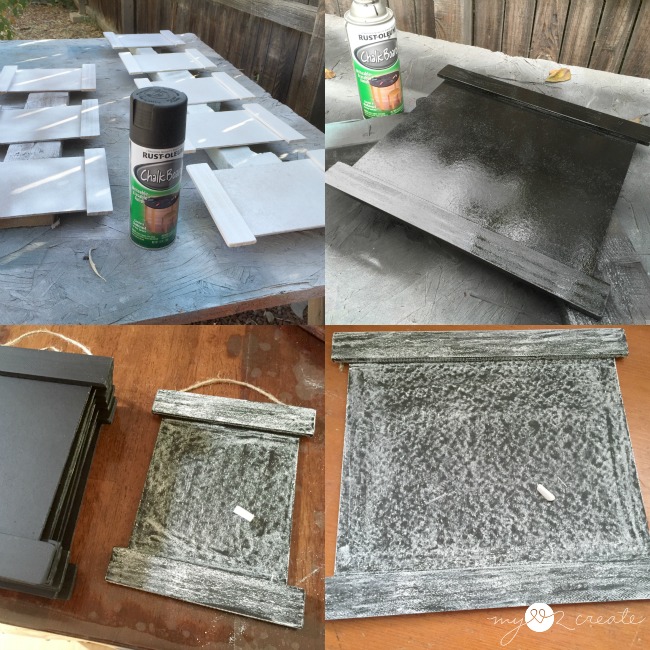
Because I was doing so many frames I bought a can of Rustoleum Chalkboard spray paint, to make my frames into chalkboards. Let me tell ya, it was awesome! I totally need to keep a can of this on hand, I usually just brush it on, which works great, but in a hurry this stuff rocks!
I did prime the smaller frames before I sprayed the chalkboard paint, but I don’t think it was necessary. I didn’t prime the larger frame first and it was fine. After they were dry I gave them a good rubbing with chalk and they were good to go!
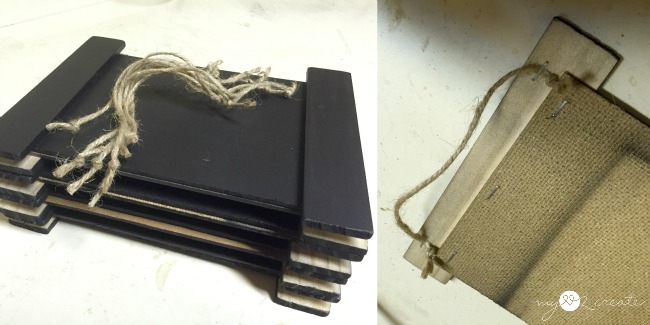
To hang the frame I used twine with knots tied on each end. I stapled and hot glued them onto the back of the paint stick. Only one method (staple or hot glue) would be sufficient…sometimes I like overdo it. Better safe than sorry is what I always say! 🙂
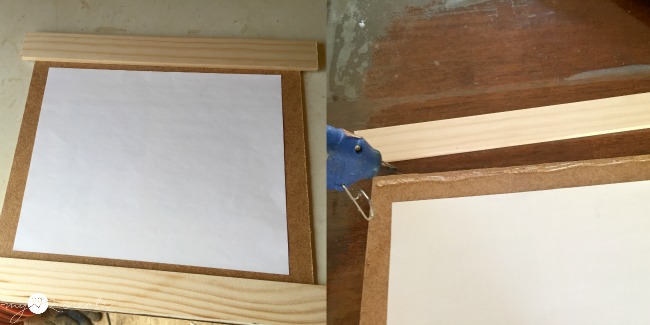
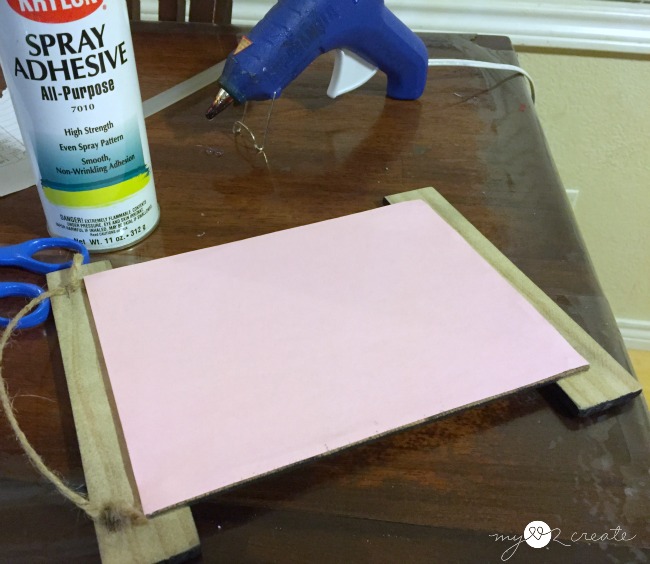
I used spray adhesive and hot glue, on the edges, to attach some paper to the back of the chipboard/hardboard. I did this so the girls could write a little note or letter to their Dad’s.
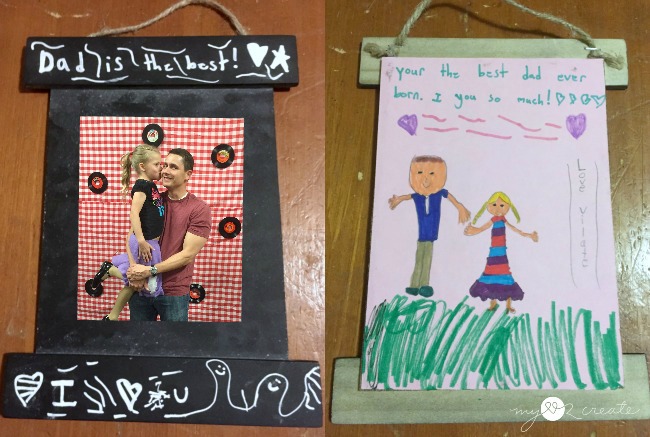
This is my daughter’s frame. I had the girls use a chalkboard marker to decorate the front. Then they all did what they wanted on the back. They were all really sweet! Since this event was just last week, my friend hasn’t given us the photos for the frames yet, but I added this photo I took of my husband and daughter on the computer (that is why it looks crooked) just to give you an idea.
I told the Dad’s and Girls that it could be their secret frame and they could erase the chalkboard marker and write new notes to each other on the chalkboard whenever they wanted. Doesn’t that sound fun!?
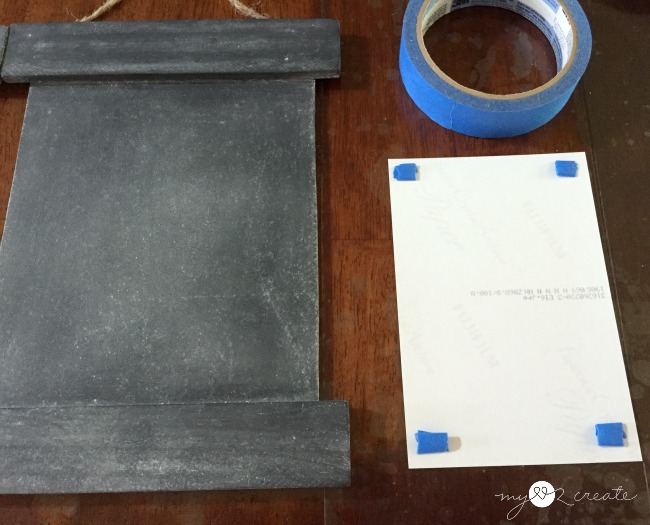
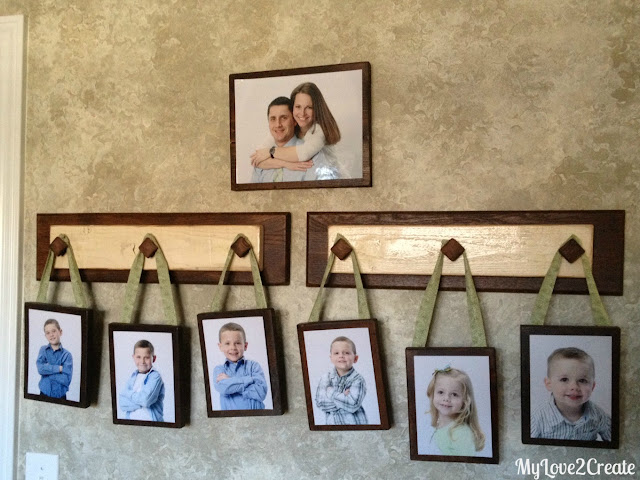
To attach the photos to the frame I used high tech scotch blue painters tape. 🙂 It worked great! But you could also do the same thing that I did on my pallet and scrap wood picture frames.
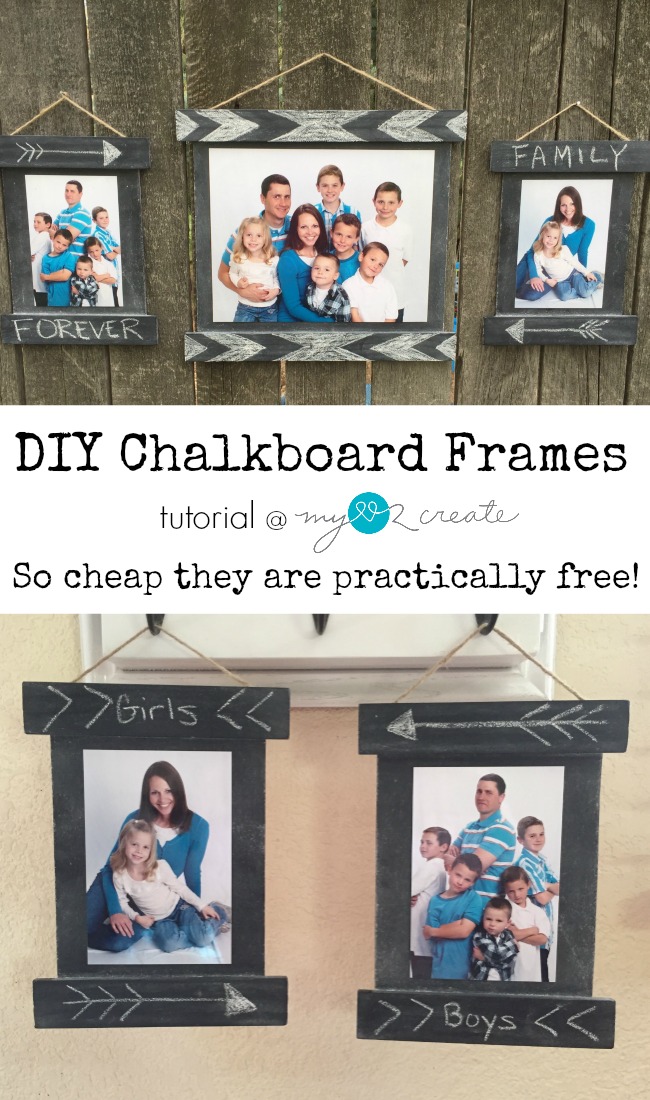
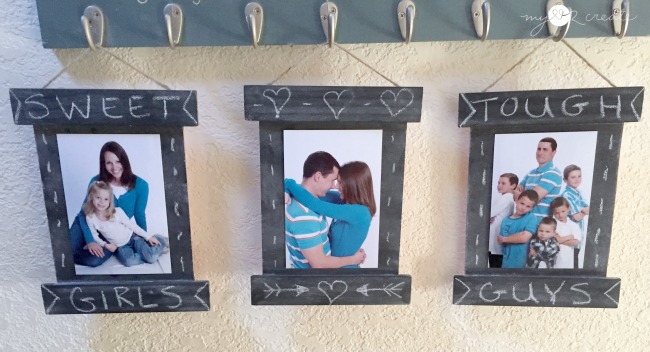
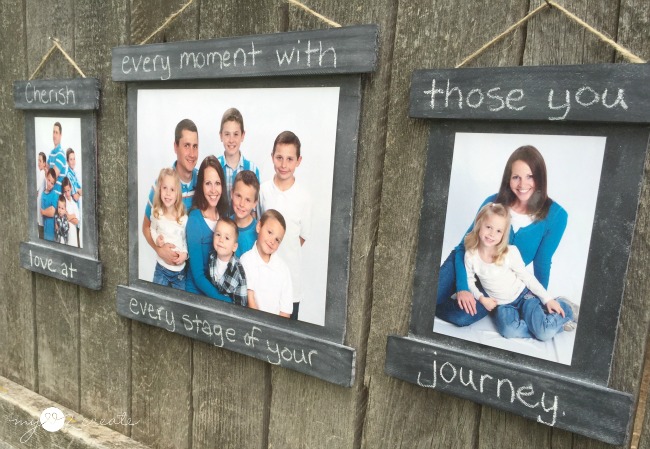
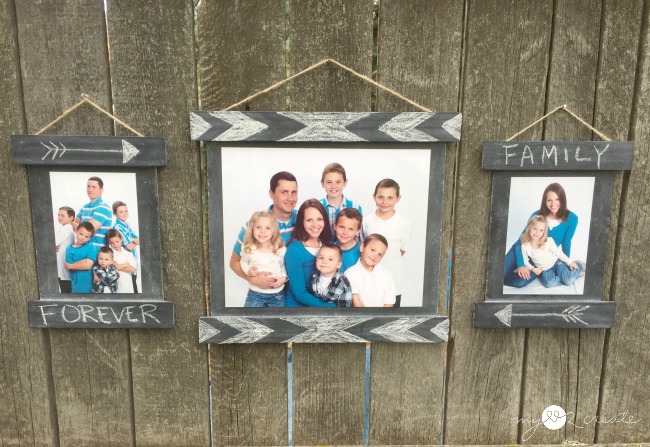
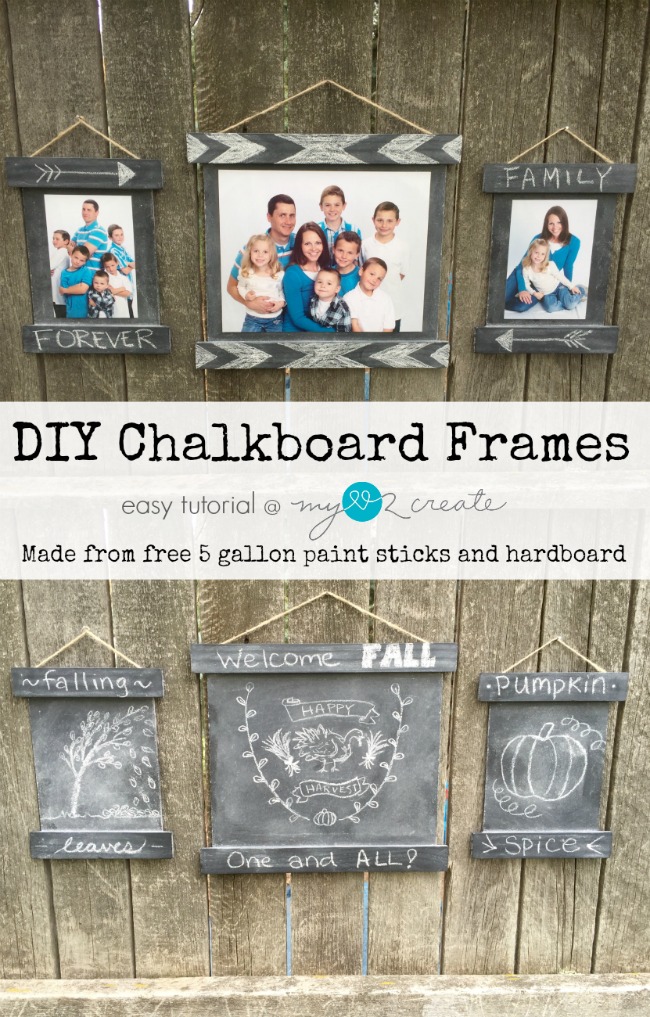
When I finished making the frames I tested them out with some family photos. It was so fun to decorate the frames with chalk, I love that you can be creative with them.
By making these frame any size you want you can really create a custom photo gallery. I tried this adding a quote…
Then I did a little different design…
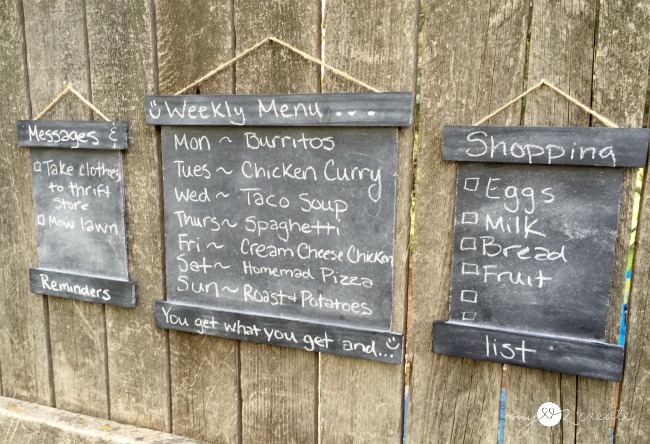
I removed the photos and made a kitchen command center with a weekly menu, shopping list and a message board.
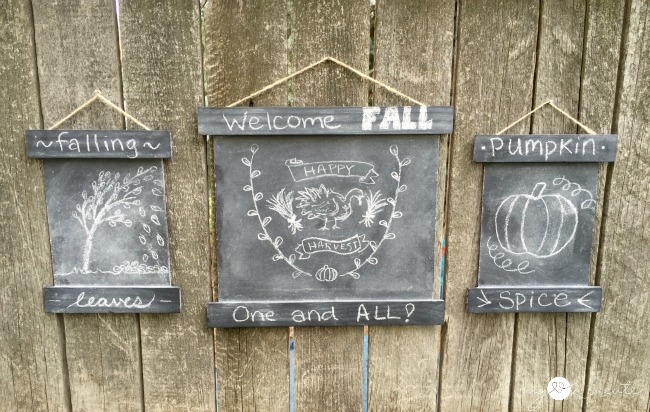
Of course if you are good at chalkboard art (ahem…ignore my weak attempt to give you an “idea”) then these frames are perfect for you!
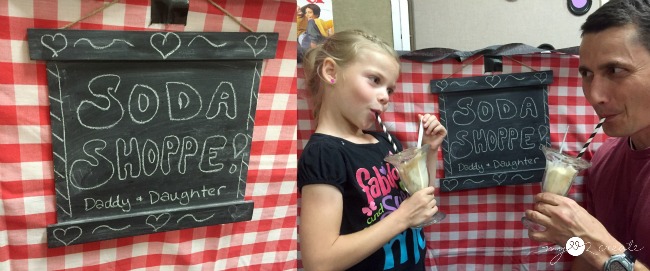
They also make great signs for parties too! Soda anyone?
I pretty much love them and all the possibilities they hold!
What do you think? How would you use these chalkboard frames?
Hugs!
Mindi
I will be linking to these parties and Savvy Southern Style

I love your cute little diy chalkboard frames Mindi. They are perfect for the daddy daughter event!
pinned!
gail
Mindi, I love these frames and your family pictures! So many ways to use them! I want to give spray chalkboard paint a try, it sounds easy, -no brush washing. 😉
I love how you used the paint sticks! This turned out adorable…and I love that I found your page. You have so many amazing projects here. New follower! Thank you for sharing at The Creative Circle Link Party!