DIY Children’s Desk
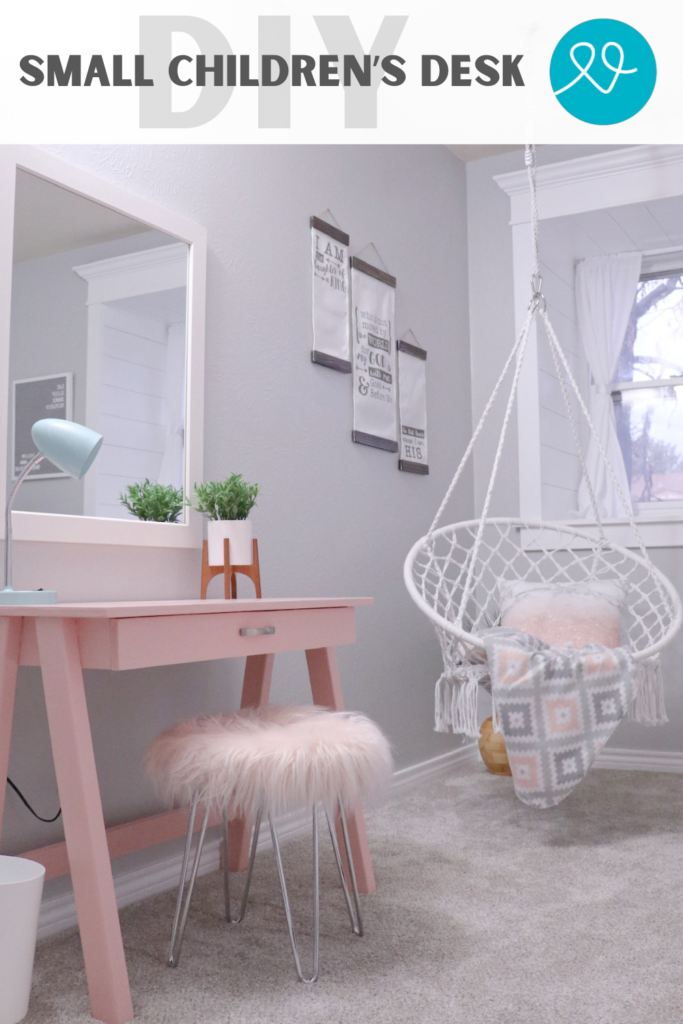
You guys this post has been a LONG time coming! I made this desk years ago as part of my daughter’s Tween Girls Bedroom Reveal and I am thrilled to final share it with you!
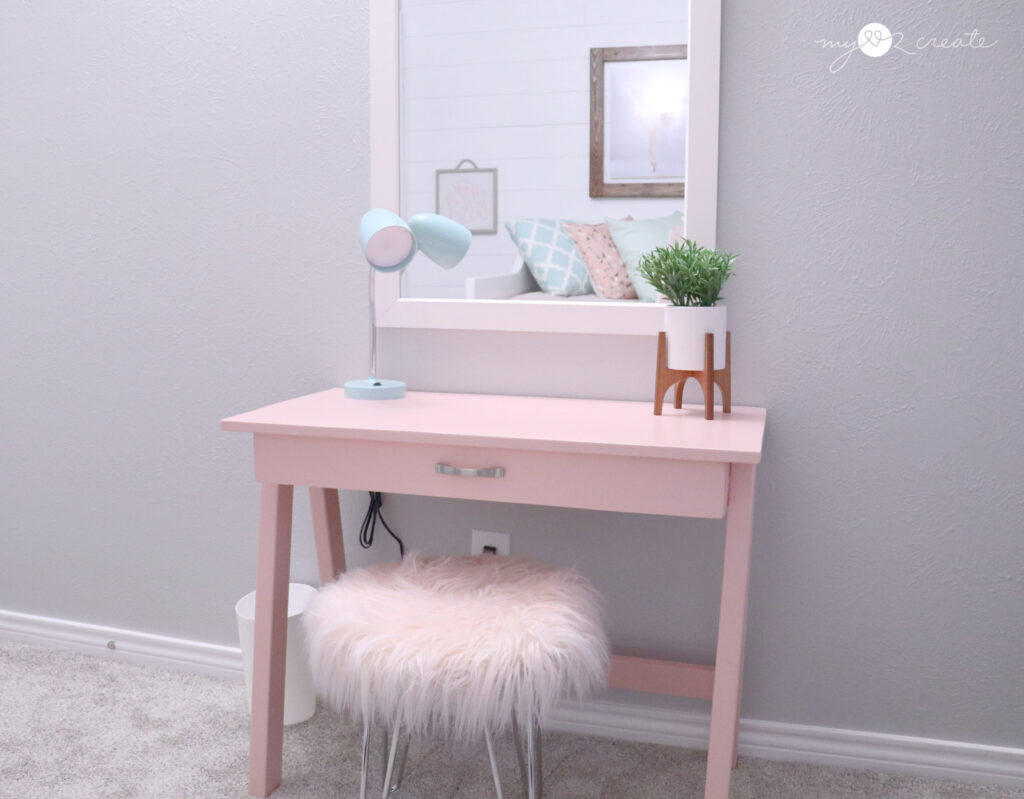
Pretty cute right!? We kind of love it. In fact we liked it so much I built one for my son as well, except with different colors…a dark walnut stained top and hunter green on the bottom for his favorite color.
I am going to show you how I made it, so let’s get building shall we?!
How to build a DIY Children’s Desk
This post contains affiliate links, learn more. This is picture tutorial on how I built the desk, you can access the building plans with all the details for the DIY Children’s desk which are coming soon!
Step 1: Measure, Mark, and Cut your wood
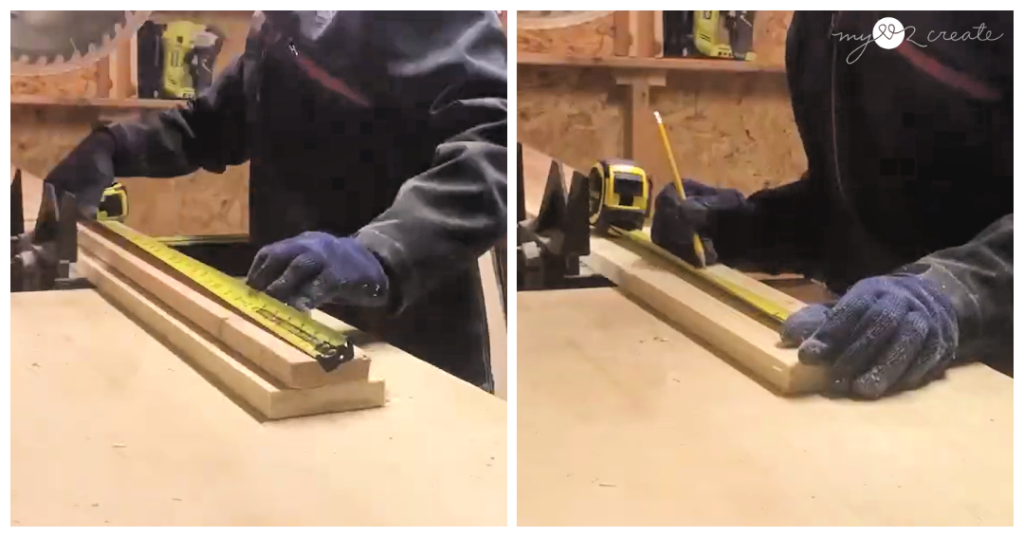
Start by measuring, marking and cutting your desk pieces. I like to cut all my pieces to the correct size, and then sand them so they are ready to go when it is time to build.
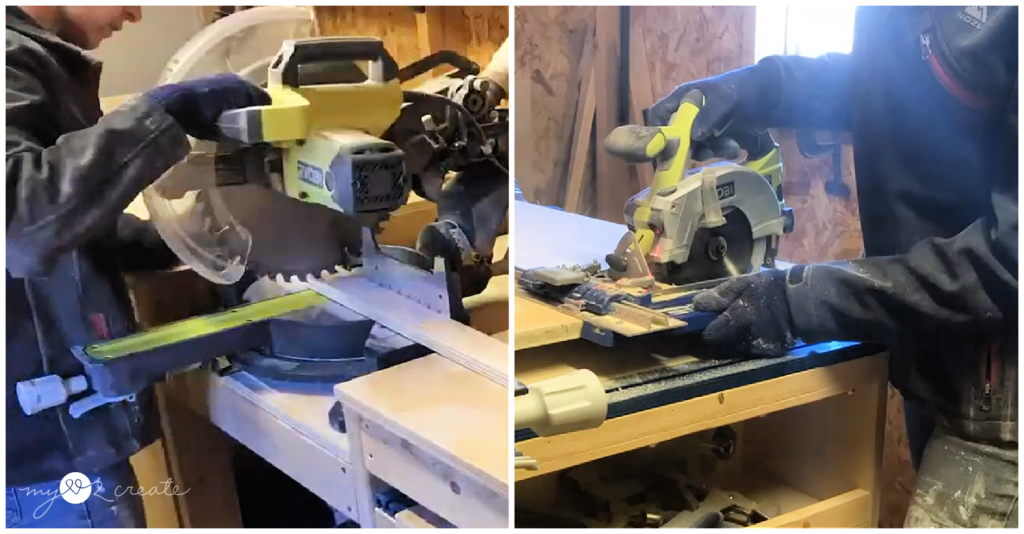
I used my Ryobi miter saw to cut most pieces, for the top and bottom I used my Kreg Rip Cut (LOVE this tool) and my Ryobi circular saw to cut the bigger plywood pieces. I was using left over scraps for this project, so I was grateful I had a big enough piece of plywood for the top.
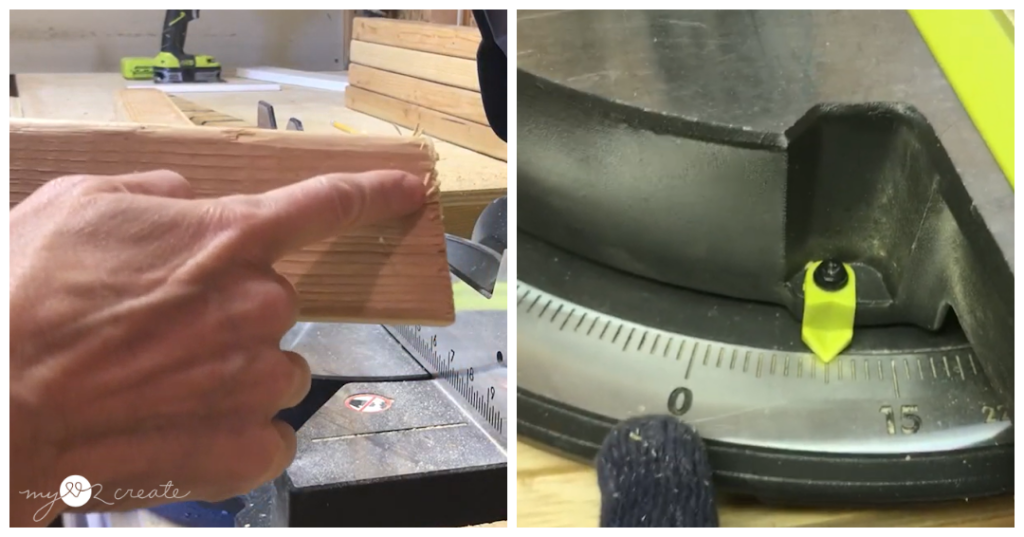
For the legs on this desk you will need to set your miter saw at 10 degrees, cut each end so that they are parallel, this will make the leg measurements the same on each side.
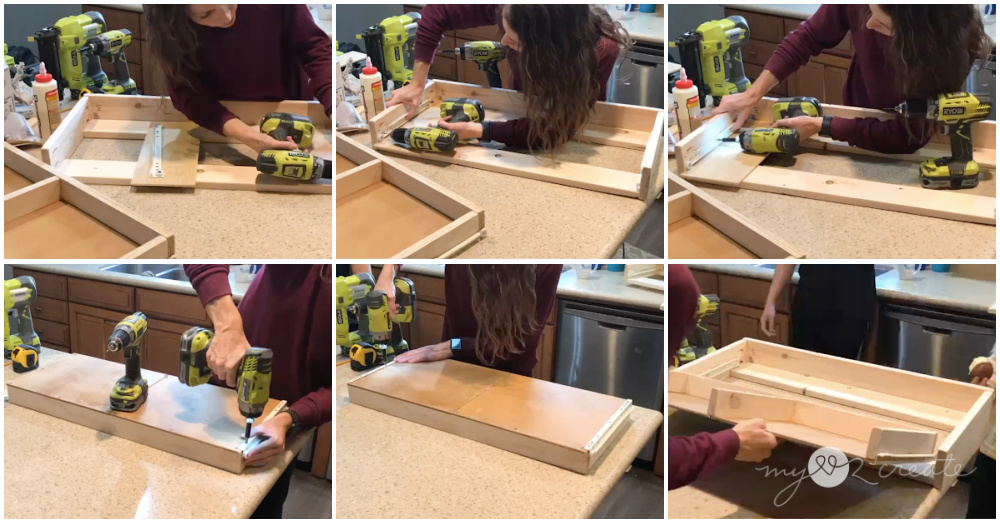
Step 2: Build your desk box
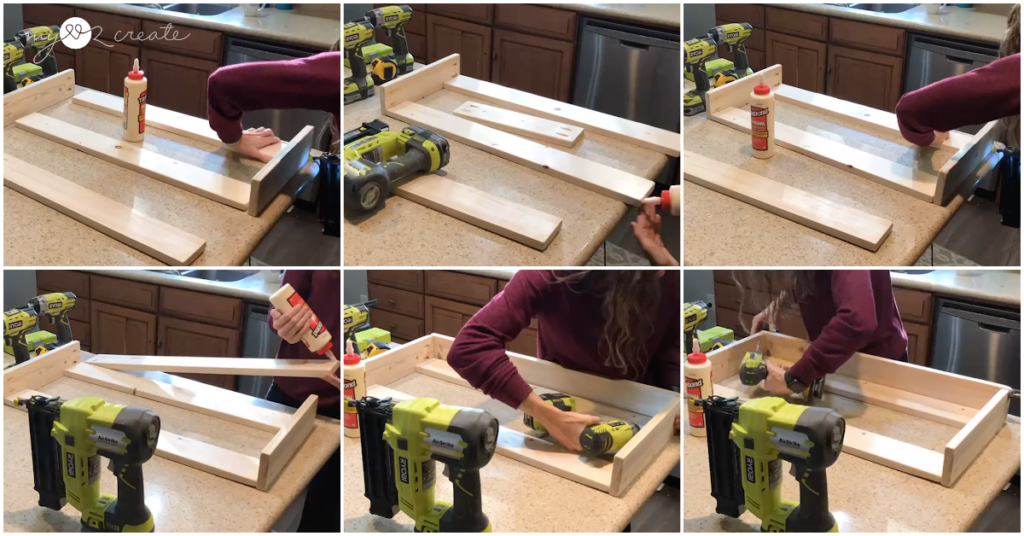
Take your side pieces and attach them to the bottom piece with wood glue and 1 1/4” finish nails. Since I was making this with scrap wood I didn’t have a big enough piece of plywood for the bottom, so I used two pieces of 1×4 wood instead. This works because the drawer will be installed, plus it makes it less expensive not using plywood. Then I added the back piece making sure to attach it to the sides and the bottom. I used wood glue and using my Ryobi drill I drilled 3/4” pocket holes into the side pieces and attached the back with 1 1/4” pocket hole screws. You could also use wood glue and 1 1/4” finish nails.
Step 3: Build the desk drawer
Being a children’s desk, this drawer is not very deep but actually holds quite a bit, perfect for any little tike! I built the drawer out of 1×2’s start by attaching the side (and optional divider) pieces to the back piece, using wood glue and 1 1/4” finish nails. I used my Ryobi nail gun to secure them, putting two nails into each piece.
Since I was using scraps, I didn’t have a big enough 1/4” drawer bottom piece, which is why I added the middle drawer divider piece, so I could have somewhere to attach the two smaller 1/4” chipboard bottom pieces. Use what you’ve got folks! It worked out great to have the divider piece, in fact you could add more to create your own organizers in the drawer. When attaching the bottom piece(s) make sure to pre-drill though the bottom into the sides, divider and back pieces, then attach it with 5/8” or 1” inch screws.
Step 4: Install drawer slides to desk box and drawer
With your desk box and drawer built (minus the front, we will add that next!) it is time to install drawer slides! I used 12” drawer slides just the cheap ones. I installed them flush to the front of the desk box, and used a scrap piece of 1/4” plywood underneath to make sure they were installed in the right place. Be sure to read the package directions for your slides and install them accordingly. Once I had the slides installed in the desk box, I added them to the bottom of the drawer, then slid the drawer into place!
Step 5: Add drawer front to desk
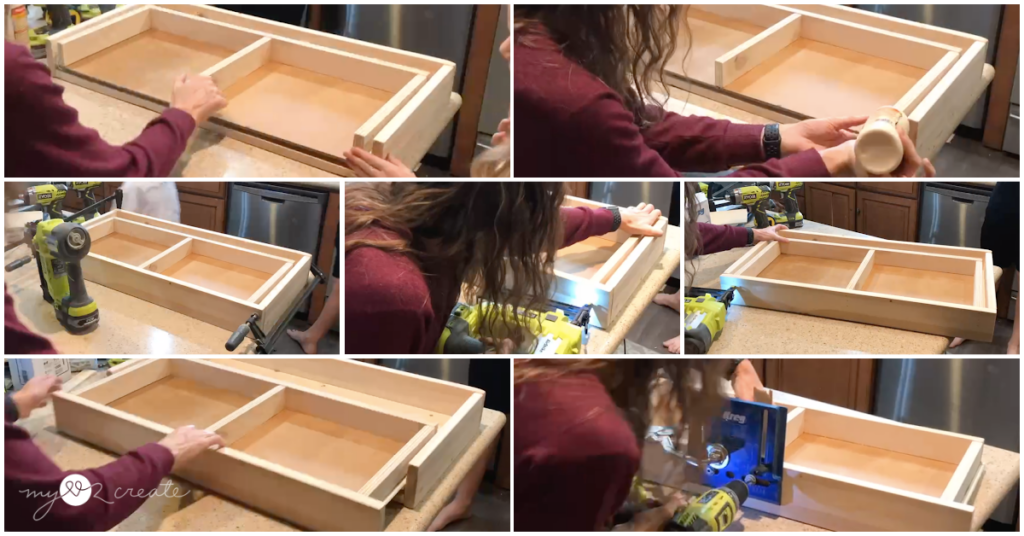
With the drawer installed into the desk box, I added wood glue to the sides and divider piece of the drawer. Then I put the drawer front in place and nailed into the drawer front into the sides and divider pieces of the drawer with 1 1/4” finish nails, of you want extra strength you could also attach with screws from the front, or add pocket hole screws from the drawer sides and divider. I have never had a problem with the drawer fronts coming off and I just used wood glue and nails.
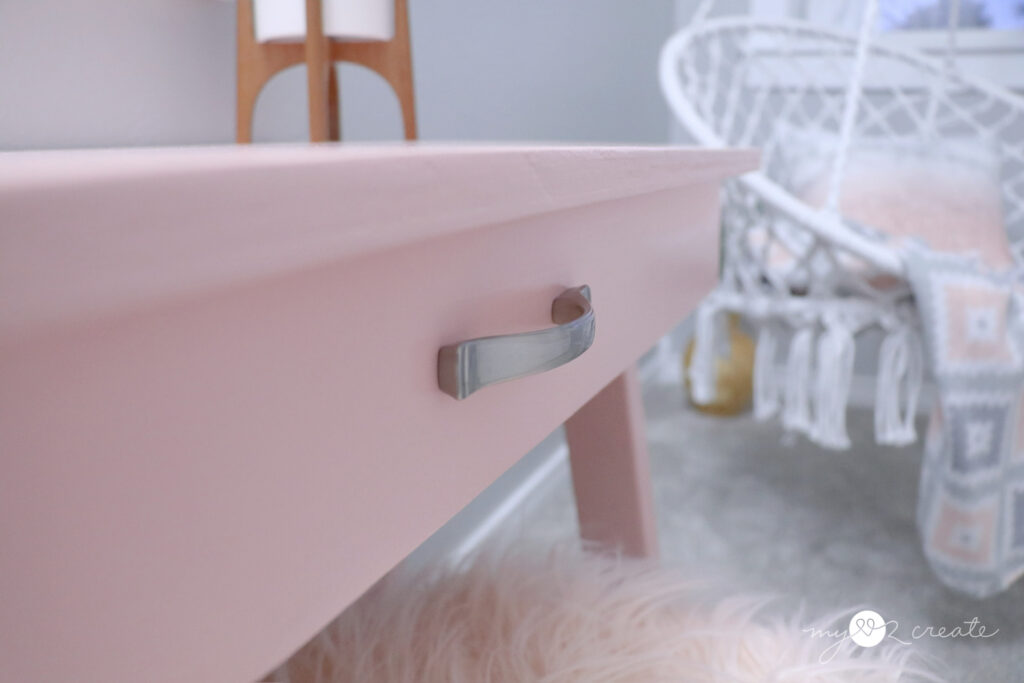
Once the drawer front was on, I used my Kreg cabinet hardware jig to drill the holes for my drawer pull. I love this jig, makes it so quick and easy, especially if you are installing many drawers.
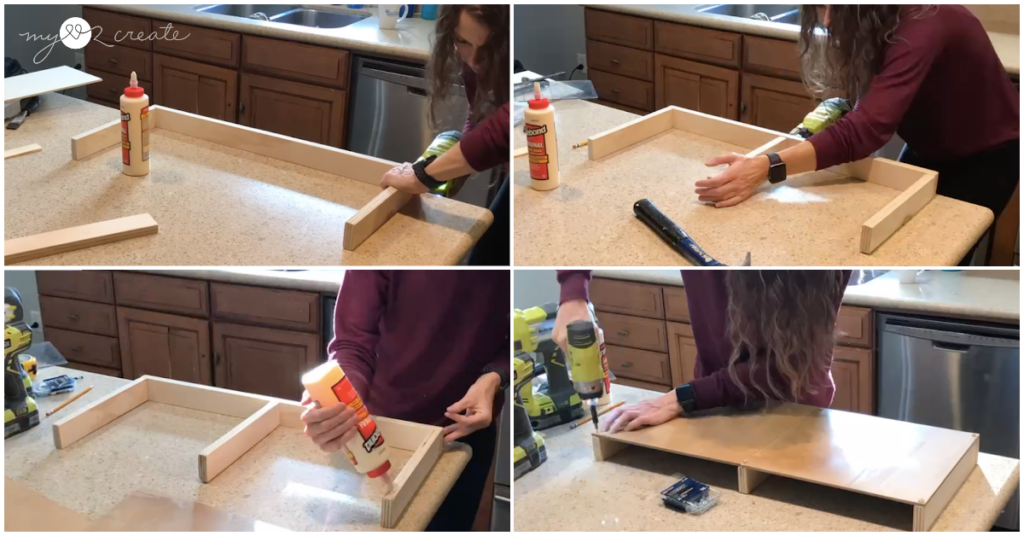
Step 8: Attach the desk top to the desk box
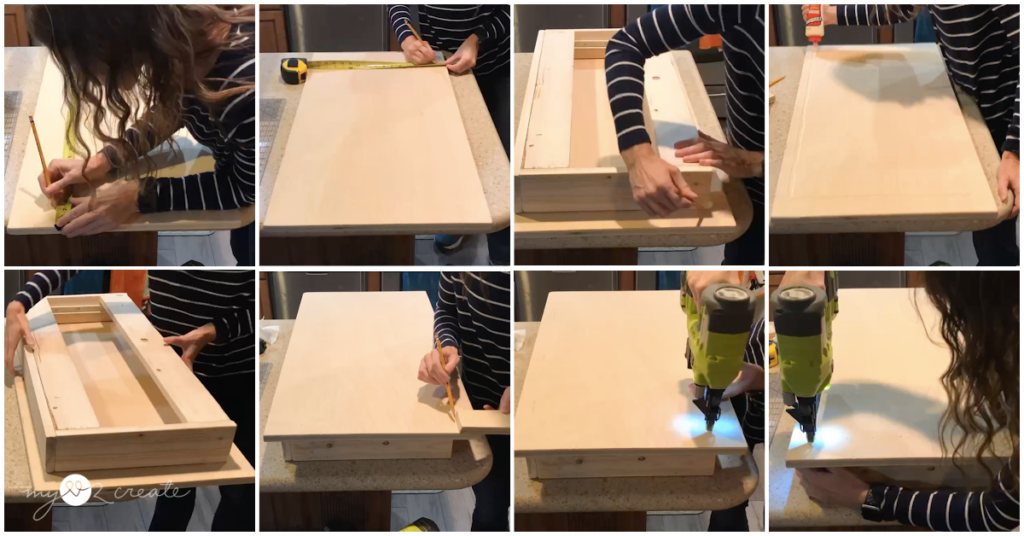
Measure and mark on the bottom of your plywood top where the desk box needs to be placed. I put my desk box on to make sure it was square and placed correctly then I drew a line around it so I don’t have to measure and mark after I added the glue. Once I added the glue and placed the desk on the top, I carefully flipped it over. Then I used some scrap wood to measure and mark where to nail into the desk box through the top piece. I secured the top into the sides and back of the desk box with 1 1/4” finish nails! Make sure you don’t secure it to the drawer front, or you won’t be using your drawer, ha ha!
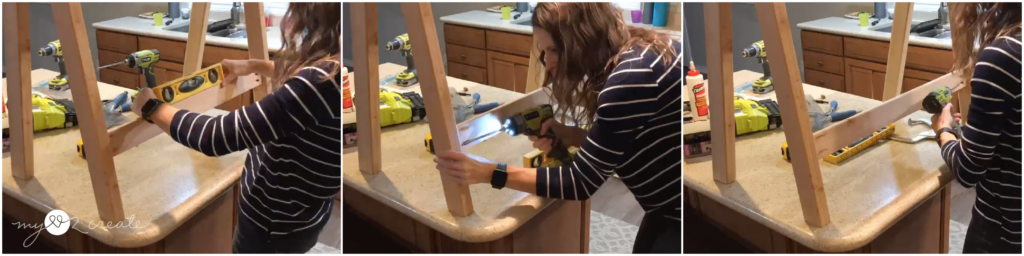
Step 7: Attach desk legs to the desk box
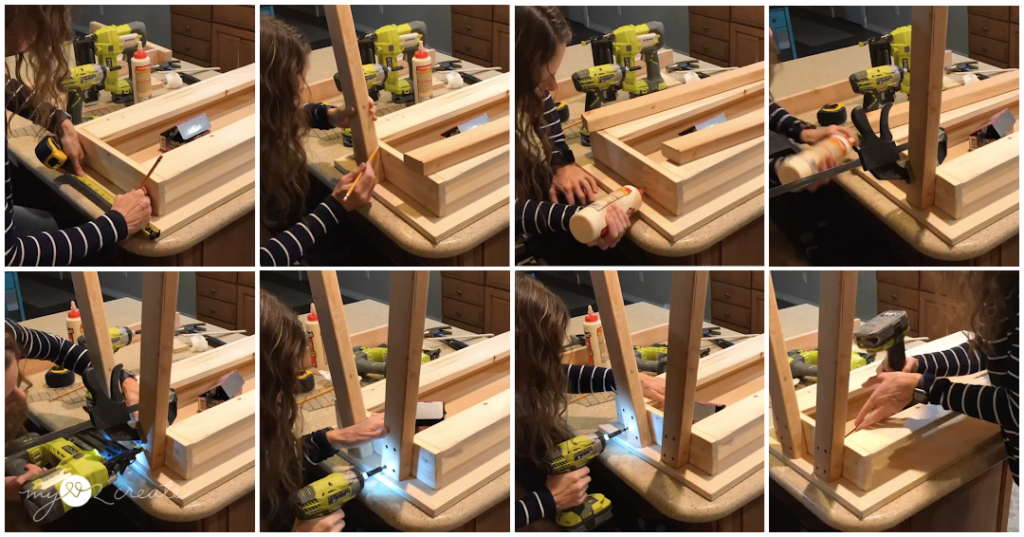
Next up is adding the legs!! Yay, this is the fun part as it starts to actually look like a desk! With the legs cut at 10 degrees parallel, it gives character to the design, rather than just plain straight legs. I started with my desk box upside down and marked where the legs will be placed on the sides and top of the desk. Then I used wood glue and clamps to hold them in place and secured each leg using my nail gun and some 2” nails. With them secured in the correct place, I pre drilled and added 4- 2” screws through each leg into the desk box sides. For good measure I added a screw from the inside, but just because I didn’t use a full plywood bottom, so it is not necessary. Then I also added a few nails from the top of the desk into the legs once I flipped it back over. SUPER sturdy!!
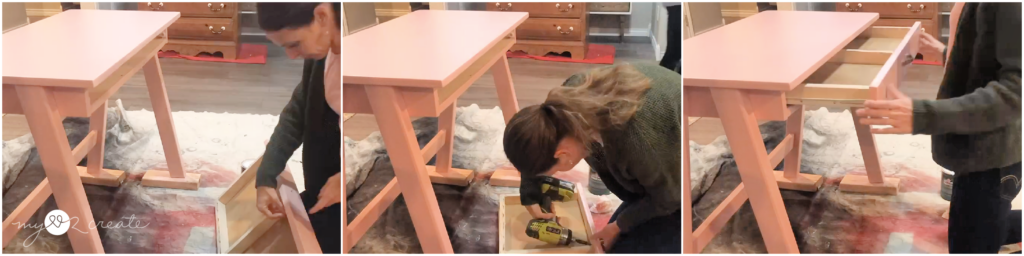
Step 8: Attach back leg support piece
To finish the last part of building this desk I added a back support connecting the legs. I added mine with pocket holes and screws, but you could also attach with screws through the sides of the back leg into the support piece.
Step 9: Finish as desired and Enjoy!
I decided to paint my daughter’s desk and she absolutely wanted pink! I forgot to take pictures of me painting, but here I am adding the drawer pull, which you will need to do as well. 🙂 Once I had it attached, I replaced the desk drawer and…ta-da! All finished!
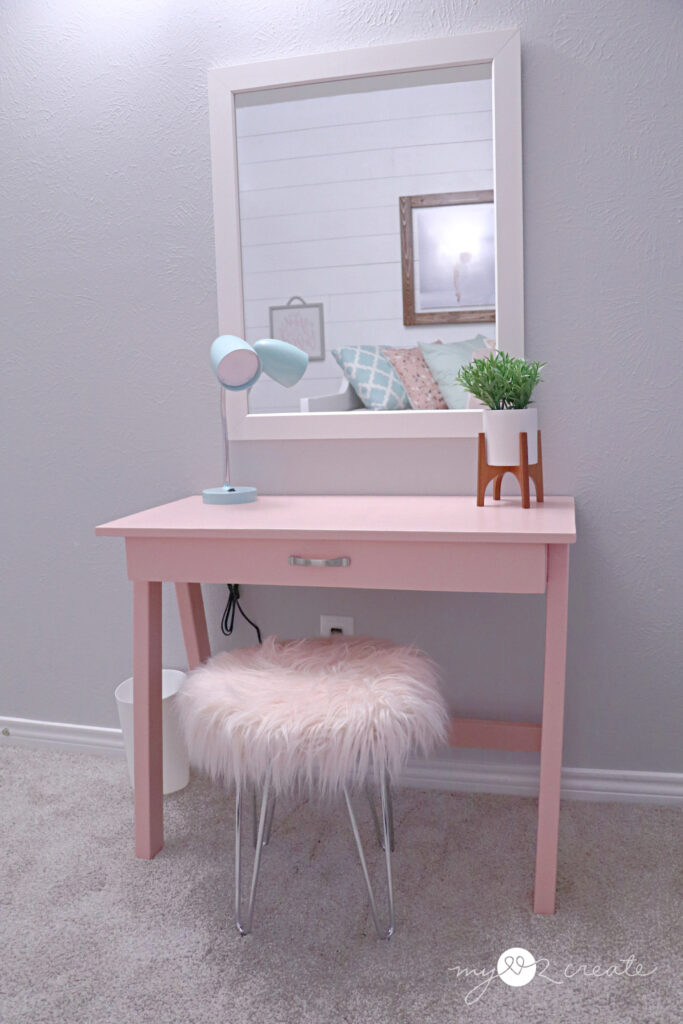
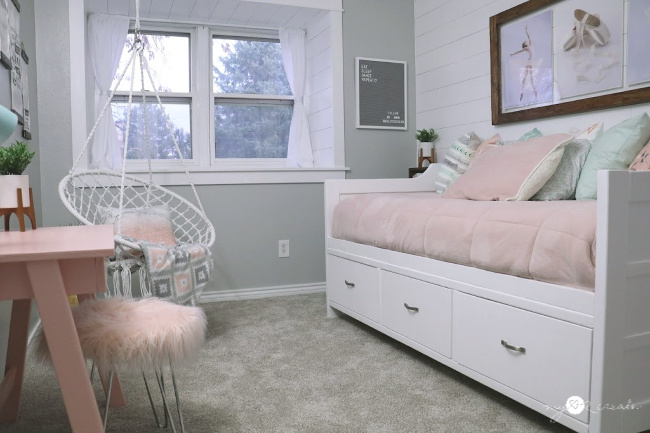
Isn’t it so cute?! I think the pink desk works perfect in this room!
It is the perfect size for kids, we kind of love it.
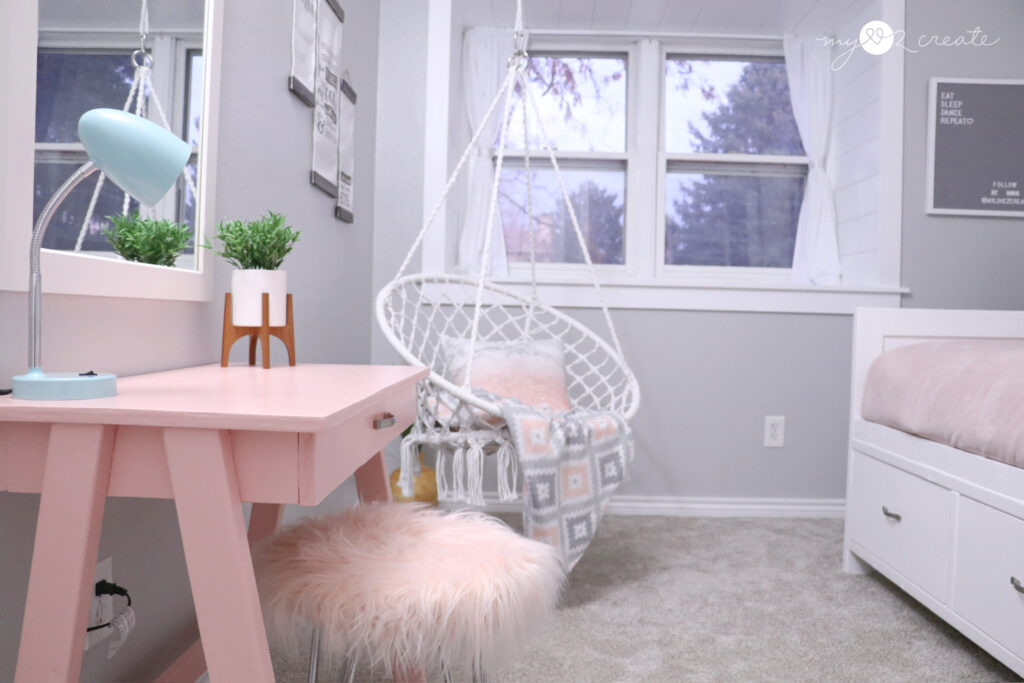
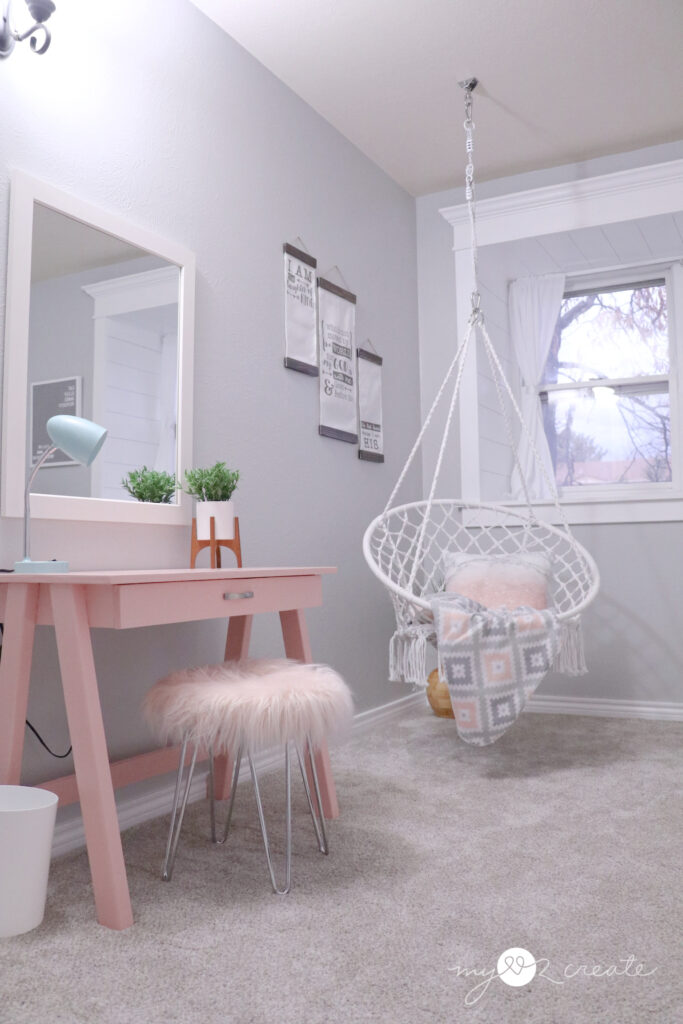
In fact, I have been toying with the idea of building a bigger one for me…why not?! I really should do that. You can spy my daughter’s DIY Day Bed in this shot…another great project!
I think it is pretty cool that you can build your OWN custom furniture and save so much money. If you want to learn you just have to start, that’s what I did…and I have never looked back!
This desk is a great beginner project, plus I have so many more and I am adding more building plans all the time!
So do you think your kids or grand kids would love this DIY children’s desk? Who would you build it for! Let me know in the comments, I would love to hear and cheer you on! Thanks for visiting hope to see you again soon!