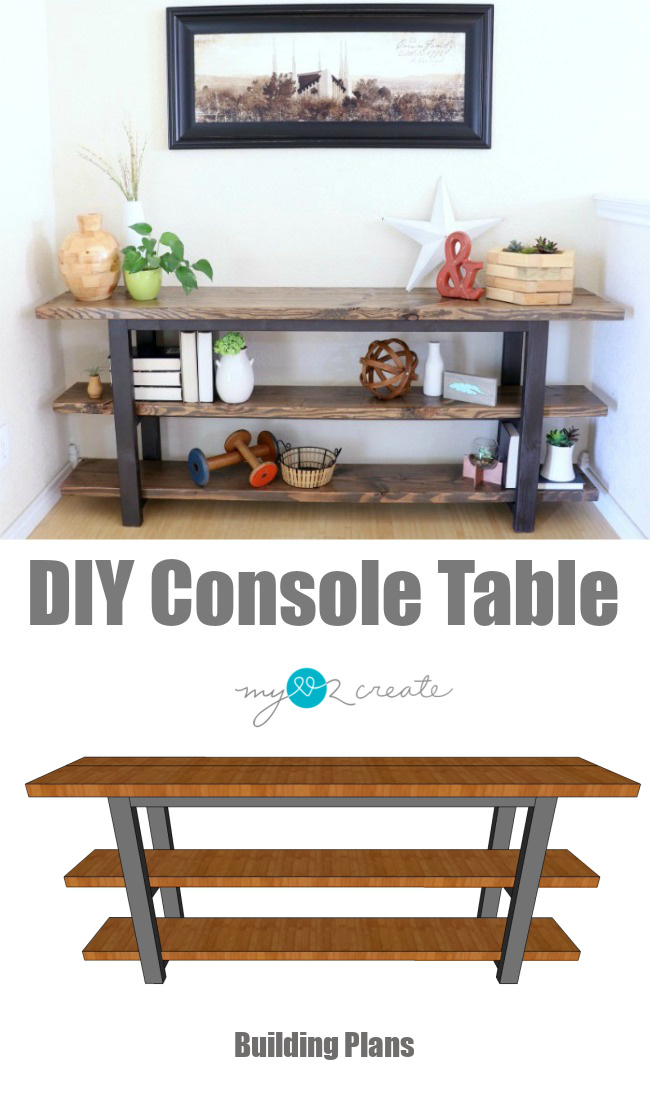
DIY Console Table
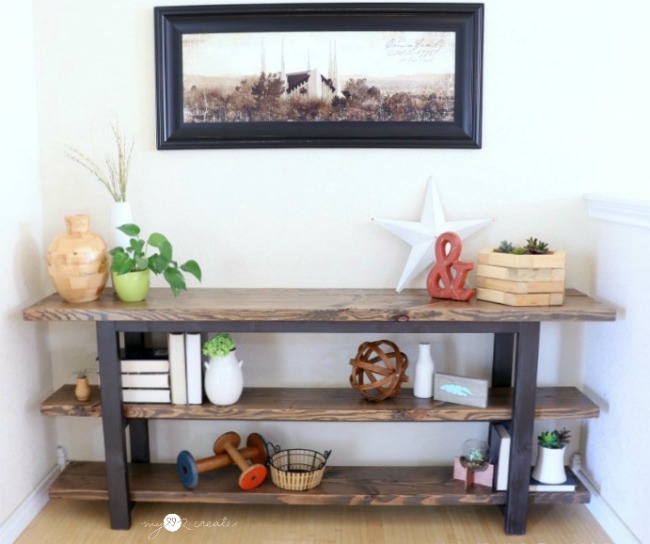
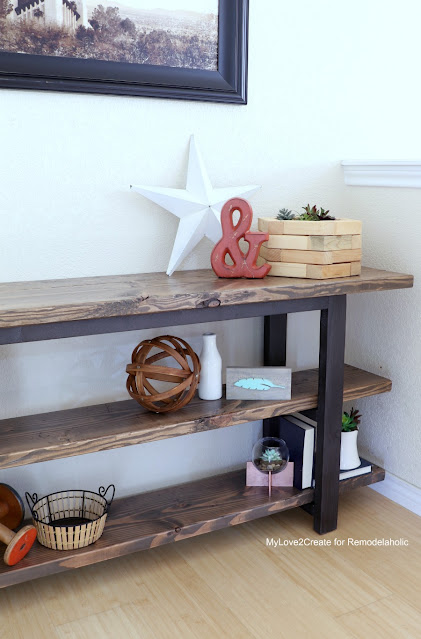
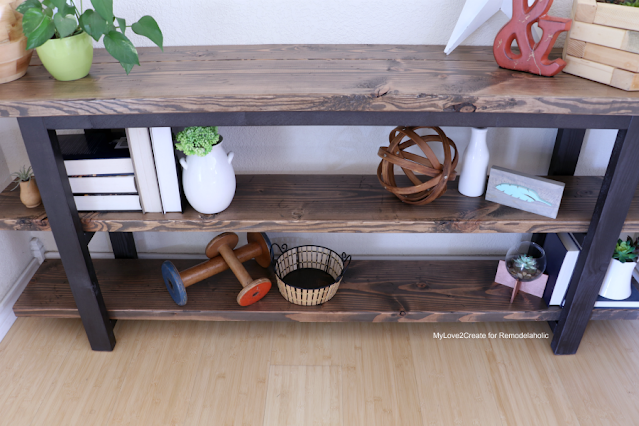
I am super excited to share my DIY Console Table with you!!
How to build a DIY Console Table:
Miter Saw
Drill and Driver
Kreg Jig Hole System
Sander
Tape measure
Clamps
Step 1: Cut wood, drill pocket holes and sand
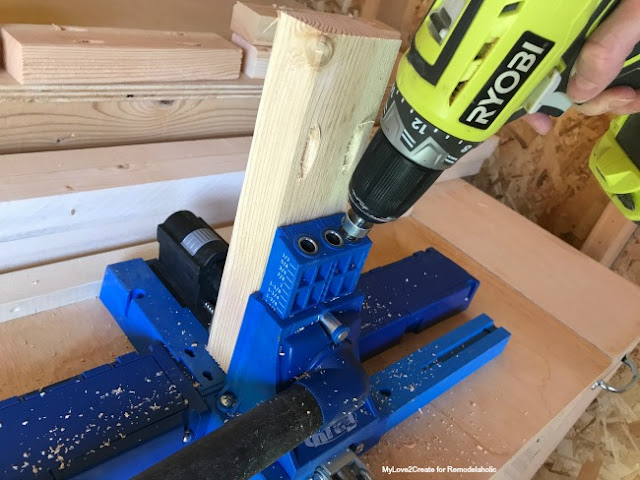
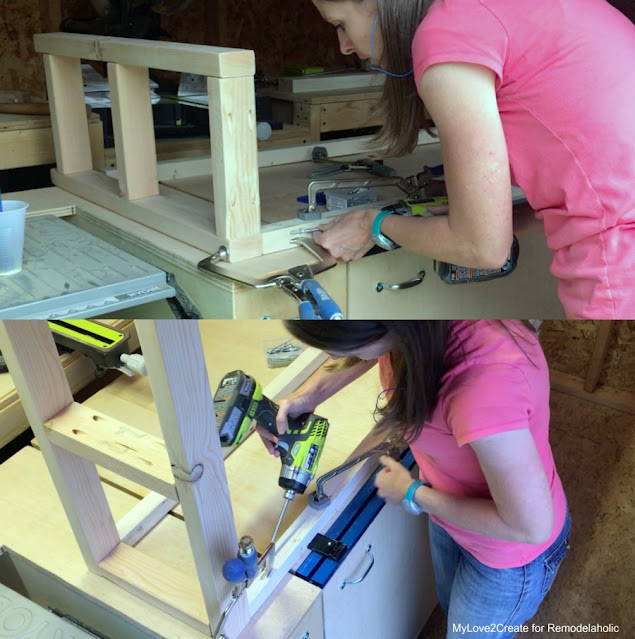
Cut all your wood to the specified dimensions using a Kreg Jig and drill 1 1/2” pocket holes into each end of your 4-2×2 apron supports and your 6 rails and 1 middle support pieces.
Step 2: Build your sides
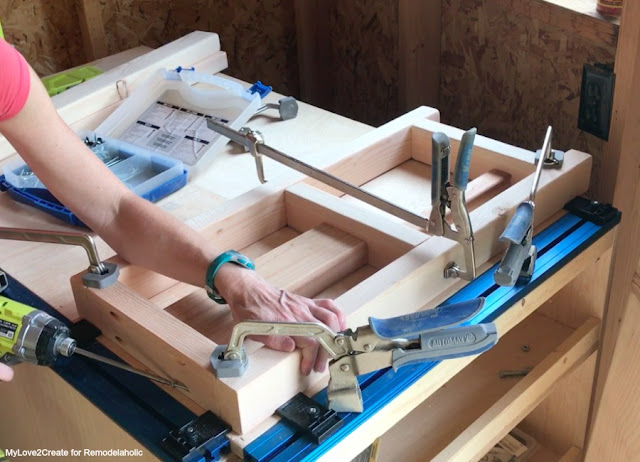
Build two sides by attaching your rails to your sides with pocket hole screws.
Step 3: Add Aprons and Support boards
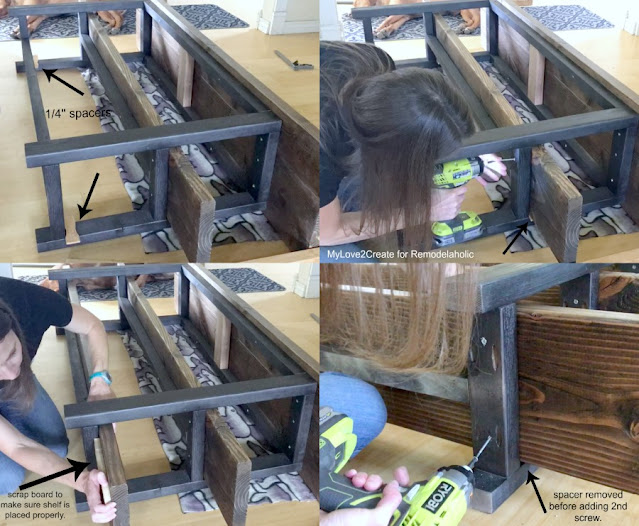
Using wood glue and 2 1/2” pocket hole screws attach your top aprons and support pieces to your sides. Note: You will also add your middle support boards in the center of the top aprons (not pictured), I added it as a last minute support board.




Beautiful build on this diy console table Mindi! I love how it turned out. You're a master builder, 😉
gail
pinning!
I’m confused why there’s a 70 inch 2×6 for the top and then 3 2×10’s for the shelves and top when there is only 3 shelves total. Am I missing something?