DIY Corner Fruit Tower
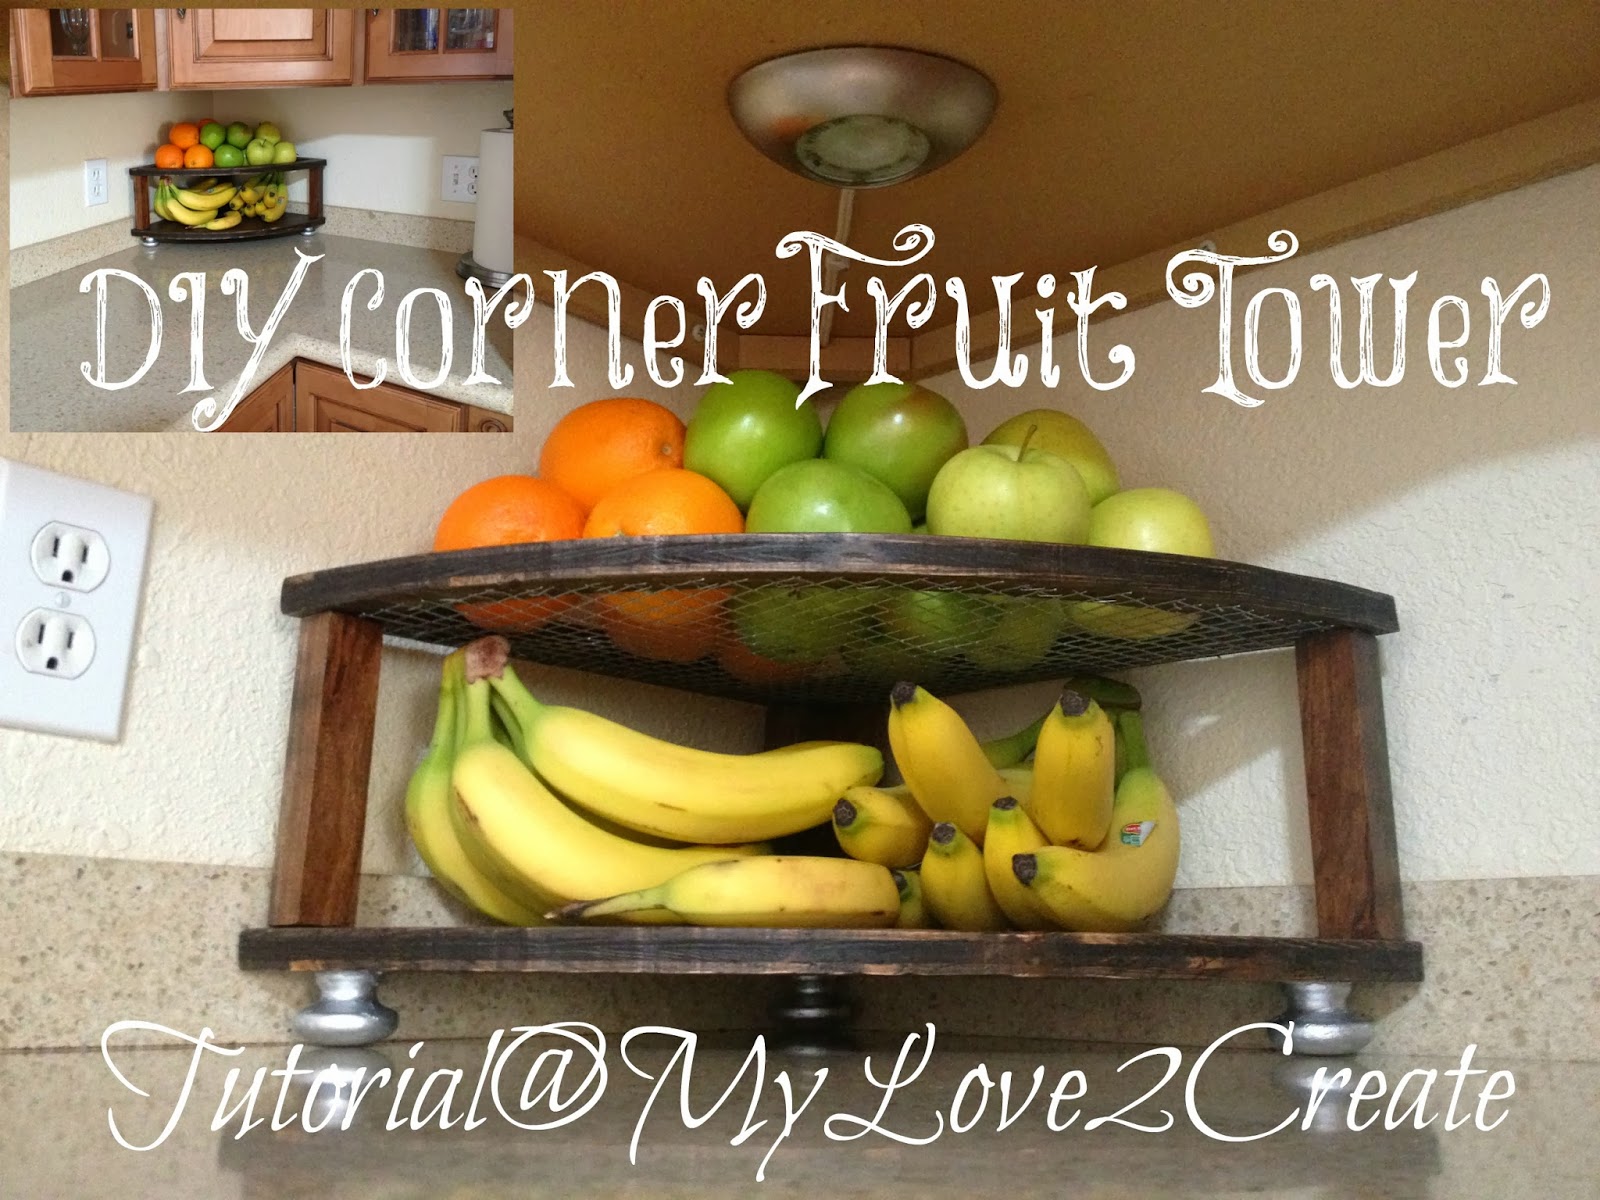
Hey Everyone! Today I solved a problem, a fruit problem and a dead corner problem…in my kitchen.
I like my counters pretty clutter free, with the exception of having my fruit out, making it easy for the kids to grab. With 6 kids I have a lot of fruit but nothing good to store it in. I have tried several different methods, but it always comes down to the fact that nothing could hold all the bananas, apples, oranges, pears, etc… I tried using my Bread Crate, but only one bushel of bananas would fit. I have also tried my Fruit Tray, it was too small, and I really like it better for cakes and cookies anyway. So….
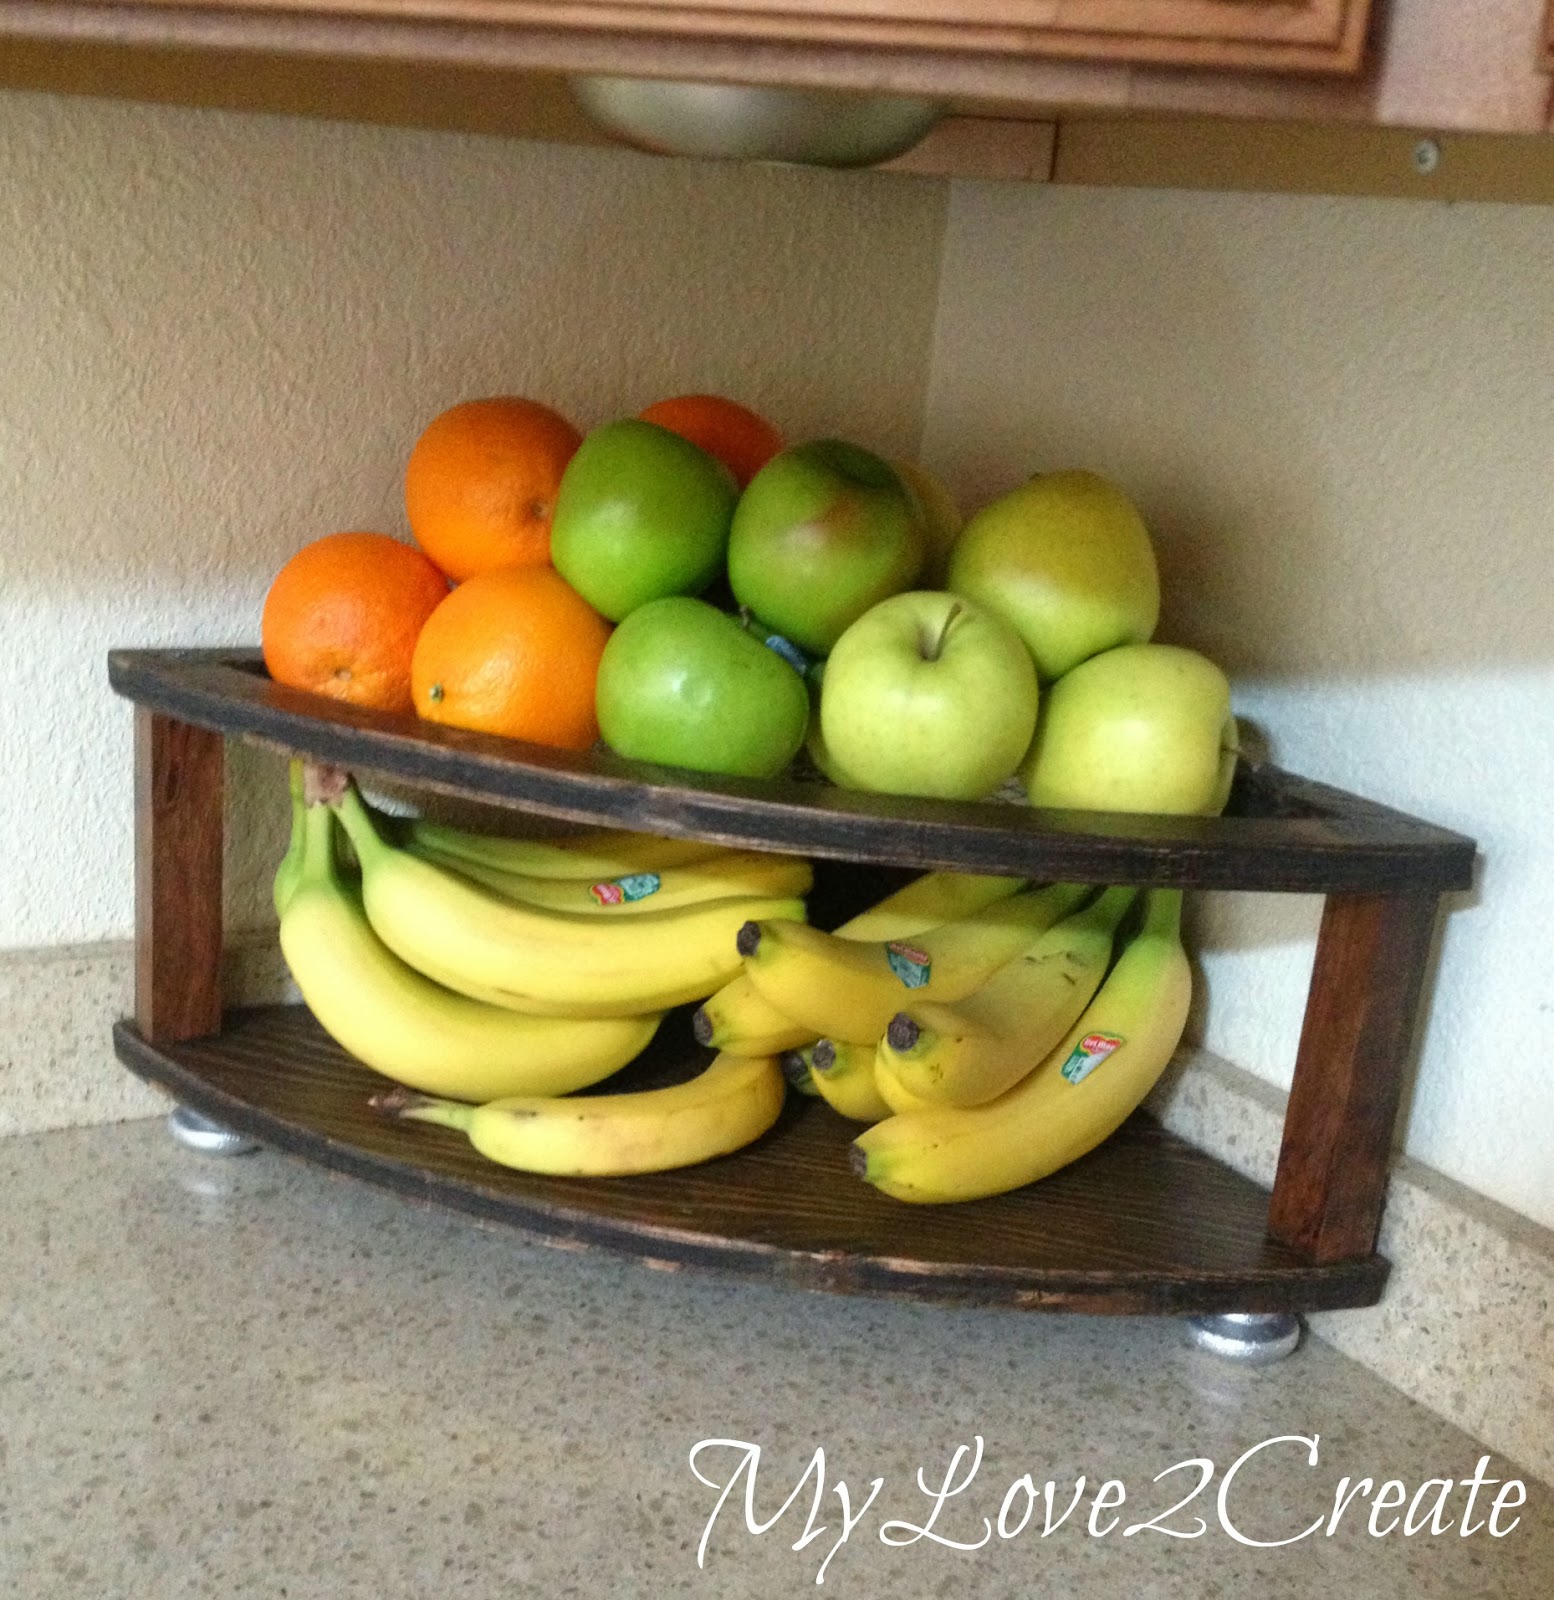
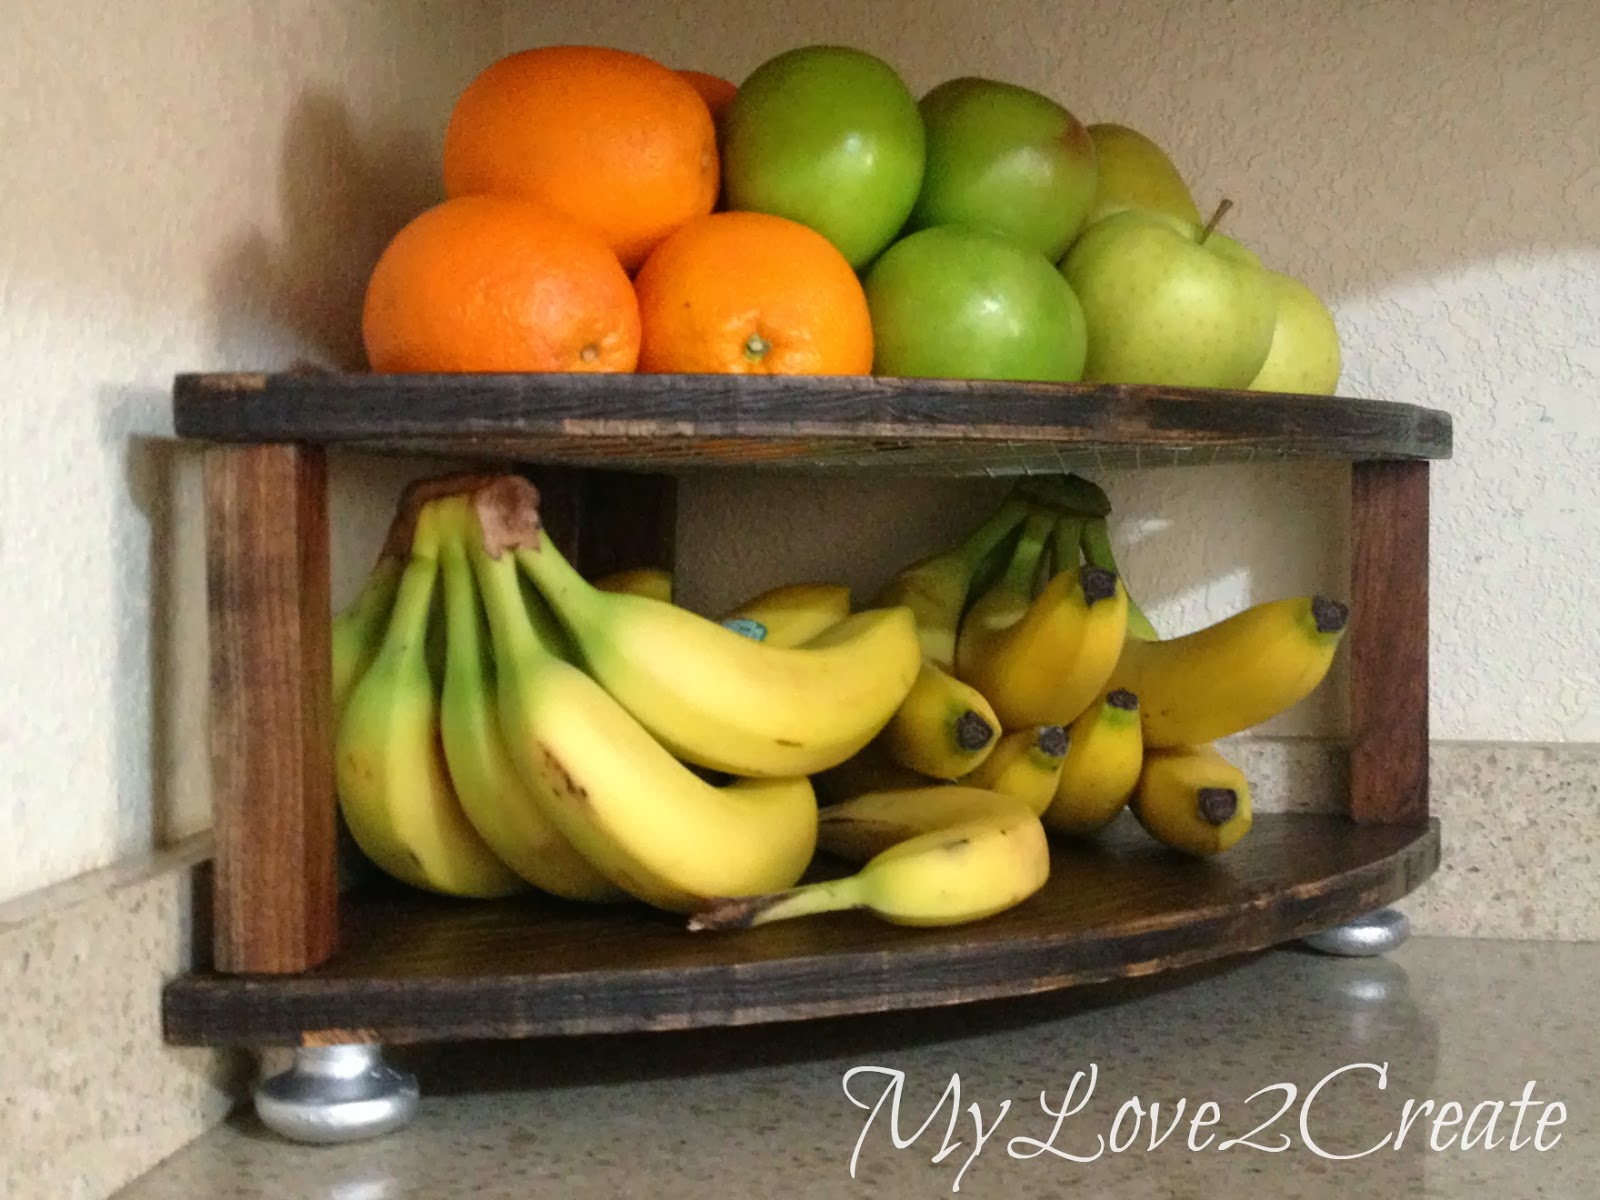
Since I have a dead corner in my kitchen and nothing to put my fruit in…I decided to just build a corner fruit tower that would fit in my corner and hold all my fruit. I love killing two birds with one stone!
I have been enjoying it all day, it makes me smile. When my 8 year old came home from school and saw it he said “Awesome!” I am sure it was because of all the fruit, but it made me happy. Plus it does look pretty too!
Yummy, who doesn’t love fruit? I made this fruit tower with scraps left over from my Master Closet Makeover. So it was FREE, and only took a couple of hours to make…sa-weet!
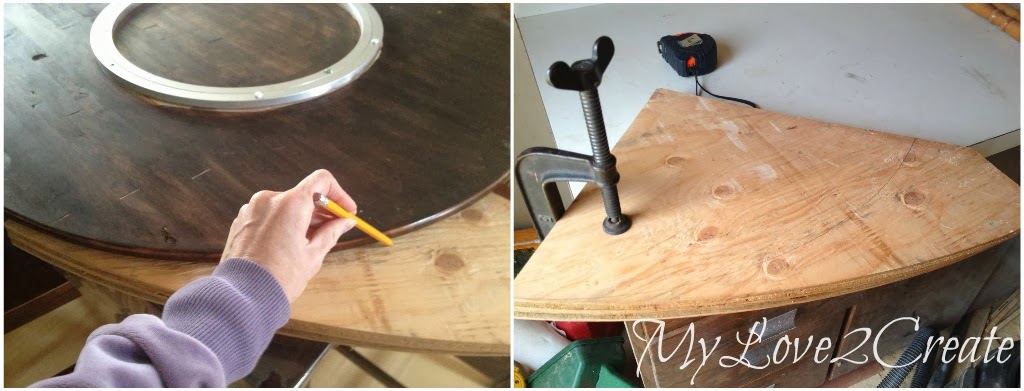
I started with these scraps of wood on the right, I had cut them down to make my Drawers for my closet, and these were the left over pieces. It is hard to tell in the photos above but I traced (on the left) and cut two pieces at once, they are stacked on top of each other. I used my lazy susan to trace the semi circle shape, and then clamped them down and used a jigsaw to cut it out.
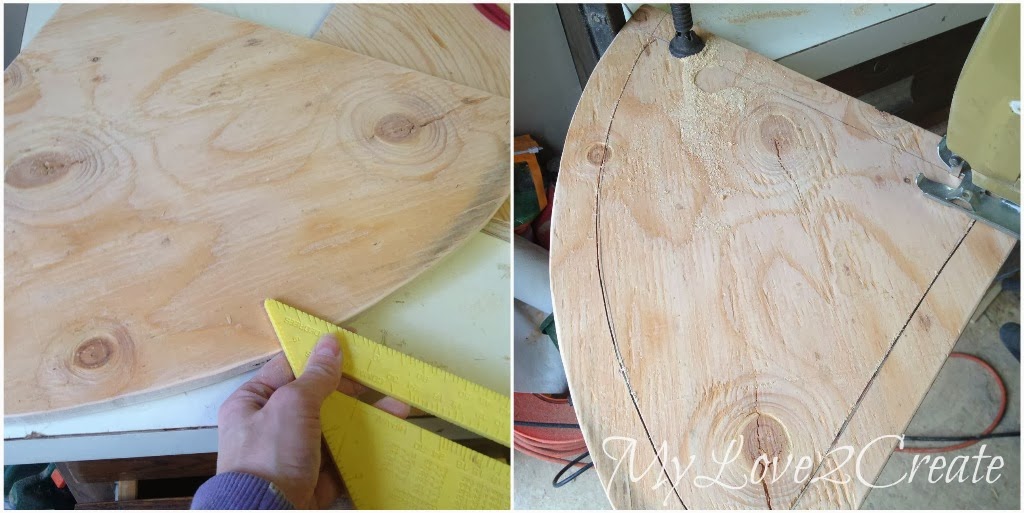
Once cut, I took one piece and measured and marked about an inch all around. Then I drilled a hole in the middle section and cut it out with the jigsaw.
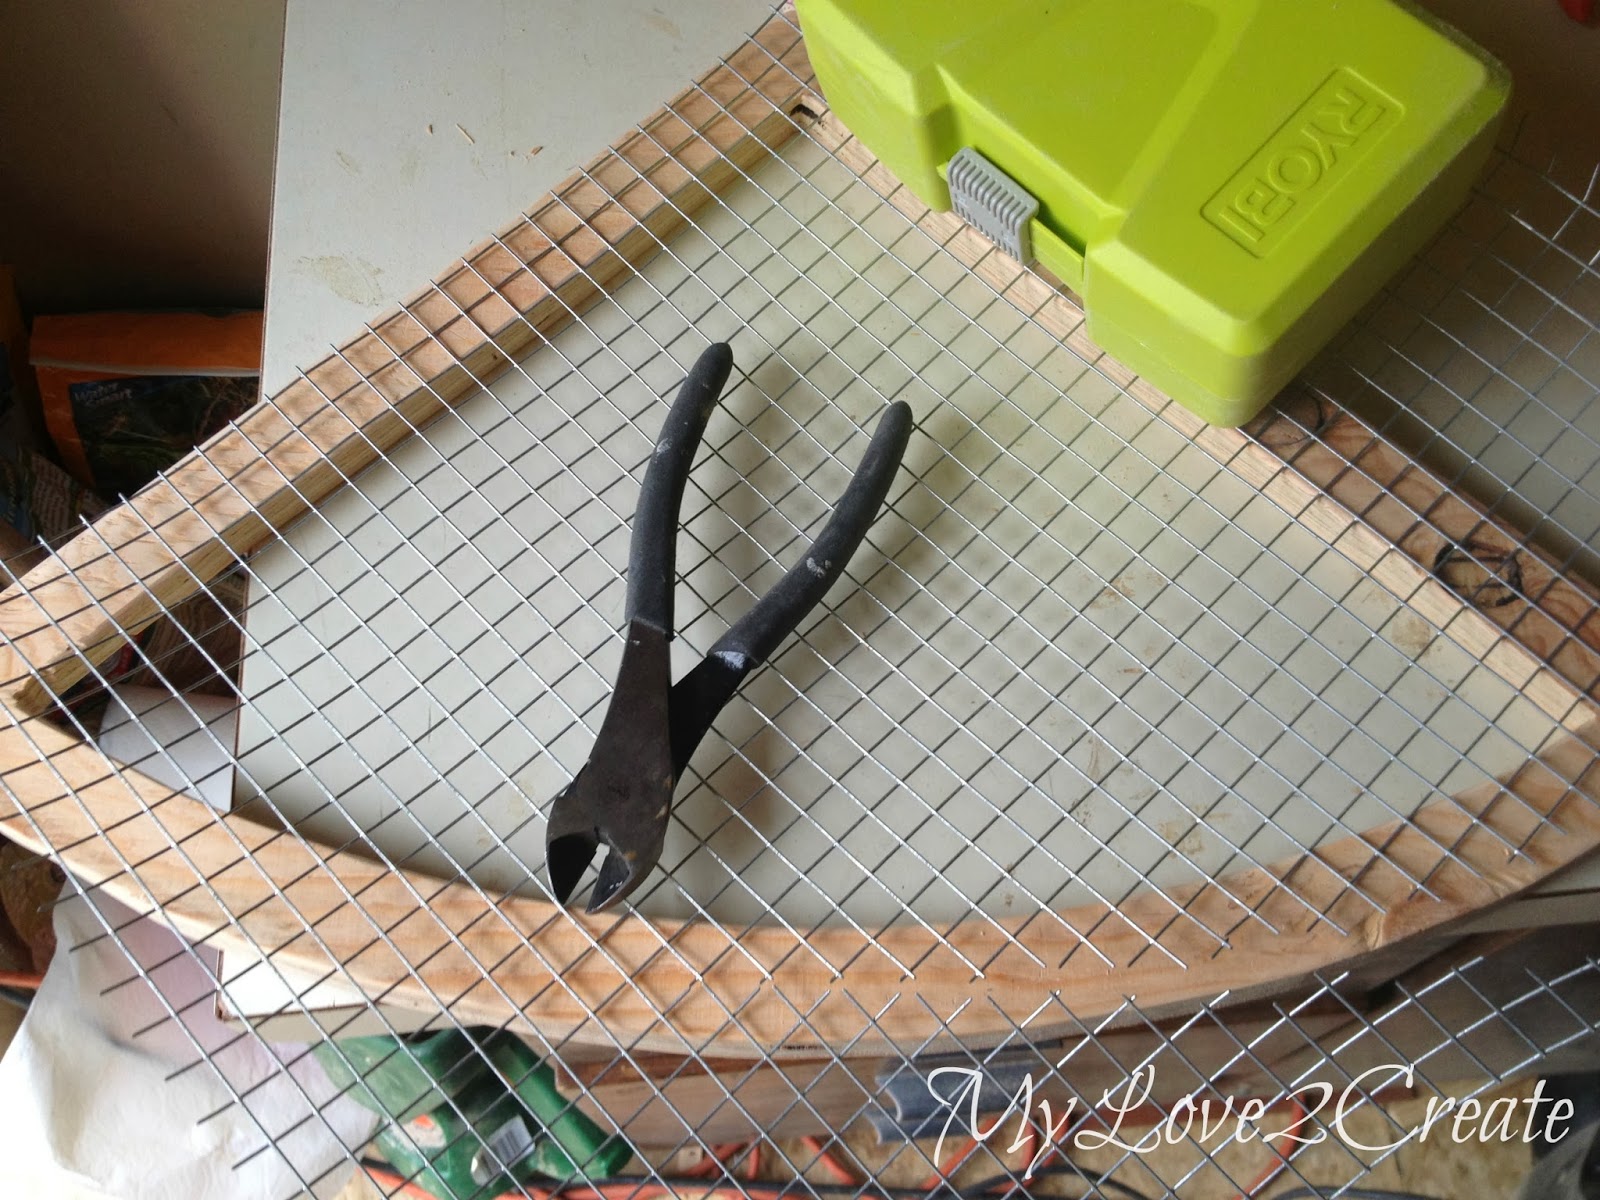
Using a scrap of my hardware cloth (you can by these in rolls at home improvement stores) from my Master closet hamper drawers, I laid it out and cut it to the right size. You can see how I stared cutting in the bottom right of the photo.
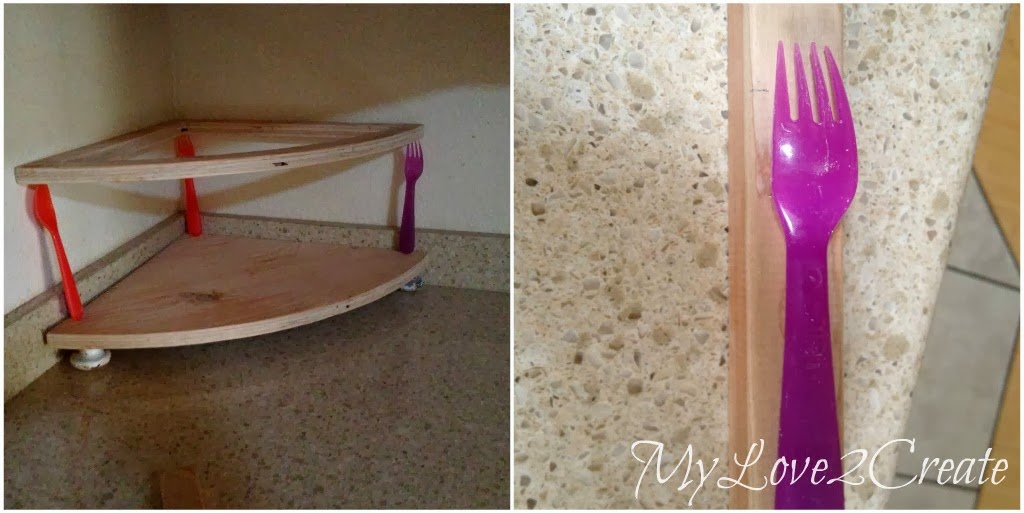
I grabbed my wood pieces and some old knobs (they are going to be the feet, see on the left) and went to my dead corner to try it out. I needed to see how tall to make my support pieces, so I got some high tech tools, plastic kid silverware. Hey, it worked! It gave me an idea of how tall I wanted it. On the right you can see I made my support pieces a little shorter than the fork, I marked it on the side. Then went out and cut five pieces all the same length. I used a scrap piece of wood it was about 1 inch square.
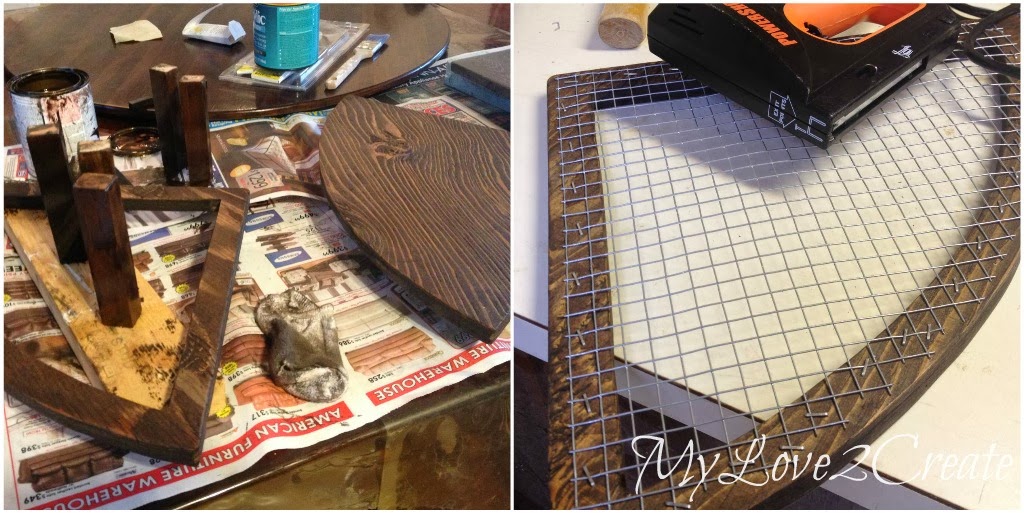
As I was sanding I realized that staining first was the best option before building. I used Rusteloum’s Kona, and it dries in 1 hour with only one coat, LOVE it! When it was done I used my staple gun to secure the hardware cloth onto the top piece.
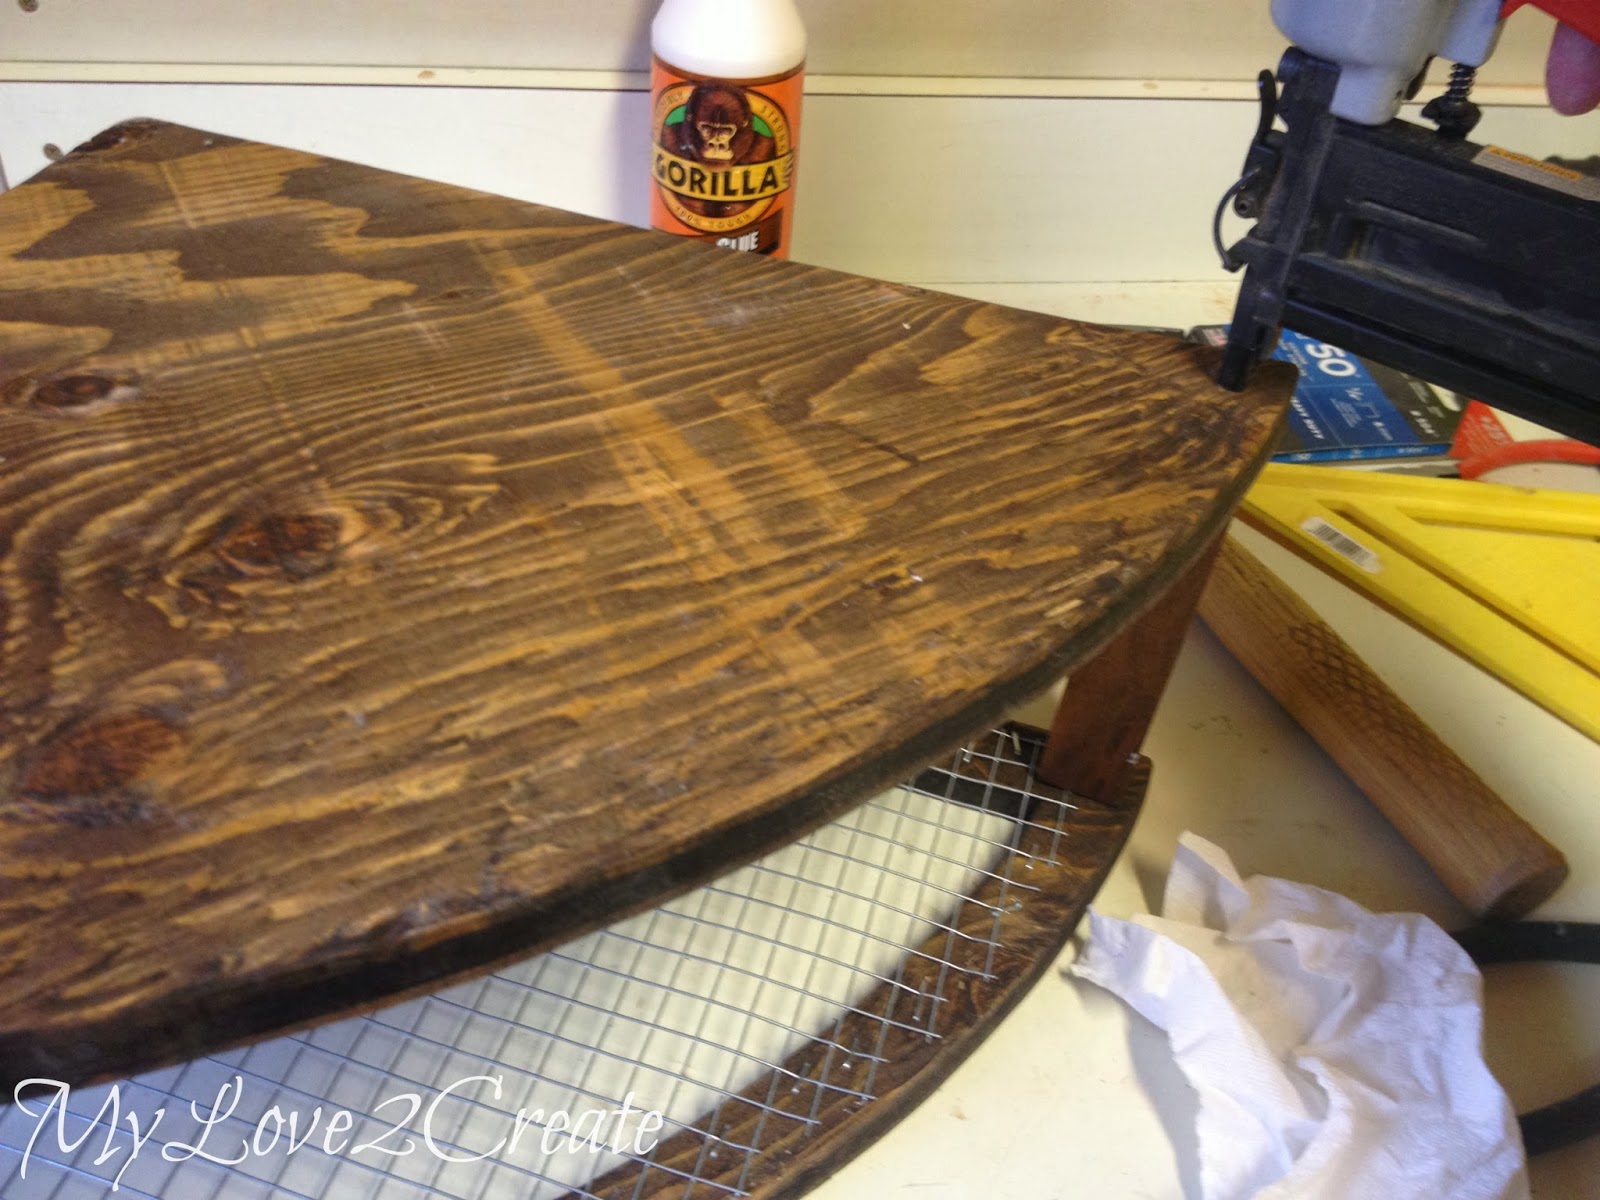
Next up was to build! I love Gorilla glue, I use it for everything I build, it really is the best and has the strongest hold. I decided to glue the top on first. I set the support pieces on the bottom piece so they were in the right place for the top board. Then put a dab of glue on the top of each support piece. You can see I did one piece in each corner at the front and three in a little cluster at the back. Next I set the top piece onto the supports, with the hardware cloth on the bottom, and nailed three 2 inch nails into each support piece.
Then I flipped it over and put more glue on the bottom of the support pieces, set the bottom piece on top of them, and fired three more 2 inch nails into each support. Almost done!
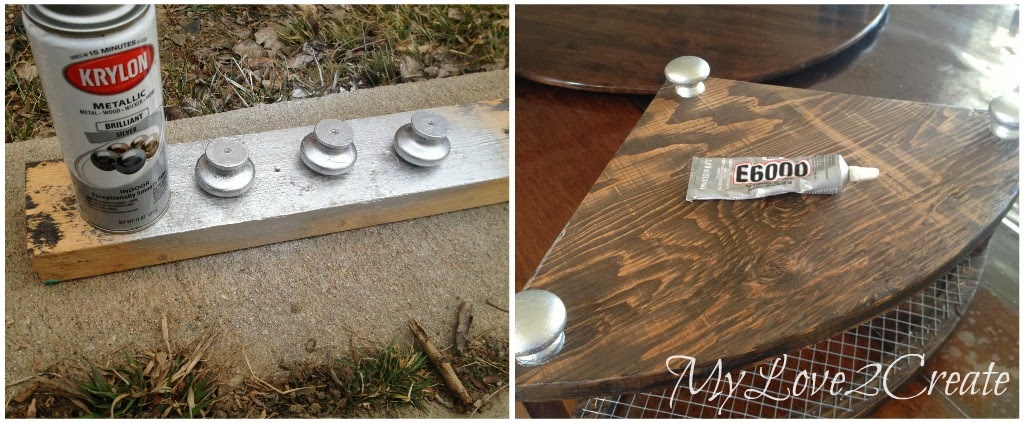
A quick coat of silver spray paint and some E600, and I had feet! I did add a couple of coats of poly as well before I added the feet (I guess that did prolong the project time, but to build and stain was seriously just under 2 hours, that includes staining time).
I am so happy I decided to just go for it on this one, I wasn’t sure how it would turn out, but I love it! Sometimes spur of projects are the best.
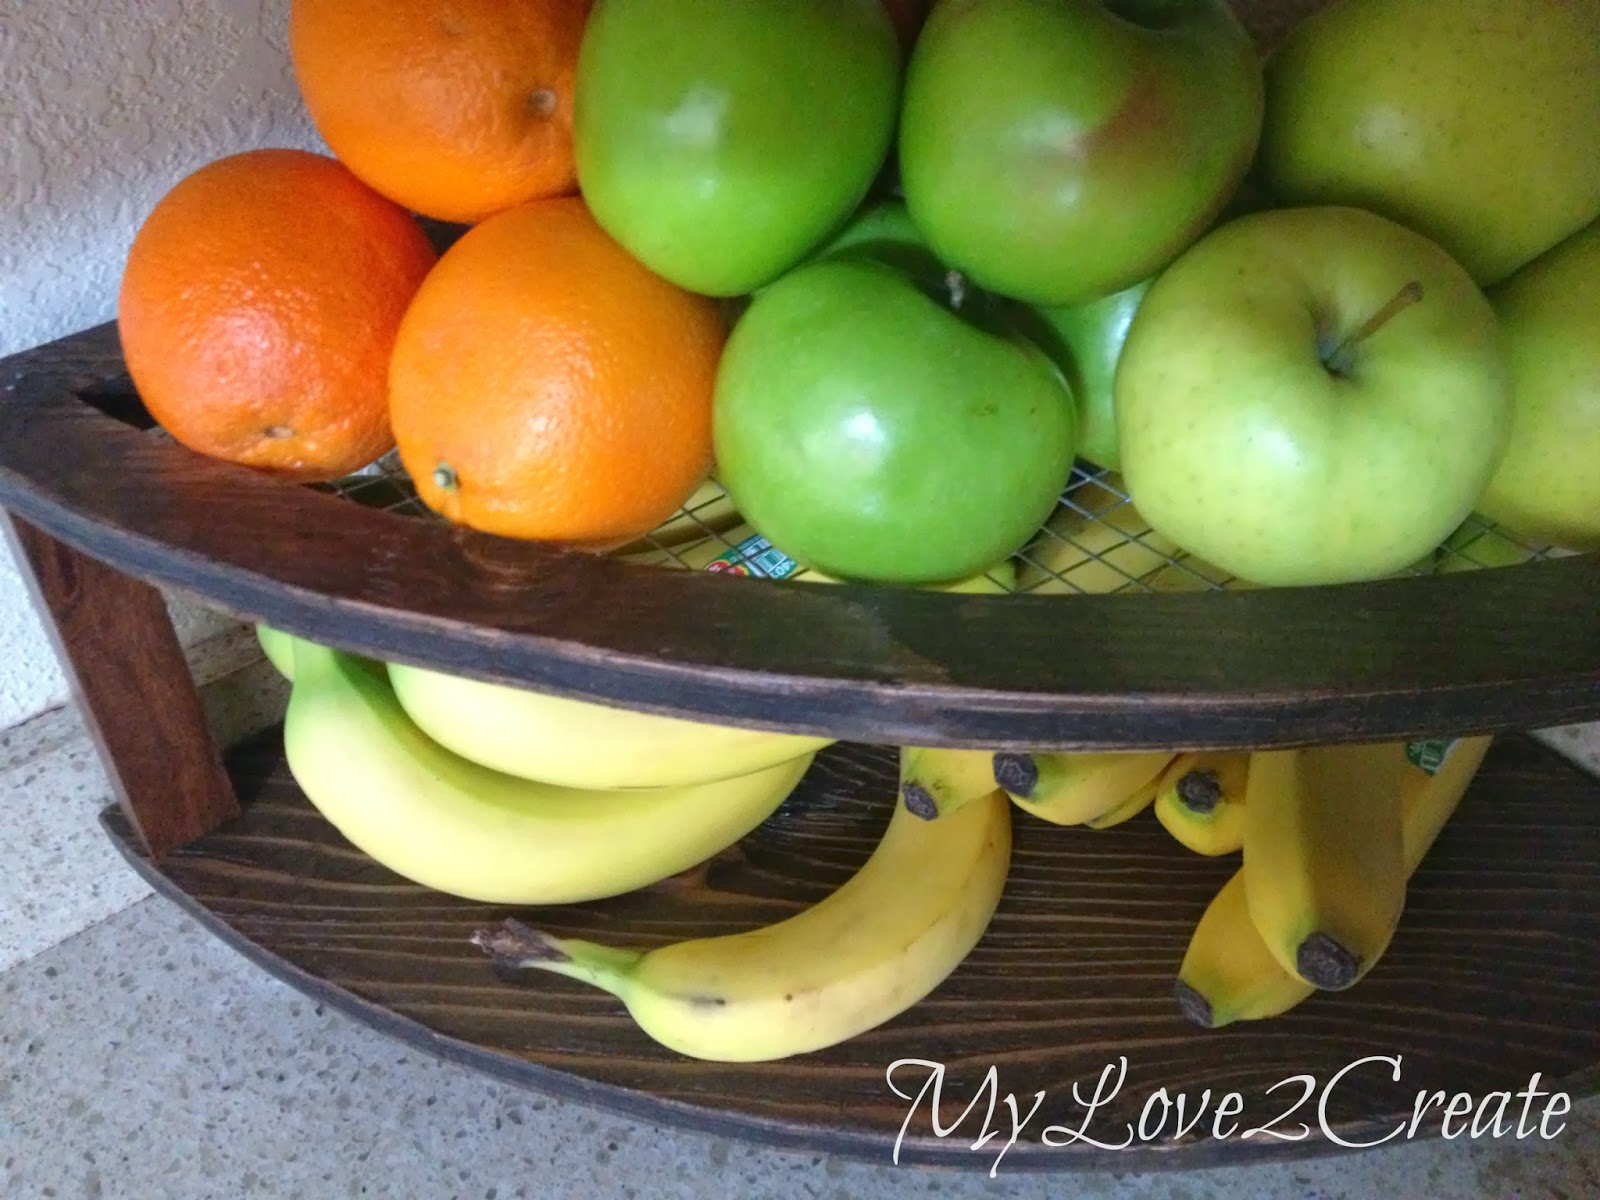
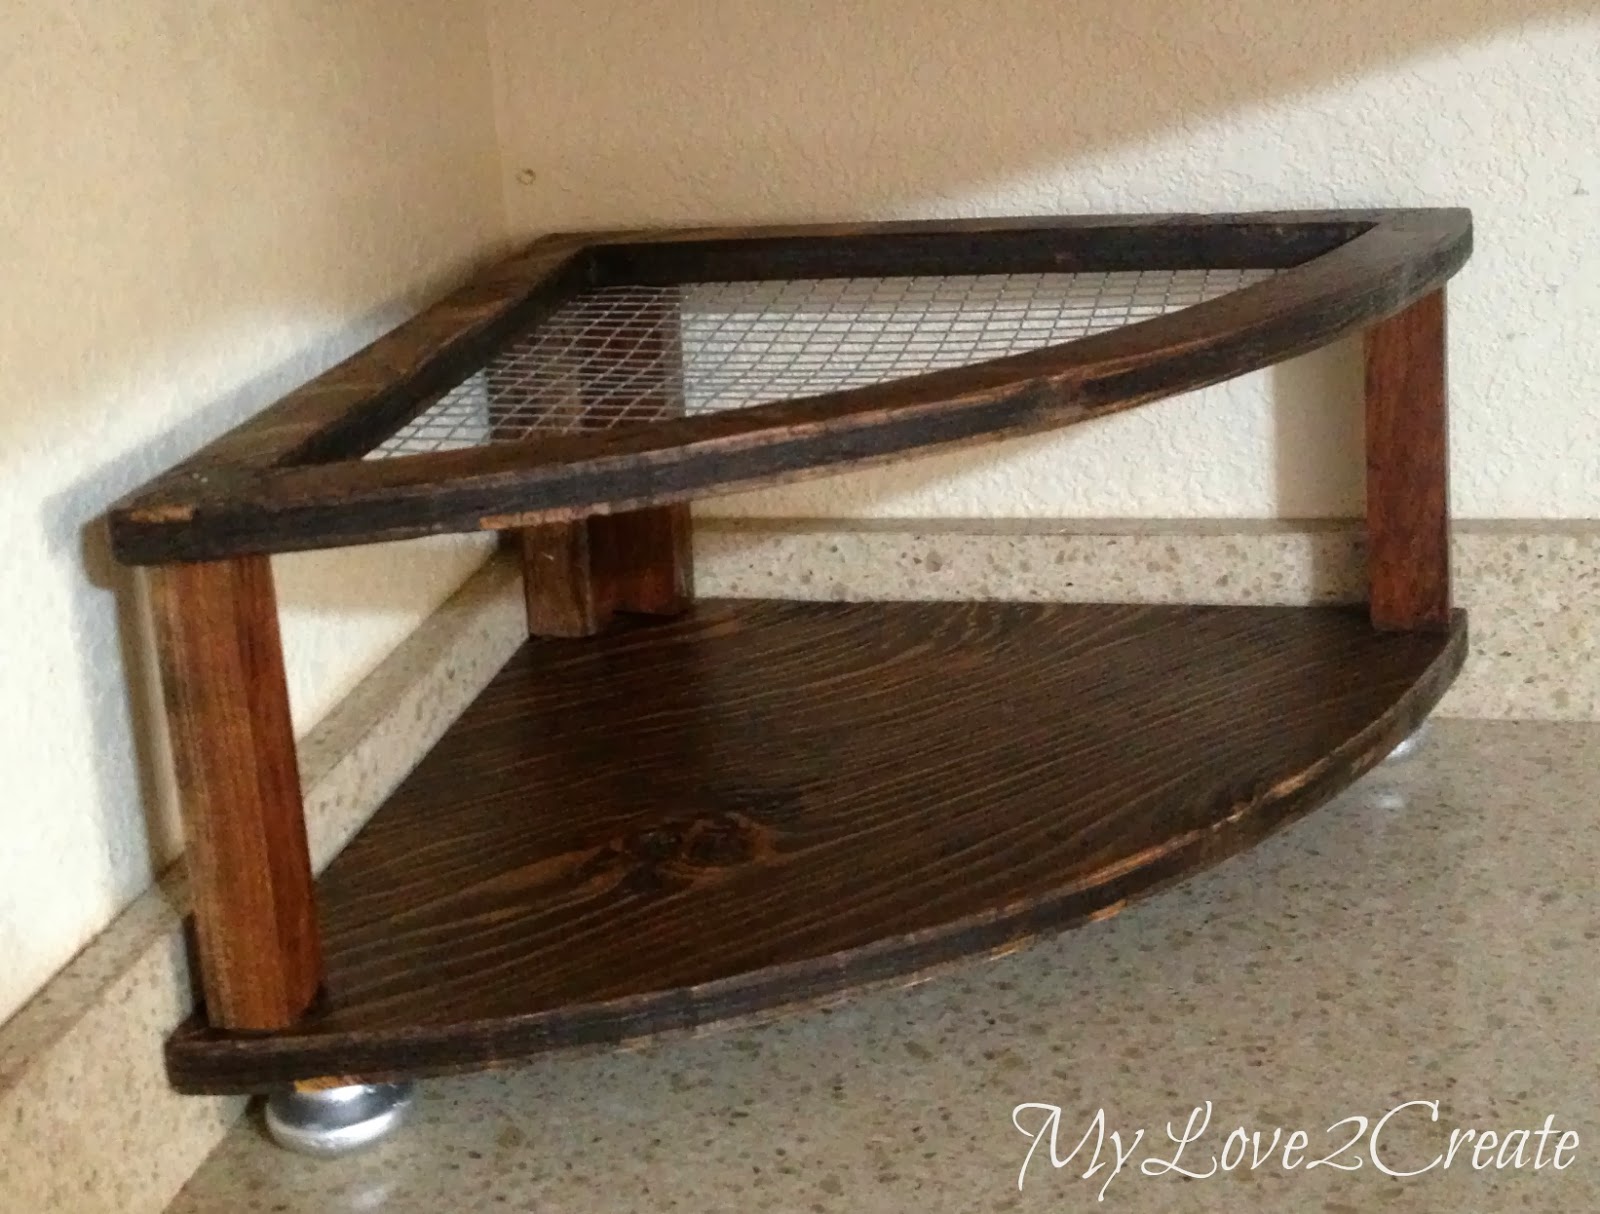
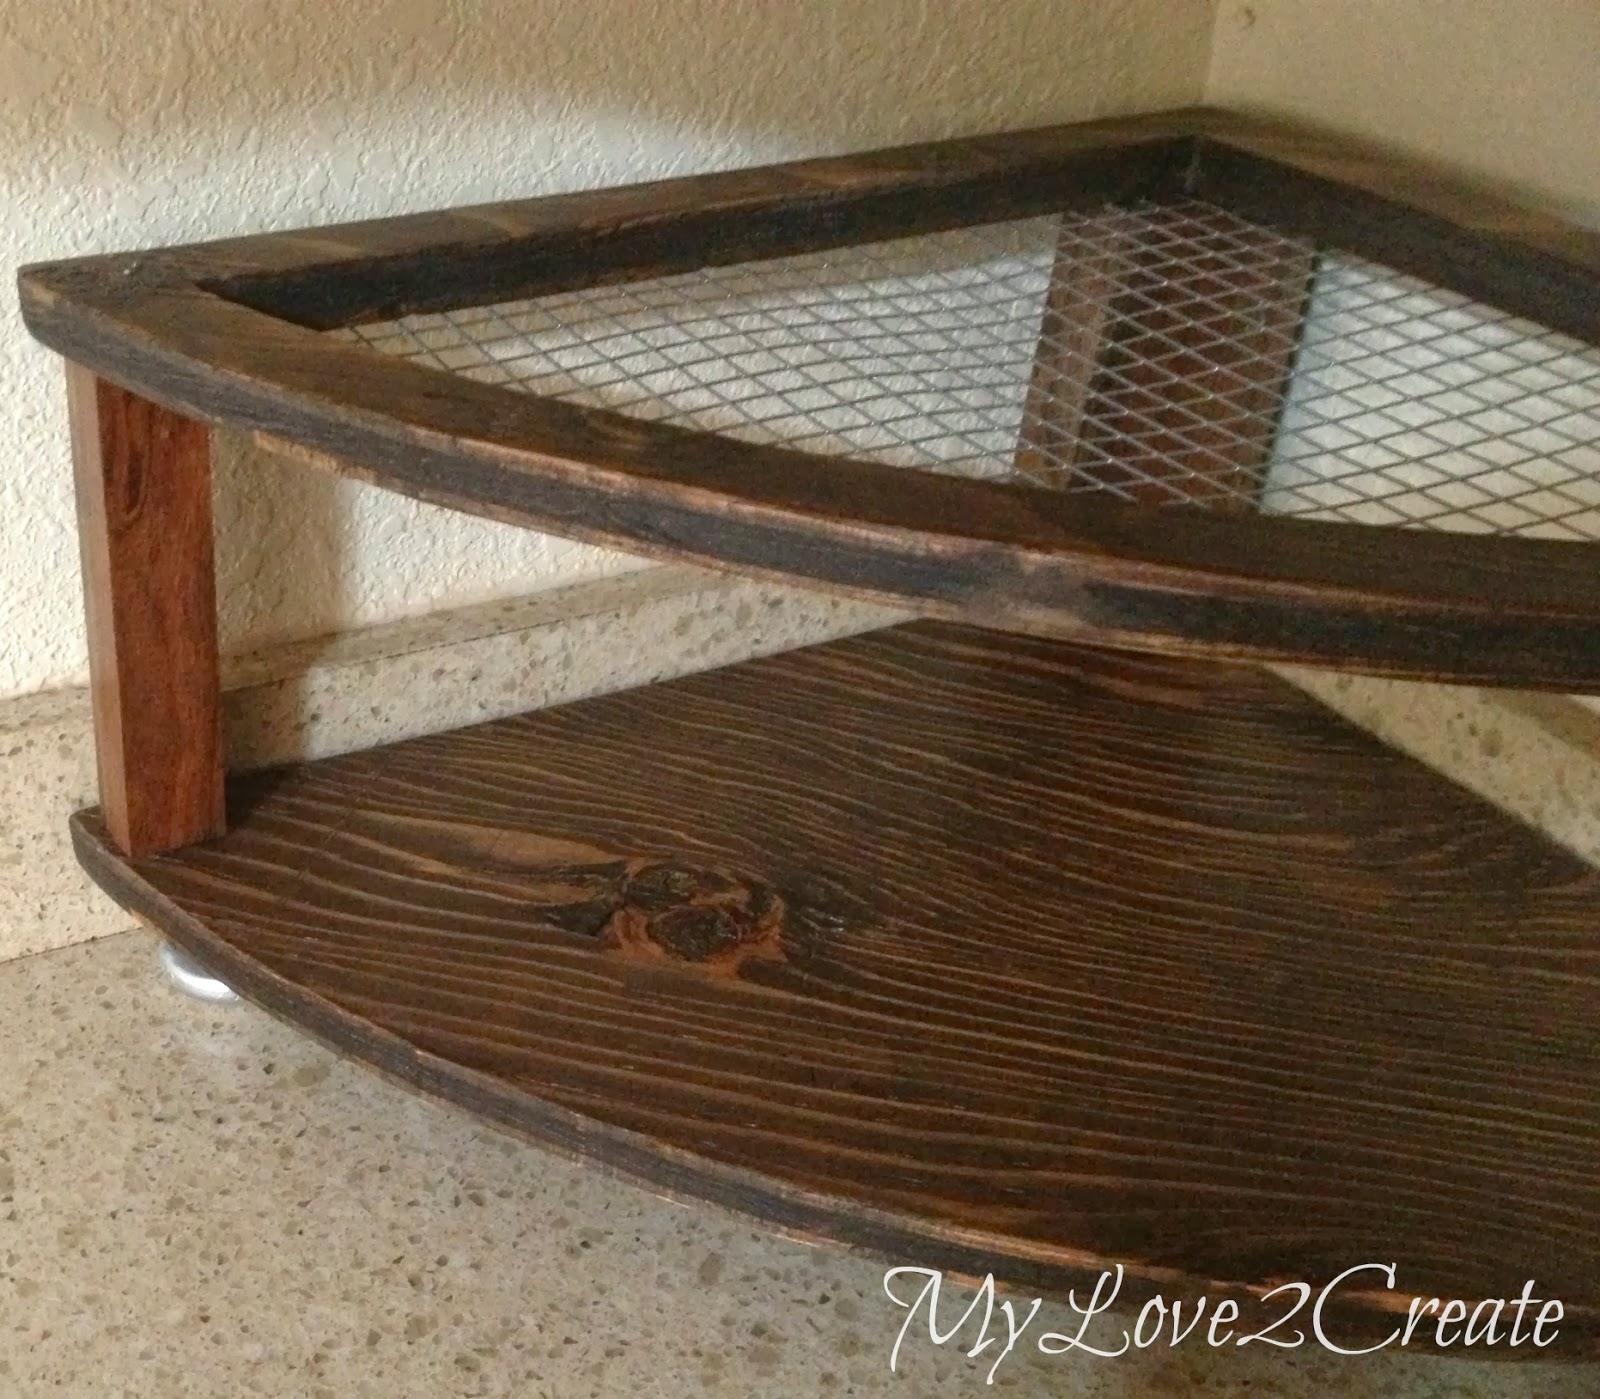
I am pleased with the top, my intent was to make it so the fruit wouldn’t roll off, and it doesn’t! The hardware cloth is great, you could use a thin piece of board instead, but I like the industrial look, and that you can see through it!
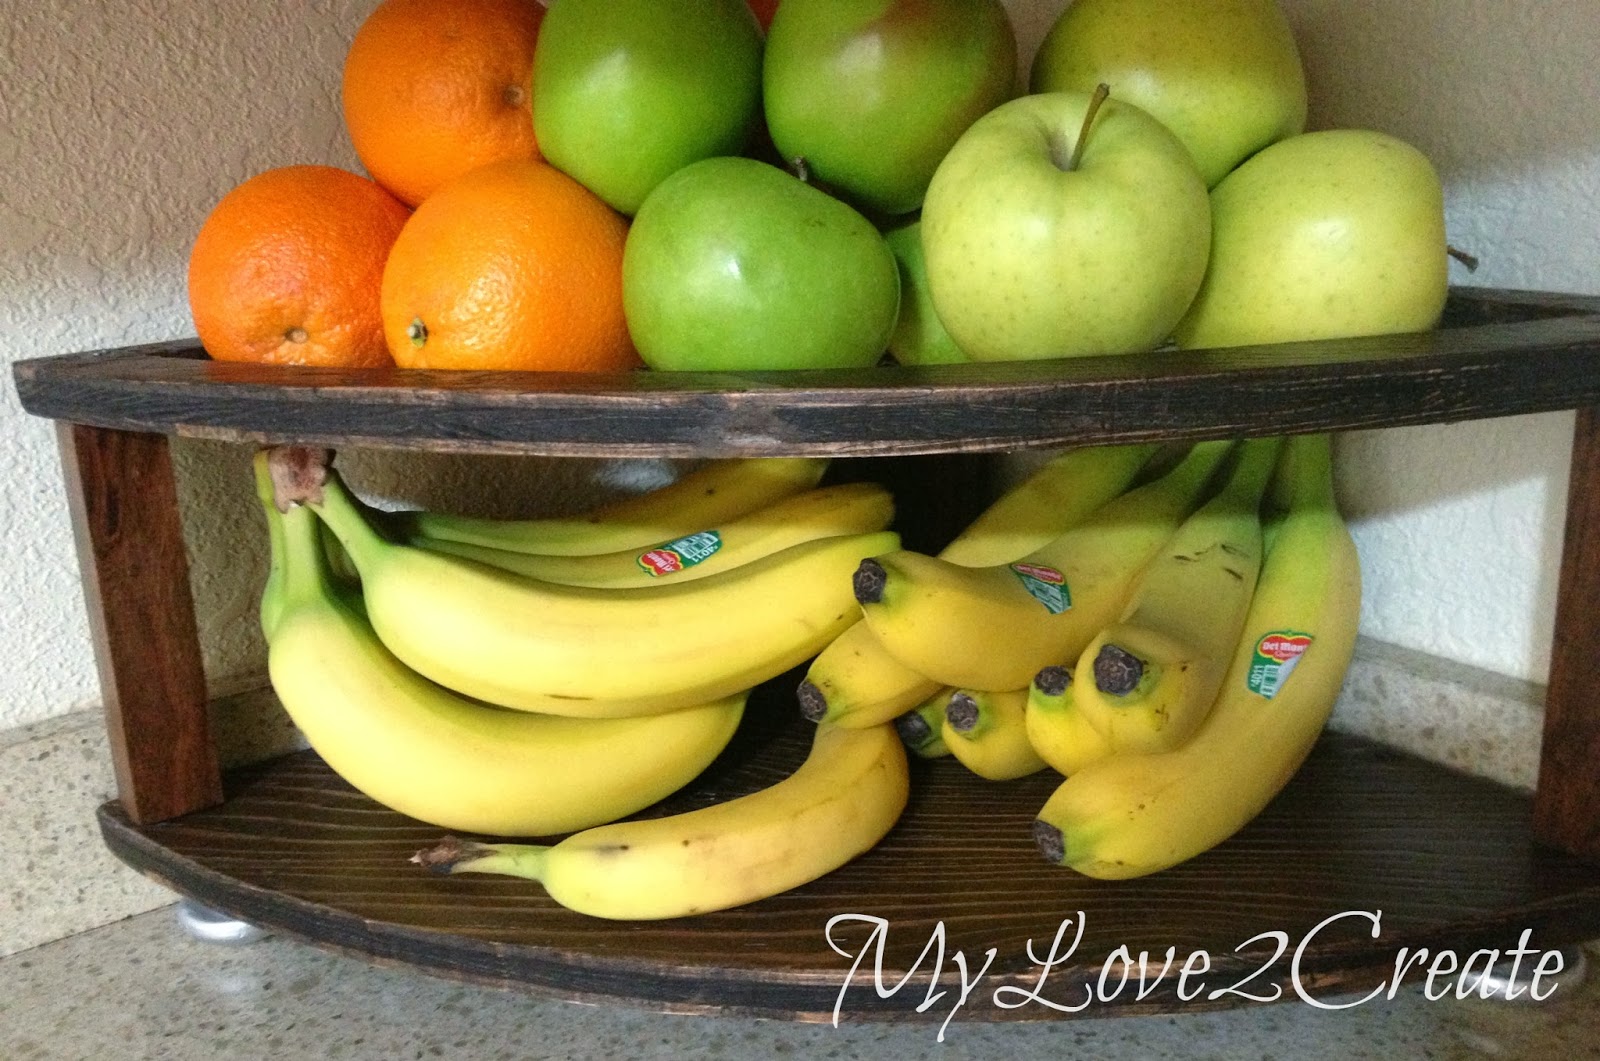
Now I have a perfect spot to hold all our bananas, and our round fruits! Making it a tower takes up less space, just what I needed.
And the feet are kinda cute too!
Now, the tricky part is keeping it full…
Thanks for stopping by! I always love your awesome comments and appreciate you reading my blog! You are the best!
Mindi
I will be linking to these parties.



I just went over and clicked on you! And will keep clicking so that you will WIN! Because you deserve it pal!!! This fruit tower is awesome! I too love clean counters and have a basket of fruit out for the beans but like you can't fit everything in there! I just love this!!! It is such a brilliant and sleek piece friend! I hope your closet makeover wins! Good luck!!! And a wonderful week to you! Nicole xoxo
I love this. And very original in my books. I would love for you to share on my Chic By You Link Party @ http://chicbytab.blogspot.ca/2014/03/chic-by-you-wednesday-link-party-2.html. Hope to see you there!
What a great way to save fruit and space! I love what you've come up with….
🙂
xx Crystelle
Crystelle Boutique
This is great! The hardware cloth looks awesome and I'm totally going to "borrow" the idea of using old knobs as feet. Genius! I went ahead and linked up for Creating With the Stars too (# 86). Wouldn't it be cool if we both got picked?
This is such a great idea!! And it's so pretty too! Pinning!
WOW Mindi !! This is simply awesome !! I love it !
Your new follower from Dubai 🙂
I keep my fruits on top of the island and I'm always looking for a new storage solution, baskets, boxes, trays, you name it! You found a pretty neat solution, love the hardware cloth you incorporated and the cute feet 😉 Heading over to ECC to cast my vote 🙂
Love this idea. 🙂 Thanks for sharing. Seems more useful than the basket I've been using.
You know I love projects that use up scraps! This is a great solution to a problem. I like that you used the hardware cloth instead of a solid piece of wood for the top.
great job Mindi!
clicked your master closet reveal for a vote.
gail
awesome!! Love this and great tute!
ok, this is awesome! It is so clever and cute…and the doorknob feet are so genius
This is sooooooooo beautiful
You did a perfect job, and I'm totally jealous 🙂
I'd love to vote for you – you deserve to win!
Aren't you clever?!? This is such a great idea and you did a wonderful job bringing it to "fruition". 😉 Pinned! I'd love to have you link this up to our All Things Thursday Blog Hop! Have a super weekend!
Blessings,
Nici
Mindi, just yesterday I was looking around in the stores to find a solution / way to store our fruits and veggies. I am a smoothie fiend, so we always have lots of fruit. lol I always love how you easily whip up something creative and practical. 😀
I already clicked on your entry. 🙂 Best of luck to you. I wanted to enter but I can barely post anything these days, let alone create stuff. 🙁 Oh, well. I am going to have fun watching all of you get your groove on. Keeping my fingers crossed for you!
By the way, love the plastic ware from Ikea and your quartz counter tops. 😉
Just came over from Funky Junk…very clever and nice looking. LOVE your plastic spoon measuring tools, just the kind of high tech type of hardware that happens here, at my house. Have to come back for more inspiration.
Clever idea! I love how you can use up every square inch of your wood. The knob feet are so cute too! Thank you for sharing at What We Accomplished Wednesdays. Have a lovely week! ~Deborah
How beautiful I love it Pinned!
This is a great idea. I love the tiered look which maximizes your counter space. I was thinking it could look really cute too using a crocheted net instead of the metal netting. Can't wait to make one for myself!
That is beautiful! And what a great use of that corner "dead space"!
Such a cute idea!
great idea, and i can honestly say i've never seen a diy like this before. well done!
You are so handy, what a great idea!
I love your fruit holder. It's a super idea!
Yes!!! This is what I have been looking for in a fruit holder! Genius (and pretty too)!
I love it! :you are so creative! !
This idea is absolutely awesome! I haven't ever seen anything like this and it's so practical! Bravo!
What a clever idea! The fruit holder saves space on the table