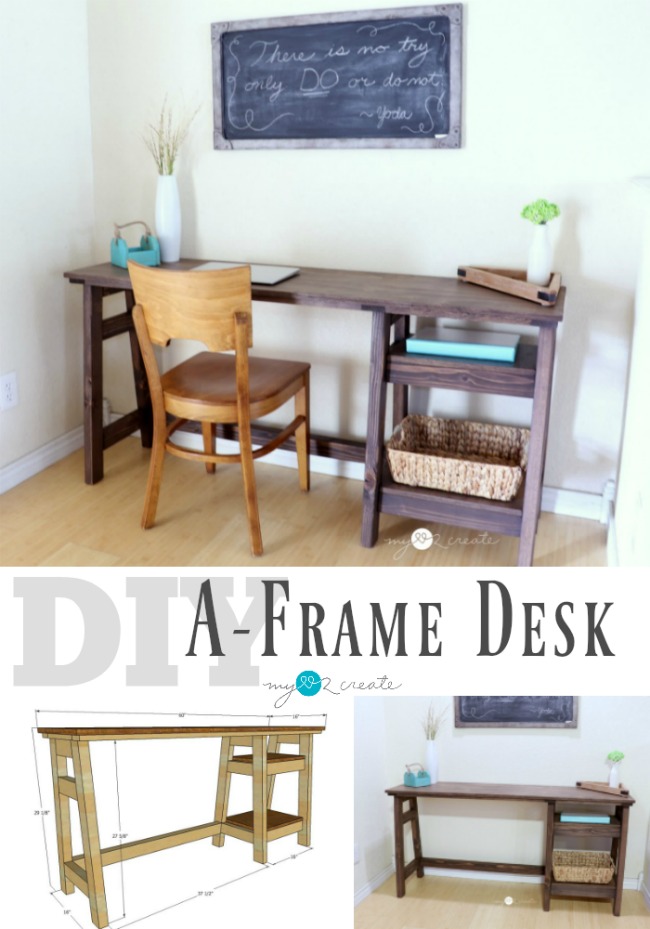
DIY A-Frame Desk
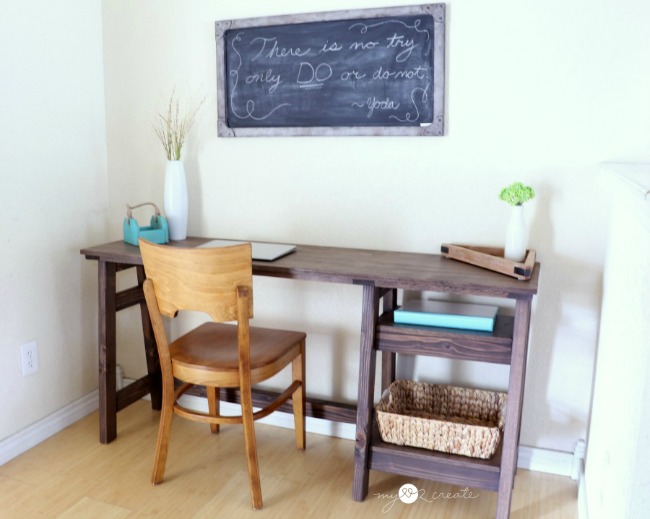
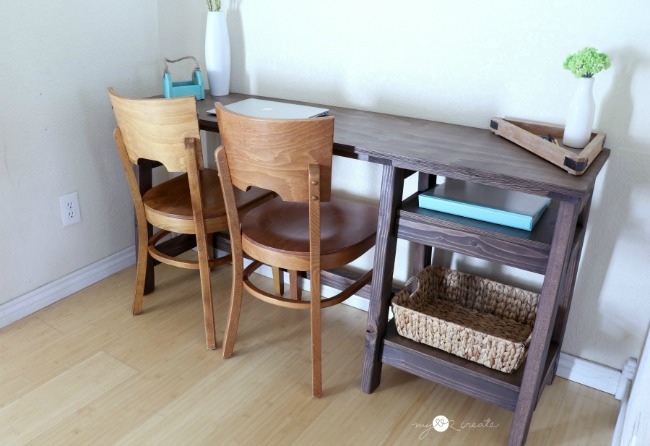
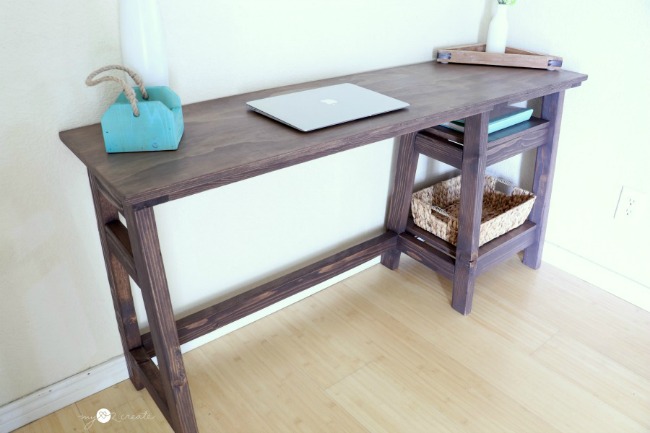
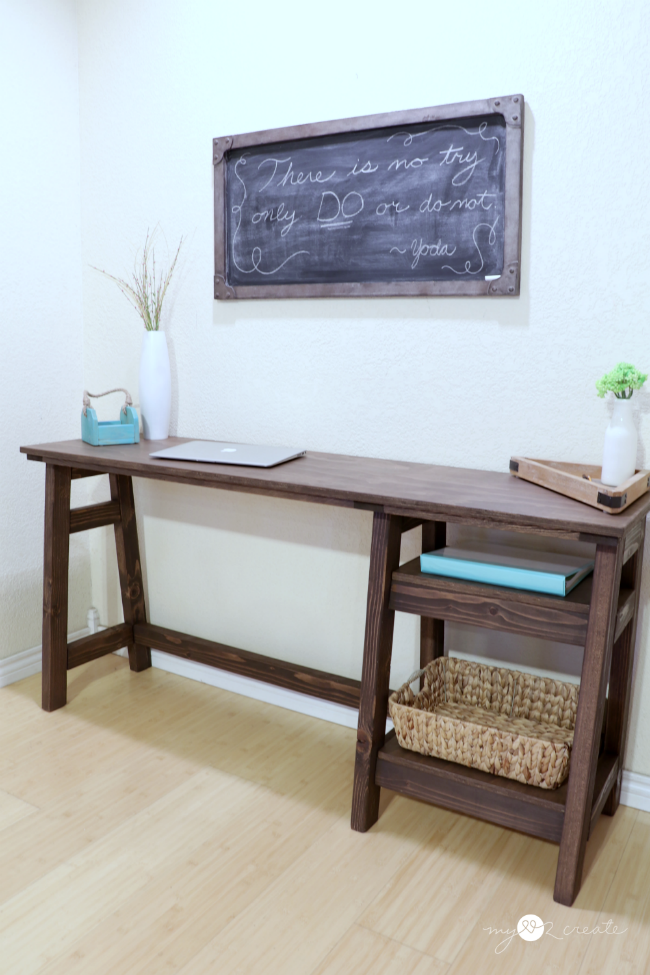
Isn’t it soooo cute!! I really love it!
We have needed a new desk for a long time, I really wanted something simple and not too deep, so I made my own! Plus the wood and supplies were less than $75 not bad!!
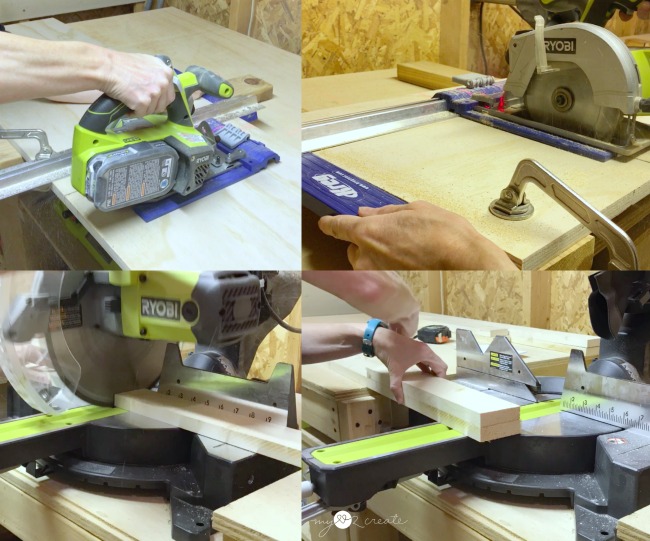
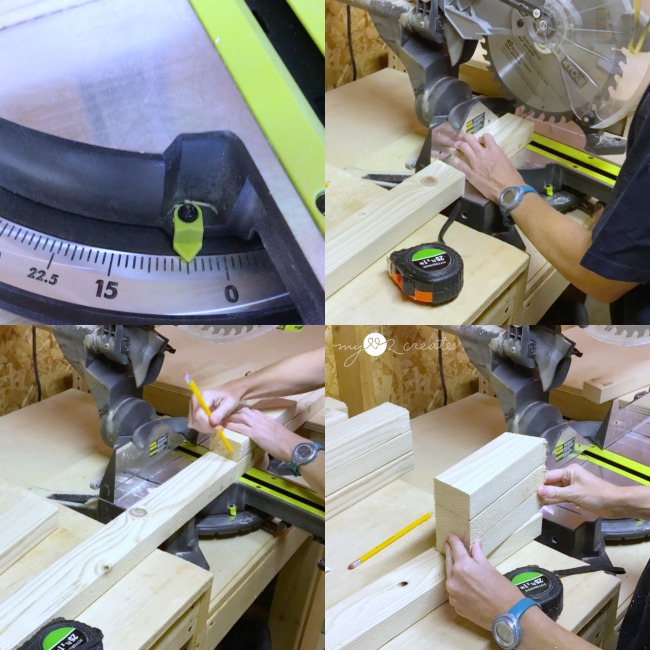
To cut the legs and rails for the a-frame sides I set my Compound Miter Saw at 5 degrees off square. Then I cut the pieces to size.
For the legs, the ends need to be parallel, so you can keep the board on one side for cutting. To cut the rails you need the end not parallel, so you cut one side then flip the board over and cut the other side.
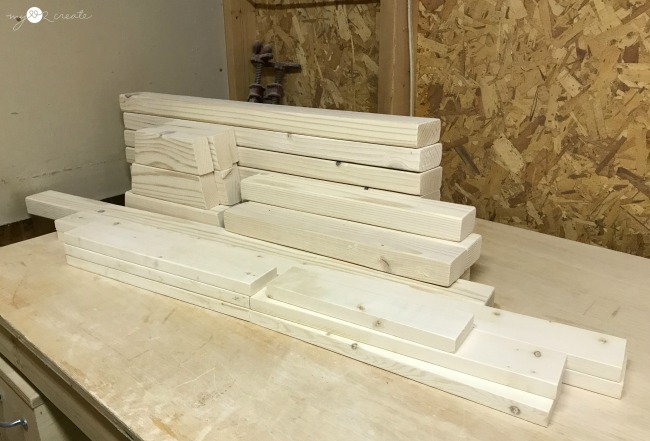
After all my cuts were made I sanded them smooth.
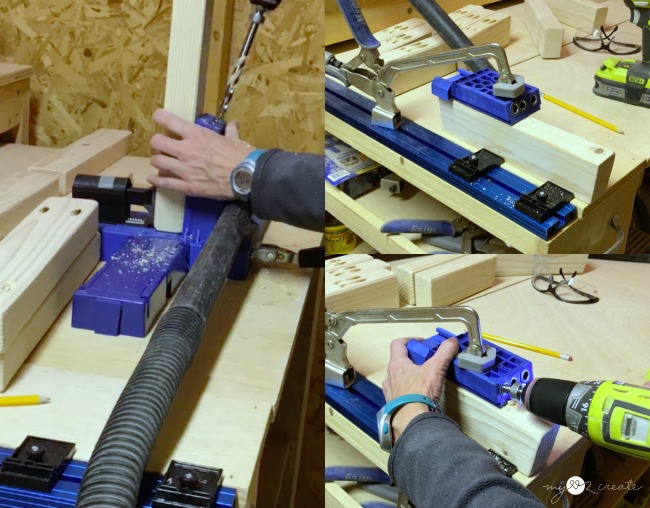
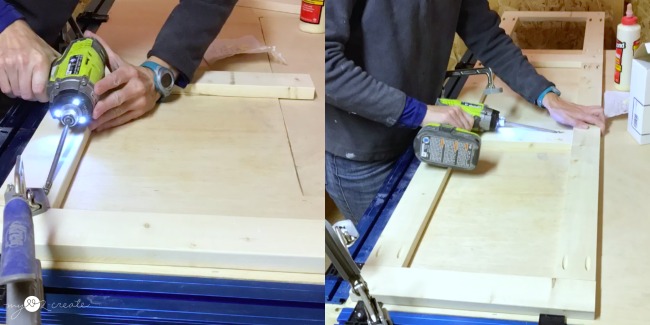
I drilled my pocket holes with my Kreg K5 Pocket-Hole Jig. You will need to drill them into the side rails and the shelf support boards using 2 1/2” pocket holes. When you drill pocket holes for the top support frame you will need to switch to 3/4 pocket holes on the thinner wood.
In the photos on the left I drilled my pocket holes on the top for the top rail pieces, and on the bottom for the middle and bottom rail pieces. I used my kreg jig insert and clamped it to my rail pieces, but the Kreg R3 Jr. Pocket Hole Jig System would work perfect for this. In fact I recommend it if you want to try pocket holes, it is an inexpensive version of the Kreg jig to start with!
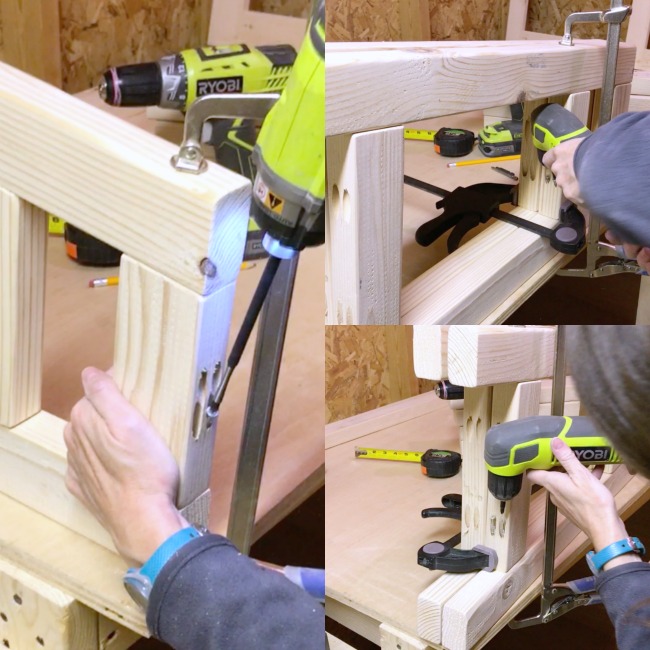
Before I built the sides I measured where the rails needed to be attached. I put the top rail in place then measured and marked where the middle rail need to go (top left). Next I measured up from the bottom for the bottom rail (top right).
After one leg was marked I used it to mark the second leg (bottom photos).
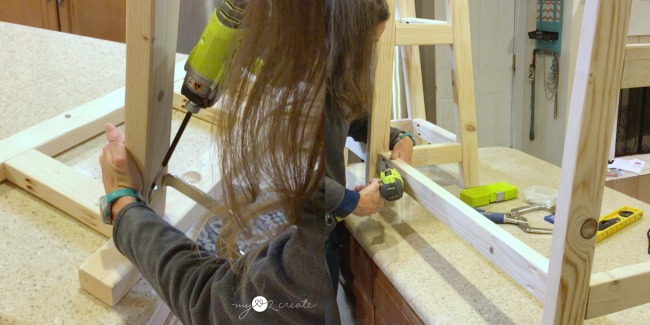
To build my sides, I found this method worked the best for me. I started by attaching my top rail with my 2 1/2” pocket hole screws, making sure to clamp it in place while I drilled (left).
Then after one side was built, I used it as a guide to clamp and attach the middle and bottom rails (right photos).
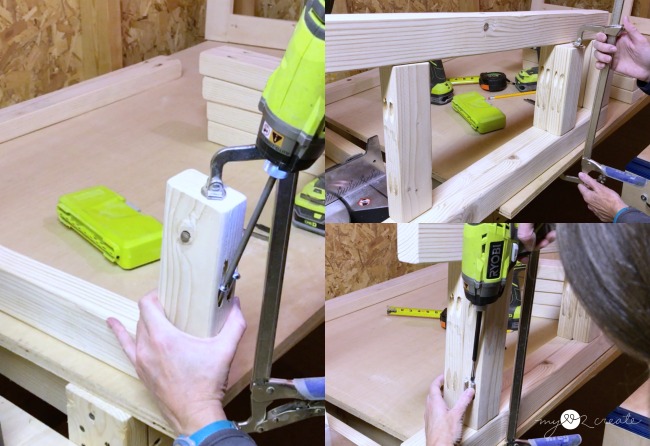
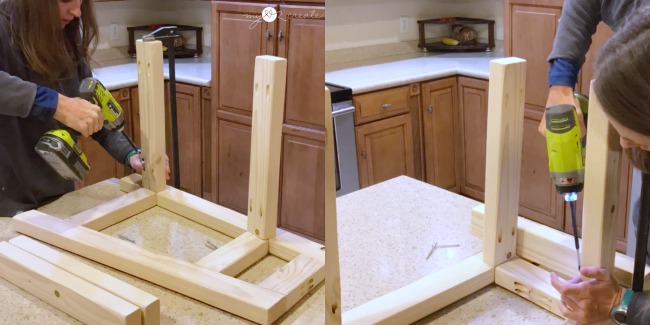
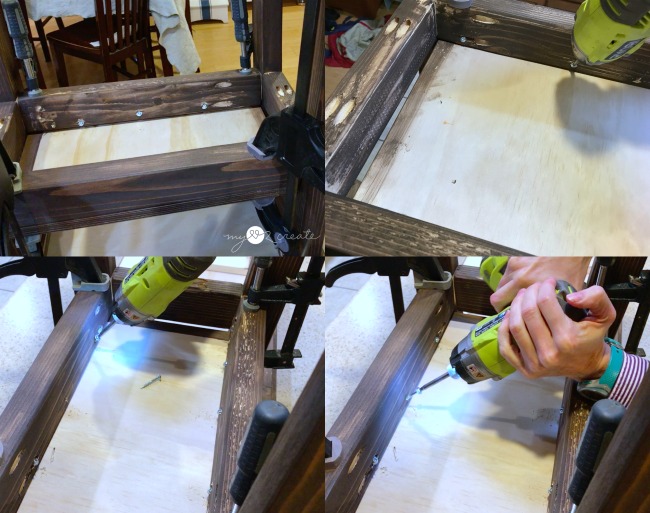
To attach the second leg I clamped again, you can see me adding the top rail on the left. In the photos on the right this is where it gets difficult…adding the other leg makes it VERY tight and difficult to screw in the middle support board…so in the plans I recommend drilling the pocket holes on the side for the middle rail.
I had a very hard time getting the screws all the way in even with my Right Angle Drill. On the bottom right photo you can see I used a small drill bit to get the screw started, then I ended up putting in my longer bit to drill all the way down.
I didn’t want my desk very deep, which is why this narrow design is more difficult. To make the build easier just drill the middle and bottom rail pocket holes on the side and fill them when you finish.
I built the top support frame with my 3/4 pocket holes and 1 1/4” pocket hole screws and used my Kreg Clamp Trak Kit to help hold it in place. You can use regular clamps too! I ended up changing the top frame on the plans. Either design works but I wanted to make it easier and more efficient to build, then how I did it above. 🙂
That is the advantage of writing the plans, I can change them after I build it to make it easier for YOU to build!
Once all the sides were built and the top frame was ready, I came inside to finish up because we have had a serious cold front, and it was freezing outside!
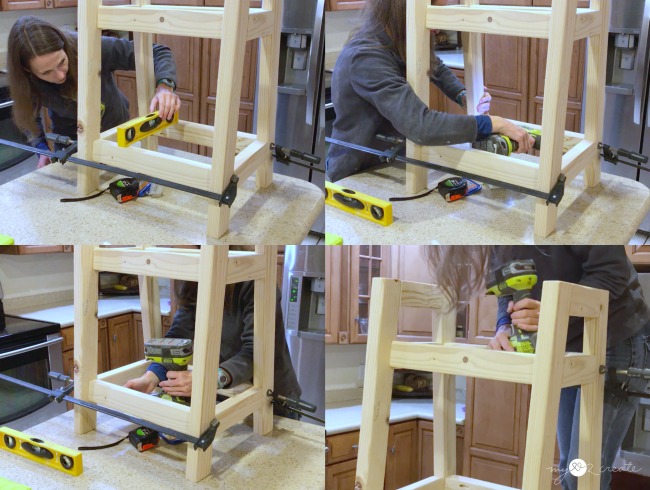
I attached my shelf support boards to one of the sides.
Then using my long bar clamps Bar Clamps I clamped the other side to the support boards and attached them with 2 1/2” pocket hole screws.
I used a level after clamping to make sure the boards were straight.
Now I needed to attach my back support board, I used my Right Angle Clamp to hold it in place while I screwed it onto the a-frame side.
Then, I attached it to the sides with the shelf support boards, I ended up not clamping it because my bar clamps weren’t long enough so I held it really tight, and screwed in really slow. 🙂
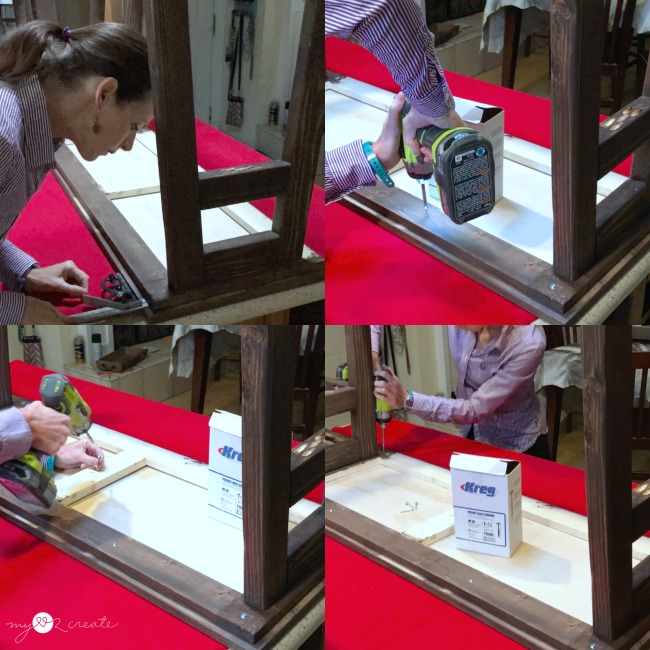
To add my top frame I used my Combination Square to make sure it was centered over the legs, then I used 1 1/4” pocket hole screws to secure it into the legs. I did three screws per side/leg.
At this point I decided to stain before I added the top and shelf boards. I did this because I was thinking of painting the top and shelf boards instead of staining them…but ended up changing my mind.
I always use Pre Stain Wood Conditioner before I stain pine, it helps it from getting blotchy.
I attached the desk top upside down. Again I used my Combination Square to make sure it was 1/2” overlay on all sides and then drilled through my top frame into the top board with my 1 1/4” pocket hole screws.
While the desk was still upside down I clamped my shelf boards onto the shelf supports and then screwed them in at an angle to attach. Make sure to pre-drill first so that the go in at the angle you want.
*I also changed this in the plans to drill pocket holes into the support board to make attaching the shelves so much easier!
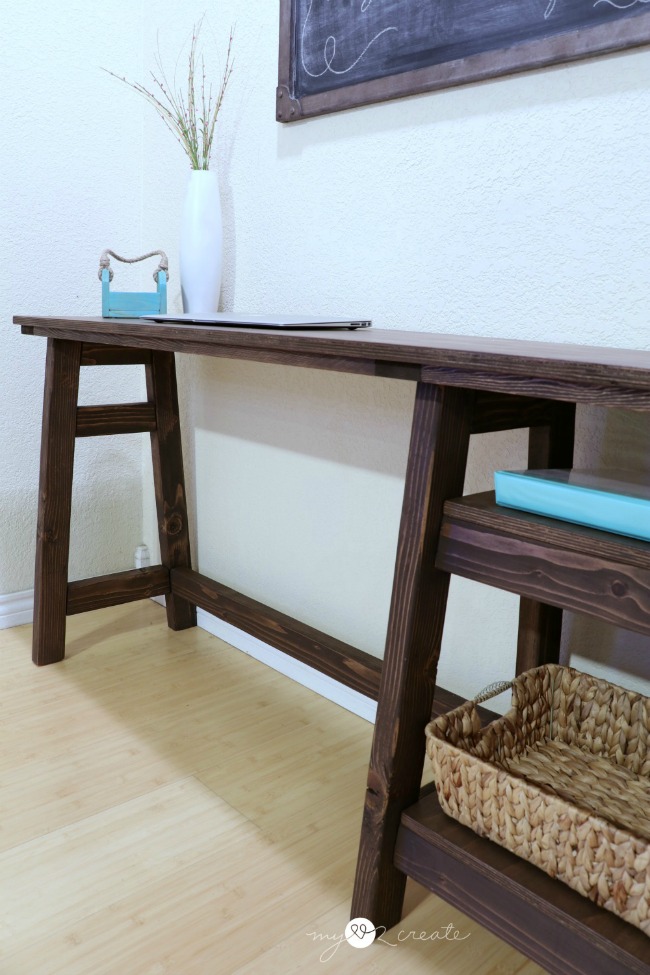
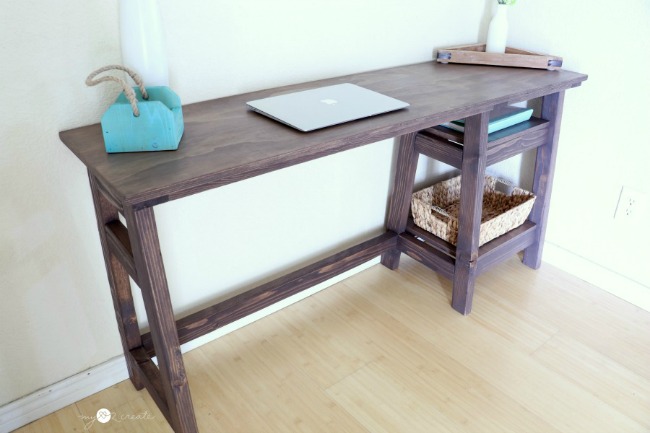
And that is it!! All finished…ok after I sealed it with a clear coat first…it is perfect for our needs!
The shelves are great for holding extra things…but will also keep me from gathering too much junk and stuffing it in places to be forgotten about. My printer also fits on the bottom shelf, I will be moving this into the other room, and will transfer over the old computer desk to this one…later this week…just haven’t had time yet!
One of the best parts is that it can seat two people! Yay for homework stations!
All in all, I am very happy with how it turned out.
What do you think?
Hugs!
I will be linking to these parties, Savvy Southern Style.






Very nice design, thank you for sharing it