DIY Frozen Treats
This was such a fun project with my kids and I am so glad they are enjoying it!
I was a lot little over zealous with the amount of treats we made, but I am giving you the plans for a 24 treat holder just in case you are super excited and want to make a million treats too. (I know 24 isn’t quite a million, it just feels like it when you are cutting and sanding and painting them) 😉
But really, you could modify the plans easily and make it hold as many or as little treats as you want. You can click below for the building plans, I will not include the all the diagrams in this post, just a written tutorial. If you want the detailed treat holder plans click below. Enjoy!
Click Here for the Frozen Treat Holder Building Plan
When I built this I didn’t have plans, I was just winging it, so my progress photos are a little different than the plans I have provided. I made the plans a little easier.
I started by cutting out my plywood with my Ryobi Jig Saw. (measurements in the plans) After drilling pocket holes into my 1×4 boards with my Kreg K5 Pocket-Hole Jig, I started attaching them to my plywood. In the plans I have you nail the 1×2 board to the 1×4 which is easier.
I drilled pocket holes in my 1×2’s but it got tight screwing them in, that is why I changed it in the plans. After I attached all the boards I glued and attached the other plywood side. with 1 1/4” pocket hole screws. Then I filled all my holes and seams with spackle.
I used the drill bit that best fit the dowel size I used (a 23/64). I staggered my holes and didn’t even measure, I just eyeballed them. Then I spray painted it a cute blue, to match my frozen treat stand.
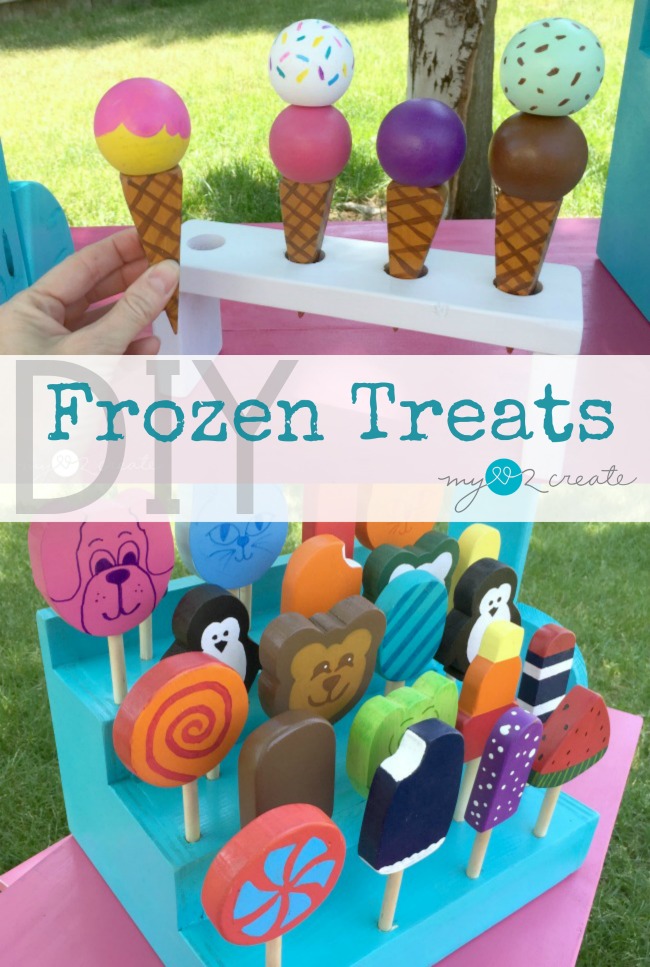
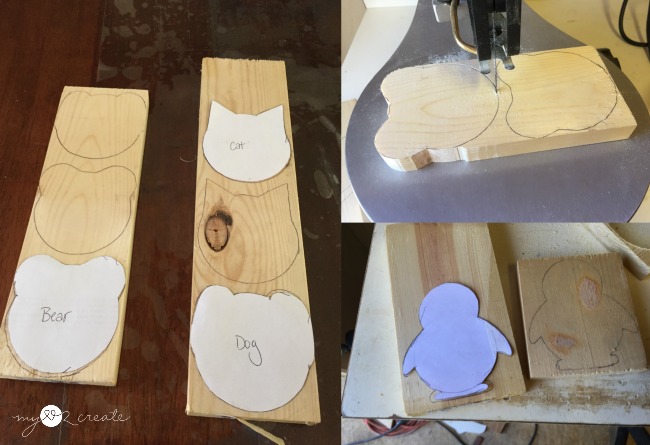
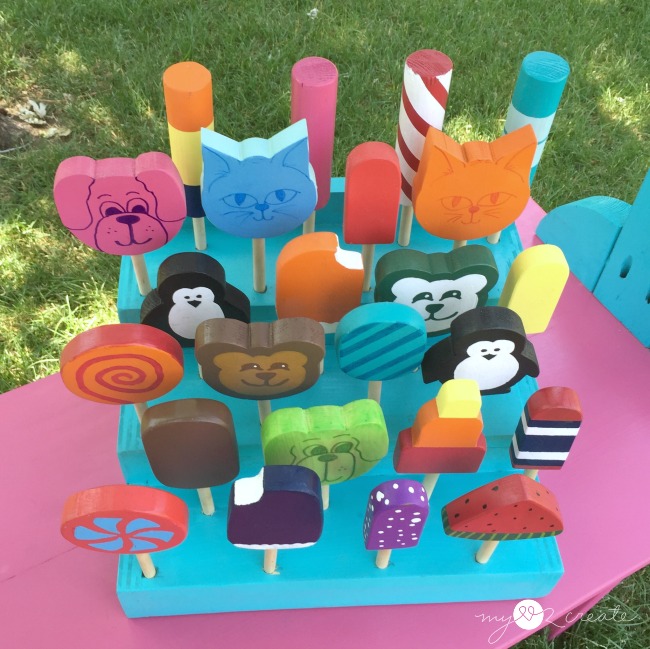
My kids wanted critter pops, so I cut some out, on scrap 1×4 boards. I cut them out on my scroll saw.
Click here for Frozen Treat Templates
For all of my frozen treats (except the ice cream) I used scrap wood from my huge pile, so this is a great project if you have lots of small cut offs! Use up your scraps on your kids, they will love it!
You can make fun shapes by cutting a piece of paper that is the width of your wood. Then draw the shape you want on one side, cut it out, unfold it, and trace it onto the wood to cut. You know like you used to cut hearts as a kid. 🙂
When you buy your dowels, make sure they are smaller in diameter than 3/4” which is the width of the wood, I am sorry I can’t remember the size dowels I bought! Then find a drill bit that is the perfect size for your dowel. I always test on a scrap piece of wood to make sure first. Then Drill holes in the bottom of all your pops.
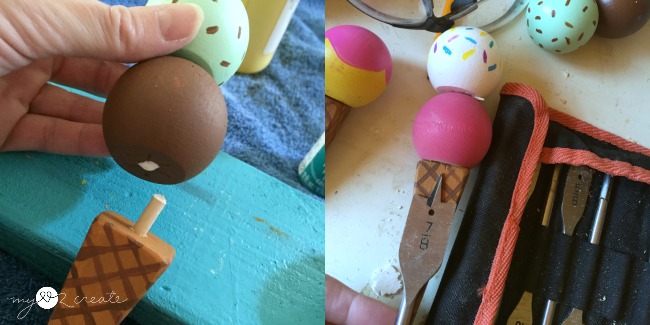
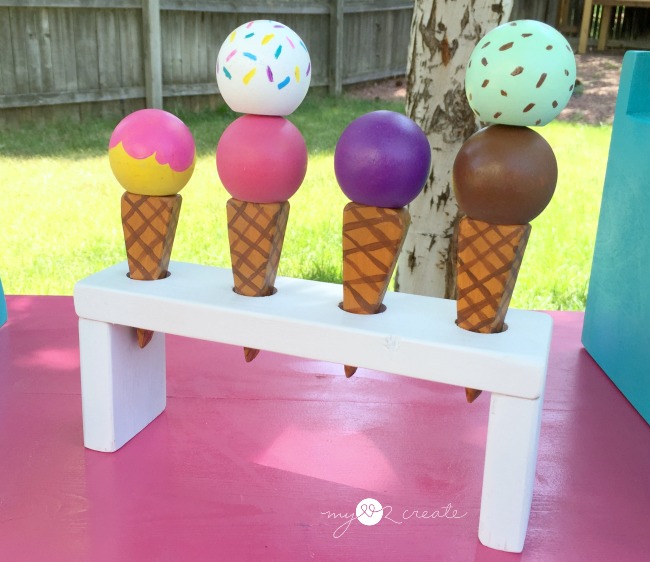
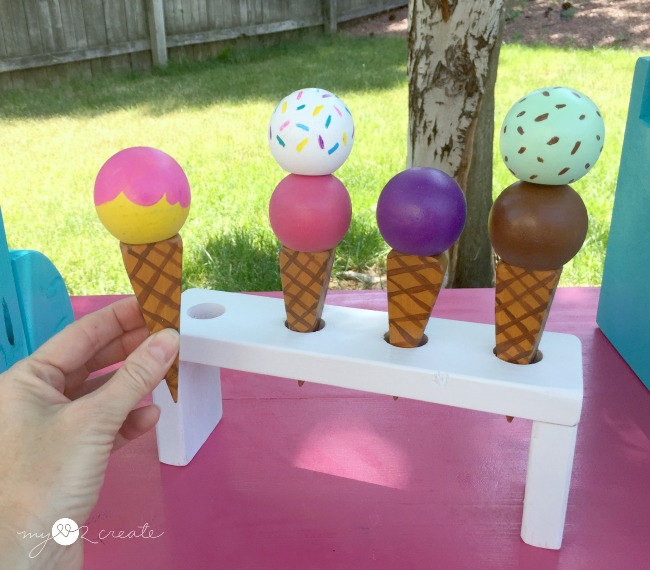
For making ice cream cones, I purchased these Birch Ball Knobs with 3/16” holes at Hobby lobby. I found a dowel at the store that fit in the hole and then drilled holes the same size in the top of the cones, and fit them together with wood glue and small piece of dowel. For making double decker cones, just drill a hole in the top of the bottom ice cream piece and attach it to the top piece with wood glue and a dowel.
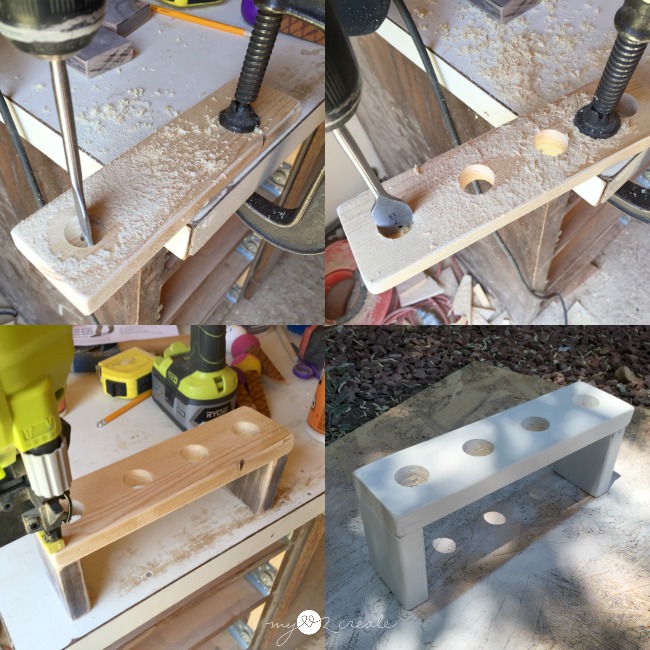
To make sure my cones would fit in my Ice cream cone holder I used a drill bit that was just smaller than the top of the cone. (top right photo)
It took me less than 10 minutes to make this ice cream cone holder, and I had it done with spray paint in 30 minutes. So easy.
Oh, and and you could make a treat holder just like this too, just drill smaller holes! You have lots of different options to customize your personal frozen treat stands!
Here are my in process photos. Cut the wood to size, drill holes for the cones, glue and nail on legs, and spray paint. Done.
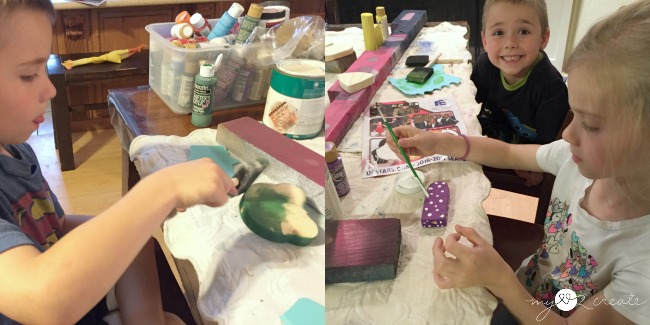
After all the frozen treats are sanded it is time to paint!! We had a painting party at our house and everyone took turns painting. Total concentration!
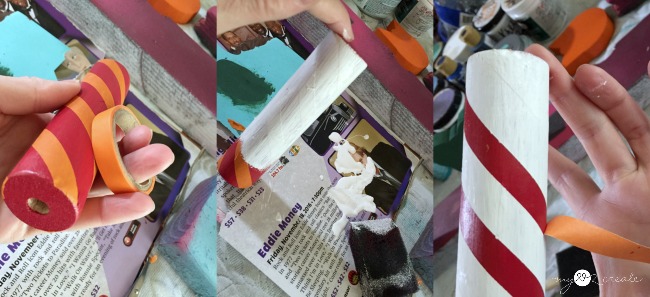
I didn’t do many in progress shots of all the painting…Just be creative! The fun part about this is you can do what ever you want! Above I am showing how I made a swirly stripe with some skinny washi tape. Just apply the tape paint over it and then pull it off when it is still wet!
I am not much of a painter…but if you want to see really awesome popsicles and painting, check out my friend Jaime’s adorable “P” is for popsicle set. She also has a great tutorial and her own cute stand!
After you finish painting, you can add your cut dowels for the stick, I cut mine at 2 1/2 to 3 inches. To attach them to the pops I squirted wood glue into the hole and hammered in the dowel. To finish them off I sprayed them with Rust-Oleum Clear Sealer.
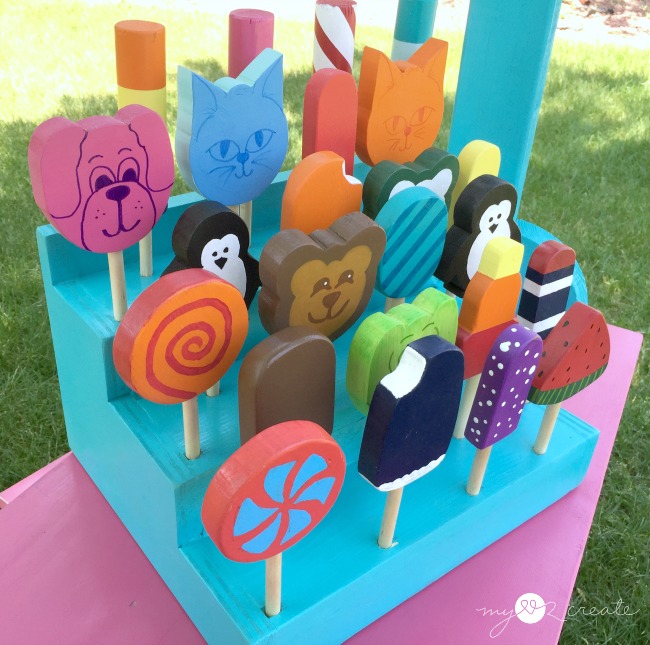
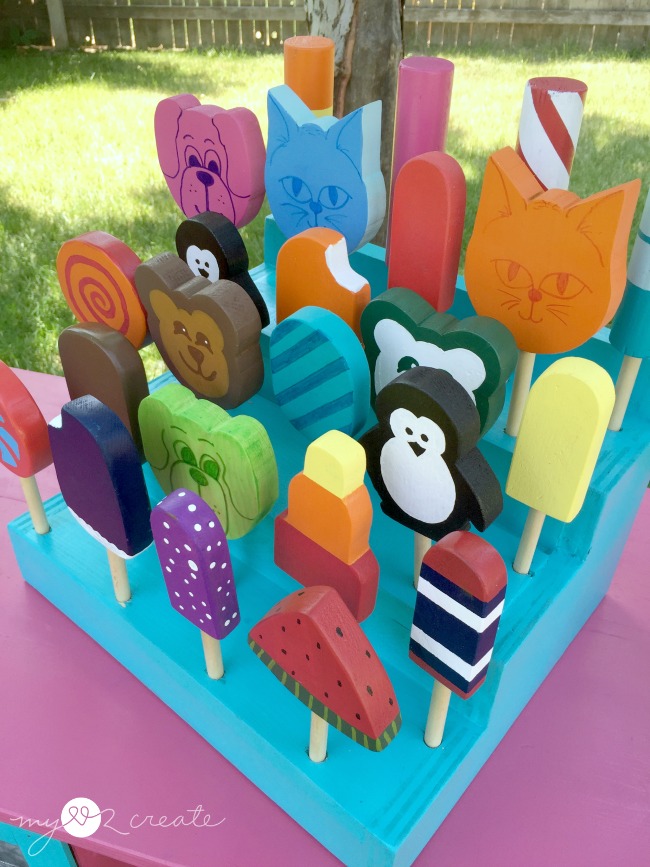
Stick them into your frozen treat holder and the kids are ready to play!
They look so yummy!
You can see I got lazy with the cats and dogs…I quit painting and just used my sharpie to draw on the faces.. they are not AS cute, but they were good enough for the kids…(remember I am not much of a painter, or artist for that matter…)
I am actually really glad the kids helped paint…less work for me and a huge since of accomplishment for them.
We are totally loving the few ice cream cones too, they are just so fun!
NOW, this frozen treat stand is truly ready…
And so are the kids! Anyone want to buy a frozen treat?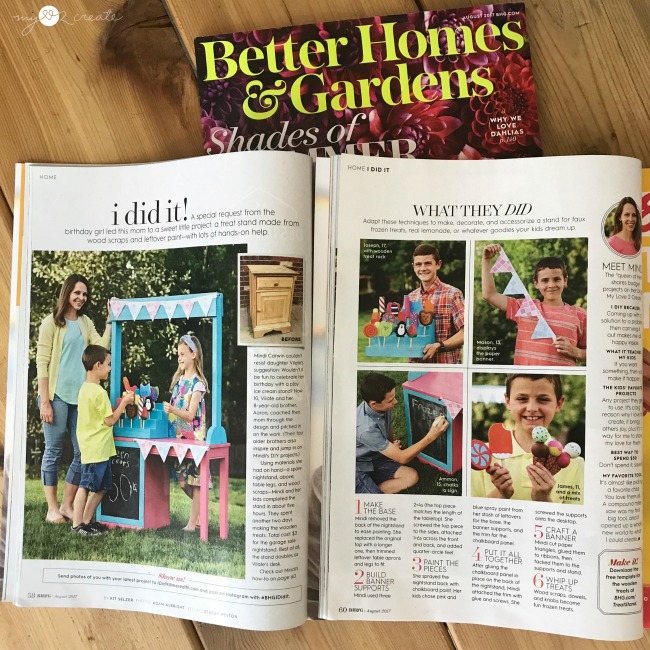
Thanks for stopping by!
Hugs!
Mindi
I will be linking to these parties, Savvy Southern Style, and Bloom Designs






These are adorable. Love all the different shapes and sizes. Thank you for such a detailed post. I know how much time and effort it takes to make a tutorial such as this one!
Adorable! My kids would have gone crazy for these when they were young. Your kids are so lucky to have such a creative and tool savvy Mom!
I cannot get enough of these..! My faves are the penguins. LUCKY KIDS!
These are so creative and adorable! Super job 🙂
You get a TDC today on these…. toooo darn cute! Pinned.
Love the idea of letting kids decorate!