DIY Hexagon Planters
Hello! I am happy to be sharing my fun DIY Hexagon Planters with you today! But first a quick recap of why I was sort of MIA last week…
Most of you know that I am a busy mom of six very cute and fun kids, and it is summer time! 🙂 So naturally things around here are always hip hopping. My youngest, who is six, decided to water the flowers, by himself, without telling anyone. Which is fine…except he didn’t turn the hose off all the way…
Yep. The hose I never hardly ever use, which is outside next to a basement room that we haven’t been using. It was slowing running for… hmmm, I am guessing 5 days!!!! I know.
My oldest discovered water in his room last Wednesday, and you guessed it, I spent the rest of my week vacuuming up water, and drying out carpet. Fun times. So my usual rhythm of posting a new project once a week has been upset.
Not to worry! I have TWO projects for you this week. Today’s planters and a super fun kid project tomorrow, Yippee!
Ok, onto the planters…
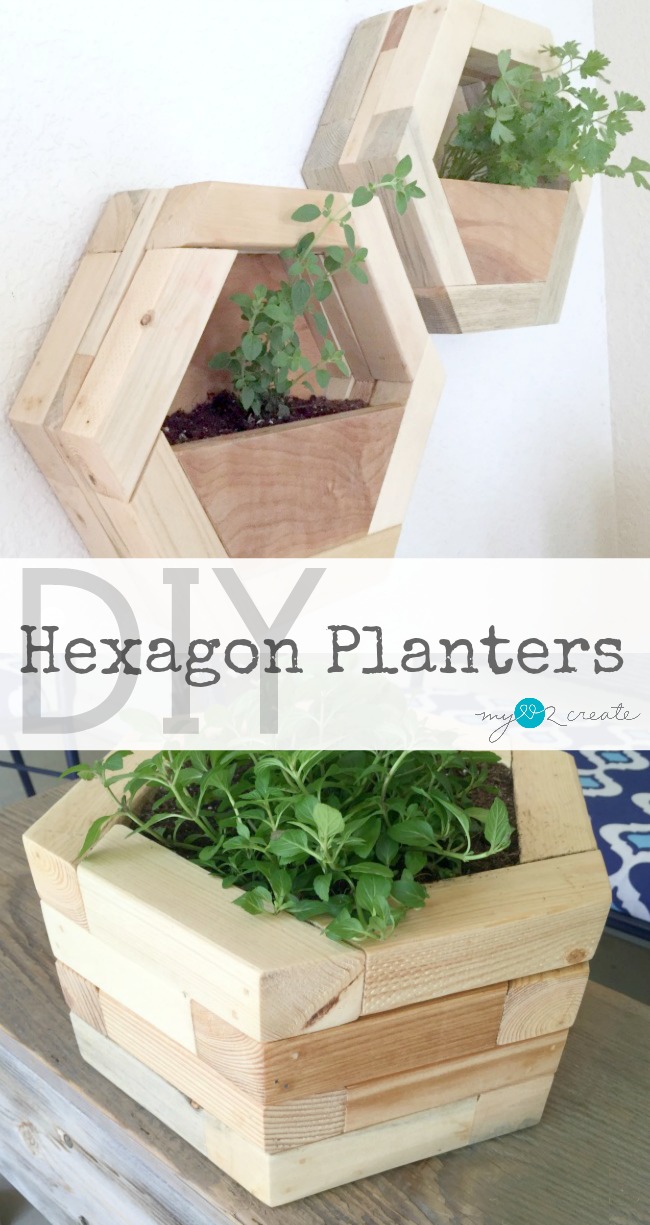
Seriously, I love them. Probably even more because they morphed into the final product without me even planning it.
Ok, I DID know I wanted a hexagon planter, but the end result is way better than my original plan! Love it when that happens.
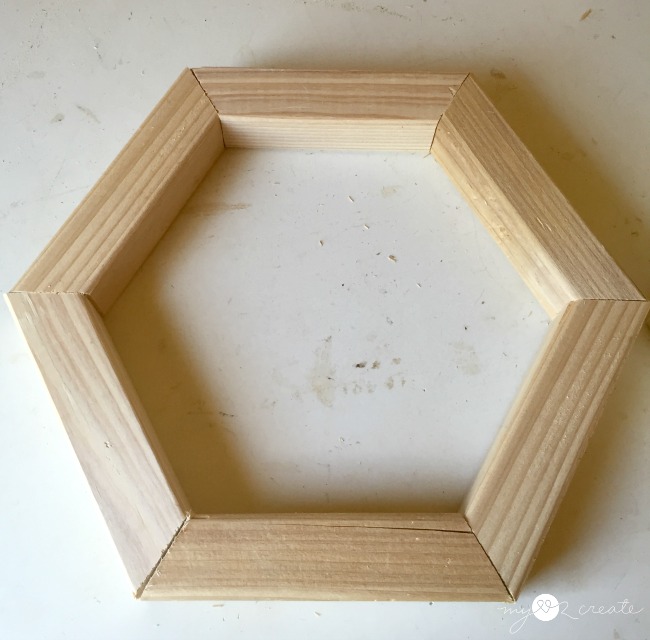
I started out with my cut pieces and did this. Super cute, and a very easy hexagon. BUT, I wanted to do something a little different…
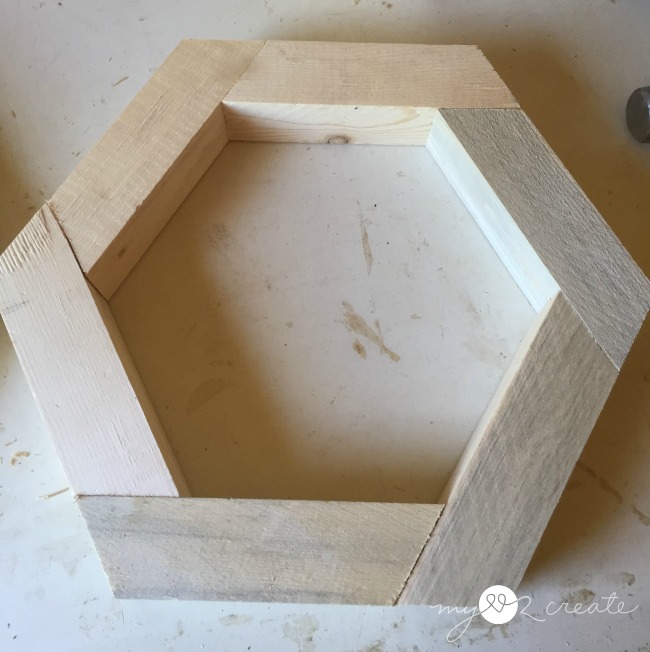
I started playing around with the pieces and ended up with this! This is different wood then the first example, but the pieces are cut exactly the same, just configured differently, and it still makes a hexagon. How cool is that!?
You could make your hexagon either way and stack them to make your planters…if you choose the first way, your opening will be a little bigger.
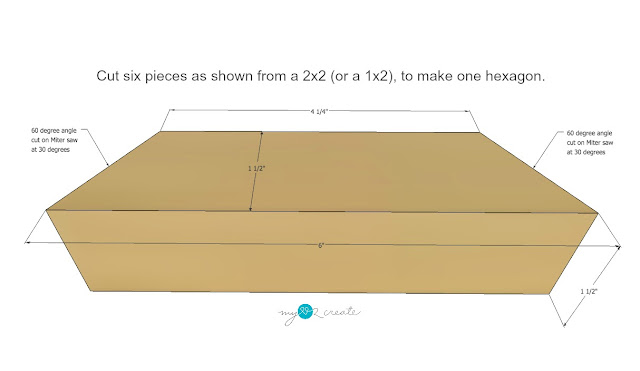
I went ahead and wrote up some basic plans for measurements so you will want to click on them for reference. I will not include all the measurements in this tutorial, just visual and helpful tips.
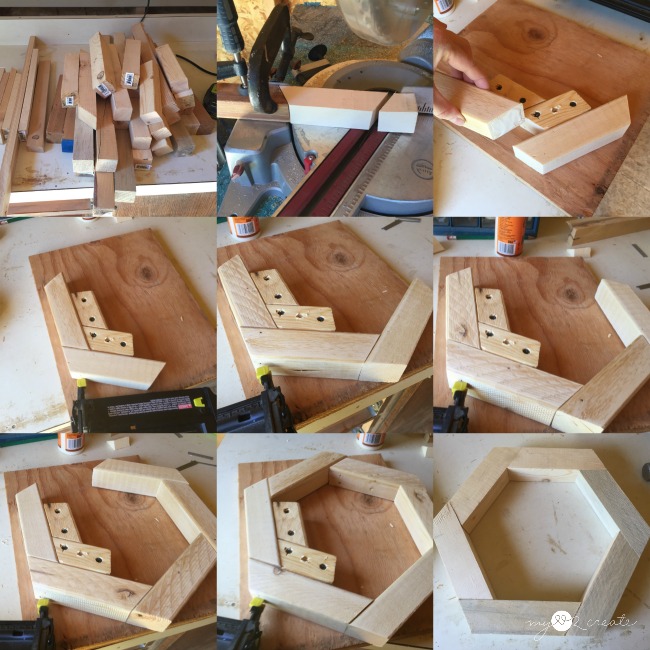
I made my planters with scrap wood. Cut your 2×2’s (and optional 1×2) pieces at 30 degrees on each end, ends NOT parallel, with the long side measuring 6 inches. The actual angle is 60 degrees, but because the saw is at 90 degrees you have to cut at 30 degrees to get a 60 degree angle…I know it is confusing…just trust me on this. Mmkay?
I cut all my scrap pieces on one side at 30 degrees first (not pictured). Then I used a scrap piece cut at 30 degrees and set it up as a stop on my miter saw (top middle photo), then I cut the other side of each piece, so that the long side was at 6”. This stop was awesome and only took a few seconds to set up.
You can see above I made myself a jig for building my hexagons accurately and quickly. I simply cut some scraps at 30 degrees and put them together just like I was building a hexagon and screwed them to a scrap piece of plywood. Since I was making so many hexagons this was totally worth it. I tried lining up the pieces without the jig and they were always off. When I used the jig I had no problems!
To build my hexagons I glued and nailed on one piece at a time, using wood glue and 2” finish nails. With the jig as my guide, I worked my way around until I had a completed hexagon.
*Tip: Notice that the long side of each hexagon piece is on the inside…it can get confusing and this will help!
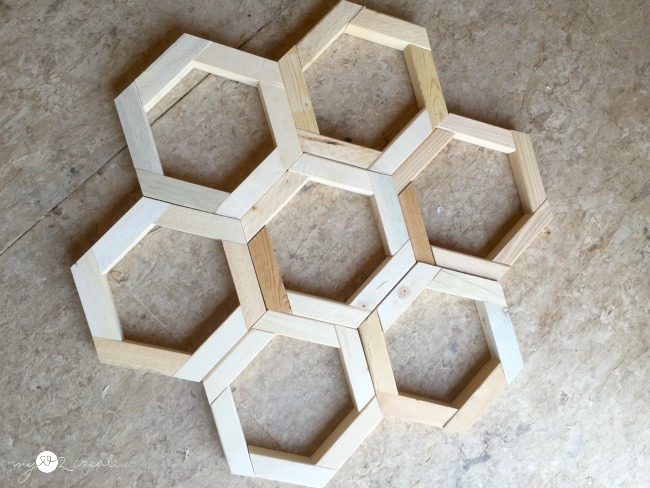
Before I built my planters I had fun making shapes with my hexagons. 🙂 I actually posted this the other day on Instagram, be sure to follow me for sneak peeks and updates!
If I wanted, I could make a whole geometric wall of planters. That would be pretty cool, but I don’t need that many…or do I? 😉
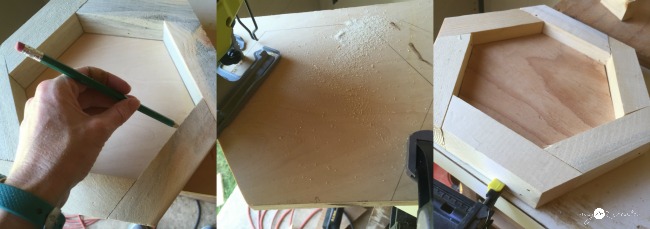
I grabbed some scrap plywood and traced my hexagon onto it to make a bottom for my planter. Then I cut it out on my jigsaw and placed it inside the hexagon. I secured it with 2” nails from the outside.
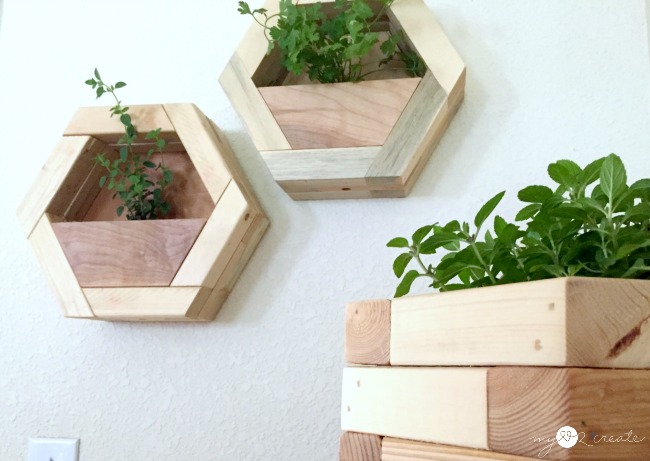
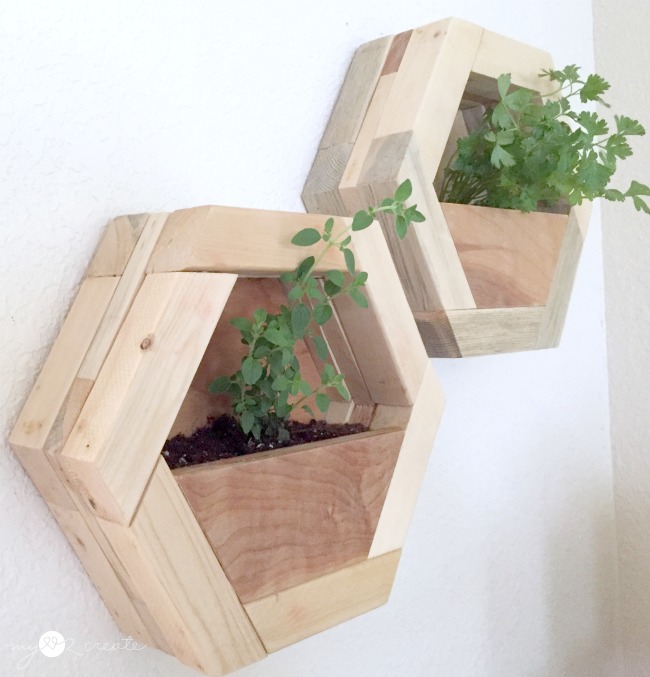
After I attached the bottoms I realized that I could make a planter that could hang if I added half the amount of plywood to a front piece. This was a fun moment, so I started experimenting and I liked it, a lot. I attached the front piece the same way as the bottom, except the plywood is flush to the front, no the back.
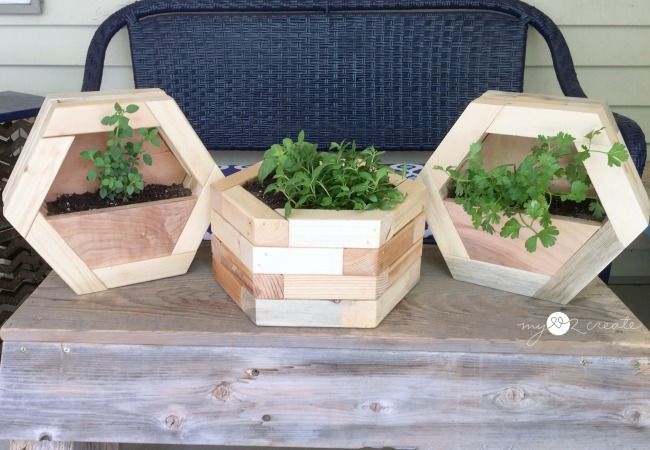
I tried all sorts of different combos, and eventually decided to add a 1×2 hexagon in the middle of two 2×2 hexagons to make my hanging planters. I also made my stacked planter with 4-2×2’s attached together.
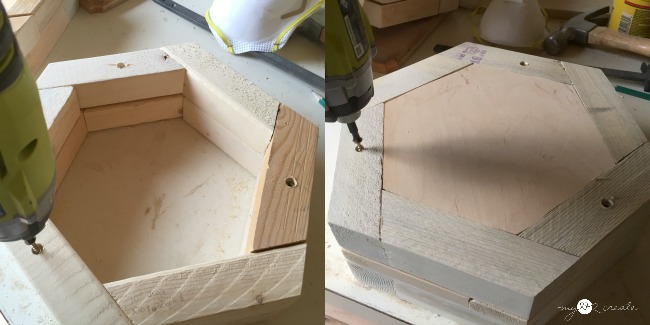
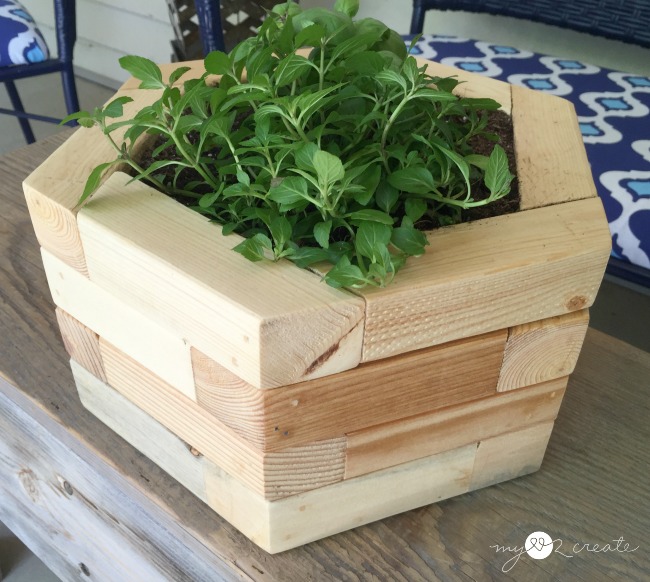
To connect them put the top piece face down and then add the second hexagon on top. Countersink three screws into three sides. Then add the next piece on top and countersink the screws into the other three sides. Alternate the sides you screw into each time. You could stack it as high as you want! Make some taller, some shorter…this is so much fun!!
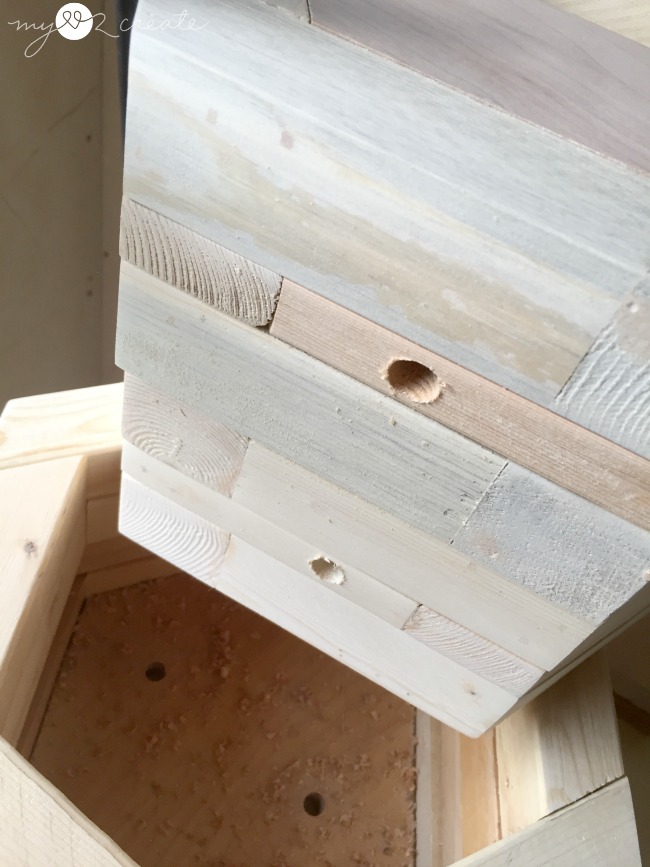
Here all my drainage holes all drilled. I ended up finishing the outside of my planters with Natural Minwax stain. Then sealed it with a few coats of poly. I love the natural look of the scrap wood, which is why I went with that stain.
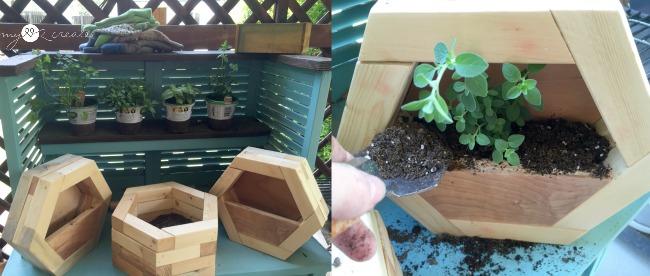
Next I headed to my awesome Potting Bench from Repurposed Shutters and Desk to plant my herbs into my new hexagon planters!
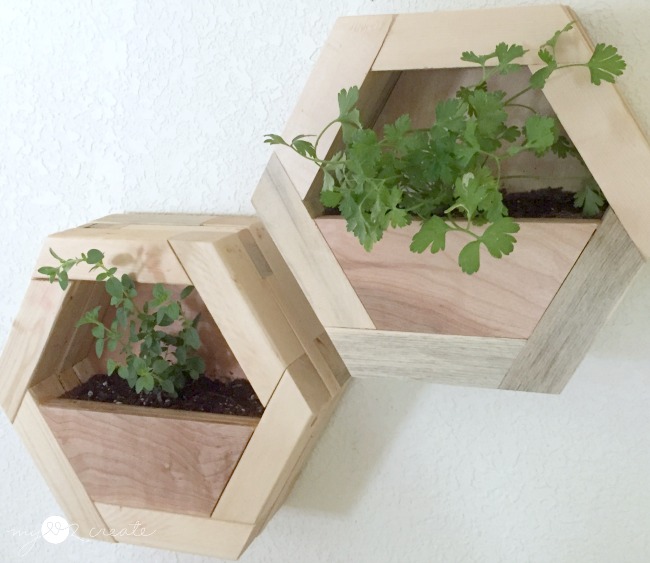
I can’t believe how happy they make me! I recently made a hanging hexagon planter for my bedroom, and have been enjoying it. That is why I thought to make some planters for my kitchen herbs with hexagons. I didn’t even think of having some of them hang until I was building them and that idea came to me…so sometimes it is good to shoot from the hip!
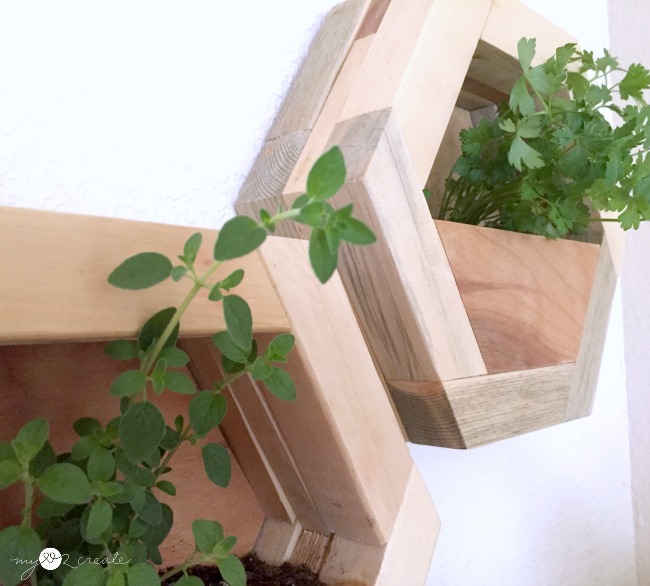
I love the way the wood connects to make the hexagon, it is so pretty.
It also adds character and dimension on the sides with the overlapping cuts, you can see I made sure to alter the short ends when I stacked them. It’s the little things that bring me such pleasure. 🙂
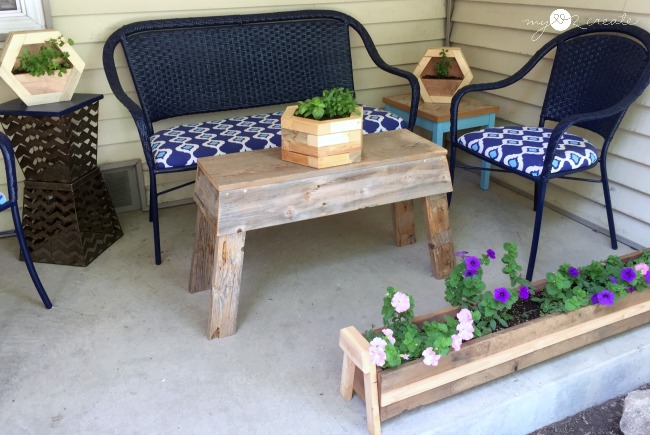
Not only can the hanging hexagon planter go on the wall, they also stand up great too! I took some shots on my porch before I brought them inside.
And hey! Check out my Long porch planters…the flowers are finally starting to bloom!! Phew! (maybe it is because my youngest watered them without me knowing…man I wish I would have known…see the first paragraph if you are confused.)
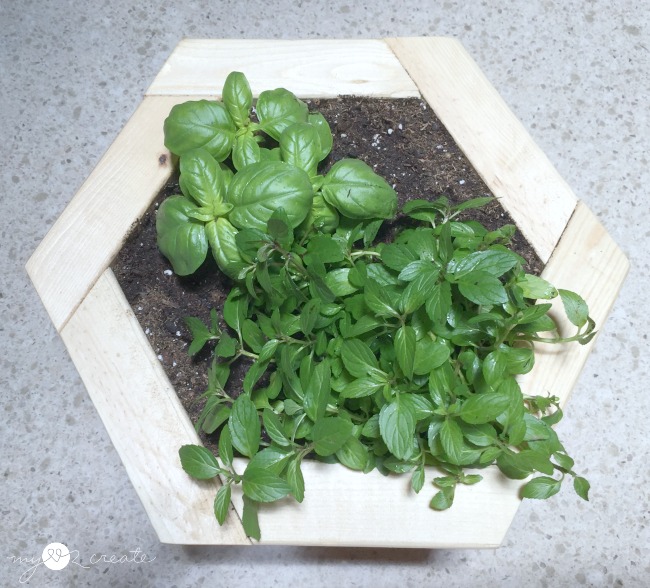
Now I have some herbs in my kitchen,
Planted in some dang cute planters.
My kids are so funny, they were asking if they could eat some of them.
I told them they could try a few bites if they wanted, after I took these pictures. Ahh, the life of a blogger. 🙂
Maybe I will have to make some more…just cause I love the way they look. Some succulents would look pretty good in them too…
Check out my YouTube Video and be sure to subscribe!!
Now, I have another fun treat for you! My friend Sarah at The Ugly Duckling House is hosting a Living DIY Challenge and a link up!
So take a second to pop over to see Sarah’s awesome project! Then link up your own DIY Living project below. It is something you have built with a living element like, plants, animal feeders, etc…
I can’t wait to see what you have to share! And don’t forget to come back tomorrow for a “sweet treat”! hee hee! I am so Punny, you will have to wait to see why! Muhahaha!
Hugs!
I will be linking to these parties, Savvy Southern Style, and Bloom Designs






Love the hexagon shape to make those cool planters! Don't you just love math and jigs and wood…
LOVE these!!!
Thanks for the great inspiration. I got to work on hexagon mini catch all wall storage pieces for my entry as soon as I got home last night, only sanding and painting left… I will link them up once I am done.
Greetings from Germany
Jenn(ifer)
here it is:
http://heim-elich.blogspot.de/2016/07/hexagon-waben-regale.html
so happy with them, thanks again for the inspiration!
That is a very creative
Mollyxxx
Love the planters Mindi! Looks like a really fun project! Sorry to hear about the basement flooding…hopefully, all is well now. Tali
I love these planters! Thanks so much for sharing your project at The Creative Exchange. We will be featuring your project this week.
I love these but I can't work with power equipment! It scares me…..
Wow I love these!
Your projects always amaze me.
Thanks for sharing with SYC.
I love your planters! What a project, right?! I love the way they hang up ~ super cool!
Thank you for sharing this week at Brag About It link party on VMG206 (Mondays at Midnight). I plan to feature you next week!
~ Megin of VMG206
Those are so much fun! They're a great mix of modern and rustic. Love!
Got to try these, love the look !!!
They are simply beautiful! Love em!
One of my favorite projects of yours! But then again they are all my favorites so … 😉
These are great, I love the wall hanging herb planters, I'm definitely gonna have a go at these but I would also line the inside with thick DPM to prevent the wood from rotting too quickly I'm pretty sure the ply may not fair that well against the damp soil. Top job though very impressed 🙂
Thank you! Yes I highly recommend a good liner to protect the wood. I got so excited to build them I forgot to include one!
Good idea ! now I know what to do with the rest of my pallets. I used the planks to make a headboard for my son and a coat hanger. I was wondering what to do with the bearers of those pallets. Not realy good wood : a lot of holes, and some of them damaged but there will be pieces I can use. Thanks !