DIY Monogram Blocks
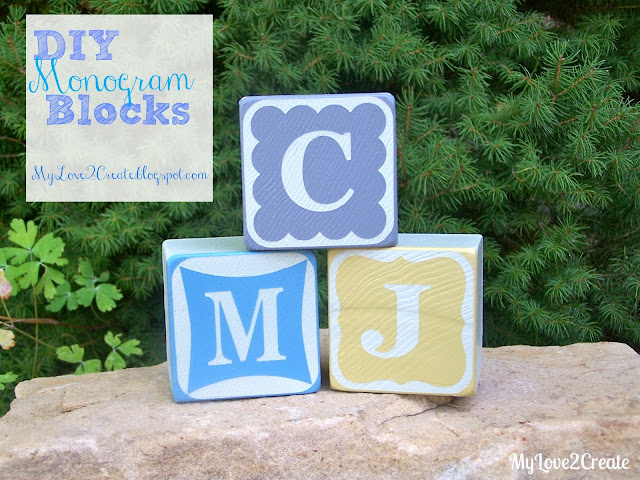
Make you own cute monogram blocks!
I was wanting to make some for my boys room when I found a pin of The Land of Nod Blocks. They had such a cute classic look…so I made my own verison!
Here is a picture tutorial on how I did it.
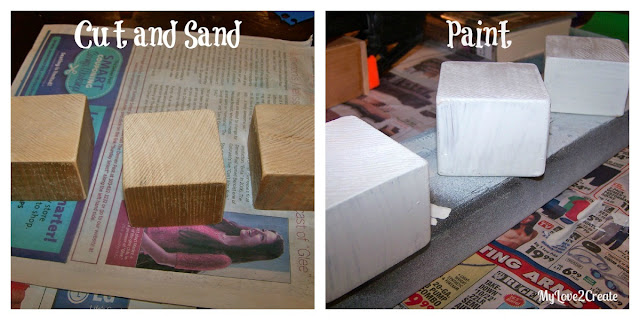
First you need wood. My blocks were cut from a piece that was 2 1/2 x 2 1/2 inches. They were actually in my scrap pile already cut, so I just sanded them down. I think using a 4×4 would be super cute, and bigger which is more fun! Make sure you do two coats of the base color, the picture shows only the first coat.
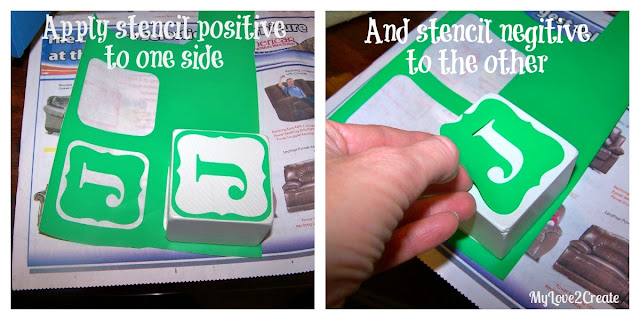
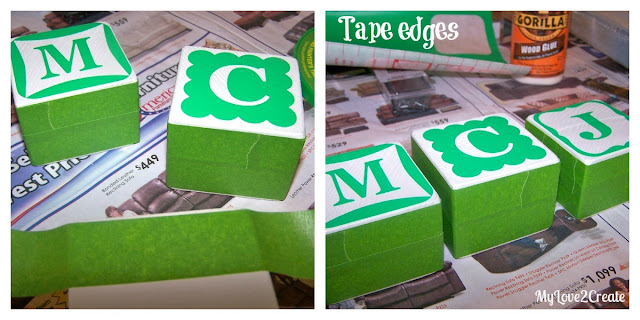
Next I used my Cricut to cut the letters and labels I actually used this cute label from Sketch Savvy, there are some fun SVG files free for download. You will notice that I don’t waist anything, I got two sides out of one cut. I use contact paper for my stencils, it’s cheaper than vinyl. If you don’t have a cutting machine you could use stickers for the letters and it would work just as well. Then just make a square boarder with tape.
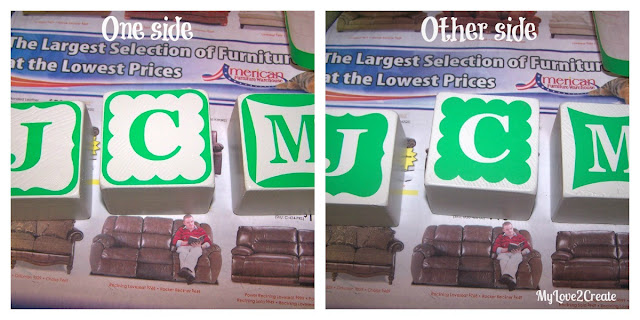
Here they are, both sides.
Next you need to tape the edges. You could do this anyway you want, I was thinking that making the boarder bigger would be cute (putting one piece of tape down the middle of the block), it would make a stripe around the block, hmmm I may have to try that.
Then you paint. Always do the base coat first over the stencil and it will make your lines nice and crisp (if bleeding were to occur it will be the base color and it won’t matter). Then paint two coats of the main color. I did three colors total and made sure each block had two different colors.
When the second coat is still wet peel off the stencil and the tape! Ta da!! How fun! You may have a few spots to touch up, use a good angle brush and it will be a quick fix.
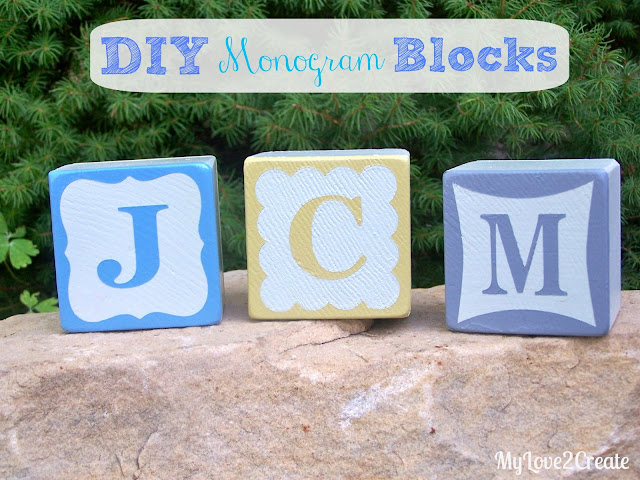
And you are done! I actually gave them one quick coat of clear sealer. I put them on my boys dresser and they have had fun playing with them. The letters are for the first letters of their names and our last name.
This is the reverse side…super cute! I love that you can get both sides with one stencil.
Now go make some blocks!
Mindi
I will be linking to these parties.





these are beyond adorable!
Those are adorable. They would look so cute on a young child's dresser! Great job. Thanks for sharing this week at One Creative Weekend! Have a great weekend! I'm pinning this to my Kid's Room board.
This comment has been removed by the author.
I was just talking with a friend about making blocks out of extra wood lying around. They look adorable!
Mindi–I love these DIY blocks! they are sooo sweet.
gail