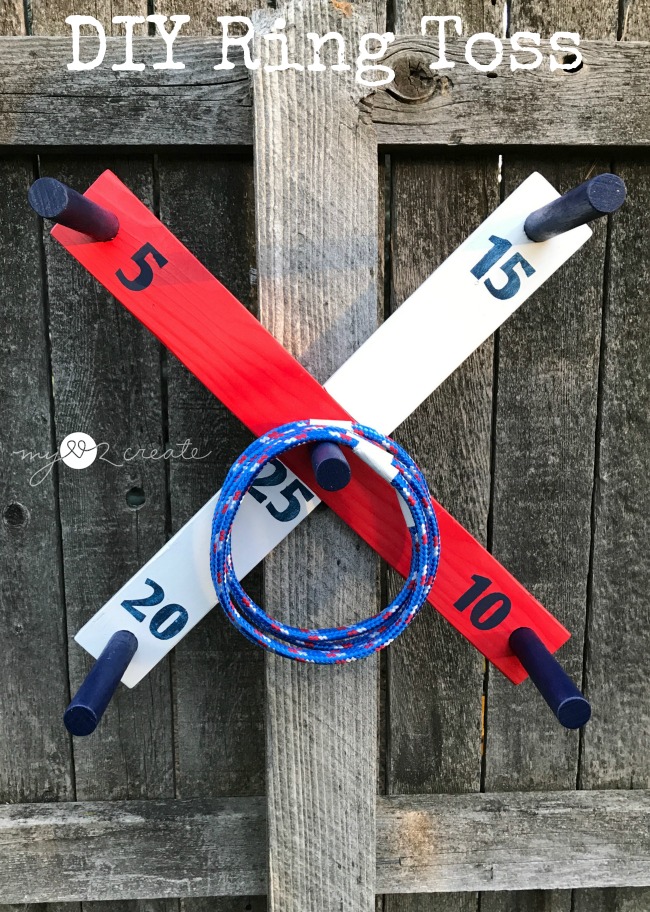
DIY Ring Toss
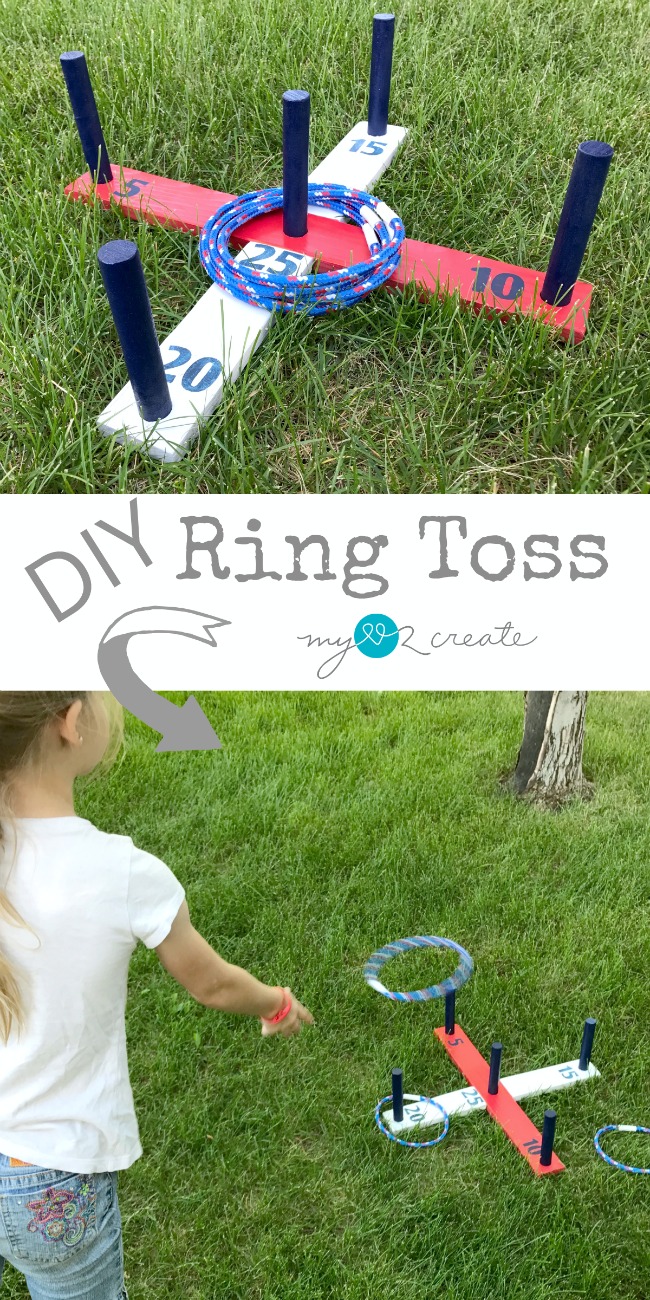
Let me show you how easy it is and in no time you can enjoy playing with your family and friends.
How to make a DIY Ring Toss Game:
This post contains affiliate links for your convince and it also helps me at no cost to you! 🙂 Read More.
Supplies:
7/8” Wood Dowel
1” x 3” x 8′ Furring Strip Board
3/8” Rope (you can use any kind of rope this size I used this kind)
Duct Tape
Wood Glue
Miter saw
7/8” bit
Drill/Driver
Nail Gun
Paint
Sander
Sandpaper
Kreg Pocket-Hole Jig
1 1/4” Pocket Hole Screws
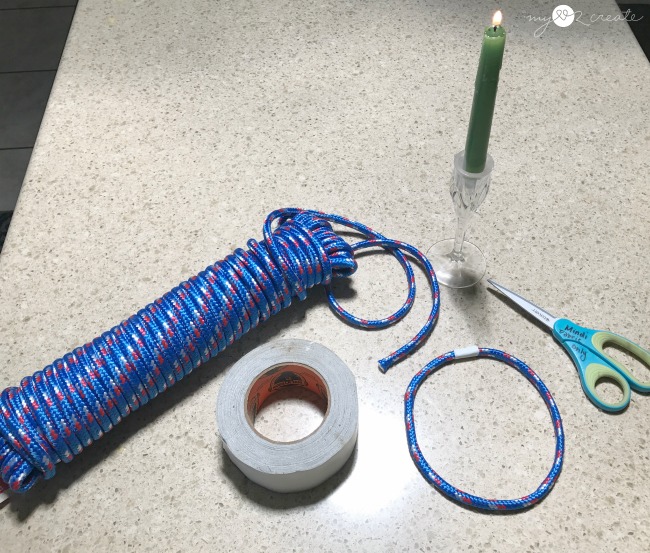
Matchs/candle (to burn and seal the edges of your rope)
Scissors
Cut List (for one game):
1- 1×3 board @ 20” (base, long piece)
2- 1×3 boards @ 8 3/4” (base, short pieces)
5- 7/8” dowels cut at 5 1/2”
5- 3/8” rope pieces cut at approx 20”
Step 1: Cut boards and Dowels
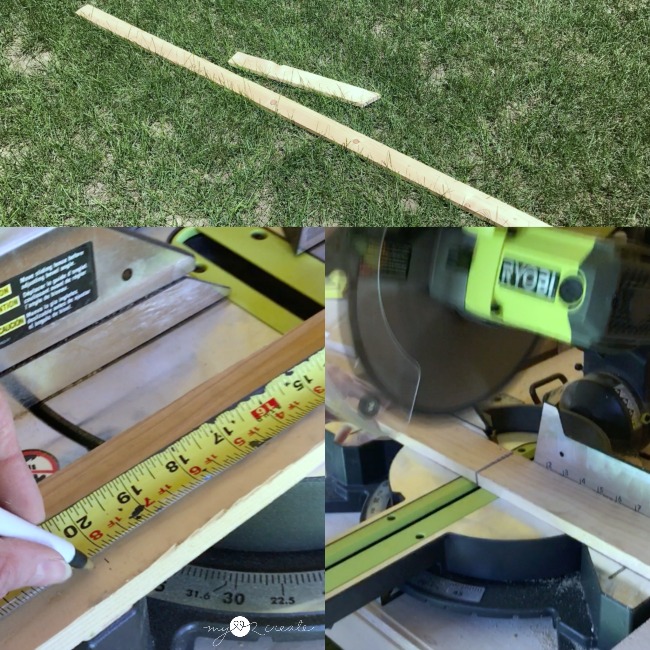
Cut your base pieces to size using a miter saw. I had some scrap 1×3 boards left over from a project so I used them instead of buying a new board. Woo hoo!
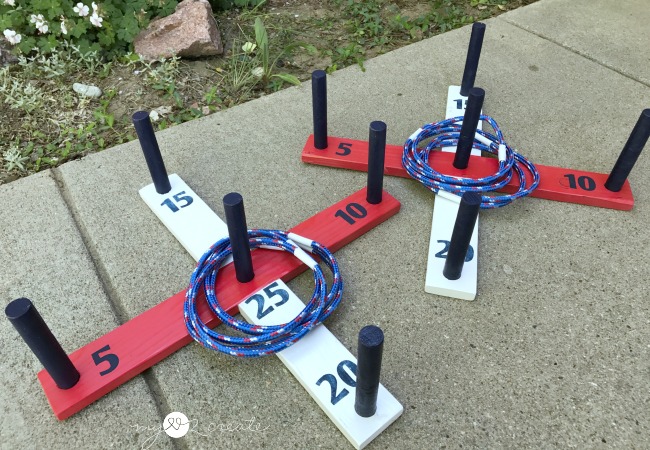
Since I had enough wood, I decided to make two games. For one game you will need 1 20” board and two 8 3/4” boards.
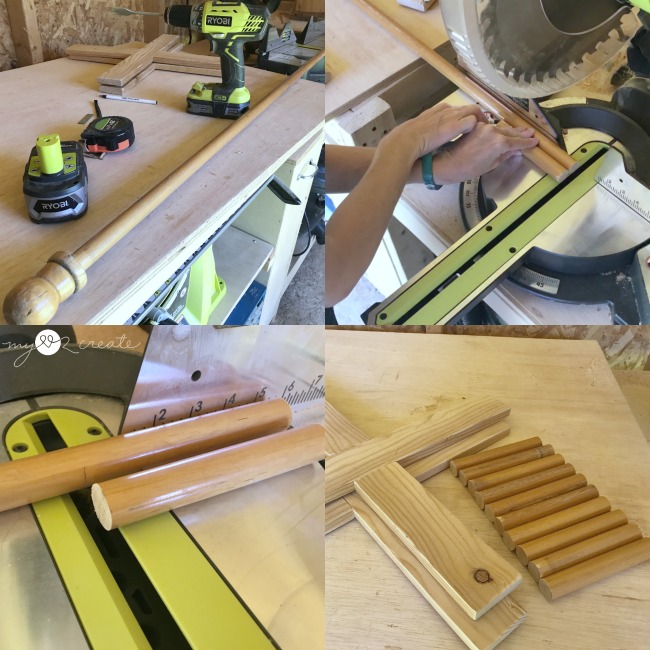
Next you will cut your dowels. I used an old curtain rod I had gotten off the side of the road, it was the perfect size at 7/8” in diameter. Again, because I was building two games I cut 10 pieces. For one game you will need 5 dowels cut at 5 1/2”.
Sand all your pieces before building. If you purchase a new dowel you will not need to sand them, I unfortunately had the pleasure of sanding all ten of mine to remove the finish. Oh the joy of repurposing!
Step 2: Build the base with pocket holes
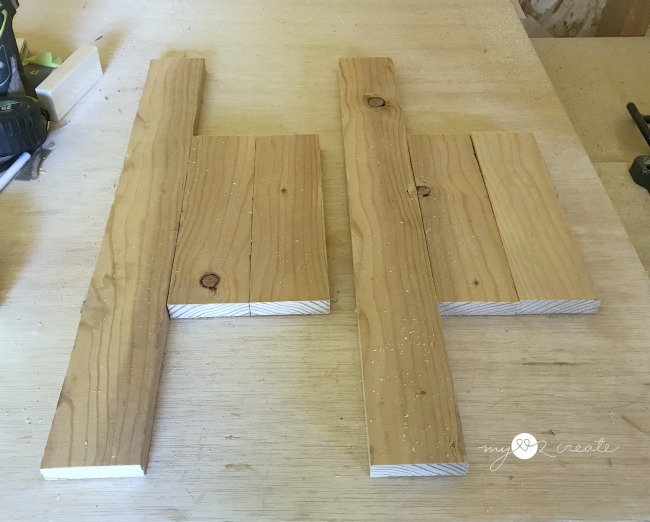
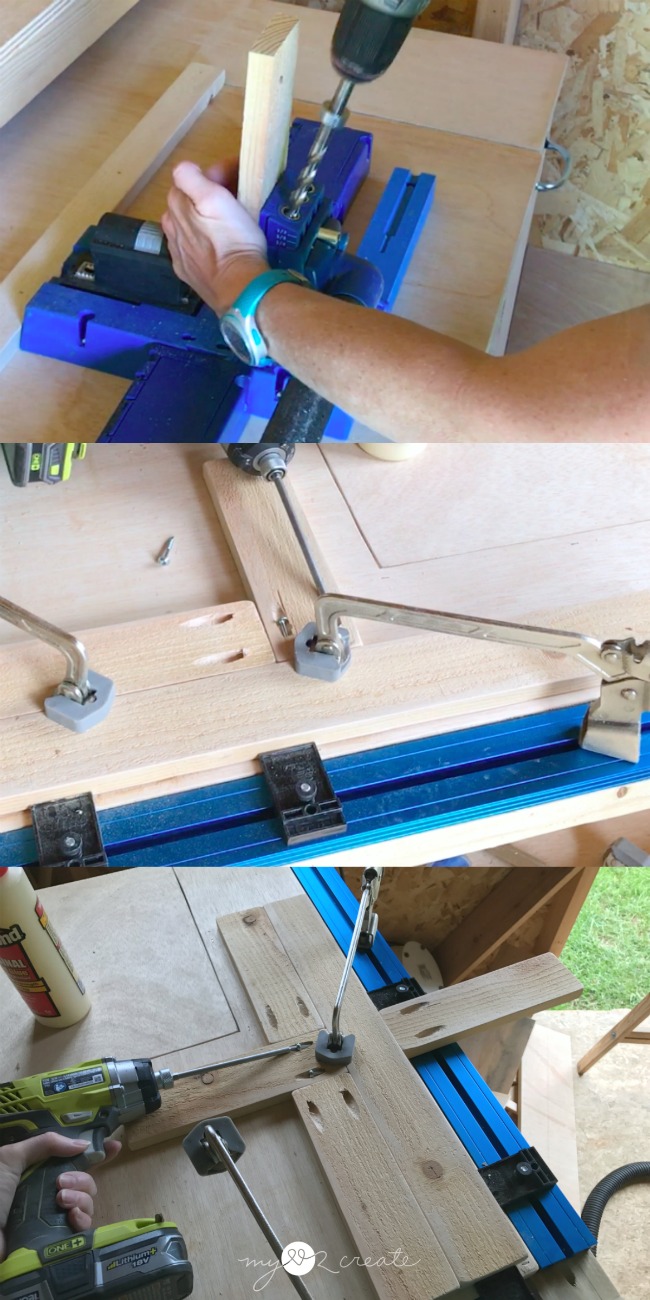
The base is a simple X or Cross shape. Drill 3/4” pocket holes into one side of each of the short base pieces, and you are ready to build.
Using wood glue and 1 1/4” pocket hole screws attach the two sides to the long base piece at the center of the long board (you can see I used my other side pieces as a guide so I didn’t have to measure and mark).
Make sure to clamp your boards onto a level surface before attaching. I used my Kreg Clamp Trak Kit to hold my boards in place. I LOVE it, but a regular clamp will work just fine too.
Step 3: Drill holes into base for dowels
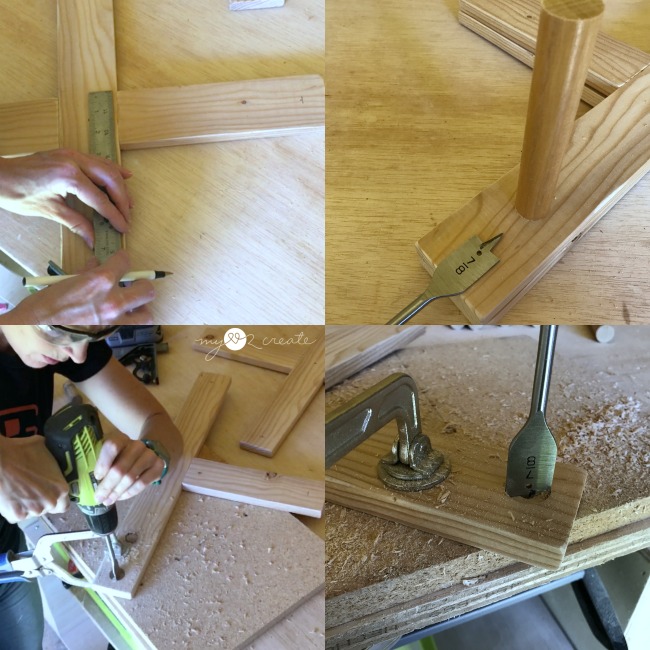
Next, you will need your 7/8” bit to drill holes into the base to hold the dowels. I marked about one inch out from the ends and centered my mark. Then I marked the very center of the base for the center dowel. Using my Kreg Clamp I clamped my base to a scrap piece of wood and my work surface, then I drilled my holes where I had marked.
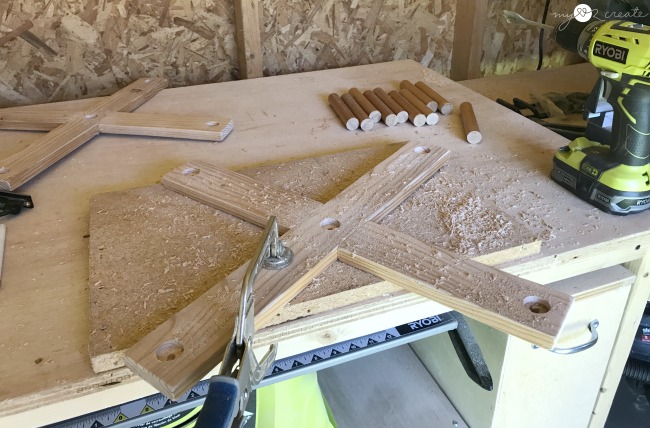
I only drilled about halfway through the 1×3 board, don’t forget to put a scrap board underneath, with this type of bit it will drill a small hole all the way through, and I am sure you don’t want holes in your work surface.
This is what it looks like when finished…lots of sawdust! 🙂
Step 4: Paint
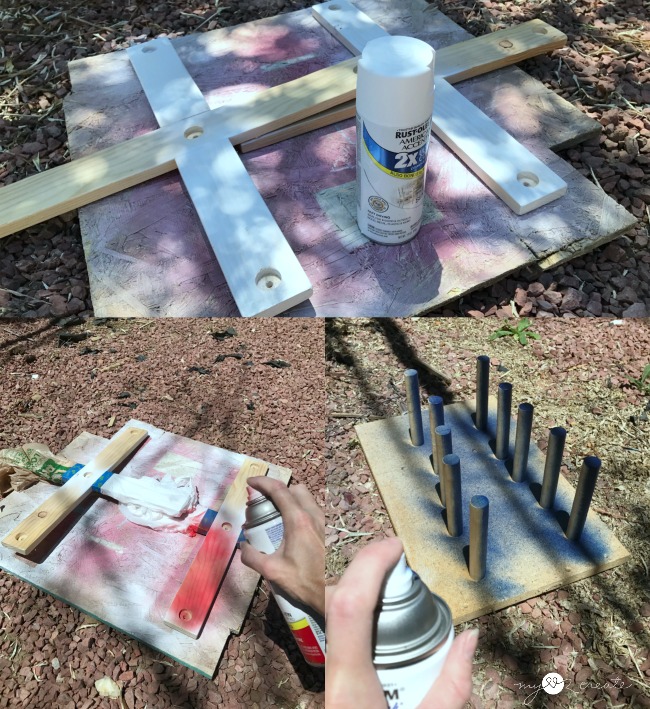
You can paint any colors you like. I choose to do a patriotic theme, since it matched the rope I got. I had spray paint in red, white and blue, so I used it, but any type of paint will work.
I sprayed my white boards first, then used grocery bags and painters tape to cover the white while I sprayed the red.
Step 5: Attach dowel and add numbers
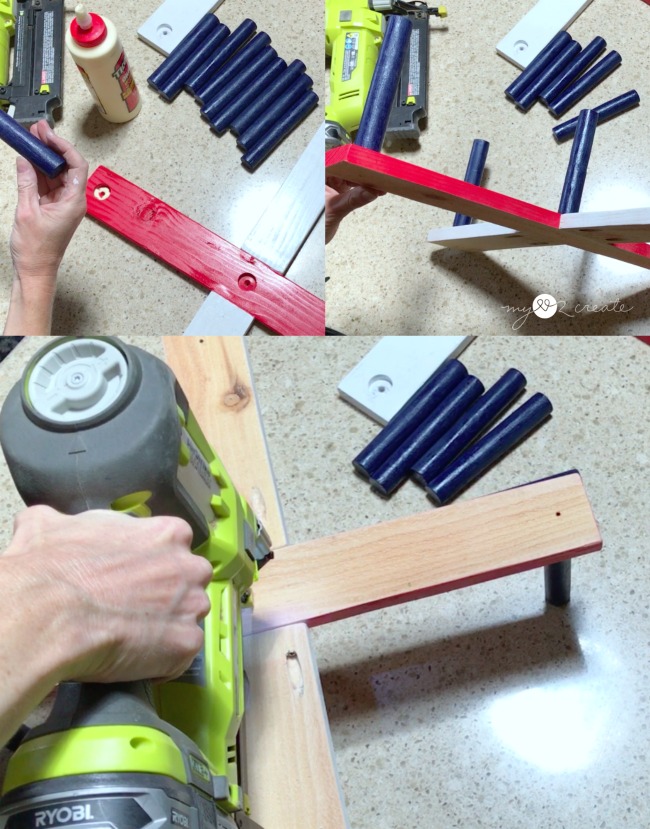
To attach the dowels I added wood glue into the holes and place the dowels inside. Once they had a few minutes to set. I flipped my base over and put two 1 1/2” finish nails into each dowel from the bottom. You can see the small holes from when I drilled…they act as a guide for where to nail, just put the nails on either side close to the small hole.
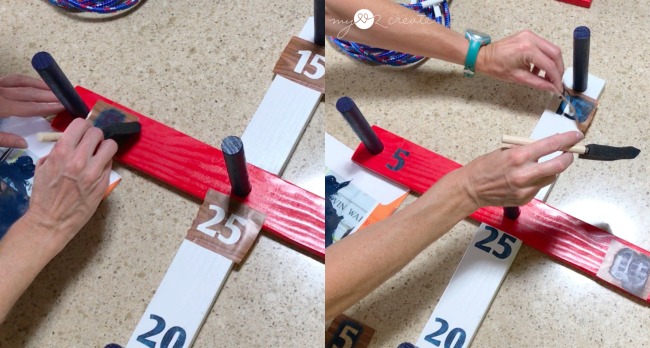
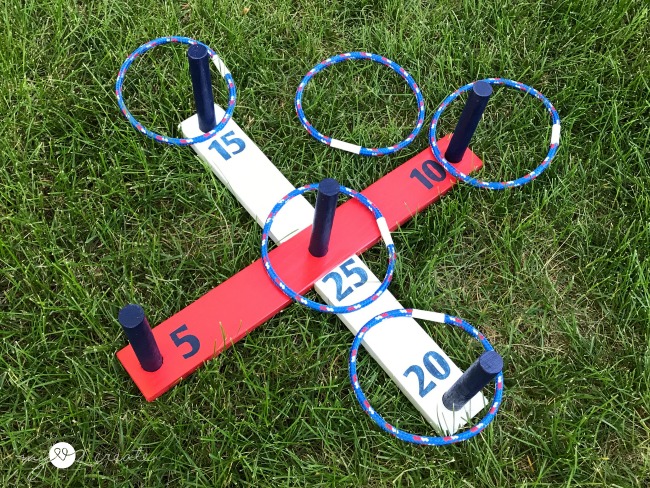
Add the numbers (5, 10, 15, 20, 25) to your base boards. You can free hand it, use stickers, or use a stencil. I made stencils out of contact paper on my Cricut, I have done many projects this way you can see some of them here.
Step 6: Make the Rings
The rings are pretty simple to make, and can use any type of rope you want. I originally was planning on using Sisal Rope (because it is pretty sturdy), but they were out at my store, so I got this instead, because my kids really liked it. 🙂 It isn’t as stiff as the sisal rope, but it works fine.
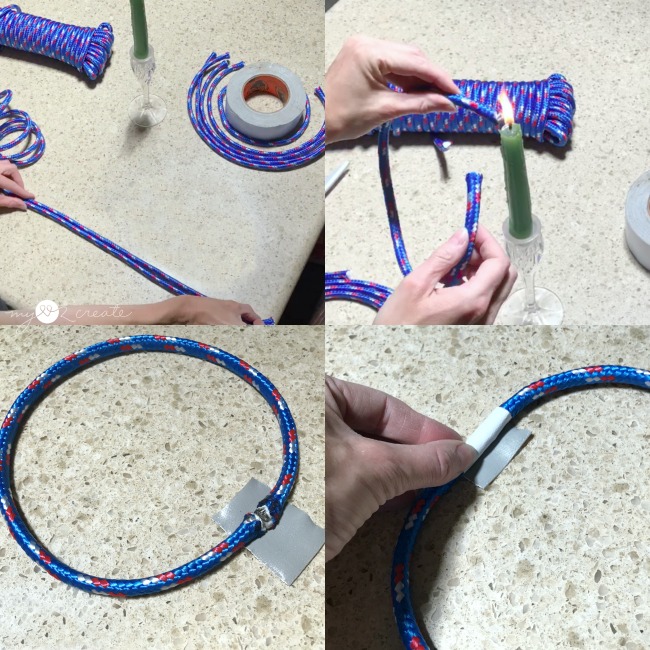
Cut your rope at approximately 20” long, you will need 5 pieces for one game. Using a match or candle burn the edges of your rope to prevent fraying. Then using a piece of duct tape place the ends of the rope touching each other over the tape and wrap it tightly around the rope. Ta-da! Instant ring!
Step 7: Play and have fun!
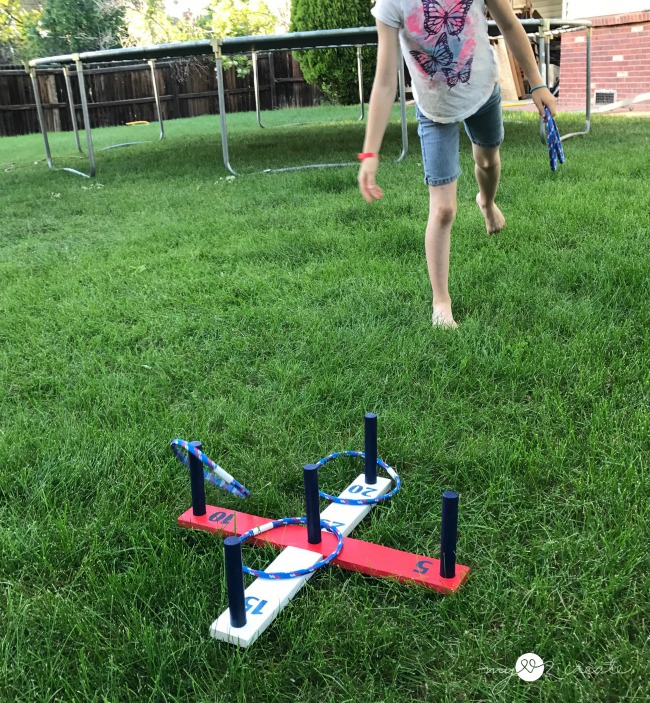
The Basic rule of the game is to be the first player or team to reach an agreed-upon total score: usually 100 to 220 points. You can make the rings with different colors of rope, or use different colors of duct tape to wrap the ends together. This would make it easier for telling whose rings are whose.
Make the game more challenging by moving farther back for the adults, or have the kids move closer. Have each person do a spin or trick before they toss the ring…get creative!
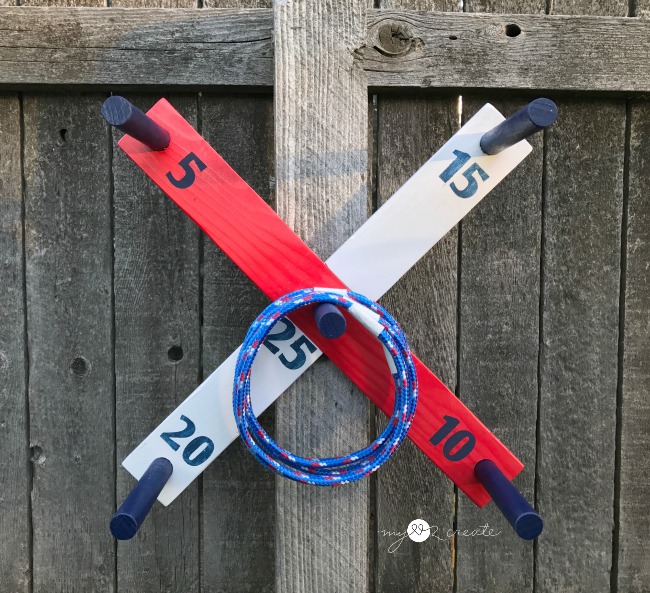
Why not hang it on the fence and try to toss the rings onto the dowels this way?
Anyway you decide to play it should be a great way to spend time with those you care about, which is way we play right!?
I am excited to have two games so we can have more people playing at once. This should bring many evenings of summer fun! Be sure to pin below so you can save this project for later!
Speaking of summer fun…
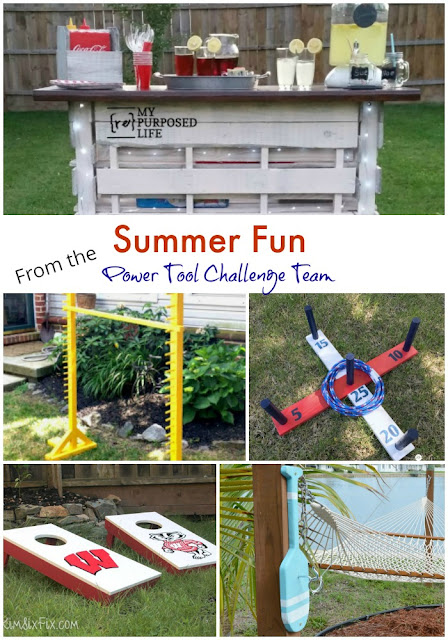
As part of the Power Tool Challenge Team some of my blogging friends are also sharing their Summer Fun Projects!
So many great ideas!! Click on the links below to see all the tutorials!
Don’t miss my Video on YouTube and please subscribe!!
Hugs,
Mindi
I will be linking to these parties, Savvy Southern Style.


I love it! And I especially like the nautical look that the patriotic paint gives it! Your family is going to have hours of fun with this. Pinning!
This is a great project!
Cute! This are so cute! Love the red, white and blue colors. This would be perfect for the a big fourth of July picnic! What a fun family game…Pinned!
So cute! I love the rings you made, too! My kids would love this – will put it on my build list!
Mindi,
I love your diy ring toss game. Lots of good tips in your tutorial, and I love the rope rings.
pinning!
gail
Your kids are going to have so much fun with this over the summer. Very cute project!
Looks like a fun game for kids and adults alike. Grandkids will love playing this
Would like to print out the tutorial but not able to find a 'print' button. :{
So fun! I think I'm going to have hubby make us one. Thanks for sharing with SYC.
hugs,
Jann