DIY Serving Tray
Not only do I have my serving tray to share but the Power tool Challenge team also has some amazing trays and tutorials as well, so be sure to read until the end because you won’t want to miss them!
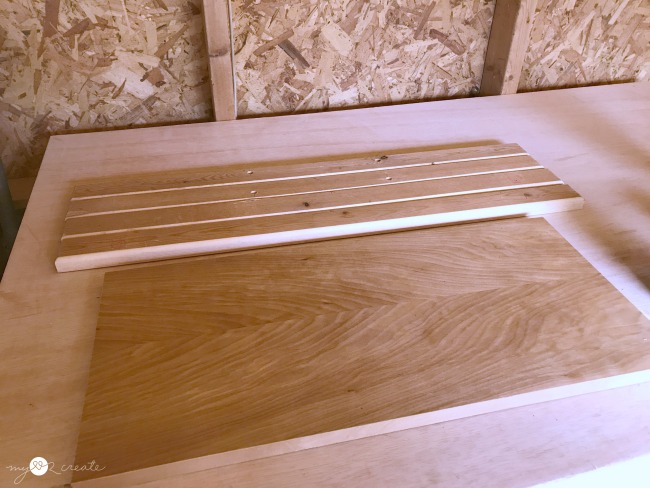
I love trays because you can be so creative with them. I decided to share a very basic tray. I found some left over plywood for my bottom and some 1×3 strips that were actually from a free craig’s list find. Since I liked the size of the plywood I just left it as is, you can make the tray any size you want!
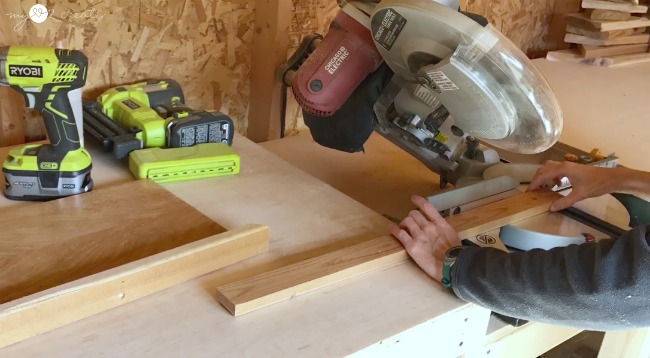
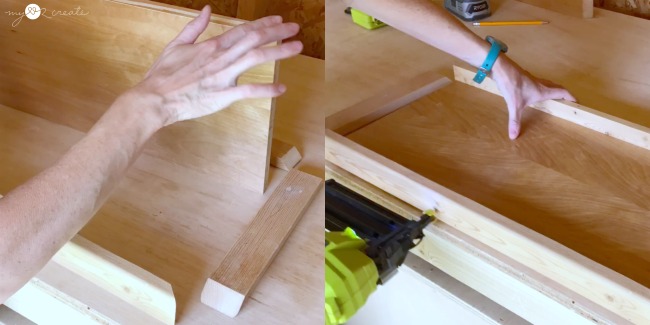
To make mitered corners. I placed my miter saw at a 45 degree bevel and cut one end.
After cutting one end, I put it up against the edge of the plywood (top left) then I marked the other end and cut it to fit the other edge (not pictured).
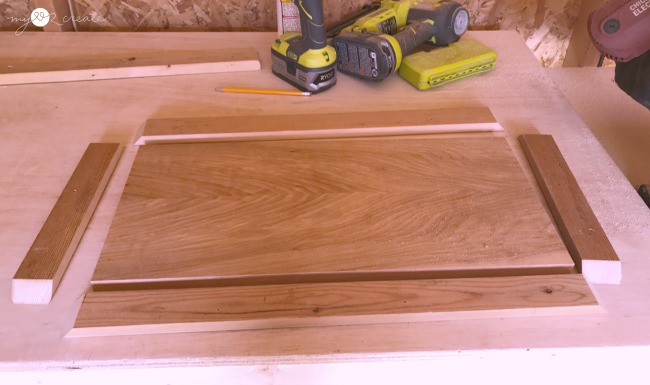
With one piece cut, I repeat the process going around the plywood and matching up the edges and miters to make sure I have a good fit around the plywood. I cut one side at a time and then mark the other side and cut.
With all my pieces cut it is time to build!
I added glue to the plywood edge and then nailed my trim on with 2” finish nails using my Ryobi Nail Gun. When you get to the corners add glue and nails to those as well.
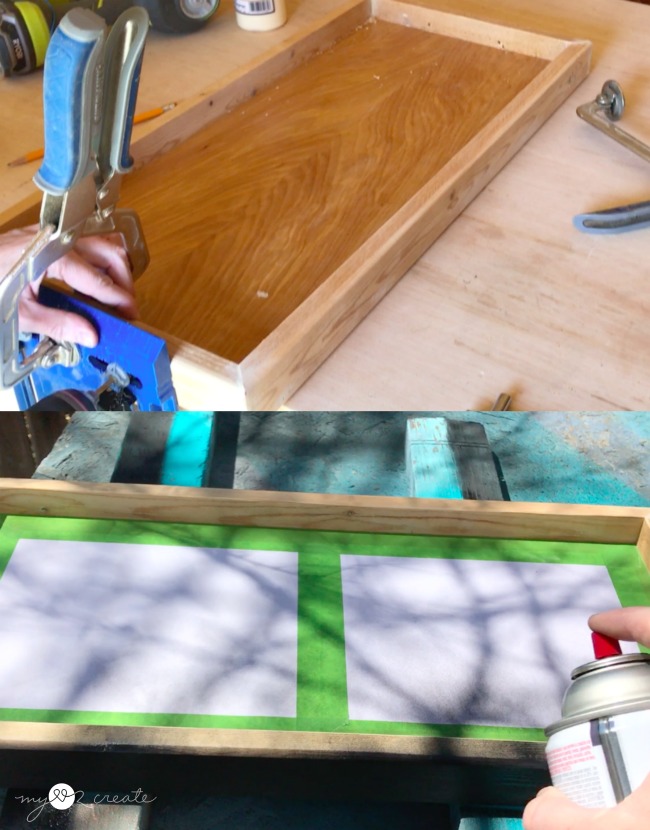
I used my Kreg Cabinet Hardware Jig to drill the holes for my handles (top), and boy do I love this jig!! Seriously life changing! I used to hate adding pulls but this thing makes it a breeze!!
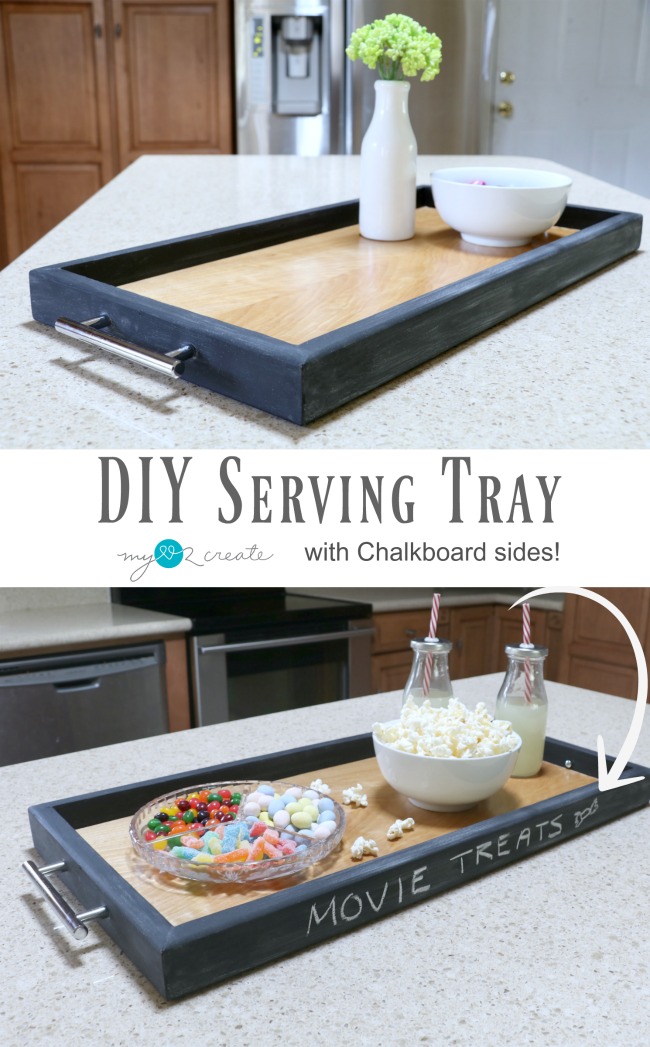
I was going to stain the tray, then at the last minute I had this crazy idea to make the edges with Rust-Oleum Chalkboard Spray Paint. I covered the inside of the tray so I could have the wood contrast. If I had planned this from the beginning, it would have been easier to paint the edges before I nailed them to the bottom. 😉
I put the handles on and primed the chalkboard paint with chalk, then wiped it off. And I was done! The plywood already had a finish on it, it was another free cast off from some wood worker. It is really nice stuff!
I love the pretty grain!
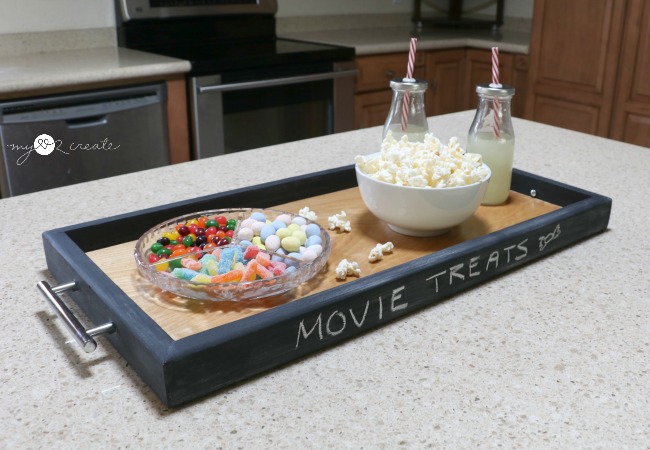
This can be used as a serving tray for breakfast in bed, or for movie treats, or really anything you want!
The chalkboard edge is a fun and different way to finish a tray, I just love chalkboards so it is always exciting to add one to a project when I can! Of course you can finish it any way you want!
To check out my other cool tray projects click here! I have all sorts of different styles!
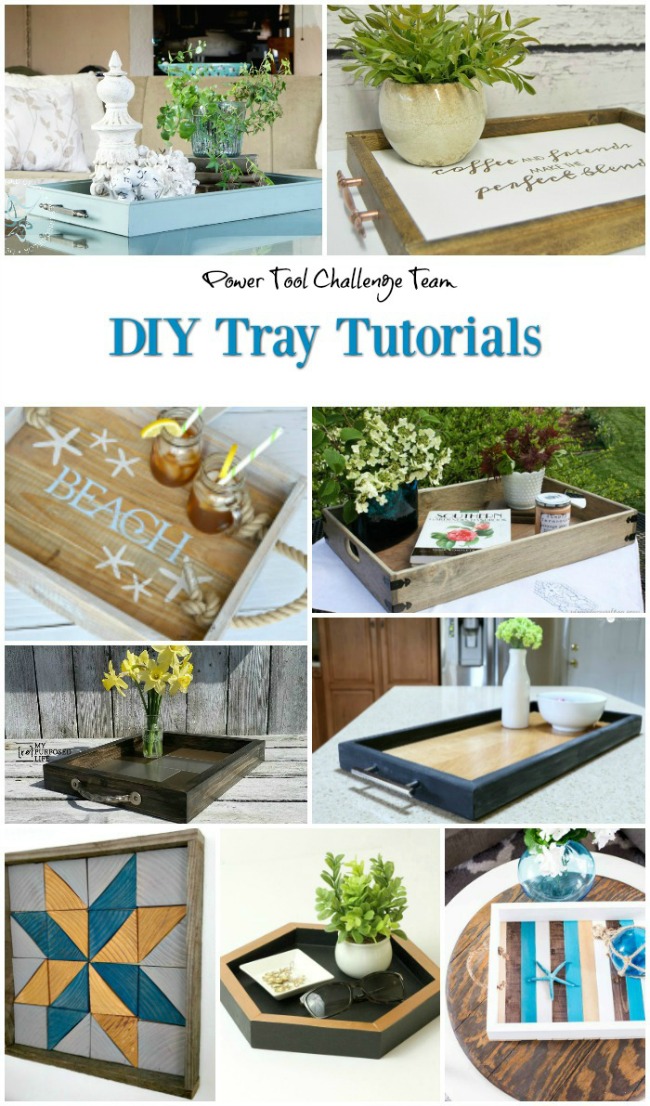
Lets see what the other power tool challenge team members did for their trays! I think you are going to be in tray heaven!
See!! Told you!! Click on the links below to check them all out!
Designed Décor – DIY Serving Tray
Interior Frugalista – DIY Farmhouse Tray
H2OBungalow – Coastal Rope Handle Tray Tutorial
Virginia Sweet Pea – DIY Farmhouse Style Tray
My Repurposed Life – DIY Tray Using Metal Tiles
My Love 2 Create – DIY Chalkboard Serving Tray
Create And Babble – DIY Wooden Quilt Square Tray
The Kim Six Fix – Easy Hexagonal Tray
Domestically Speaking – DIY Coastal Tray
Thanks for stopping by!
Hugs!
Mindi





Making a tray with chalkboard edges is a great idea. You are going to have fun using this for so many occasions. I am picturing it filled with a birthday cake and plates with the sides saying, "Happy Birthday." Already having the wood to make this is an added bonus.
Turning the edges into chalkboard is brilliant, Mindi – love this fun idea! The beautiful wood grain top is a lovely contrast.
Marie|The Interior Frugalista
I LOVE these trays! Yours is SO simple to make! I'll direct anyone here who ever tells me they need to make a tray, lol. Pinning 🙂
Love that chalkboard touch… so smart!
Who doesn't love a great chalkboard surface? That chalkboard side for your tray is perfect for your busy family Mindi!
Pinned!
gail
Such a cute idea! Love that you can write something fitting for the moment on the edges 🙂 I've heard really good things about chalkboard spray paint and would love to try in in a project sometime. Pinning for future inspiration!