Dual-Sided Message Center
Several months ago I did a guest post and I wanted to share it on my blog. All of you wonderful new readers of mine most likely missed it, so here it is:
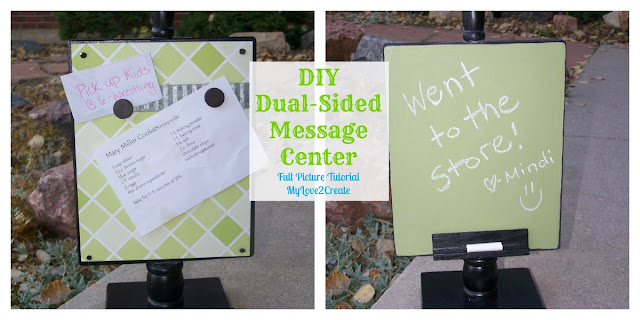
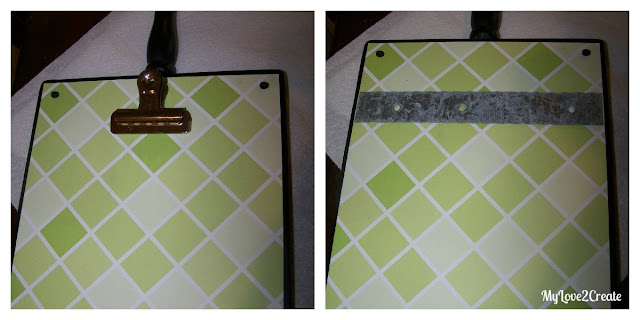
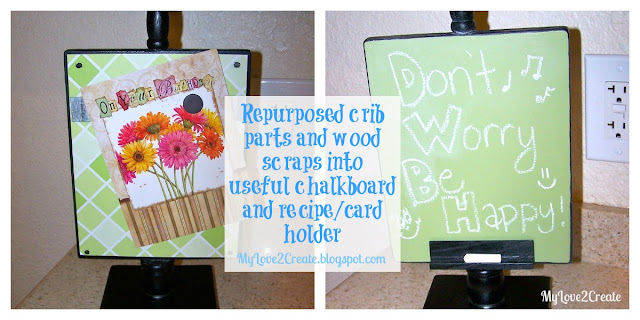
This is a project I made last spring for all my kids teachers. What you can’t see in the photo below, is that on the other side is a chalkboard. All the teachers LOVED them and I spent less than $5 total! That money was spent on buying the clips, everything else I had on hand or repurposed!
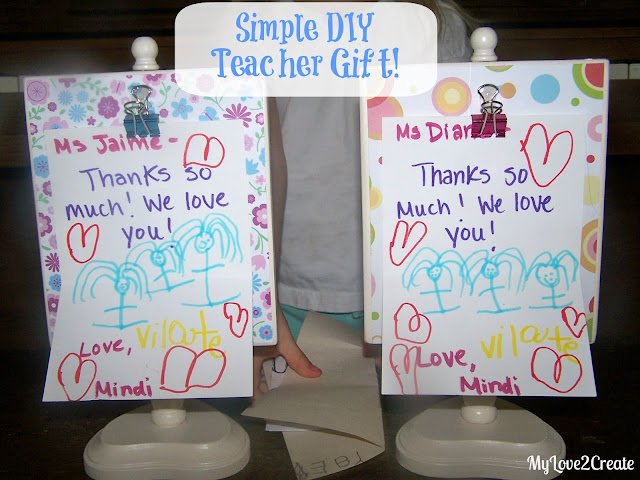
Don’t you love the cute cards my daughter made for her teachers!? I love the hair and can’t help thinking of cheerleaders in a full split up in the air when I look at them! Pretty impressive for pre school teachers, ha ha!
I loved it so much that I decided to make one for my kitchen as well, and it has been very useful! I use it as a message board for my family and as a recipe holder while I am cooking, but the uses are endless.
Beware…I love picture tutorials so this post has a lot of pictures!
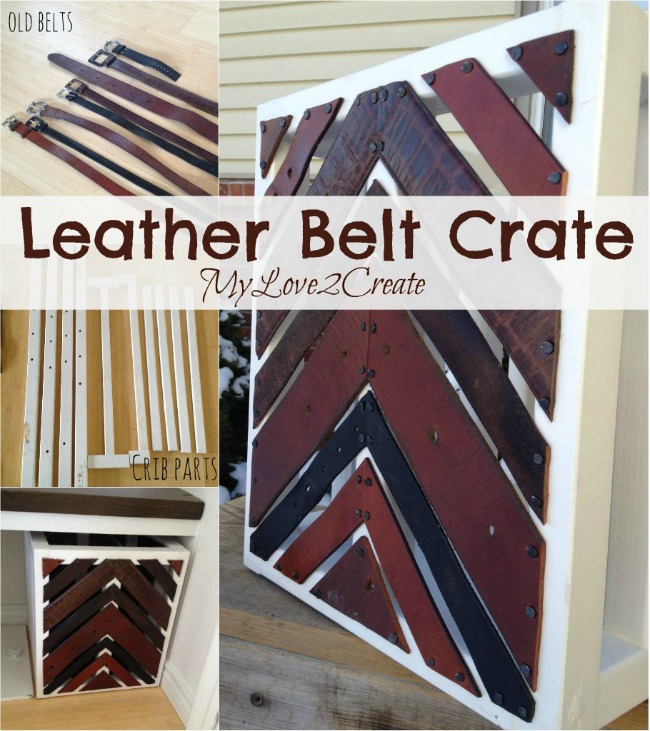
Early last spring I had picked up an old crib off the side of the road and it was the inspiration….what could I make from this? Well I did need to make gifts for my kids teachers…So, with some wood scraps and crib parts, this is what I came up with.
FYI- Since I have only been blogging since September of this year I took only a few photos of the teacher gifts. I will share the building process of the one I made for myself.
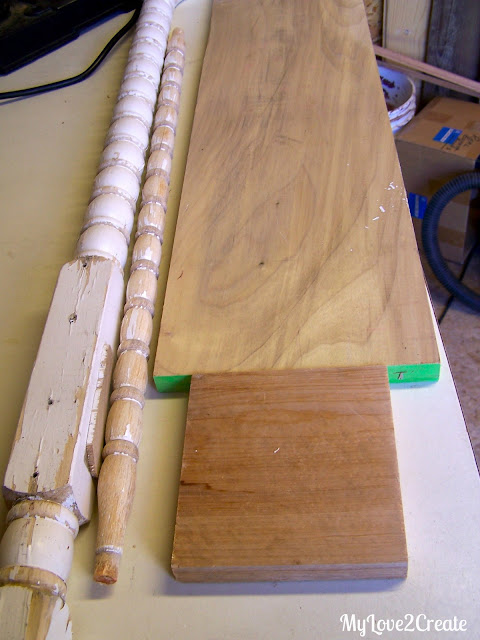
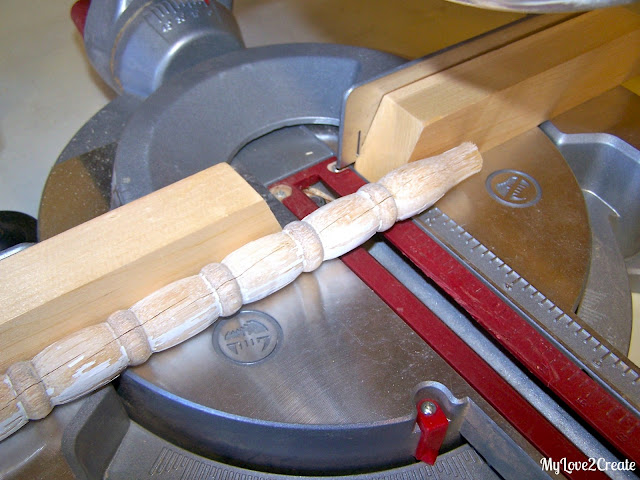
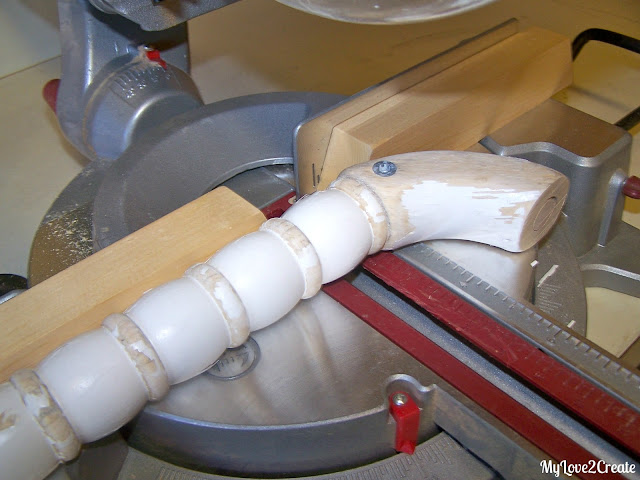
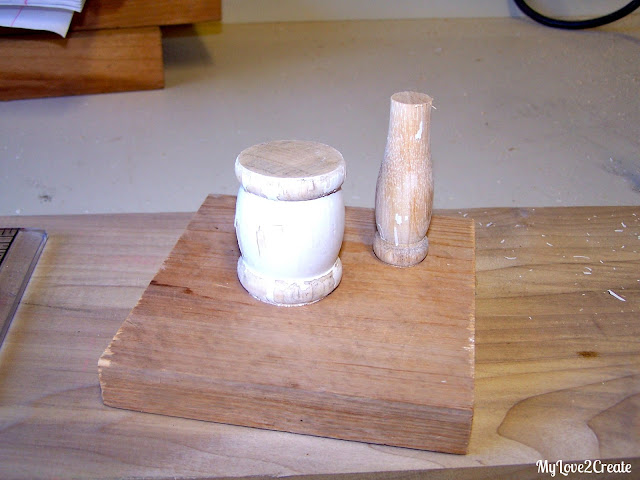
I cut down the crib and was left with some spindles (sorry no before of the actual crib, as you can see from the spindles it was pretty weathered). I also grabbed some wood from my scrap pile.
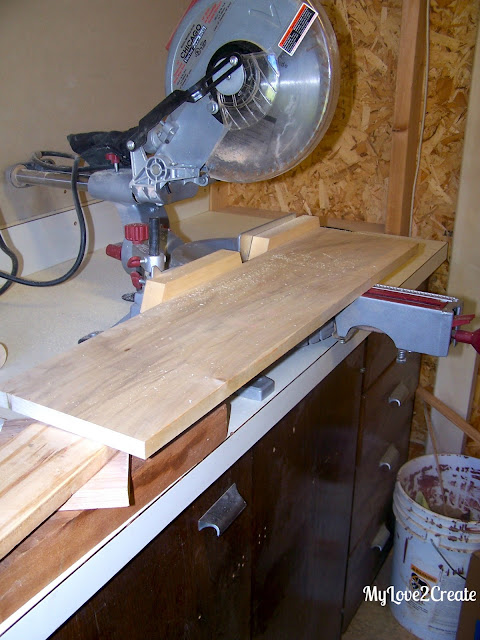
See beautiful long piece of wood? It was from the Home Depot cull bin (extra wood cuts in the back of the store sold for only 51 cents) not only was it straight and pretty, is it poplar, which is a nice hard wood. I have had it for a while, just waiting to be used. When you see wood this nice for 51 cents you HAVE to buy it…
First, I cut my top piece,
Then a middle piece,
I already had a scrap piece for the bottom, perfect size approx. 5in x 5in. It can be really any size you want as long as it will be a base big enough that it won’t tip.
This board was a 1×8. I cut it to 9 inches, this size can vary as well, just as long as it is not too big…
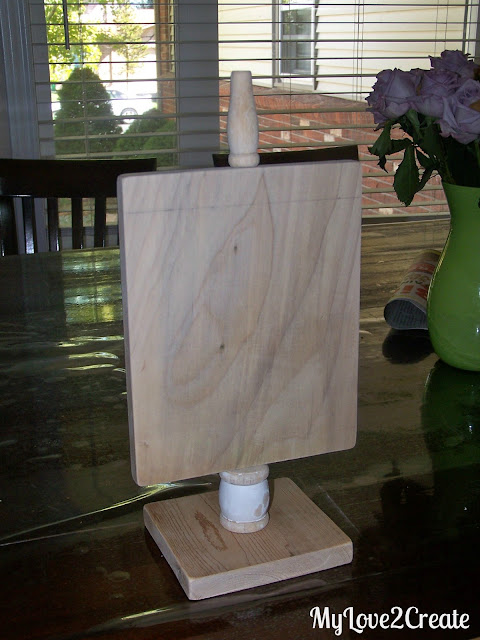
I sanded down all the pieces and took it inside for a dry fit….
Looks good. If it balances out then it will work. Can you see the pencil line? I first marked for 8 inches long, but decided to make it 9 inches instead.
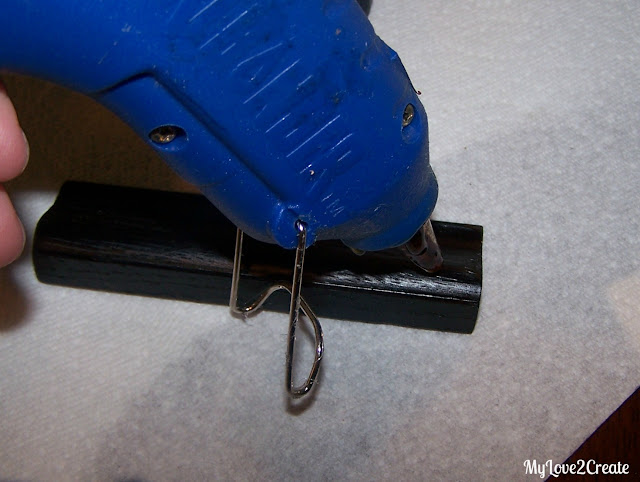
For the next step I grabbed some Gorilla Glue. I had this on hand, but epoxy glue would work as well and dries faster. (I guess I should confess, I have used hot glue on similar projects and they have held up just fine…)
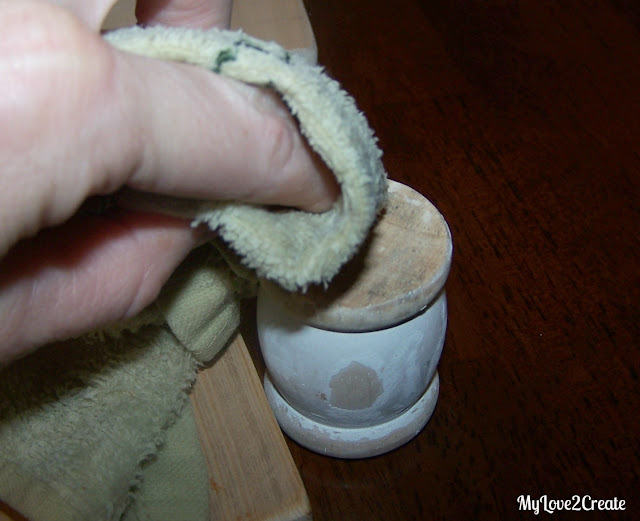
When you use this type of glue make sure to wet the wood first,
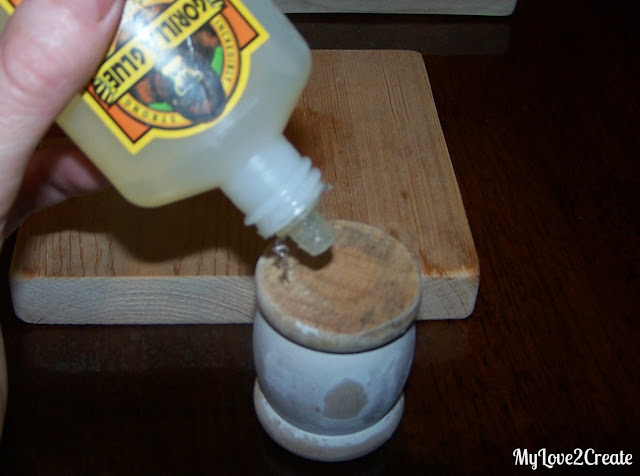
Apply a small amount of glue, it expands as it dries.
Then Clamp.
I went ahead and did the top piece at the same time.
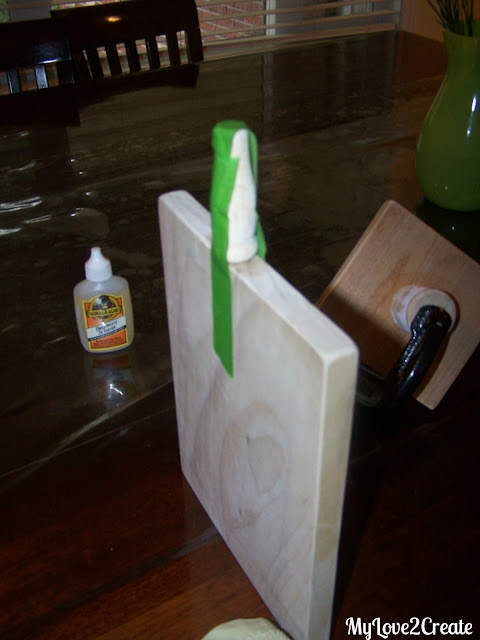
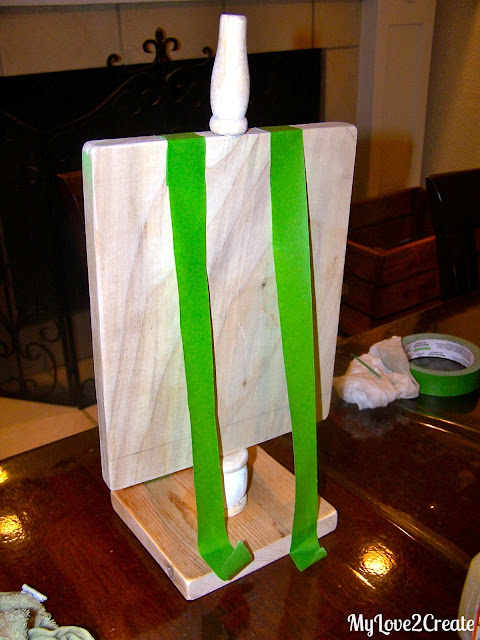
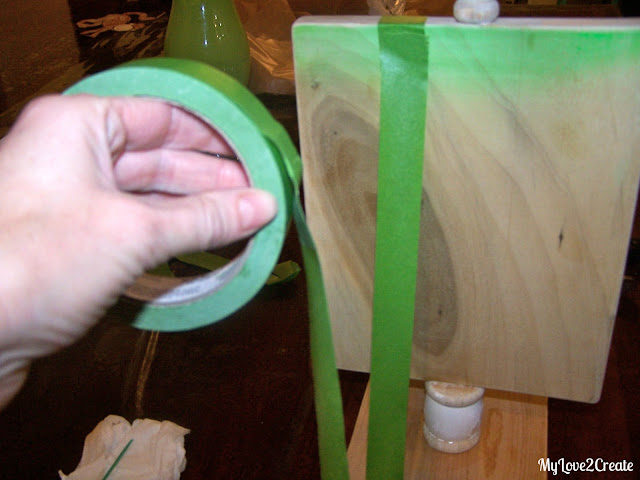
Since I couldn’t clamp it I used tape to keep it held together as the glue dries. That way when the glue expands the pieces of wood will stay flush together.
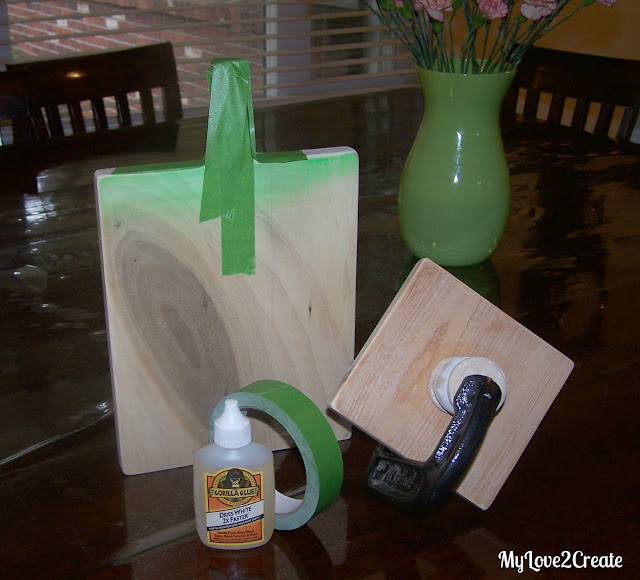
Last, I glued the two pieces together and….”clamped” it.
Once it was dry, I put the tape back on the roll, I plan to reuse it. I am cheap that way….
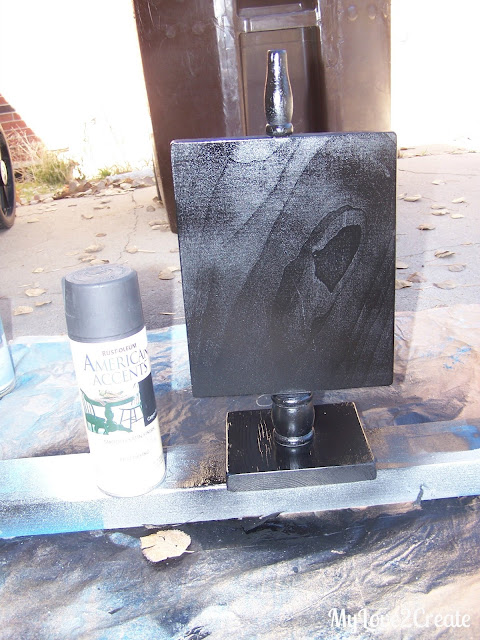
Next I spray painted it! I used this black that I had on hand, but you could use any paint or spray paint.
When the paint dried I went down to my craft room and found some cute paper. This is where you can really do anything…It would be a fun Christmas count down, with cute Holiday paper. In the above picture I am showing how I mark the paper to know where to cut…I just use my fingernail and do a small indent on the paper.
Then I line the indented mark on the paper cutter and cut. Call me lazy but this way I don’t have to worry about pencil marks and since it is only a straight line it works. I did this on the bottom of the paper as well to get the bottom cut.
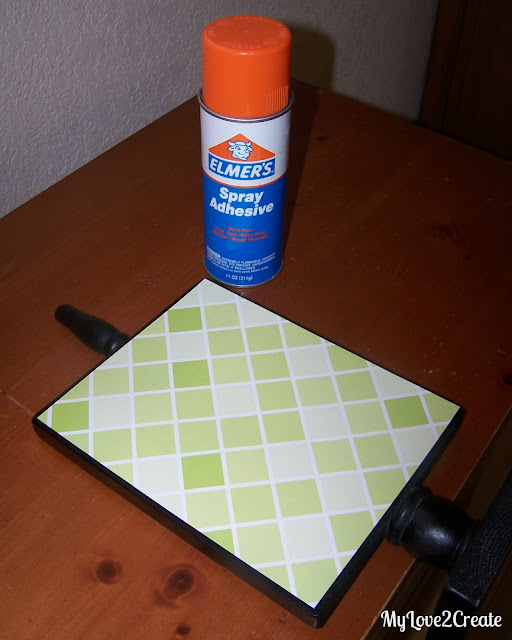
Next I used spray adhesive to attach the paper. If you want it totally permanent, then you could just mod podge the paper on. I might decide to change my paper someday, so the spray is a simple fix to do that.
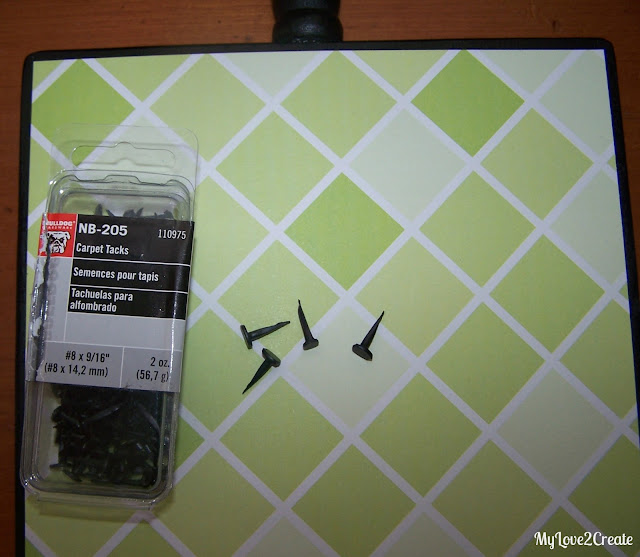
To add a little extra cuteness, I nailed carpet tacks to each corner. Just remember if you are using a hard wood, it might be nice to pre-drill tiny holes. If you are using a soft wood like pine they will nail in super easy, no problem.
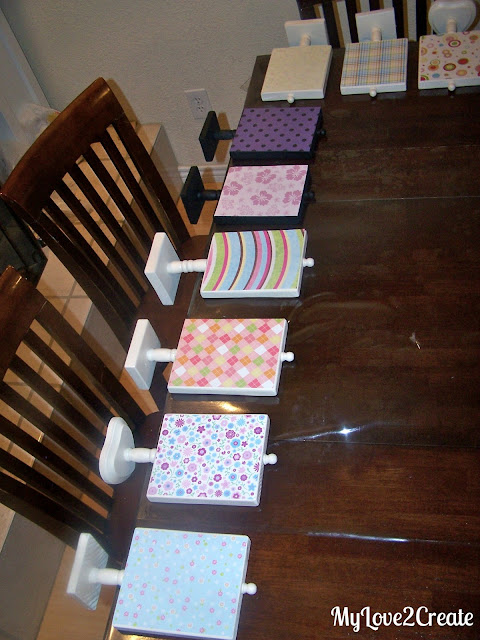
Here is a shot of some of the teacher gifts….I have six kids, but of course some kids had more than one teacher, like my middle schooler….I made 13 total….Insane, I know. But is was so worth it to show my gratitude and appreciation! Aren’t they cute?
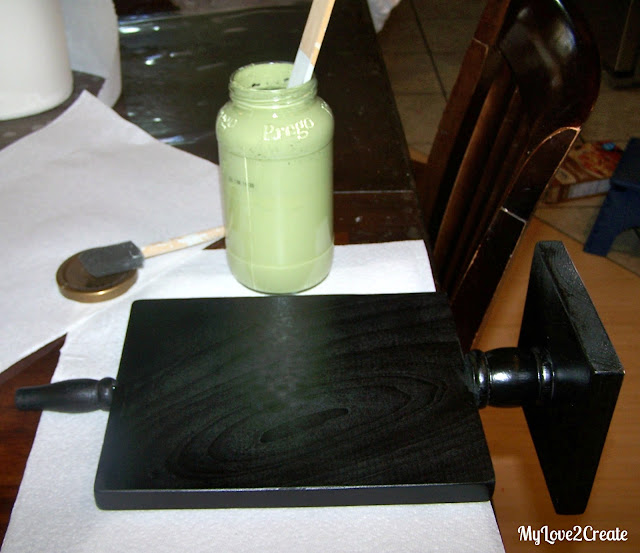
Once I had the paper on, I flipped it over and painted on some homemade chalkboard paint.
I used this tutorial Here, and have been pleased with the result. I did notice a few lumps from the grout, but I just smoothed them out with my finger or paint brush and they went away. They best thing about homemade chalkboard paint is that you can do it ANY color you want!
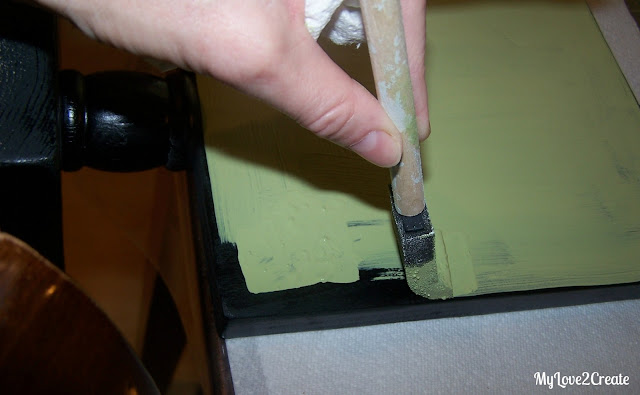
When you paint it on, if you are worried about messing up the edges you can tape them….I am too lazy and was fine with just running the brush down the edge.
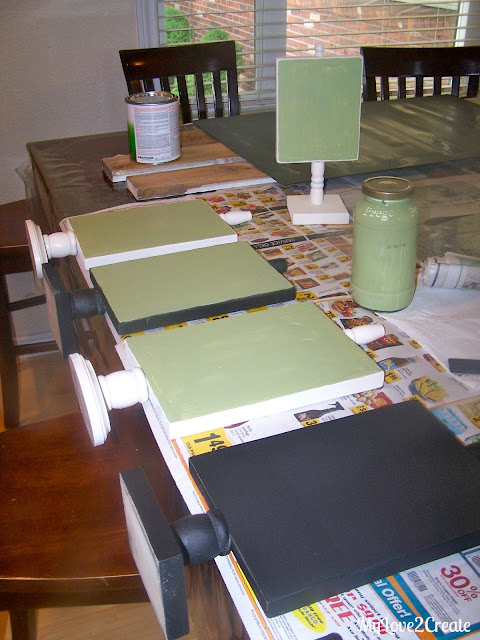
This is another shot of some teacher gifts, with one coat of chalkboard paint. I did use black chalkboard paint on some, but this is where I first used the homemade chalkboard paint and most of them got it, I was so excited!
If you look in the back of the photo you can see I painted the glass for a large chalkboard at the same time, you can see that project Here.
I have a hard time doing just one project at a time…I might as well do another, since I had the paint out anyway…right?
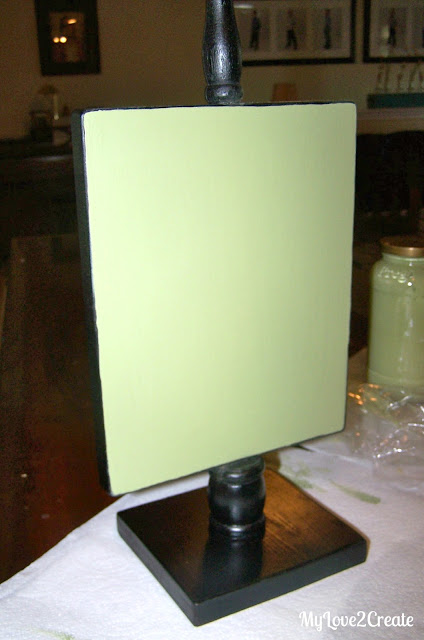
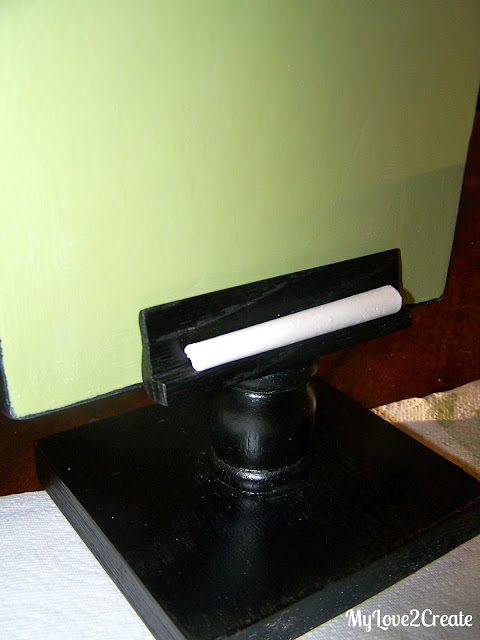
Here is my message board three coats of chalkboard paint later…but I am not done yet! I need a chalk holder…
Mindi








I am very impressed. Love the detailed tutorial!!
Mindi, you are so thoughtful! I bet the teachers really appreciate your gifts.
You are rock star amazing!!! If one of my students would have given me that I would have flipped!!!!! Just so darn awesome…and I love how you are reusing what you have. I wish the whole world would take some cues from you!!! This project is beautiful!!!
Super cute & creative!
These are so cute and practical too. I can see why the teachers were thrilled. Thank you for linking up to What We Accomplished Wednesdays. Have a lovely week!
Hugs,
Deborah
NOw this is an adorable idea… and one of the most thorough tutorials I have ever seen. Just love it!
Thanks for bringing the craftiness to TUTORIALS TIPS AND TIDBITS!
I love all the amazing things than can be created out of wood, this is certainly one of those! I love your creativity, great job!
p.s. picture tutorials are the best!
This is an absolutely adorable idea, Mindi! I'm sure teachers love having your children in their classes!
What a neat idea! I love that its dual sided, too!
Selene @ Restoration Beauty
You rocked this! & I bet they loved their gift!! Hope your having a great week.