Easy DIY Bench Plans
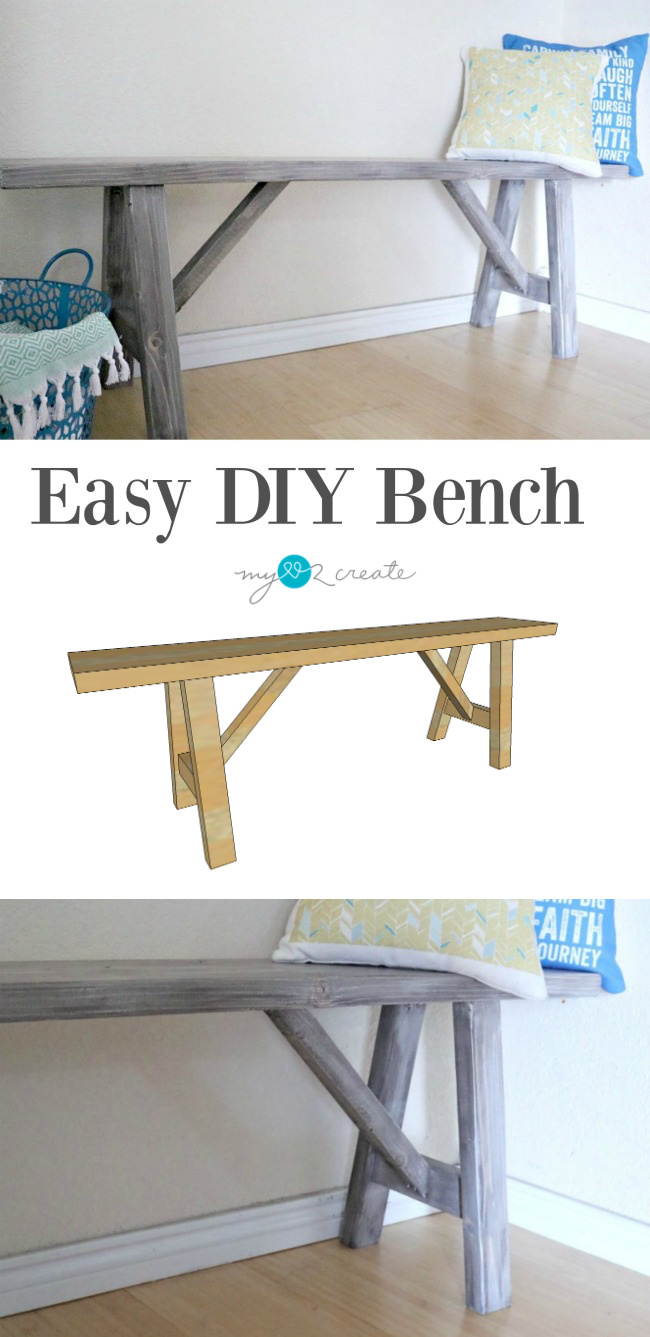
It is a great day to share my Easy DIY Bench with you!
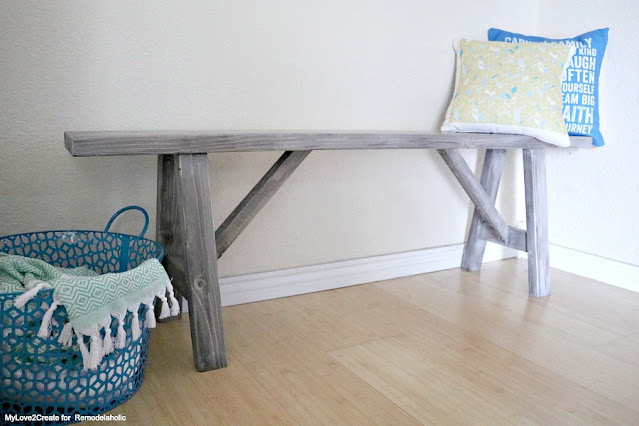
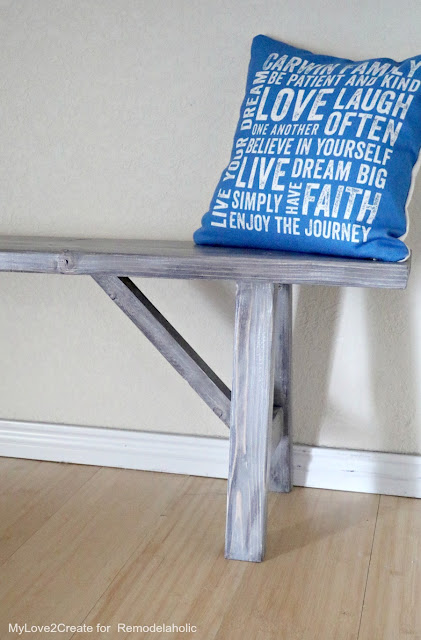
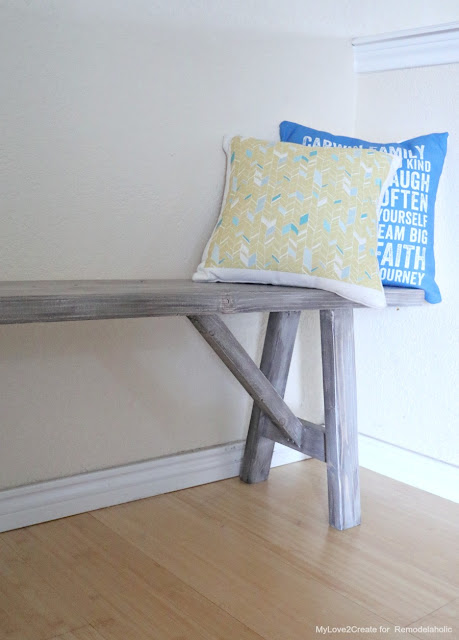
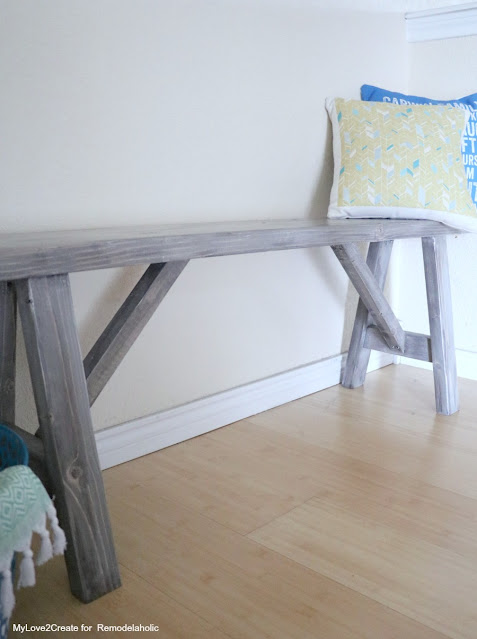
This farmhouse style bench is perfect for your entryway, as a decorative piece, or to pull up to your kitchen table!
It is so fun and cute plus super easy to build, the best of combos!
*This post contains Affiliate Links, read more.
I designed and made this bench to be an easy build, especially for someone with limited tools.
I love using pocket holes on my projects and this one could easily be built with them, but I wanted to make it without them so if you don’t have a Pocket Hole Jig you don’t have to worry!
Easy DIY Bench
Here is the overview of how to build the Bench, Get the full plan with all dimensions and cut lists here.
I am also sharing this bench at Remodelaholic.
Supplies:
- 1- 2×3 board
- 1- 2×2 board
- 1- 2×10 board
- Miter Saw
- Drill/Driver
- 2 1/2’’ screws
- Wood Glue
- stain/paint of choice
- Clear Coat
(poly)
- Sander
/sandpaper
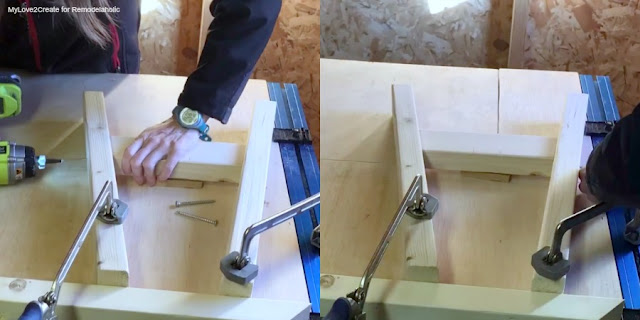
Step 1: Attach Center Leg Support to Legs
Build two sets of leg sections. Be sure to use wood glue and clamp your pieces while you drill to keep them in place. Place the top or bottom of the legs flush with a flat surface while you build, this will help to keep everything square.
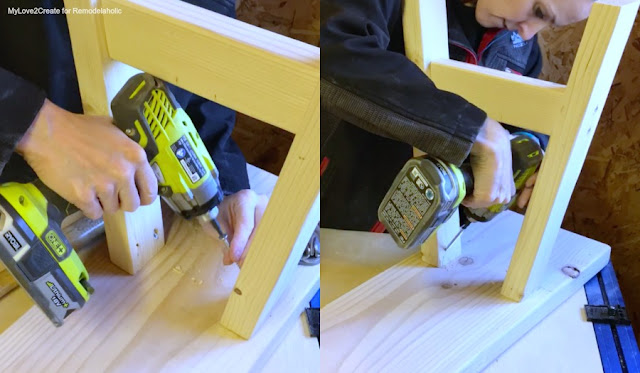
Step 2: Attach Legs to Bench Top
Use wood glue and clamp legs to bench top before pre-drilling and putting in screws. Then drill at an angle into the legs and the bench top. Attach leg sections on both sides of bench top.
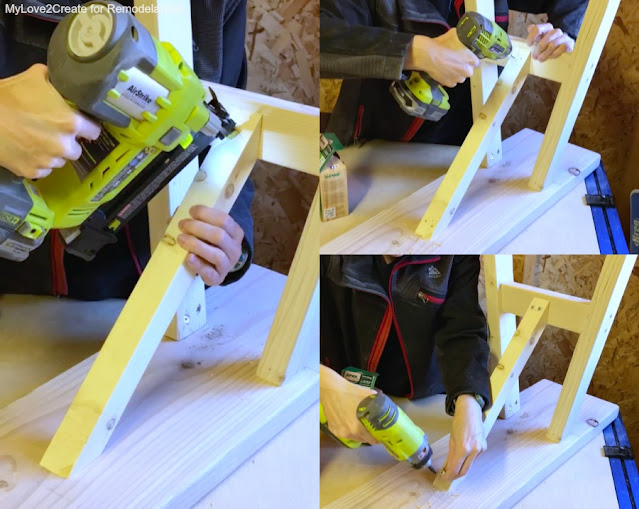
Step 3: Attach Center Bench and Leg Supports
This is one of the most important steps to make your legs really sturdy. Use wood glue and attach screws at an angle in to the supports and bench top. If you have a nail gun or hot glue handy, either one will help to secure the boards in place while you pre-drill and add the screws.
Step 4: Finish as desired and Enjoy!
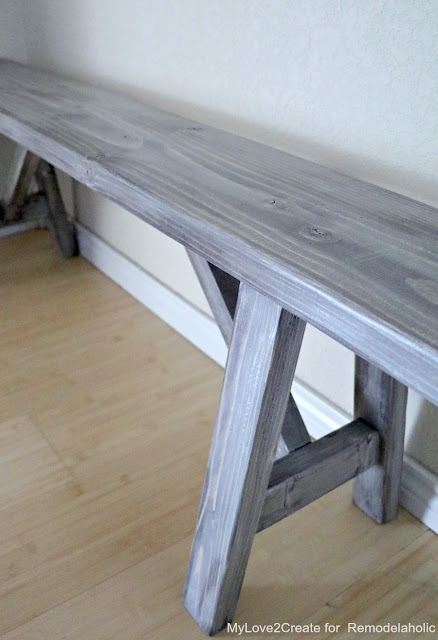
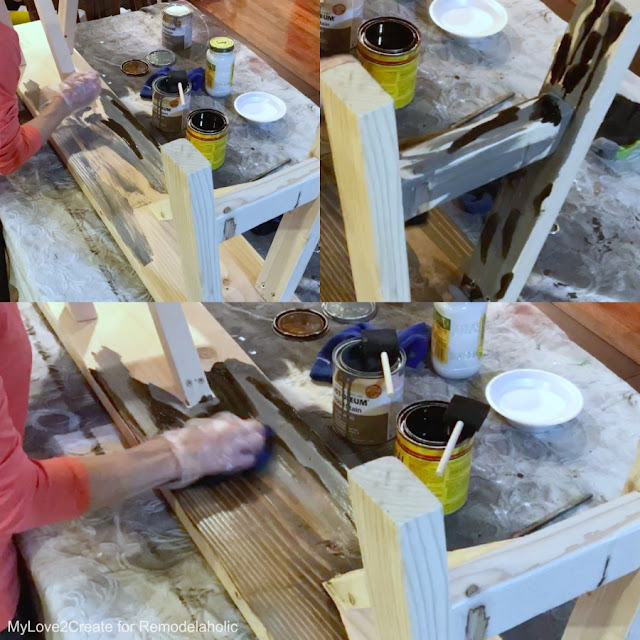
I decided to do a finish I have been wanting to try for a long time, by my friend Amanda from Rustic Duck Furniture, you can check out her full tutorial. It is basically layering two different colors of stain randomly on your wood, then blend them together.
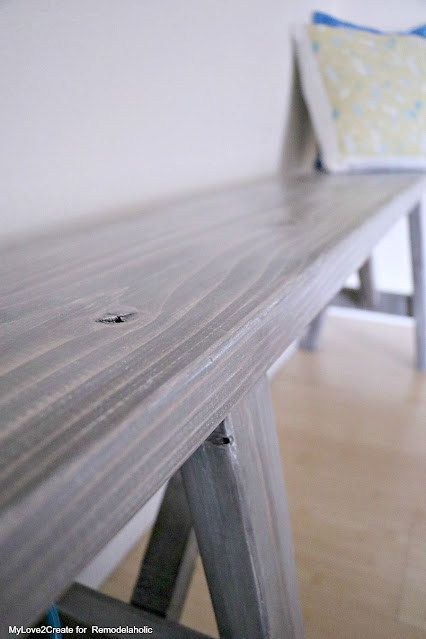
After you finish the stain apply a white wash over the wood and blend it in. To finish it off, you do a dry brush technique, I have done this before you can see an example on my Chalkboard Coat rack, styled X3, it really adds a beautiful texture to the piece.
I love the depth of the finish!
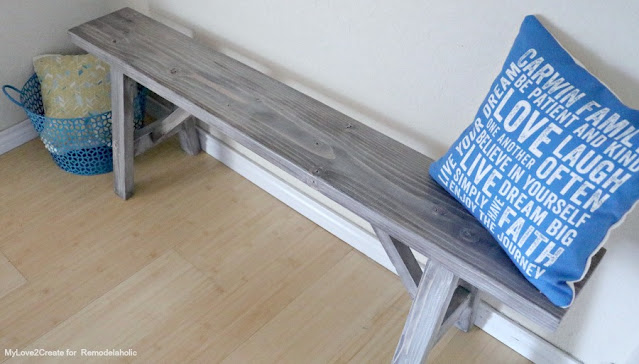
This bench was inspired by some antique French cherry wood benches I had seen online. It turned out perfect for what I wanted!
I donated this bench to my daughters dance studio. I grabbed these pillows from my Master Bedroom Reveal for some easy staging, before we delivered it to it’s new home.
It is a nice little spot for the kids to sit at while they wait or put on their dance shoes. I have previously donated to my daughter’s old dance studio, How to make a Kingsize Headboard Bench. I love to help support the great work they do in teaching my daughter.
Click here to purchase and download the Easy DIY Bench Plans
Be sure to pin this for later!!
Thanks for reading and sharing!





I smiled when I read this post! You make my task easy. Really, Love your plan. I have a plan to make a bench within these week. Hope, I will finished it successfully. Have a great weekend!
Yay Rebekah!! I am so glad! Good luck on your bench, I would love to see pictures when you finish!
Great topic. You have added a creative plane here. Your branch making plane easy and looks awesome. I like your tips and ideas. I enjoyed your post. Hopefully, it's make a lot of fun. Thanks for share your post.