Easy Last Minute Mother’s Day Craft
Sometimes the best gifts come from the heart. When you know someone took the time and effort to make something special for you, it just means a little bit more, right?!
But let’s be real, life is BUSY. So, an easy last minute Mother’s Day Craft might be just what you need. You can create something special and quick!

Today, I am happy to share a simple way to put a smile on your Mother’s face. Actually, this project can be used as a great gift idea for anyone!
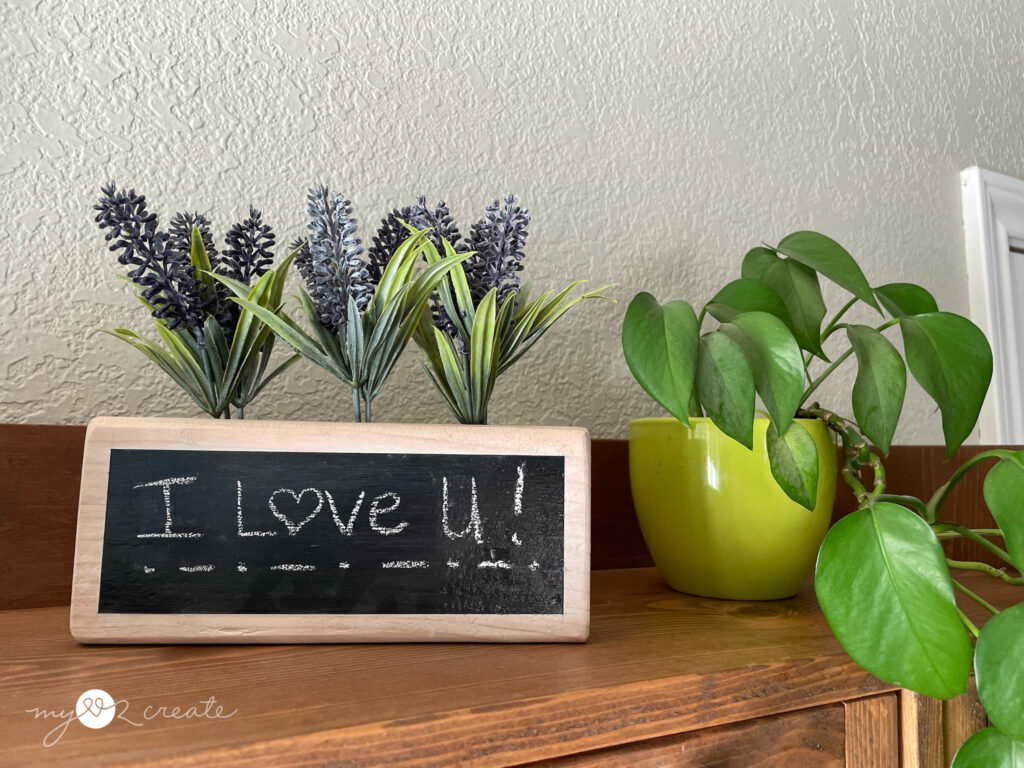
How cute and simple is this?! And if you like versatility…you can add something extra to the back…
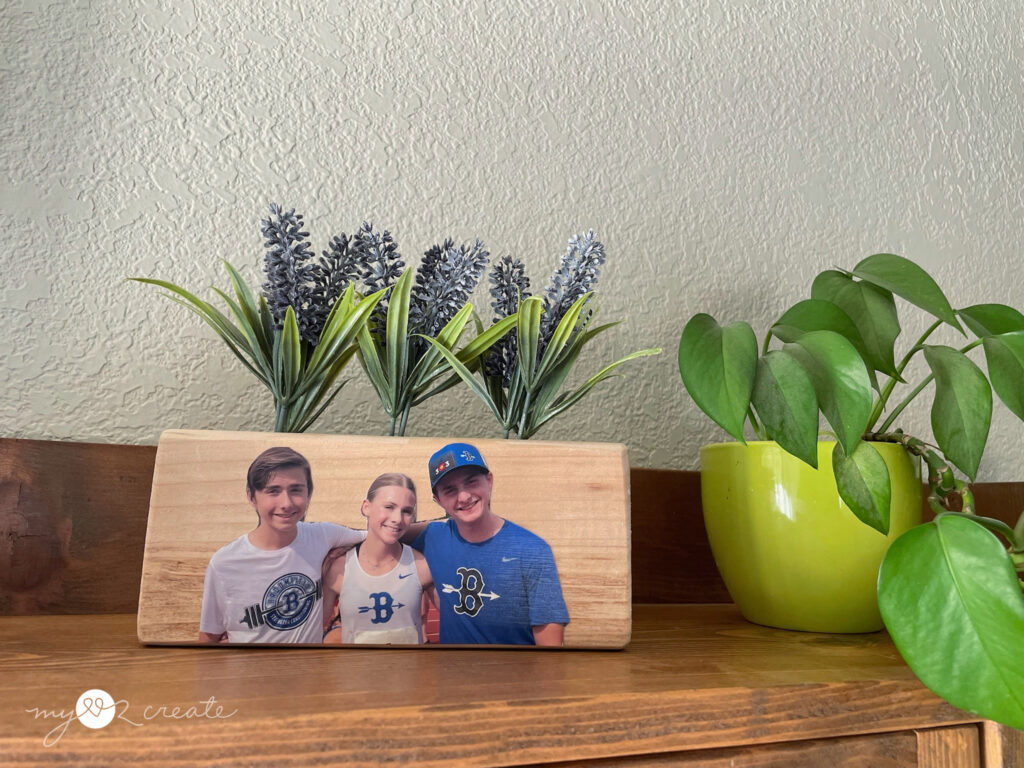
I mean, who doesn’t love pictures of their loved ones!
Let’s get started!
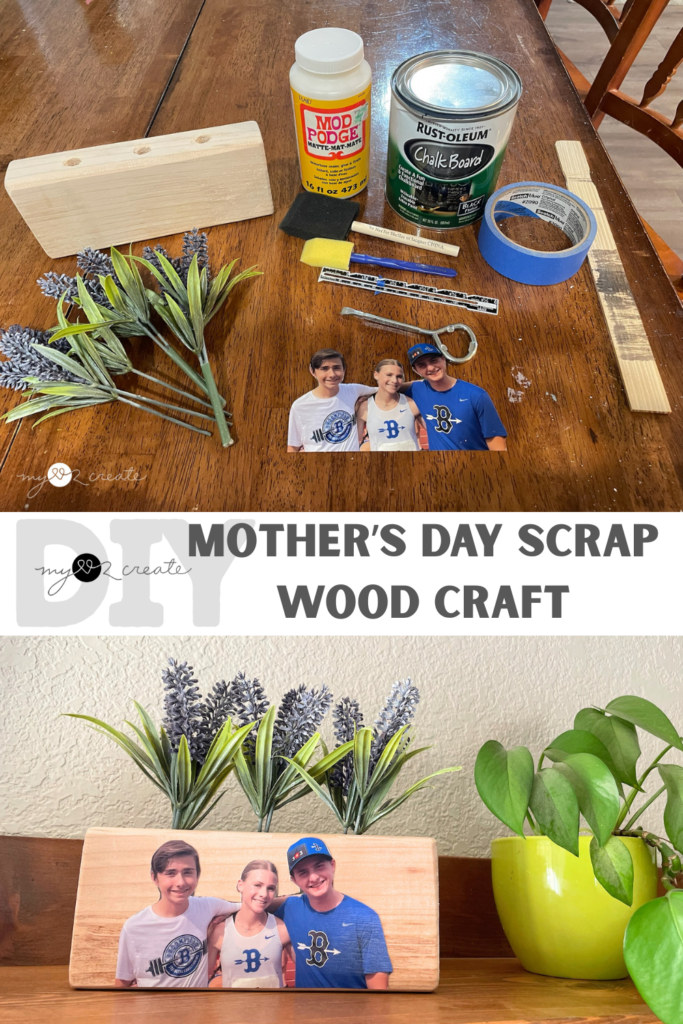
Mother’s Day Scrap Wood Craft
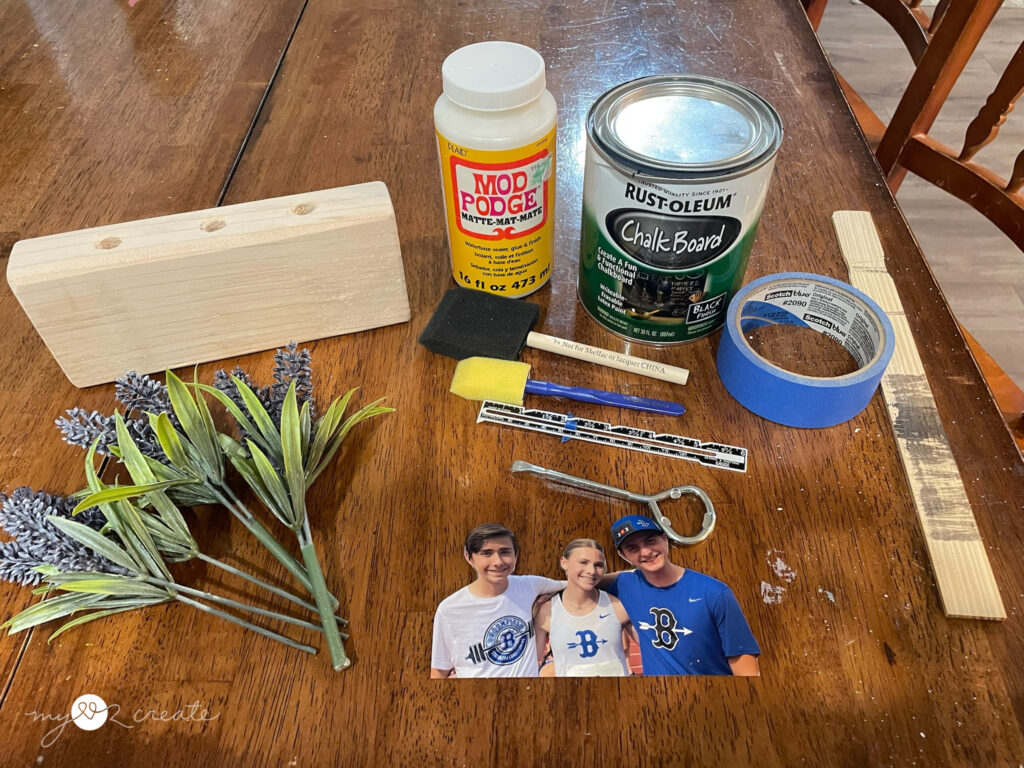
Here is what you need:
- Mod Podge (Matte-Mat) – A bottle of Mod Podge for sealing or gluing.
- Rust-Oleum Chalkboard Paint – A can of black chalkboard paint.
- Paint or Stain – of your choice for desired finish.
- Wood block – Scrap wood, any size you desire.
- Drill and 3/8” drill – bit (optional if drilling holes).
- Clamps – to hold block in place while drilling (optional).
- Hand Sander or Sand Paper – smooth surfaces and remove imperfections
- Artificial lavender stems – any Faux flowers or succulents for decoration (optional).
- Foam brushes
- Painter’s tape – For clean paint lines.
- Wooden paint stir stick – For mixing paint.
- Ruler – Measuring tool.
- Cut-out photo or quote printed on paper – Could be used as a personal touch in a craft.
- Pen – Possibly for marking measurements.
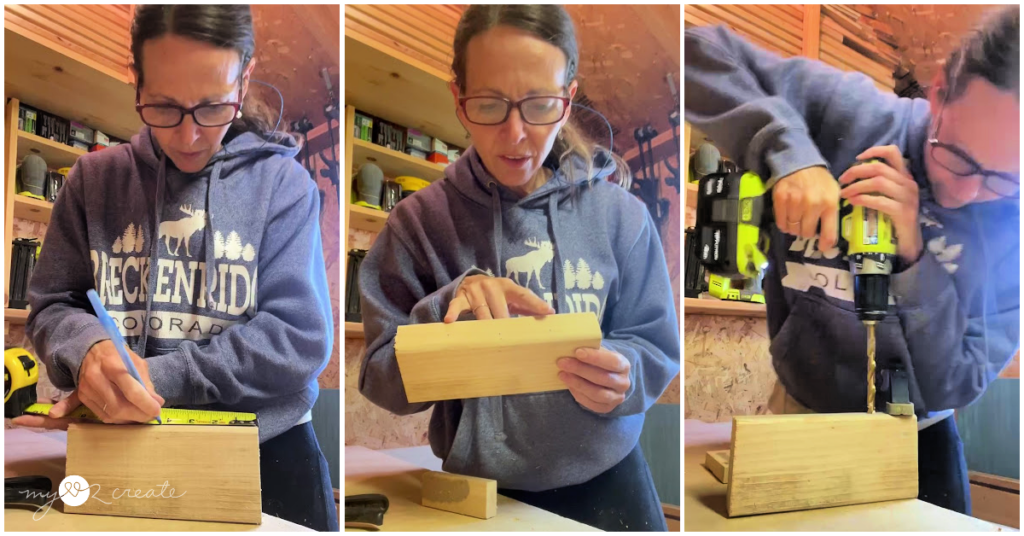
Step 1: Cut your wood to size
I used a 2×4 scrap piece of wood for this craft, you can cut it to any size you want, I trimmed mine to 8 inches long.
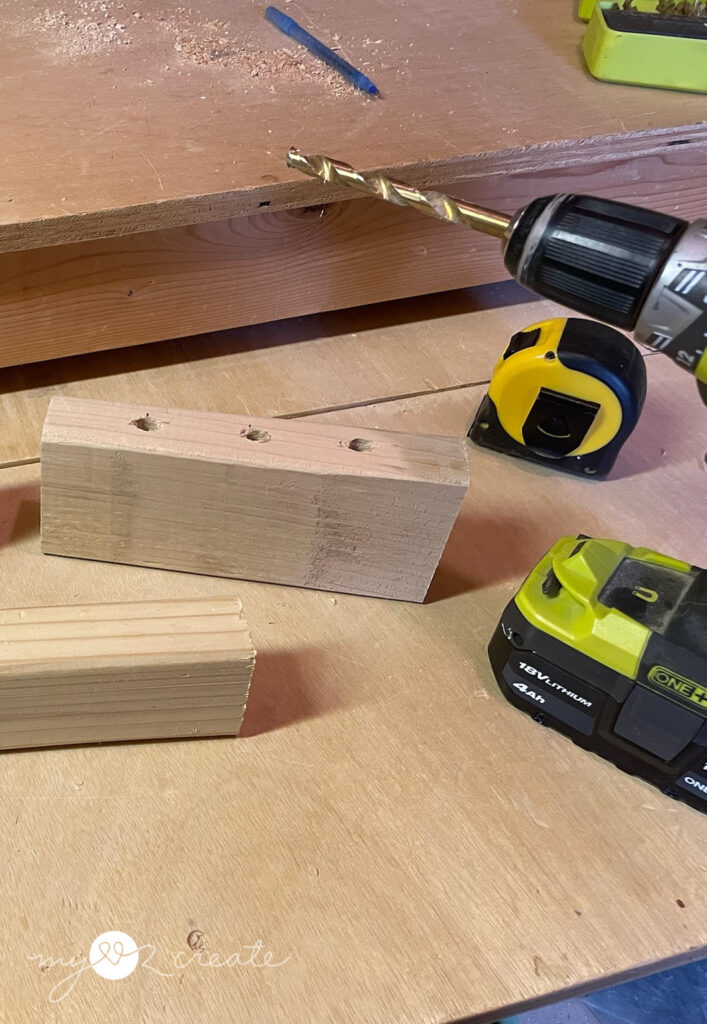
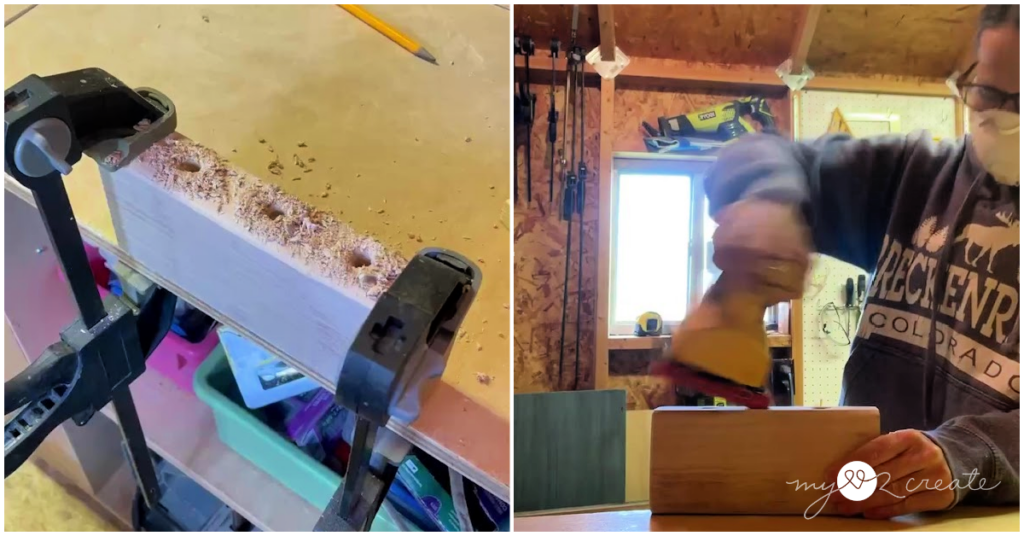
Step 2: Drill holes for plants or pens/pencils
This step can be optional, but I think adding something extra is fun, like little plants or even drill more holes so it can hold pens and pencils. I marked center on the top of my 2×4 and then two inches to each side and drilled holes with a 3/8” drill bit. I recommend clamping your block down to drill. If you want to make sure your holes are drilled straight you can check out my Build a Custom Ski Rack post where I show you how to make a quick jig for that.
Step 3: Sand smooth
Once your holes are drilled you want to sand you wood smooth. You can use a hand sander or just sand paper works too. I recommend around 100 grit sandpaper and then you can go to a finer grit after that if you desire.
Step 4: Paint or Stain your block
This is a fun step and where you can get very creative! I decided I wanted to keep the natural wood on my block but add a chalkboard label on one side. You could paint or stain your block first then add the chalkboard after, or not at all. For another idea check out my Sign and Chalkboard in One project and other great gift idea.
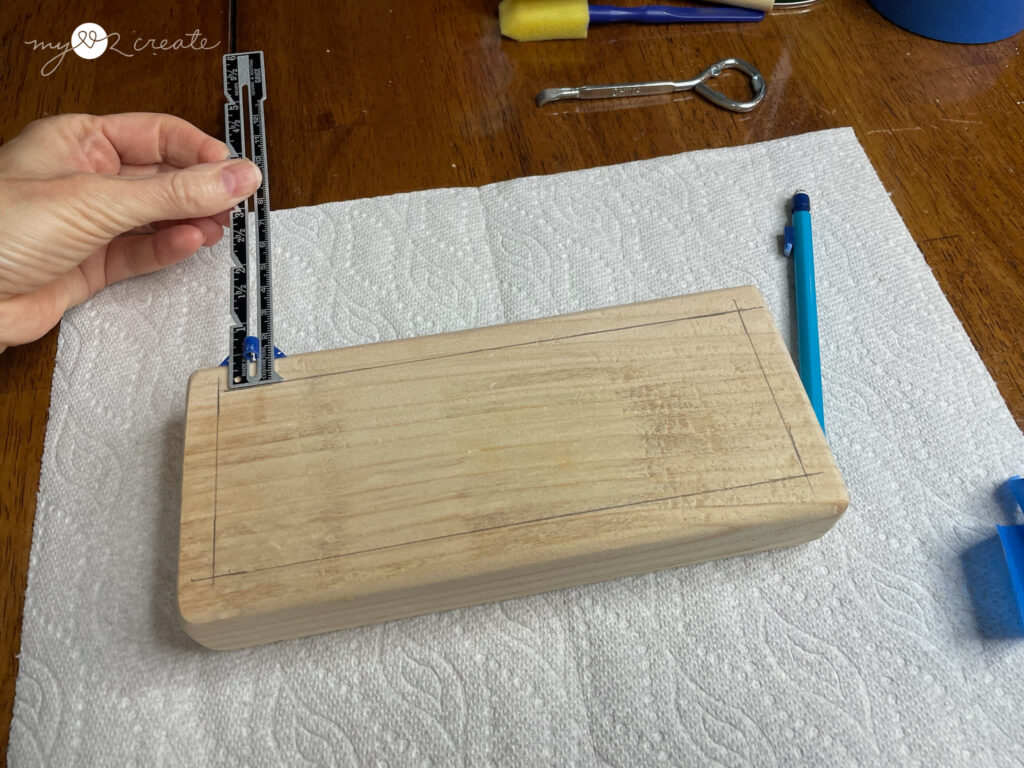
I like to make a boarder for my chalkboard so I measured the size I wanted and marked it with a pencil. I used my sewing gauge because it was fast and easy, work smarter not harder! 😉
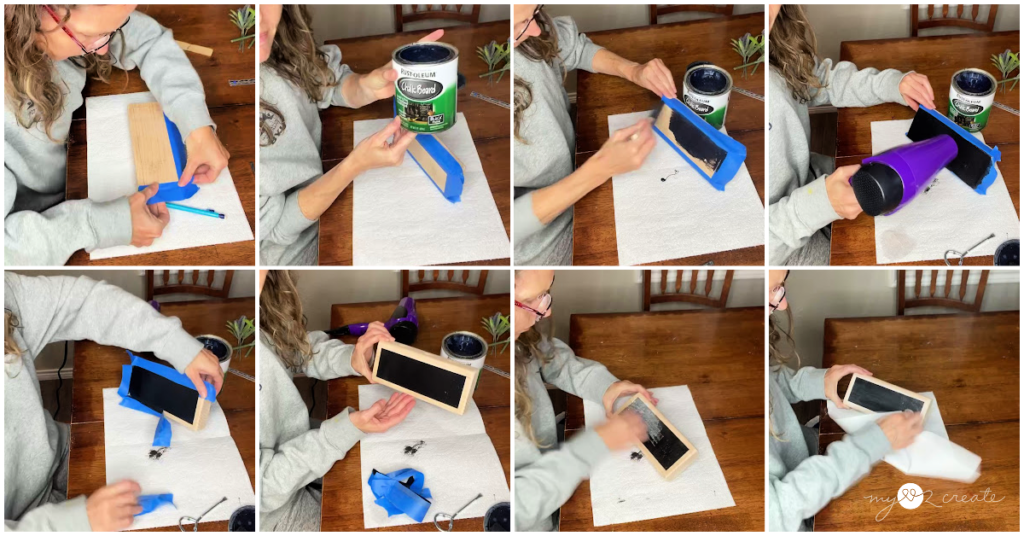
Then I added my painter’s tape along the line and pressed it firmly so the paint wouldn’t bleed through. Using a foam brush I painted three coats of Rustoleum Chalkboard paint. I LOVE this stuff, every crafter should have a can…just sayin. I use it all the time. You can wait for the paint to dry…or if you are doing this quick, grab a hair dryer and you will be finished in no time.
After your last coat of paint before it dries, remove the painter’s tape. Be careful not to let the tape with wet paint edges touch another part of your project. Once the last coat is dry you can prime your chalkboard by rubbing chalk over it. It is ready to go!
Step 5: Mod Podge a picture or quote onto your block
This step is fun too! I love that you can print off a great quote or a picture and mod podge it onto a block in minutes. Decide what you want to mod podge onto the block and cut to the size needed. Then add a layer of mod podge directly to the block. Place your picture or quote onto the block and smooth it out so it sticks and has no bubbles underneath. Lighter paper will be more prone to bubble. Once it is smooth then you simply add another layer of mod podge over the paper quote or picture and smooth it out.
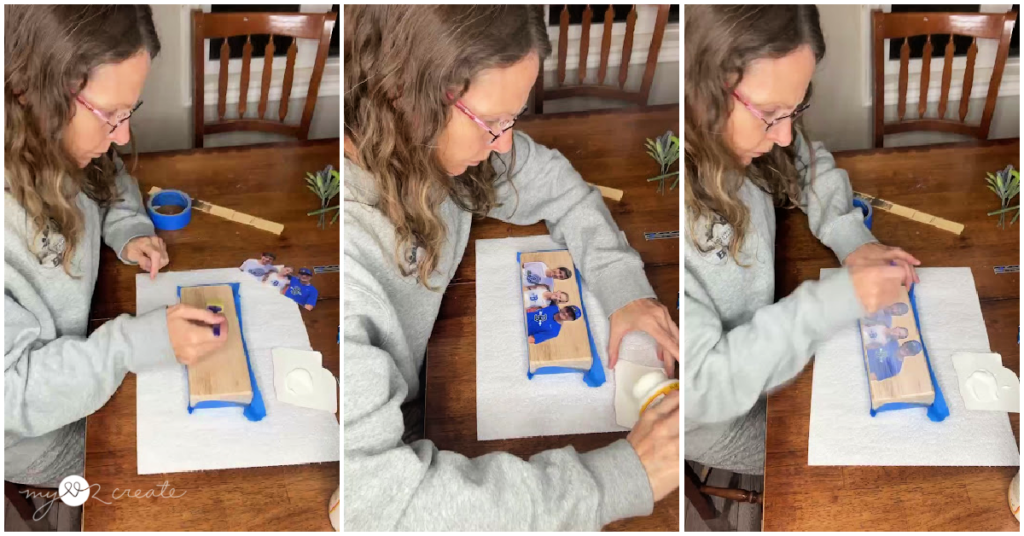
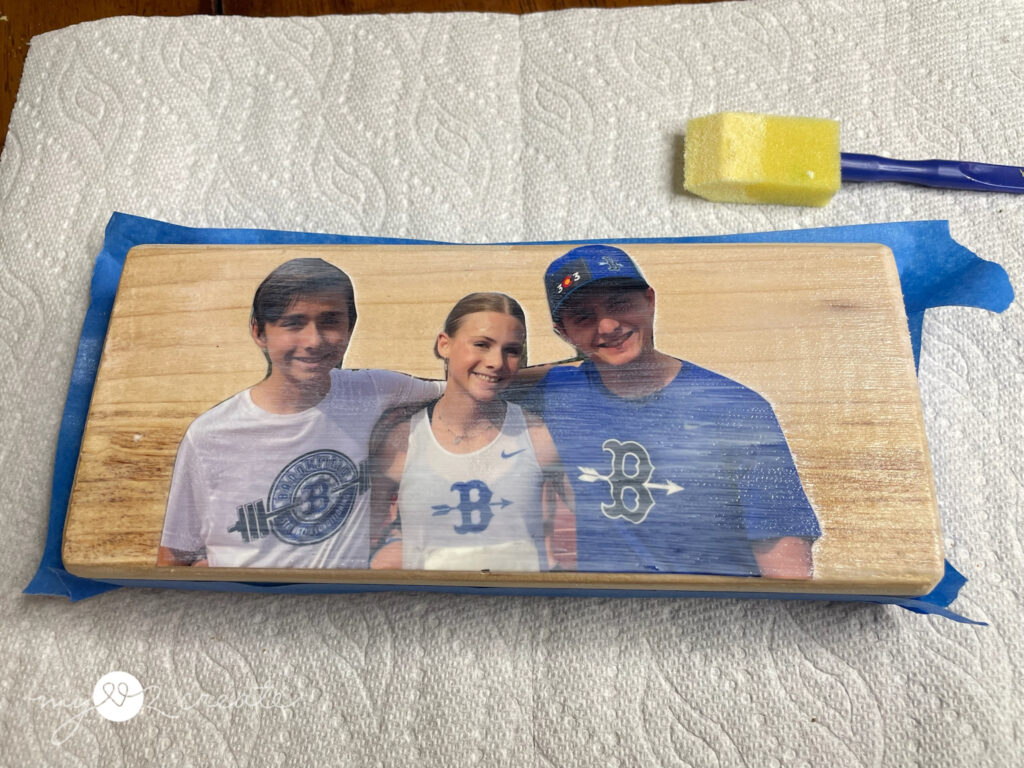
It will look a little blurry and have lines but they will fade as the mod podge dries. You don’t need it too thick, so smooth it over the image until it covers it nicely especially the edges, you are just sealing it to the block.
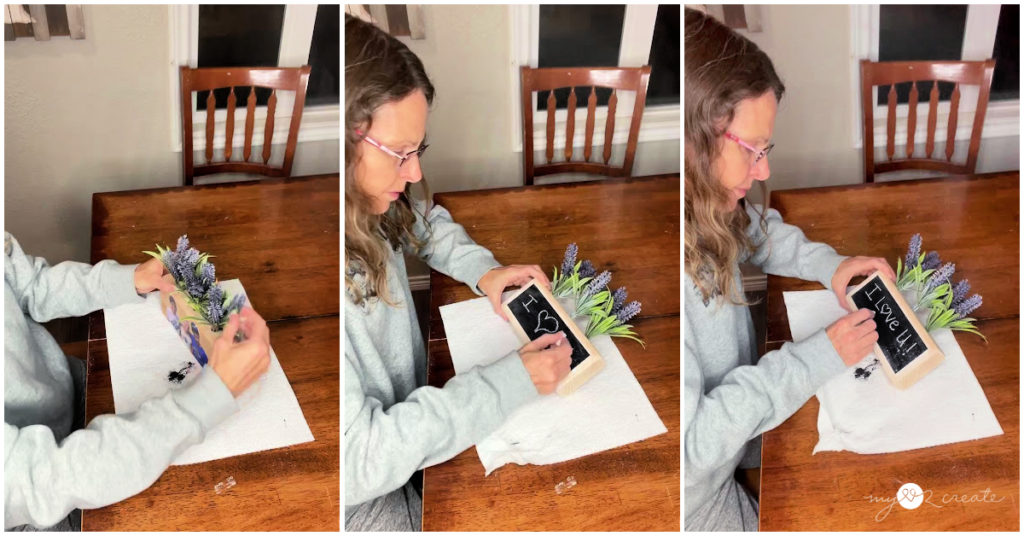
Step 6: Add the finishing touches
If you are doing plants in the holes, I recommend putting them in to see if you like how they look and once you know the configuration, I would add hot glue into the hole and then place the plant back in so they don’t fall out. If you are using pens, pencils, brushes, obviously you don’t want to hot glue them but it is fun to add some new cute ones when you present it. If you did a chalkboard label add a fun note!
Just like that…you are done! A super cute, personalized, and EASY last minute mother’s day gift or father’s day gift, or friend gift…the possibilities are endless!
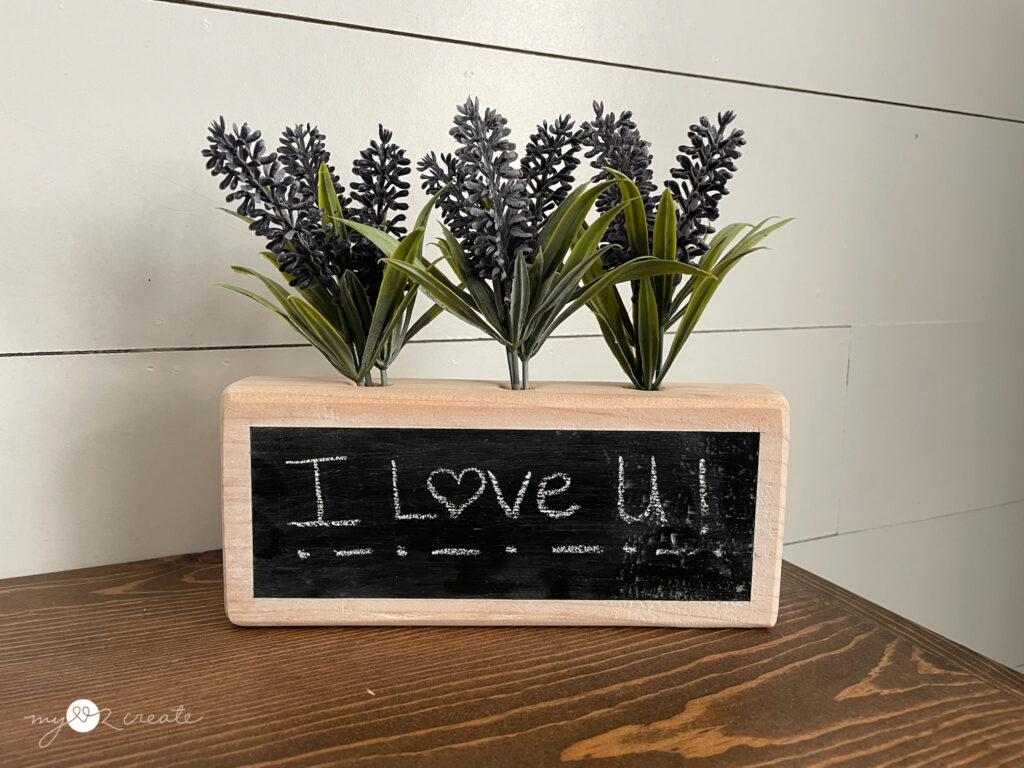
I hope you enjoyed this project, and it makes you and a loved one smile!
Please share…help out a friend in need, we all seem to be doing things last minute with how busy our lives are these days! Thanks for reading and I hope you continue to follow along!