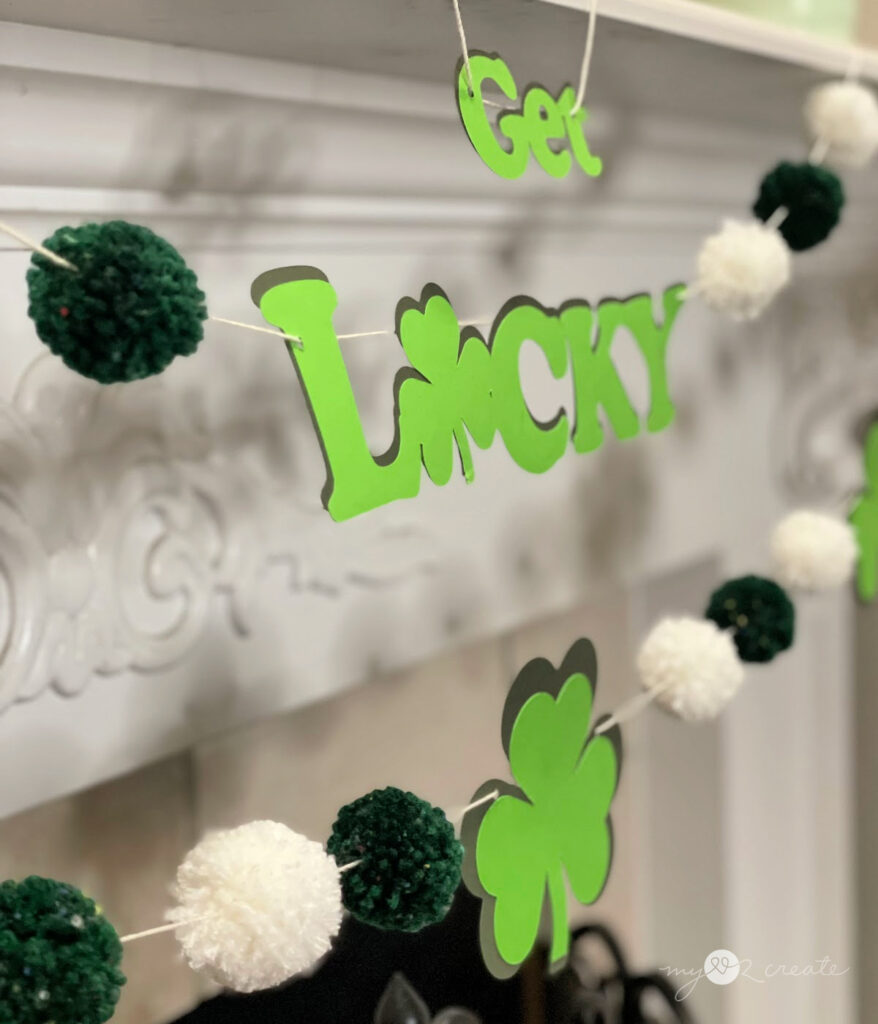
“Get Lucky” Shamrock and Pom Pom Garland
It has been quite a while since I have crafted, and I have missed it!! I am excited to share my “Get Lucky” Shamrock and Pom Pom Garland with you today, this is an easy project that you can customize to your hearts content. Seriously the possibilities are endless!
*This post contain affiliate links learn more here.
So fun right?! This is something anyone can make, I used my cricut machine and some pom pom makers, but don’t worry I have you covered if you don’t have these items. I have some tips and tricks so you can make your own, or your own version of it anyway, so feel free to get creative!
You and the kids are going to have a BLAST! Let’s get started!
How to Create a “Get Lucky” Shamrock and Pom Pom Garland
Supplies:
- Colored Paper (8 1/2″ x 11”) regular paper
- Printer (if you choose to use the free printable)
- Sharp Scissors (fabric only cutting scissors) Optional if you have them
- Paper Scissors
- Pencil
- Yarn
- String
- Yarn needle
- Glue or Glue Stick
- Tape or pins to secure garland
- Hole Punch
- Pom Pom Makers (optional, if you are not using a pom pom maker use the supplies below to create your pom poms)
- Cardboard– can use an old food box (ex: goldfish)
- Two Circular objects one one bigger one smaller: For the bigger object ex: cup or jar, what you choose will equal the size of pom pom you want. For the smaller object use a coin for the center.
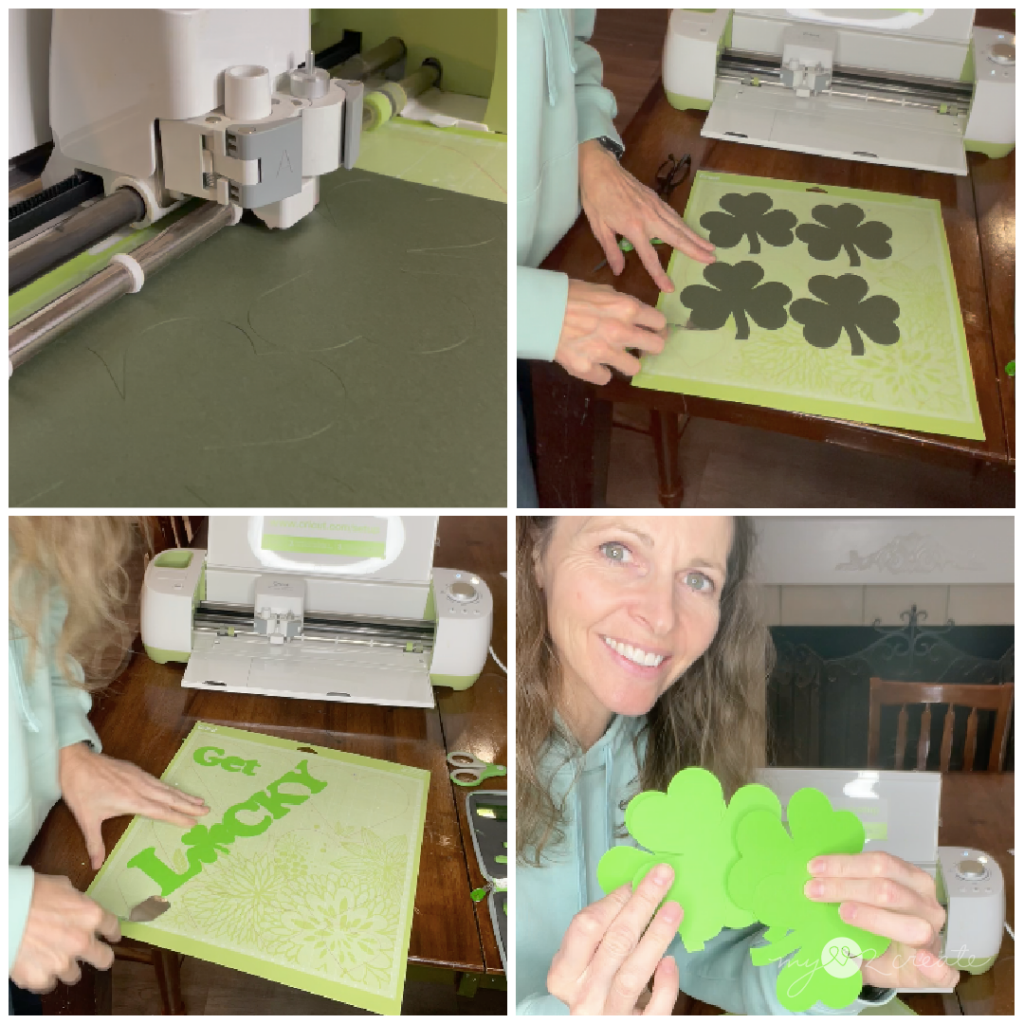
Cut your Shamrocks and “Get Lucky” words out of paper.
I used my cricut to design and cut out my words and shamrocks, but I wanted to make it easy for you to do this craft if you don’t have those items.
So…drum roll please…
I am providing you a FREE “GET LUCKY” AND SHAMROCK PRINTABLE! Woo hoo!
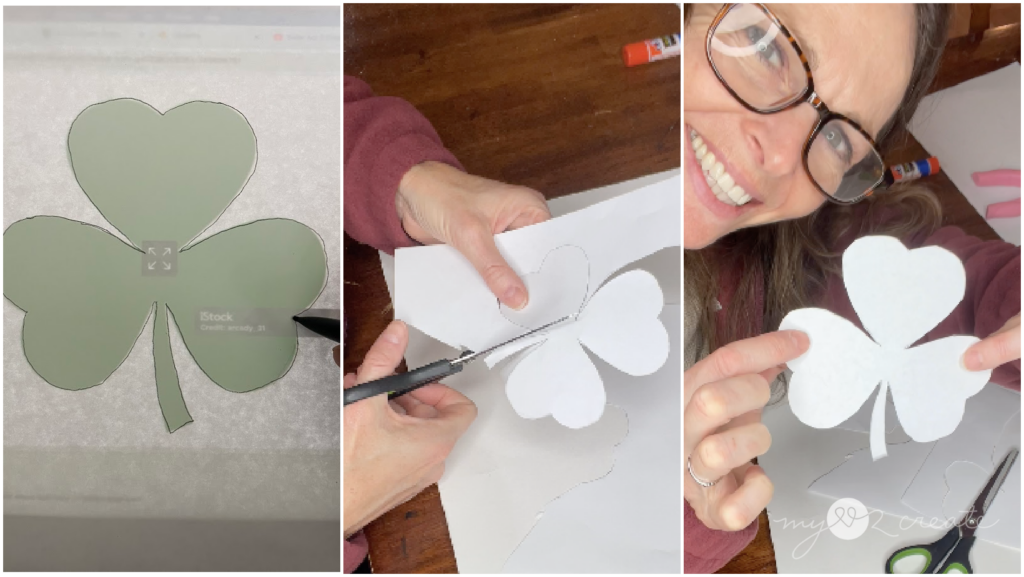
If you think, “I want a different shamrock or different words”, you can easily find a design on the computer trace it onto paper and cut out what ever you want…so cool right!?! See my images below, that is me tracing a shamrock off the computer screen…the sky’s the limit if you want to trace and cut!
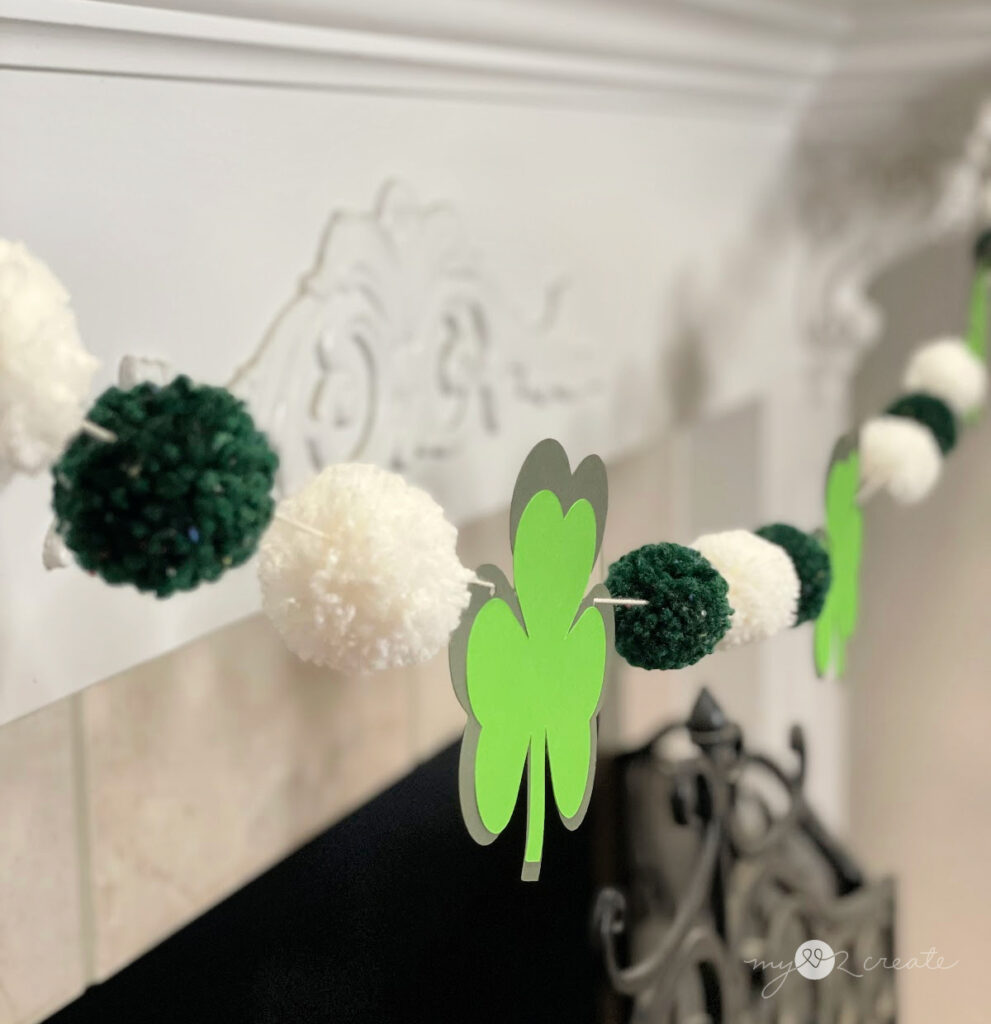
I choose to make my shamrocks with a little color and dimension variation by doubling up the size and color. Then I glued them together with a glue stick.
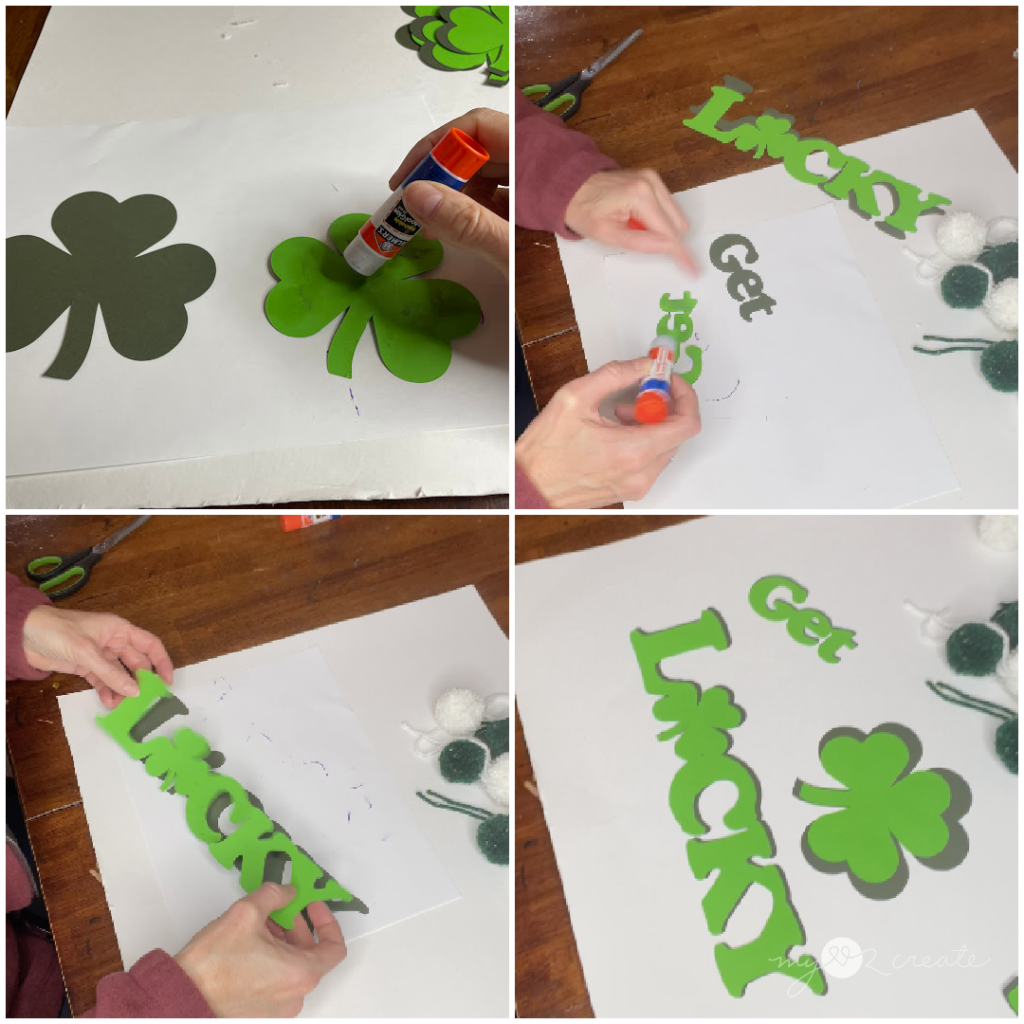
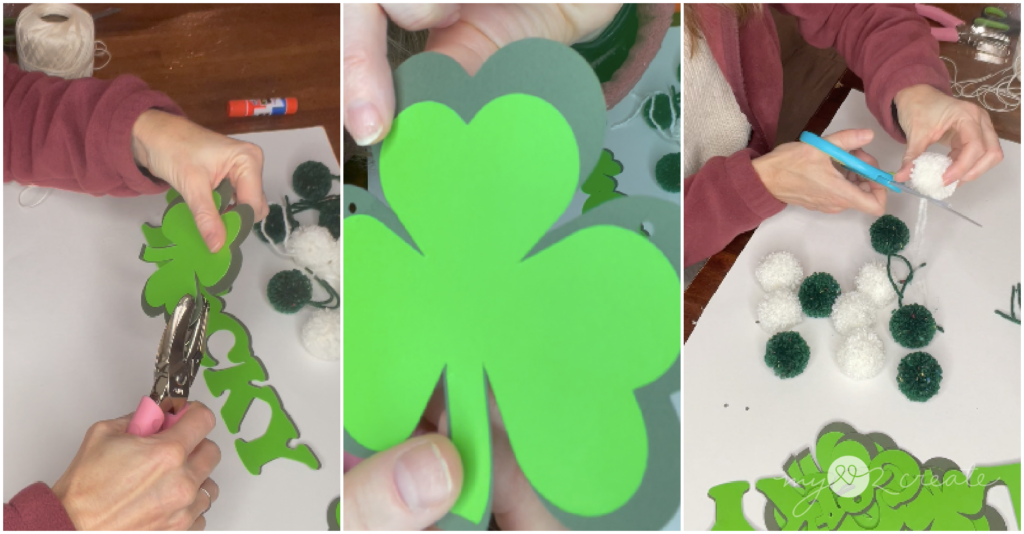
I used a hole punch to punch holes on both sides of the words and shamrocks, for threading the string. I also cut my extra string off my pom poms since I won’t need them on my garland.
Note: When you make pom poms these strings are useful to leave on if you want to tie your pom pom to a back pack or purse… It will totally up the cute factor of most items. 😉
With all my pieces glued and punched I was ready to make my garland. But wait?! I have to show you first how to make pom poms, oops, I almost forgot! They are the star of the show after all. At least, in my humble opinion.
I am going to give you some quick tutorials, and check out my YouTube shorts as well, on how to make pom poms, with or without a pom pom maker.
How to make Pom Poms with a pom pom maker
Check out my quick YouTube shorts video here.
Step 1: Wrap your yarn around the double sections of the pom pom maker and cut along the middle seam.
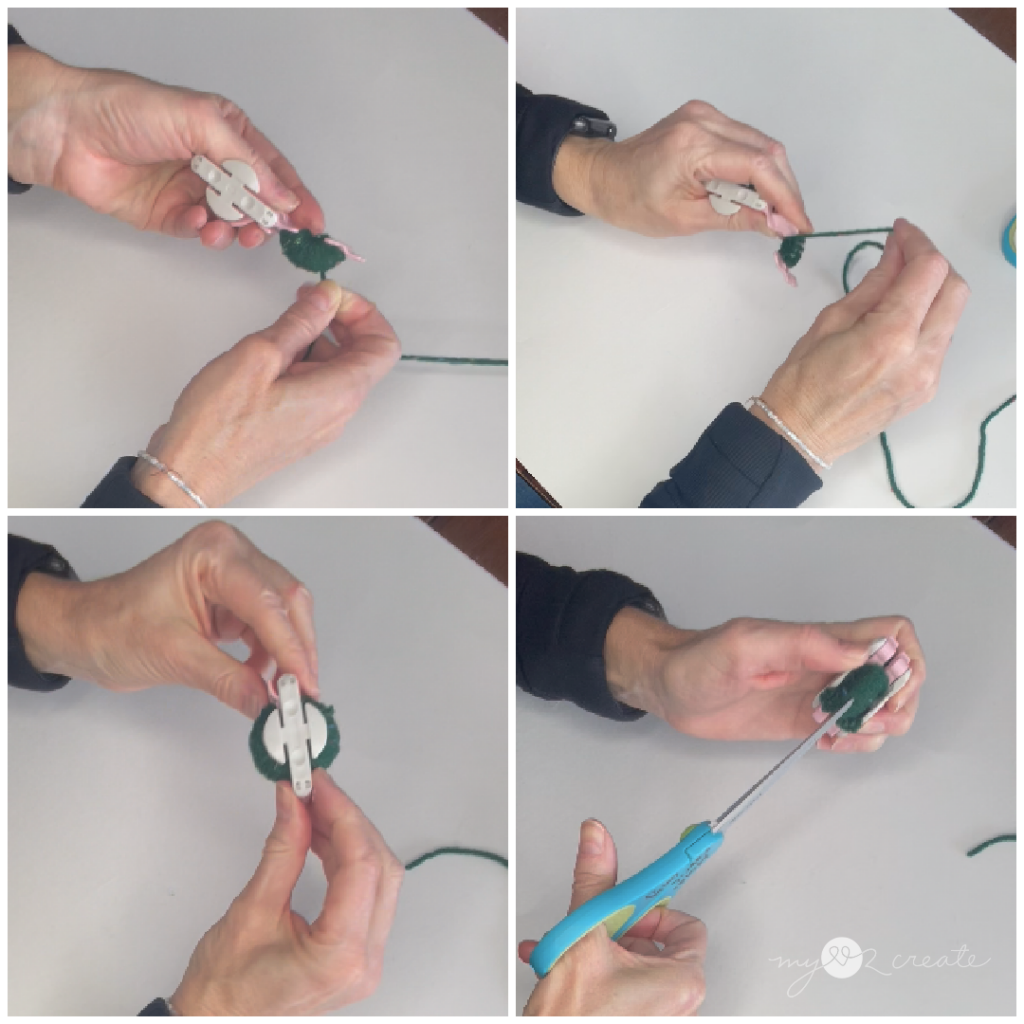
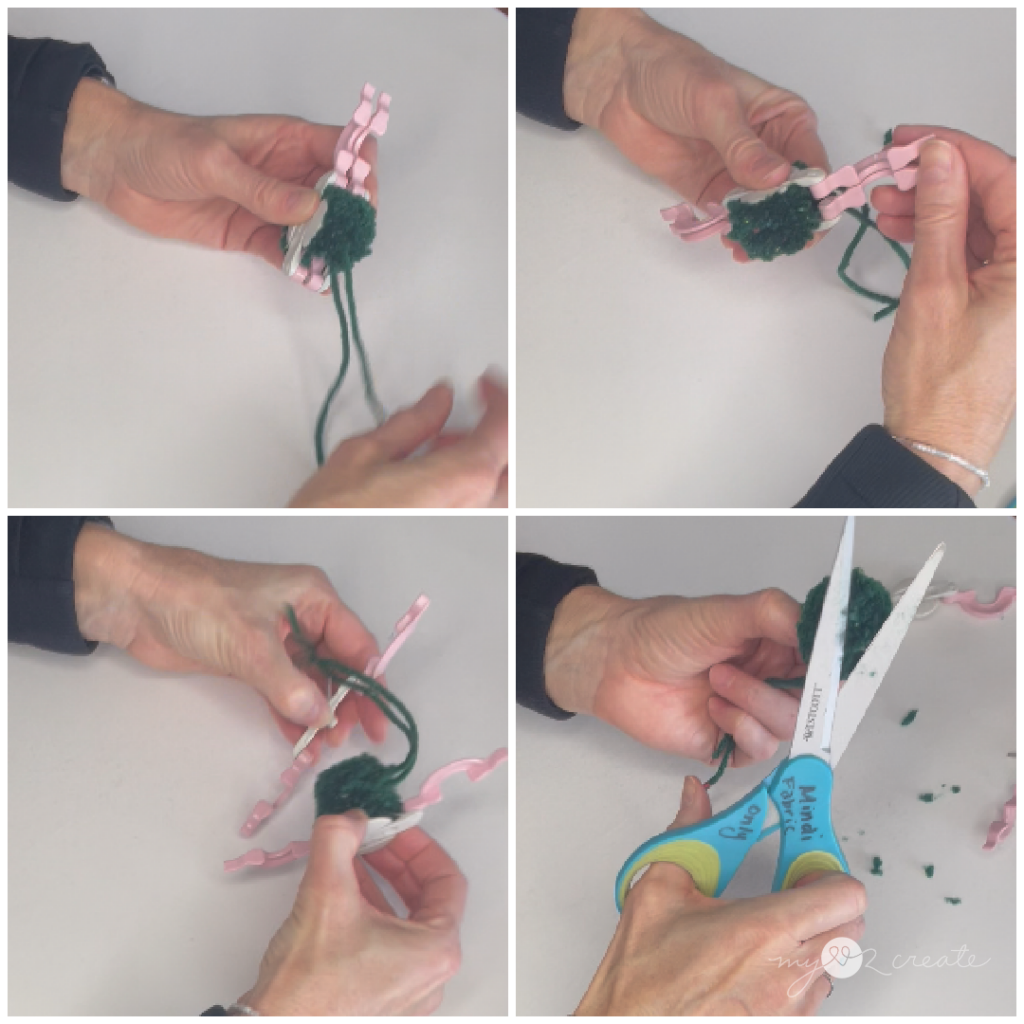
Step 2: Wrap a string of yarn around middle seam and tie a double knot securely into the seam to secure the strings of the pom pom. I like to tie two knots to be safe. 😉
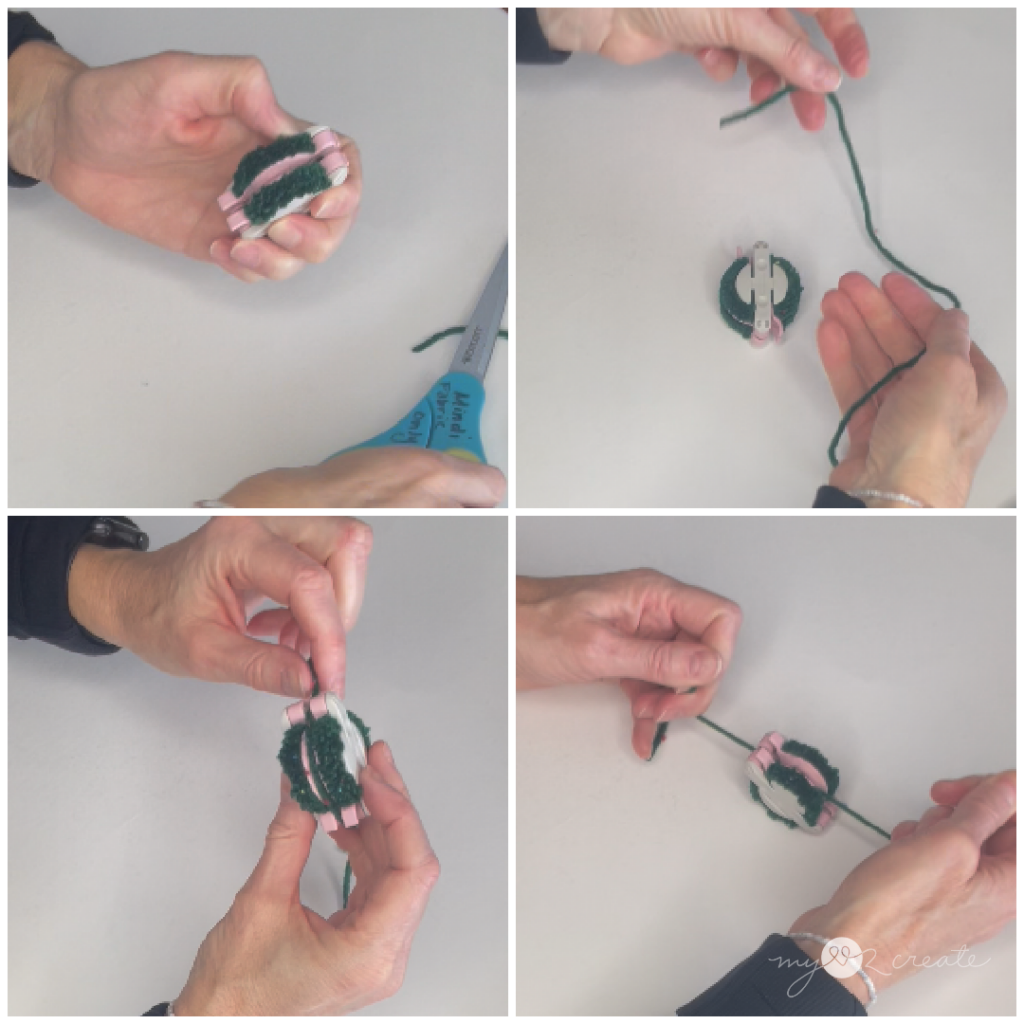
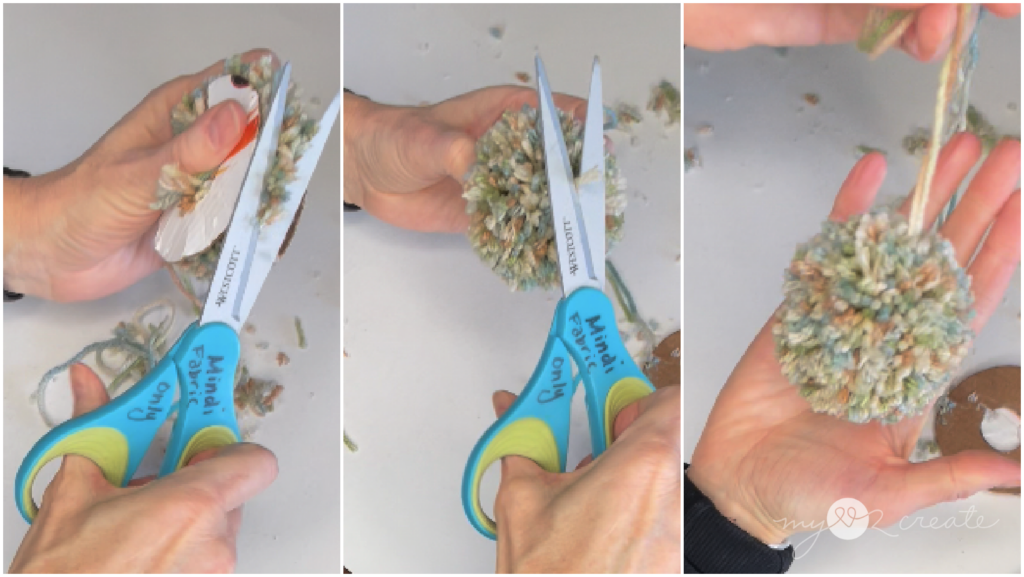
Step 3: Remove the pom pom from the pom pom maker and trim any stray yarn pieces to make a round circle. All finished! You now have a cute pom pom!
How to make a Pom Pom without a pom pom maker
Check out my quick YouTube shorts video here.
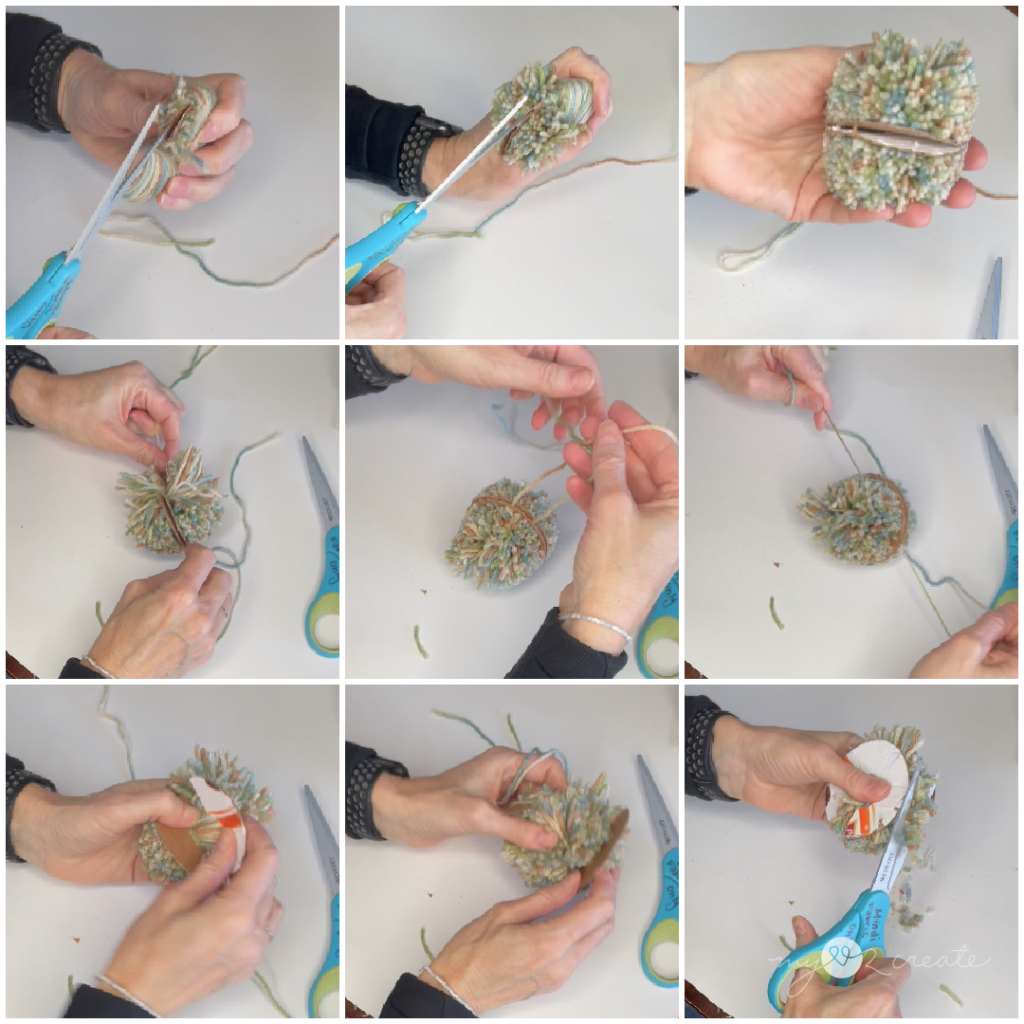
Step 1: Cut two pom pom circles out of cardboard with a big circle (use a cup or jar, this will be the size of your pom pom, and a small circle (like a quarter) this will be the center. Cut a channel on each circle. Place the two pieces of cardboard together and start wrapping your yarn around the cardboard. Do not wrap too tight, keep it semi loose, but not too loose. Wrap until you have a the yarn very thick. The thicker you wrap the more full your pom pom.

Step 2: Cut the yarn down the center by placing your sharp scissors between the two pieces of cardboard. Cut all the way around. Place a long piece of yarn about 6 inches over the open section and wrap it around between the two pieces of card board. Tie a double knot securely into the seam which will secure the strings of the pom pom. I like to do two knots for good measure.
Step 3: Remove the cardboard and use the two pieces of cardboard placed over opposite sides of your pom pom and trim off excess yarn, then position the cardboard on the other sides of the pom pom to sandwich it and trim to make a perfect circle! Remove the cardboard and trim any stray strands and you are done. You made a perfect pom pom, nice job!
Once you have your pom poms made and your shamrocks and words cut. NOW we are ready to make our garland. I like to lay out my supplies in the order of how I am going to thread my garland. Then using a yarn needle I threaded the string through the holes and right through the middle of my pom pom to make the garland just how I wanted it.
This is where you can get creative people, make it any way your little heart desires!

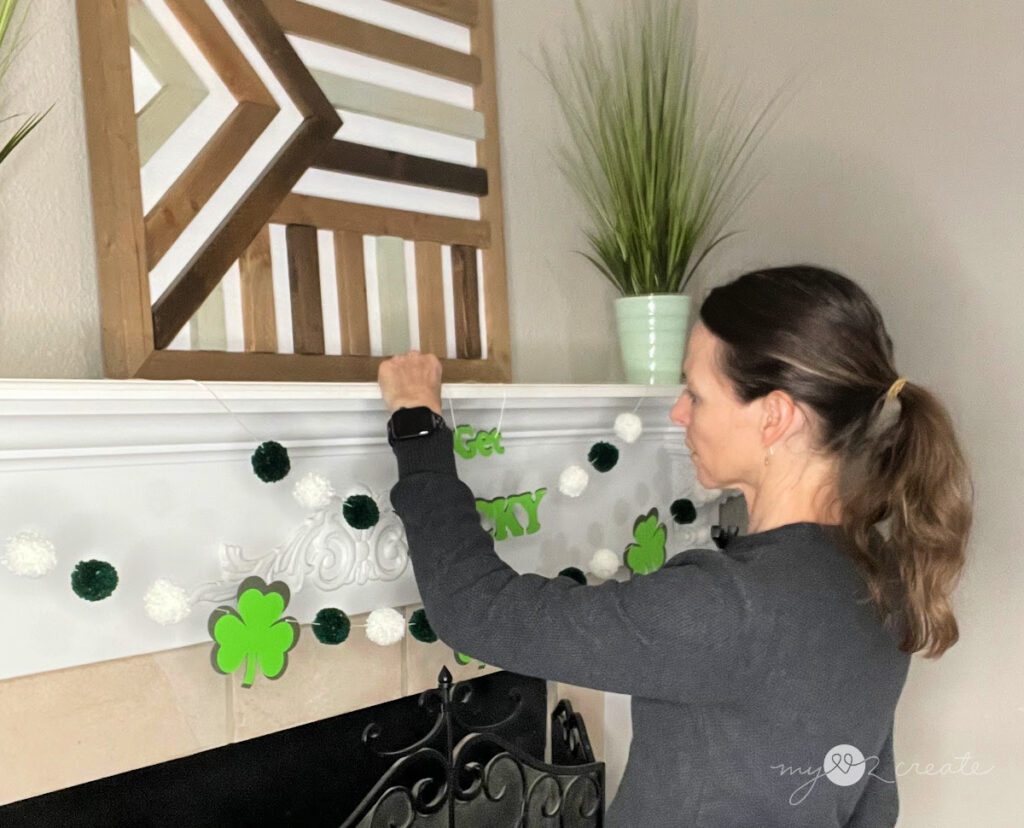
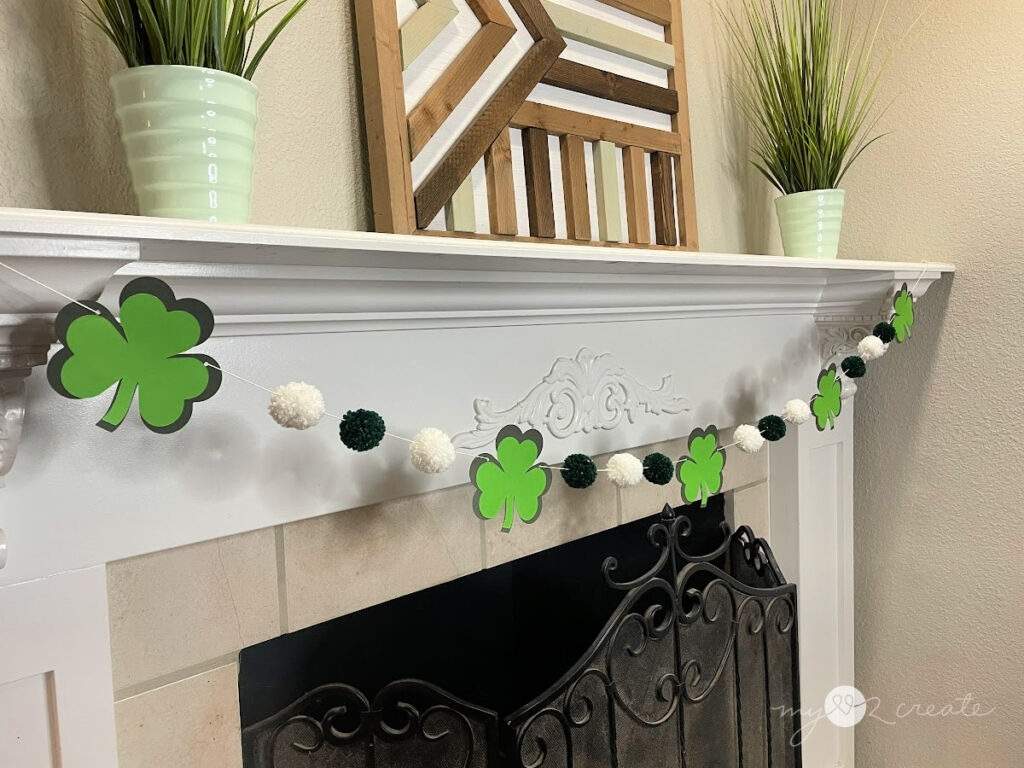
I hung my garland on my fireplace and used regular scotch tape to secure it. At first I was going to put “get lucky” together on one string, but decided I might like “get” better on it’s own…so I went with it.
I mean it’s a little different…but different is good.
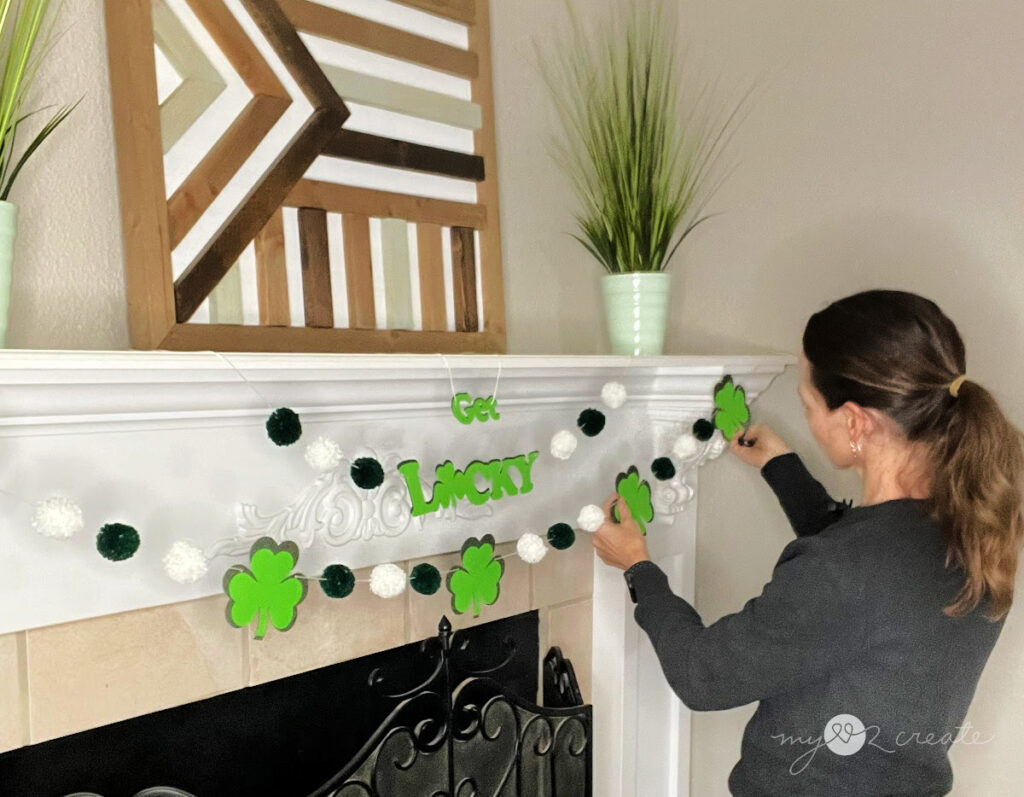
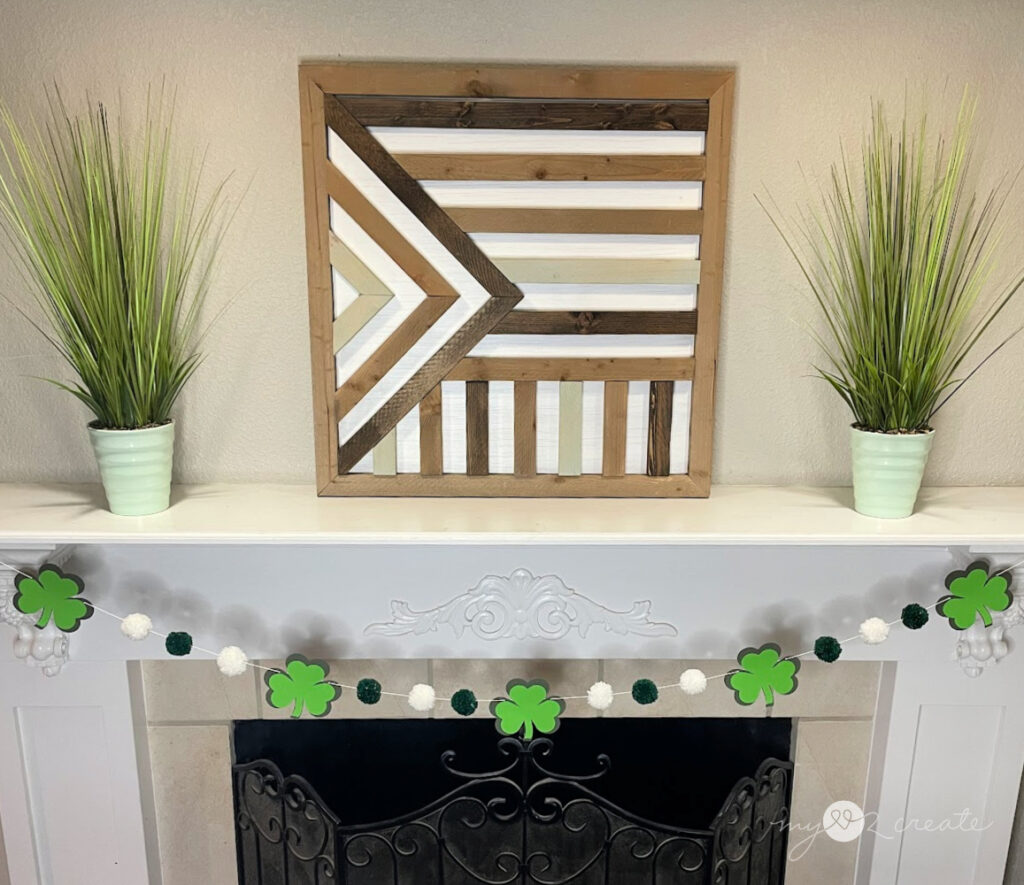
Once I hung it I had to do some adjusting on the string to get the spacing just right, and then I was done! A fun project to get us in the “lucky” mood.
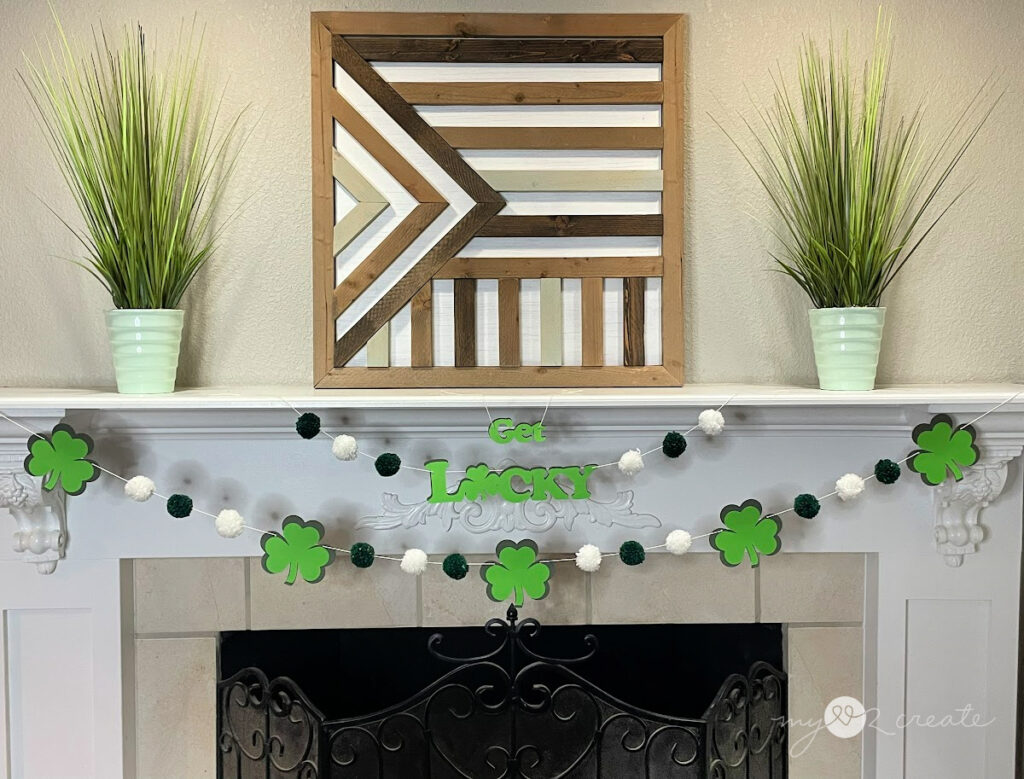
I think it goes pretty well with my green plants and my Easy Wooden Wall Art.
And…just in case you are wondering…does Mindi bust out singing Daft Punk’s “Get Lucky” every time she walks into the room now?
The answer is. YES. Yes she does…and dancing may also occur.
So, if you are not up for these random singing and dancing fits…I am warning you they likely will occur…if you know the song. Then you can opt for a simpler version, without the words.
Of course, get lucky subliminal messages and dance parties might be exactly what you want. The choice is yours!

And that’s a wrap folks!! I hope you get lucky, uh I mean get crafty! I would LOVE to see what you create and please follow along for more great projects!