Hanging Storage Shelf
Hey Friends!
I wanted to take a second and thank you all for your amazing and support! It really means a lot to me to know you are here, reading my posts, and taking the time to comment. 🙂 You are the best, thank you so much, you are the reason I do this blog!!
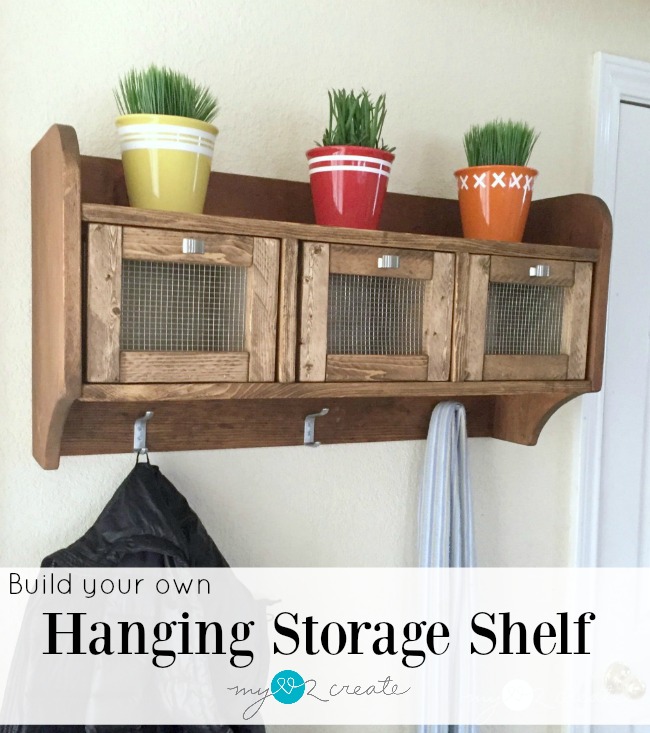
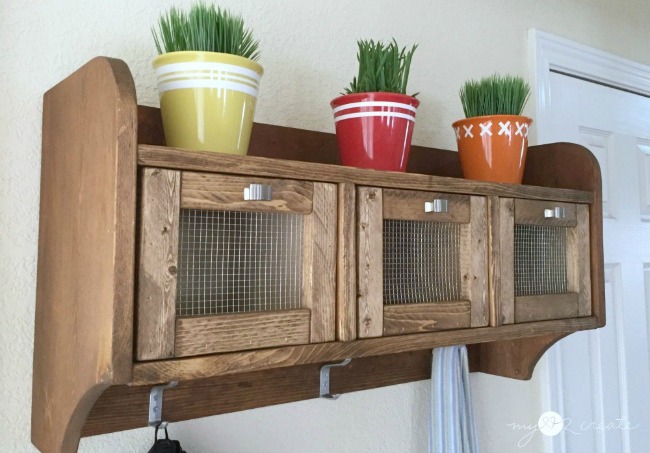
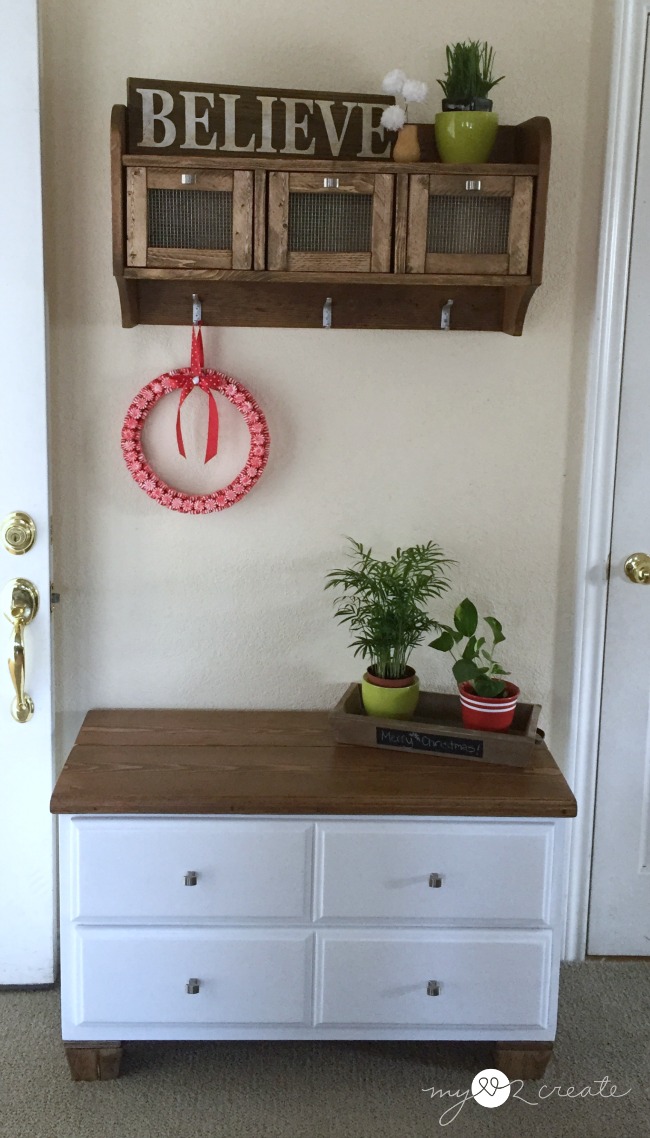
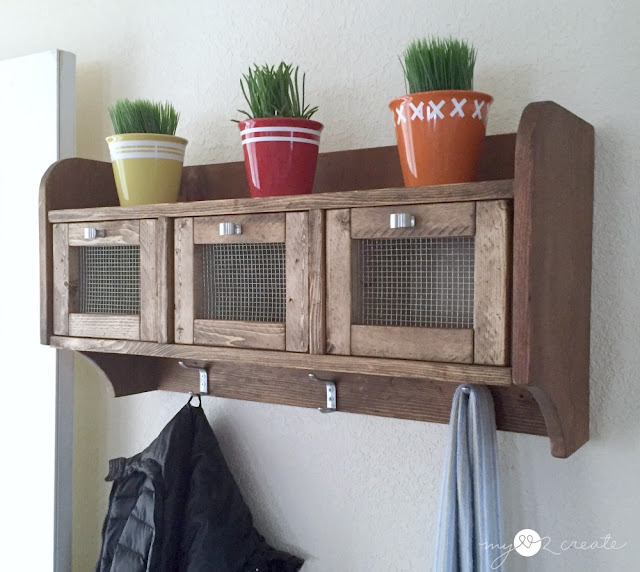
Today I am super excited to share an awesome Hanging Storage Shelf with you!
Isn’t it cute!! I am LOVING it!
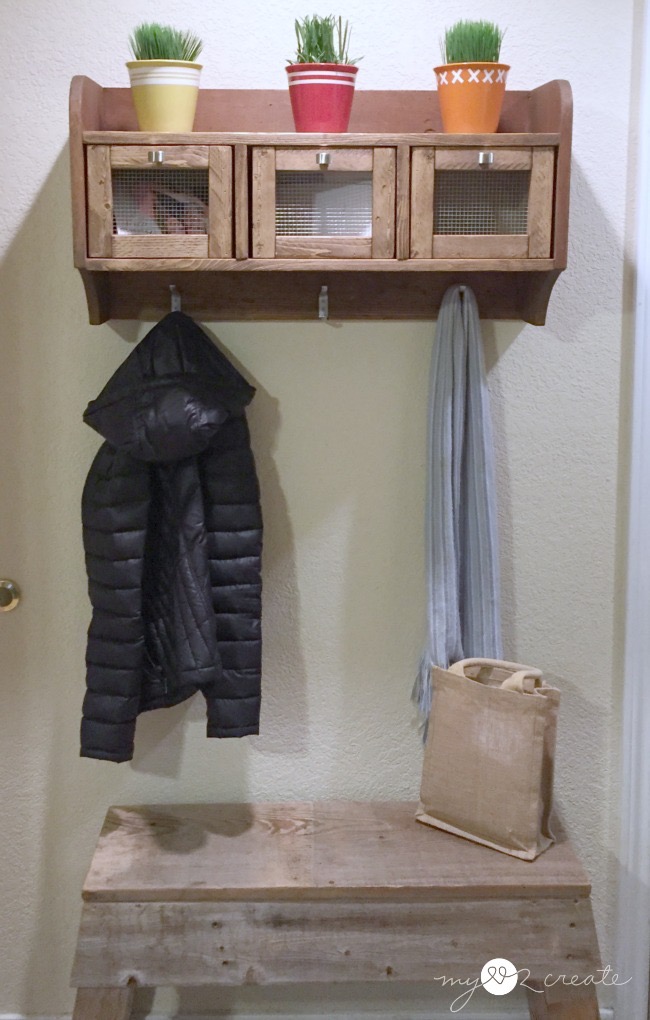
Do you remember at the beginning of this year when I did my Hall Closet Makeover? It has been awesome and I am so glad I have it. Even though it is much more efficient, it is still a small closet, and with 8 people it can get kind of tight, especially in the winter. Which is why (with no mudroom area) I decided I needed a small entry way hanging storage shelf and bench area.
For some reason I love storage shelves, they just make me happy. I mean, they can be decorated super cute, hide hold things in the bins, and take care of things that need to hang. I love useful things! Not only is this shelf great for the entry way, but it would also be perfect in a bathroom, or a bedroom.
This shelf was actually inspired by the Pottery Barn Wade Shelf, which I have been eyeing for a long time. Do you want to know what the best part is? I built mine for FREE! 🙂
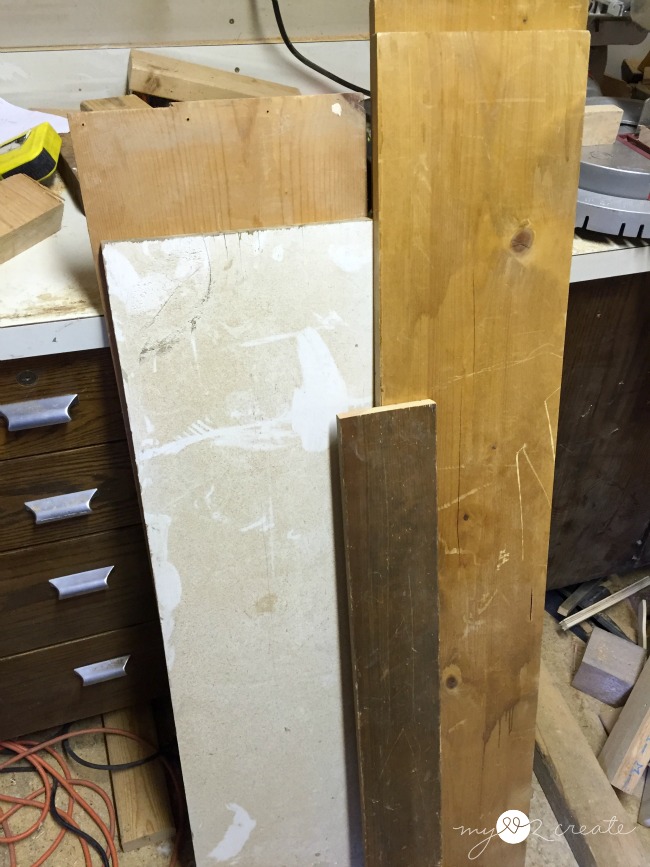
These are the boards I used to make my shelf. All of them are reclaimed/scrap wood I have collected for free from craig’s list, except that front brown board it is from my boys room makeover, when I ripped out the closet. I am personal BFF’s with the free section. 🙂 For the bins I simply used my scrap wood from previous projects, I am endlessly clawing my way through scraps!
I started building things with free wood because I couldn’t afford to buy new wood. In fact I prefer to do it this way, and only buy wood when I have to or need to. I would estimate this shelf would cost around $60 to $70 dollars if you had to buy the wood new, which is still WAY cheaper than PB!
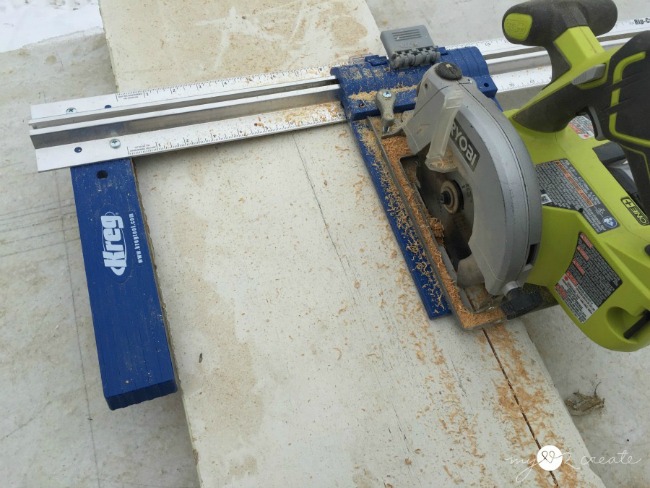
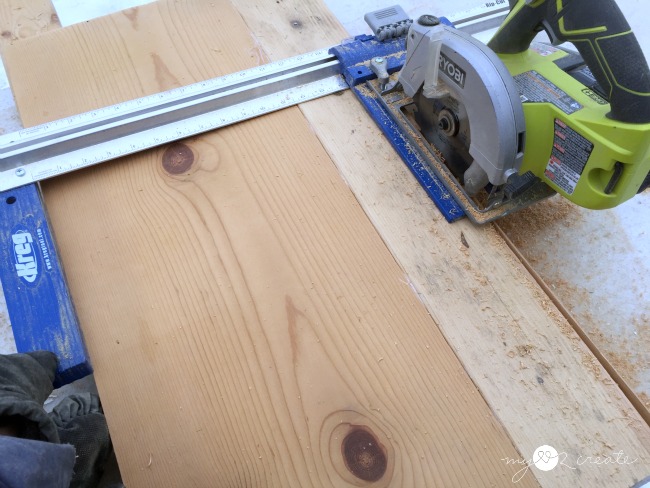
I used my Kreg Rip-Cut and Ryobi Circular Saw
(serious love right here) to do most of the cutting for this project since I don’t own a table saw. This is me ripping my 1×12 to 10” wide for making my sides of the shelf.
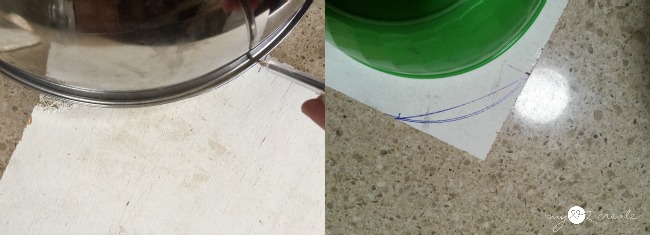
Once I had it ripped I marked where I wanted my curves, and used bowls to trace the semi circles. I tried different size bowls to get the shape I wanted.
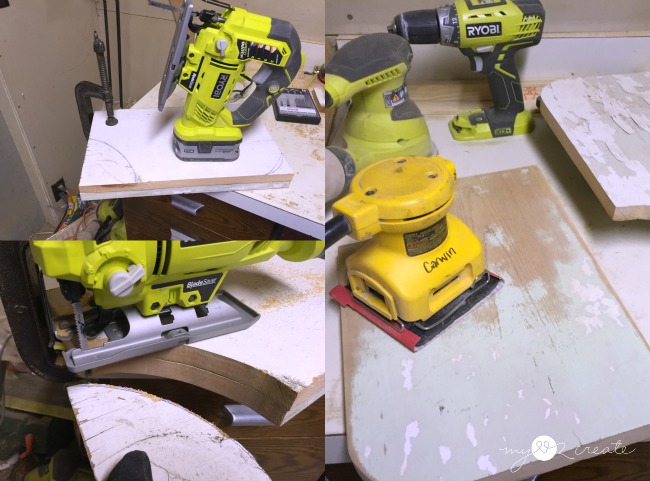
Then I used my Ryobi Jig Saw to cut out my semi circles. The wood I used for my sides was good wood, but had two coats of paint on it. Ugh! I sanded for a LONG time to get it stain ready.
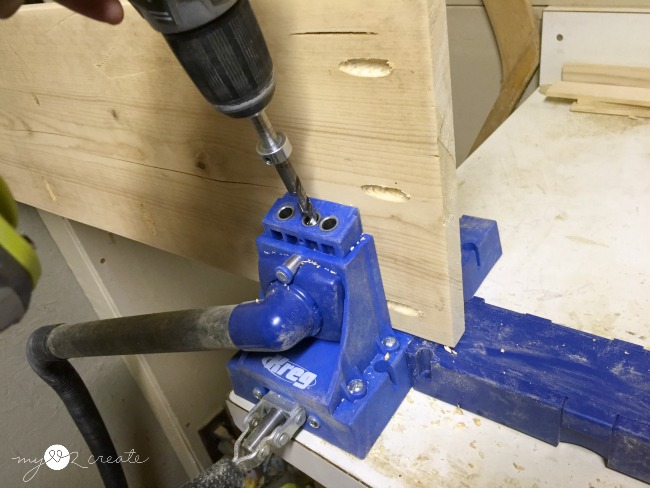
With my Kreg K5 Pocket-Hole Jig I drilled lots of pocket holes, for building the shelf.
For the back piece of the shelf I attached two boards together with pocket holes and then trimmed it to the sized I needed with my Rip-Cut.
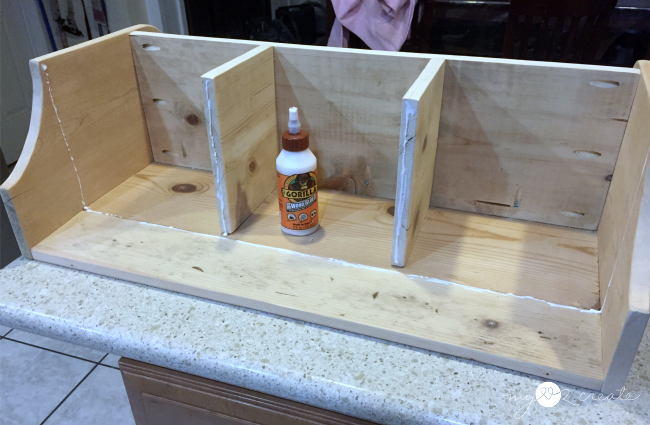
Then I just put it together with glue and pocket hole screws, and some finish nails.
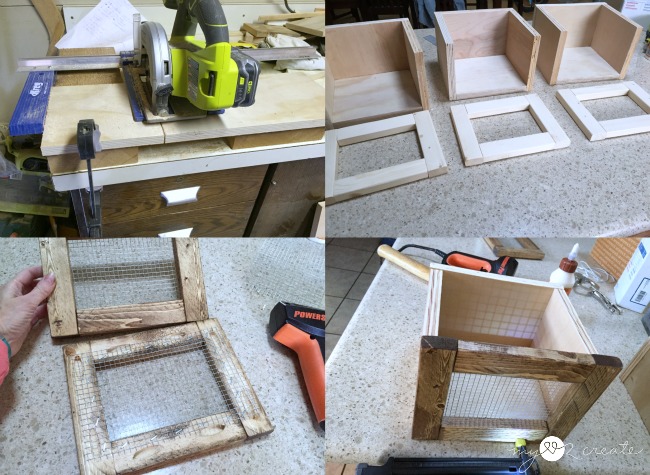
I had a lot of scrap 3/4” plywood so I used it for the bins, but I personally would recommend 1/2” plywood, it is cheaper and will make the inside of your bins a little bigger.
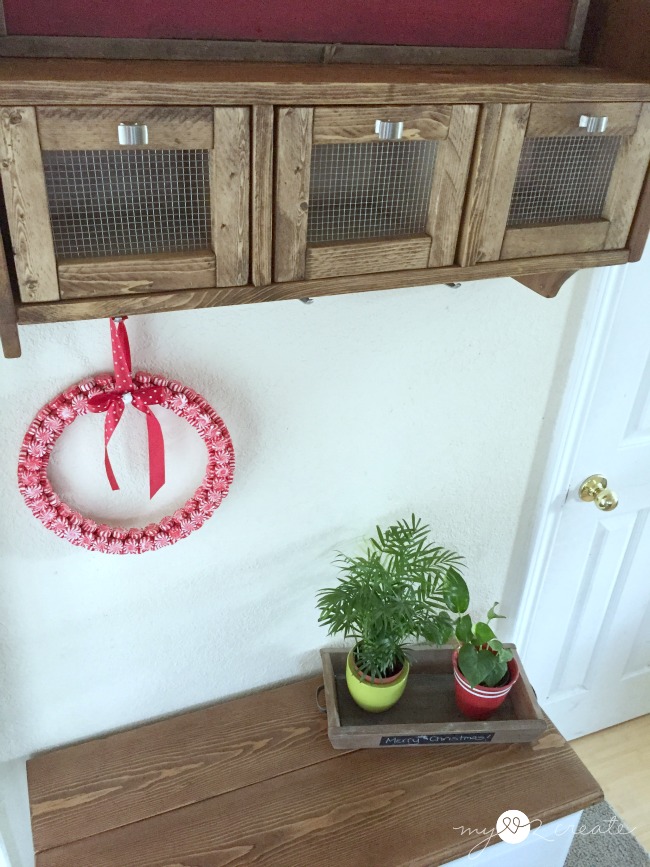
Since I like the industrial look of metal I added hardware cloth for an open look to the front of the bins, but you could easily do a solid wood front. I have done this method in my How to Extend a Dresser post as well as my Master closet makeover.
I ended up staining it with special walnut stain and adding a couple coats of poly. The pulls were taken from a dresser that was ready to be tossed, and the hooks were from a box of hardware I had gotten at a garage sale for super cheap a few years back.
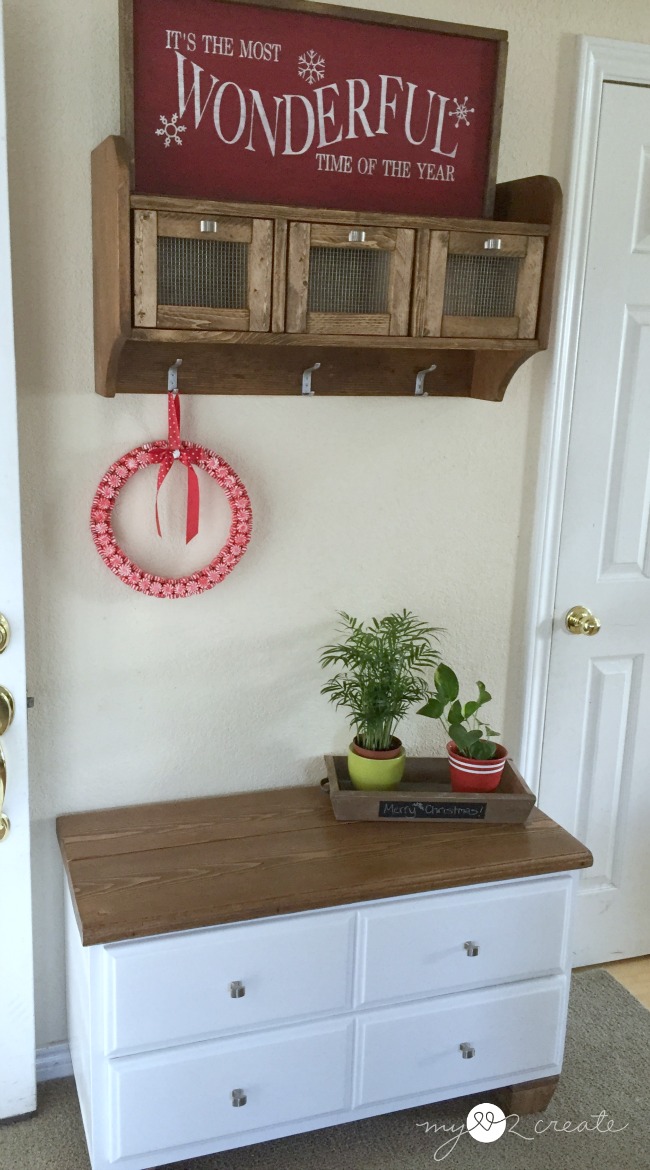
Yesterday I finished the bench to go under it, and I will be sharing that tomorrow at My Repurposed Life.
Now, if I could just figure out how I want to decorate it…
I am sure I will come up with something…and the kids will be filling up those drawers and using the hooks in no time!
I am sharing the FREE building plans for this Hanging Storage Shelf with you over at BuildSomething.com! This is great new source for building plans and an awesome community. You can share you own plans there too! So please head on over and check out my plans, I would really appreciate it! I worked super hard on them so you can build your own!
Thanks for stopping by!
Hugs!
Mindi
I will be linking to these parties and Savvy Southern Style


Girl, you have some mad woodworking skills and creativity! I love this! You have inspired me to create something similar in my home. Thanks so much for sharing. You were my neighbor at Think Tank Thursday.
Wow! I'm impressed! It looks amazing and yes! girl, you have some serious skills! I was once a shelfaholic… I took a few down… but I still LOVE them 🙂
Wow! I'm impressed! It looks amazing and yes! girl, you have some serious skills! I was once a shelfaholic… I took a few down… but I still LOVE them 🙂
Love you're shelf. I really need to get over my fear of power tools. You inspire me!
Another amazing project, Mindi! I love the industrial look you gave them and hey, that wreath is the cutest! 😉
Wow you did an awesome job! I love shelves with drawers. I like that you used wire on the drawers, and the rustic charm. You did a fantastic job on your building plans too thanks for sharing them. Pinning!
Hi, Mindi! Ohmigosh that's cute! I love the rustic look but with all the sophisticated details. Really cool project!!!
MindiMindi,
I love your hanging storage shelf so much. You did a great job. My little house doesn't have a spot for something like this, but I can see that it would be so useful and handy.
You've been so busy lately… I feel like such a slacker !!!
gail
This turned out fantastic! I always get intimidated by wood projects but you make it look easy. Thanks!
wow love this hanging storage shelf! Such a great diy tute so now we can all make one!
AH-mazing!!! Absolutely love the reclaimed wood aspect! Thank you so much for sharing with us at the Creative Circle link party 🙂
Wow, this is awesome! Now to get my husband to make it. 😉
Love your shelf! It would work perfectly in my kids bathroom.
I love this shelf SO much! I can't even explain it, lol. You did a fabulous job!
I absolutely love this!! Thanks for sharing it at Talk of the Town – I'm giving you a shout-out on Facebook – https://www.facebook.com/KnickofTime