Happily Ever After Sign
Last summer (pre-blogging days) I made the cutest sign for a friends wedding. I loved the simple phrase and how easy it was to make. I would love to show it to you….but I forgot to take a picture!
Ugh! So…..
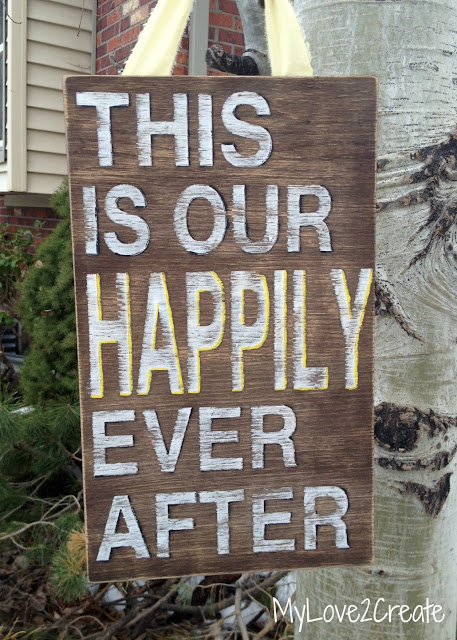
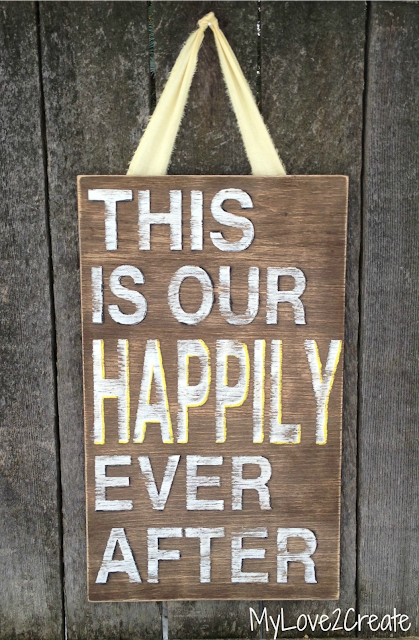
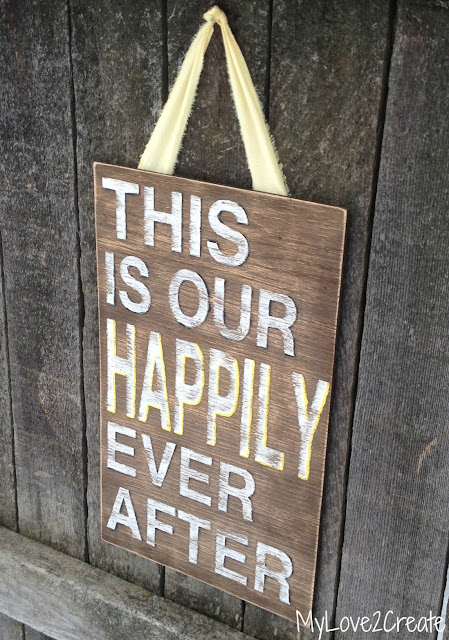
I made another one! I actually made it because I wanted one…and I made it totally different, but I love how it turned out.
I feel like it should be surrounded by family pictures in a collage, that is after all, what happily ever after is about…FAMILY! Not only do I have an amazing husband who is so sweet and puts up with me, but I also have the six best children in the world, and I couldn’t be more blessed!
Ok, sorry for getting all sappy….
Lets see how I banged out this fun sign in less than two hours.
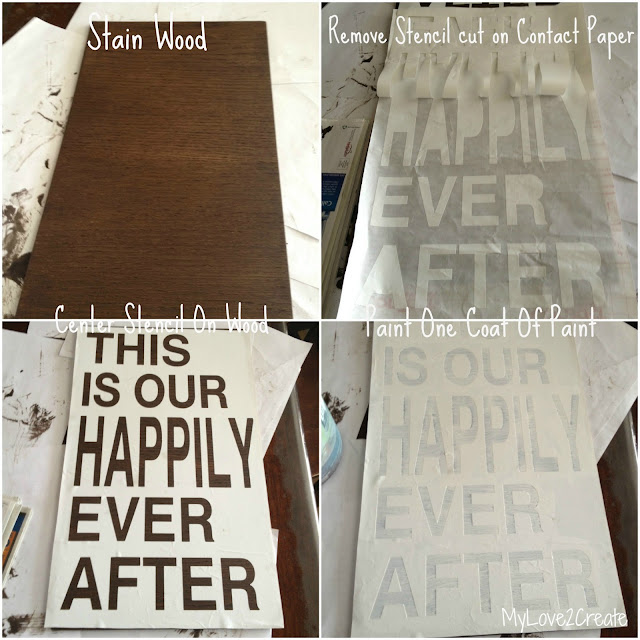
I found a piece of scrap wood in my shed, 1/4 in ply wood, and cut it to just bigger than my stencil. Then I followed the steps in the above pictures. I used Rust-o-leum’s Dark Walnut stain, one coat.
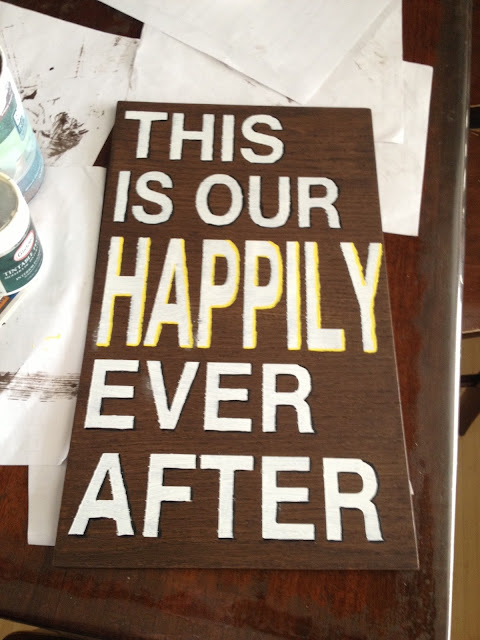
When the paint was still wet I removed the stencil. If you look closely you will notice it was not perfect, the paint had bled through in several places. I knew this would happen….
But I didn’t care! Why?
Well because: Number 1, I was going to shadow the letters….
This made a difference in covering up some of the paint that bled through. If you will notice I shadowed all the words in black paint, and at the last minute I decided to do “happily” in yellow.
And reason number 2, I was going to distress the sign, and then you wouldn’t even notice…
If you want crisp clean lines you can follow my tutorial Here.
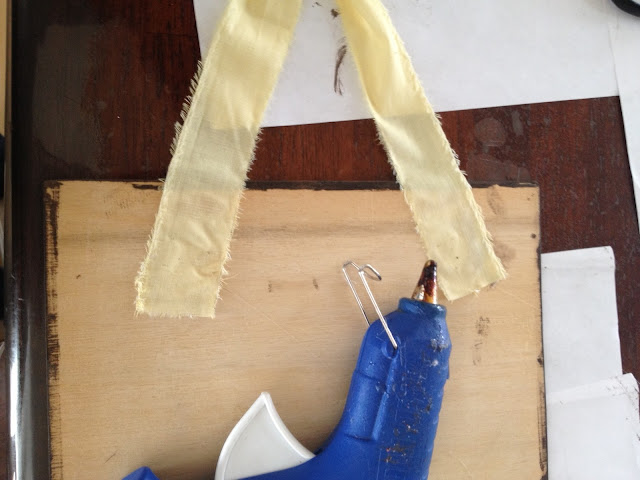
To complement my yellow shadowing I got a scrap of yellow fabric and tore it to get a frayed look. Then I tied a knot in the middle and hot glued the fabric to the back of the board! (note: if you use a heavy board you may need extra support, this board was super light)
I sanded it down really well and….DONE! A quick nap time project that really makes me happy!
It makes a great wedding gift, or even could be use as wedding decor! But, it will also look great in my bedroom, which is where it is going to live.
Do you see the snow? Apparently Colorado decided that March was the month to dump it…oh, how I long for SPRING!
Mindi
I will be linking to these parties.





LOVE this! great wedding gift for sure…or just to keep for yourself
Looks great! And I love the shadowing!
I so love this!! Ok first off I want to say that you are amazing! I thought that you had six little ones but I wasn't sure! The fact that you can bang out any project is inspiring to me! You rock! I come from a family of 6 kids so I know how busy it is! This sign is perfect…I will have to do something like this…maybe for my garden?!??!? Great work friend!!!!
I love this! Your styling is awesome and this saying is too. Pinned… and added your blog to my sidebar so I can keep up with you from now on! Hope you have a great rest of the week 🙂
That is so cute! I love it!
LOVE this!!! Pinned it and will be attempting to make my own.
Thanks for sharing!
Julie
http://www.thevintagebarnhome.com
Love this! You make it look so easy!
I just wanted to let you know that I nominated you for a Liebster Award. Check out my blog for me details.
Krista @ joyfulhealthyeats
This is just adorable! Love it!
Jenna @ http://rainonatinroof.com
SO so cute! I love it. Visiting from Fireflies and Jellybeans linky party. 🙂
Ooooh I LOVE this so much Mindi!!! Pinning 🙂
xo, Tanya
twelveOeight
your sign turned out so perfect. it really looks like it was weathered out doors. perfectly authentic!
I really like that! Such a sweet sentiment. I would love to make one of those but always worry about it coming out well.
So cute!! Really love it!
Very nice, andi
Great sign. I love the look. Please consider coming over to The Patriotic Pam and linking this up at my weekend link party. I know many of my readers that would love to see this tutorial.
Pam @ The Patriotic Pam
Really cute, Mindi! I love that phrase! The weather out look is perfect!
Mindi, this is so cute. I may need to make one for outside. Thank you for sharing. Following via twitter and pinterest.
Leslie
http://www.thememorynest.blogspot.com
I love this. It's super classy but still has a homey feeling to it. Super cute.
http://www.amouseinmykitchen.com
really cute! what type of stencil cutter do you have? I still don't have one, but with all these great projects… I'm getting more and more tempted! Little Bit from http://www.DecorateWithaLittleBit.com
lOVE THIS! Featured it tonight at Monday Funday!
How sweet! love it. Thanks so much for coming to (link) party with me… I hope you'll come again next week to Super Saturday Show & Tell! http://www.whatscookingwithruthie.com xoxo~ Ruthie
what a great idea, and it turned out just perfectly!!
What a great saying to post in your home! Thank you for linking up at Fluster's Creative Muster. Hope to see you next week!
Robin @ Fluster Buster
LOVE this sign Mindi! you did a great job my friend. What is the overall size? I've sort of rushed through… I read the opening paragraph… almost made me tear up… but then I just sort of hit the highlights, so if you said how big, forgive me, k? catching you!
gail
ps no-reply blogger here, so you'll have to input my email addy to answer…. sorry.
Mindi…I featured this post this week on The Patriotic Pam. Come check it out….http://www.thepatrioticpam.com/2013/03/wowza-weekend-link-party-5.html!
Congrats!
Pam @ The Patriotic Pam
I love this, it would be the perfect porch decoration. Thank you so much for sharing with Saturday Spotlight last week. I hope you come by today to share more of your awesome creations!
http://angelshomestead.com/
April
I love the sign, the message and the technique! I will be featuring this in my post later today. Have a great day 🙂
Hugs,
Deborah