Dressers Painted in Stripes
I FINALLY finished my boys dressers!
It actually didn’t take me too long once I got started, but then I thought they looked pretty plain with nothing on the top, so I have been having SO much fun doing projects just to put ON their dressers. I know I am crazy but I have had a blast doing it. I will have tutorials for each small little project starting next week!
Now, on to the dressers…
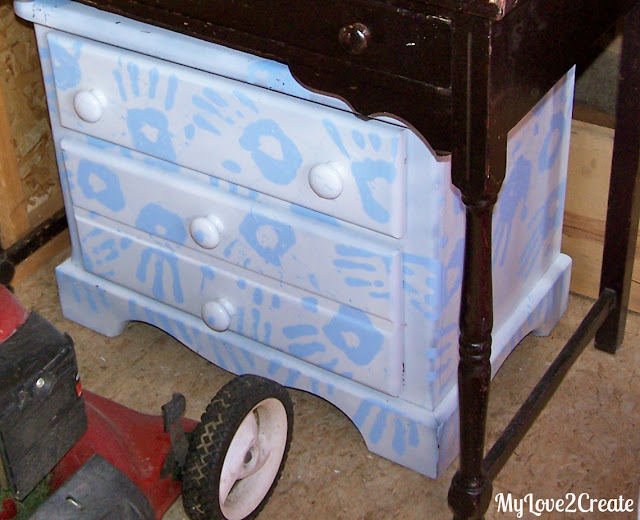
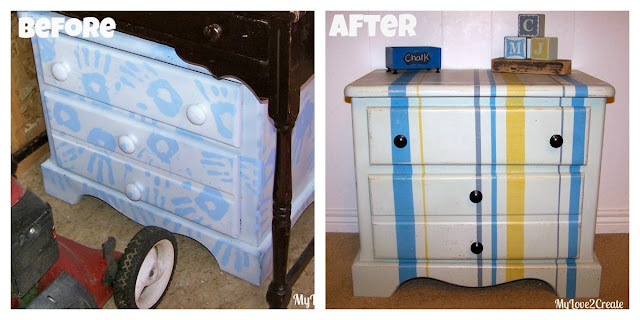
This little night stand I picked up at a garage sale for a few dollars, I believe $3. It has had a home in my shed for over a year now…
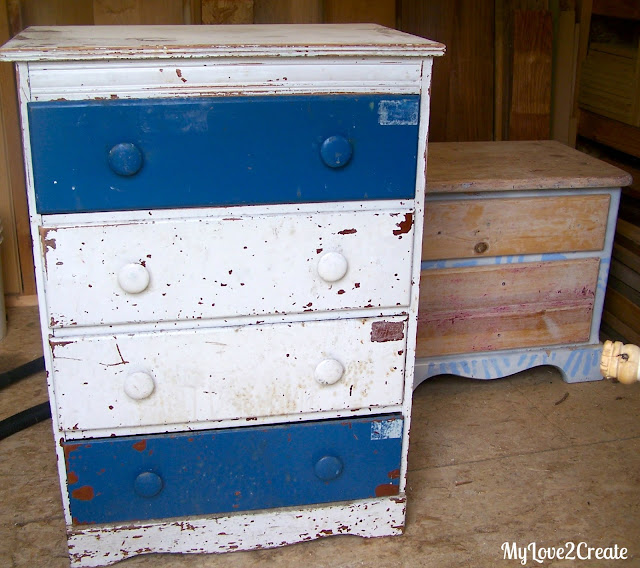
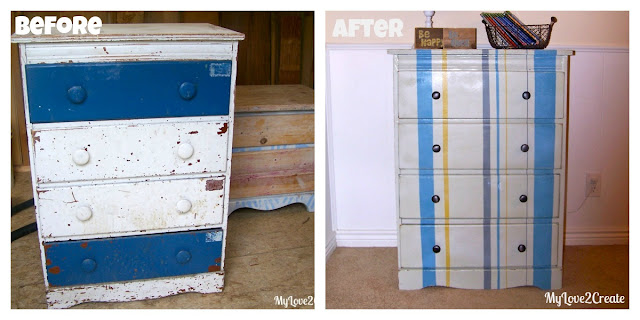
This guy was picked up next to the dumpster one street over from mine, my son I knocked on the door to make sure it was ok to take it, but no answer. The neighbor said it was fine, the guy was throwing it all out (I say all because I got a few other things too, pathetic, I know). That was good enough for me!
You can see the small nightstand in the back ground, I had started stripping it a while ago and this is as far as I got. It had four different layers of paint….ugh!
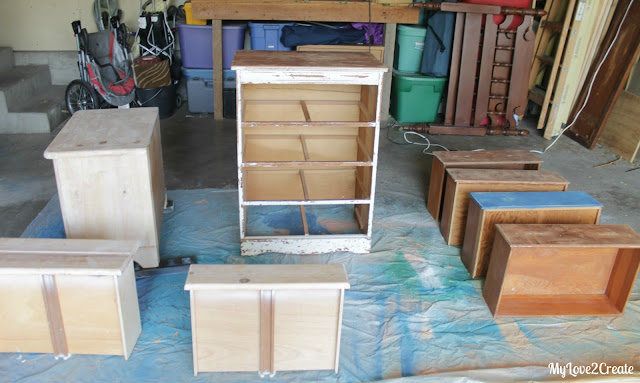
Once I got everything sanded and stripped they went to my garage to get painted. I used an oops paint, of course. I really like the color.
And I forgot to get one with just the base color…oops!
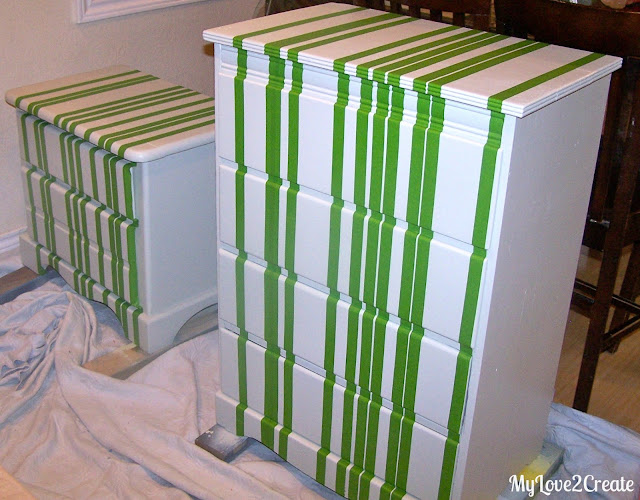
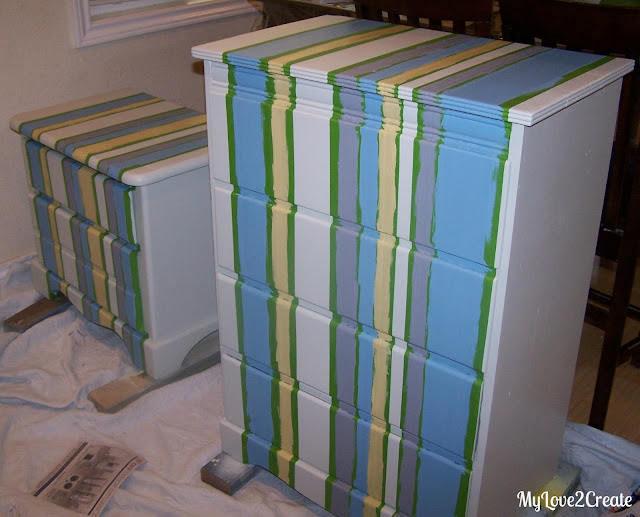
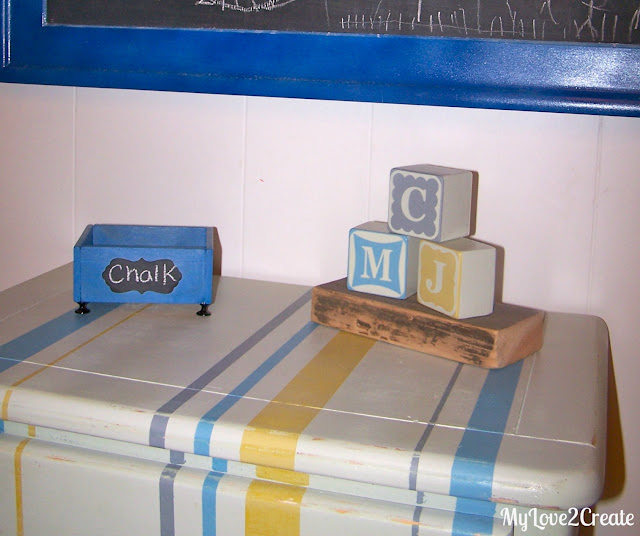
I had wanted to try stripes on these dressers, so I busted out the frog tape and went a little crazy!
Then I found three colors I liked and started to paint, in a random pattern. I decided to do the color pattern the same on both dressers, even if the stripes were different.
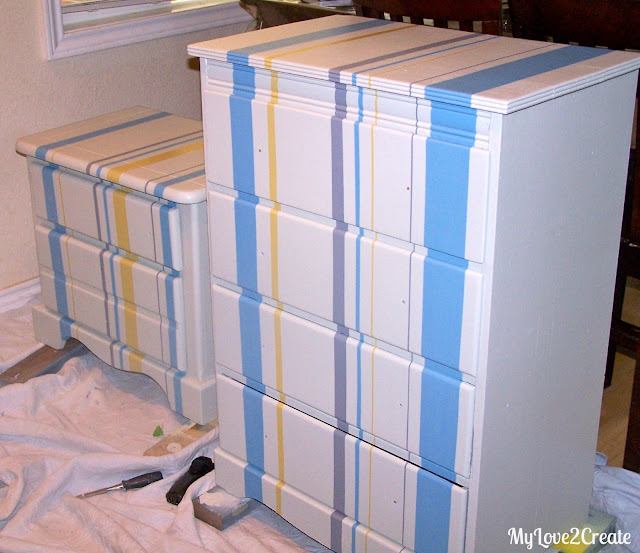
Then I peeled off the tape, and did some touch ups. It was mainly in the spots where the drawers meet the dresser. I was hard to get the tape super sealed in these parts.
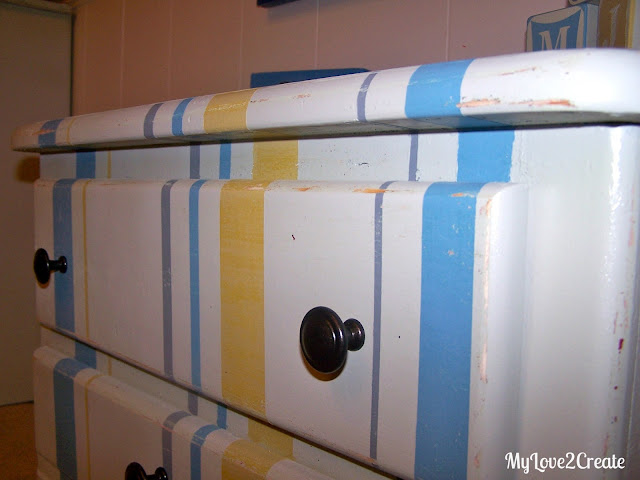
This next step I debated for quite a while. Do I distress or not? I loved the clean sharp lines and thought I should leave it alone, but with little boys I knew that distressing was going to happen anyway…so I did it. Since they are not matching dressers and not made from the same kind of wood they distressed very differently.
The knobs on this dresser I had gotten at the Restore for $1.50, for six knobs! Sa-weet! They were silver, but I spray painted (oil rubbed-bronze) them to match the knobs I got on clearance at Wal-mart as seen on this dresser…
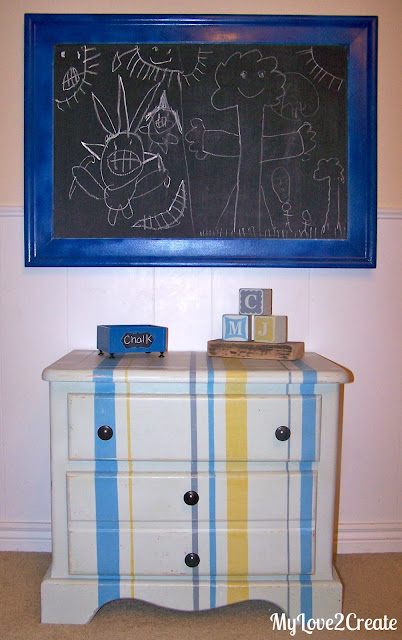
And I was done!
Aren’t they cute! My boys love them and they have been loving all the projects I made for the tops of the dressers. Kids are so great, ANYTHING new is so exciting!
My boys room is in the basement with one small window, so hardly any natural light. So the pictures aren’t as good as I would like…
The big dresser will probably be moved, we are deciding if we want to keep the bunk bed or make two twin beds, plus this room needs a lot of work…
If you follow my blog you might recognize those cute blocks, I posted about them HERE.
Lets see some before and after shots:
I am so happy! It is always fun to create something fun and happy!
Have a great day, stay tuned for more great projects!
Mindi
I will be linking to these parties.







I have been checking all morning to see if this post is up. I love love love the end result. I love that you did on the whole front of the dresser and nightstand. The colors are soo nice. I like the distressing too. Oh Mindi…you are kind of awesome…did you know that?
Hi Mindi: I love how these turned out. The colours are great and I think the distressing was a good idea. I found you through MRL linky party and an now your newest follower. Would love it if you would stop by for a visit when you have time and follow back. Have a great weekend!
Tuula 🙂
Mindi! I love these pieces, and the decor you've adorned them with. Love those little signs too!
great job!
gail
I love the stripes! It looks so cute. What a transformation!
Great job on the dressers Mindi … love the stripes but I don't think I could get that great result. Your boys should love them … they are really nice.
Thanks for stopping by Timeless Treasures and leaving a nice comment on my cabinet make-over.
Blessings,
Audrey Z.
http://audreyzumwalt.blogspot.com/