How to Build a Shower Niche, One Room Challenge Week 4
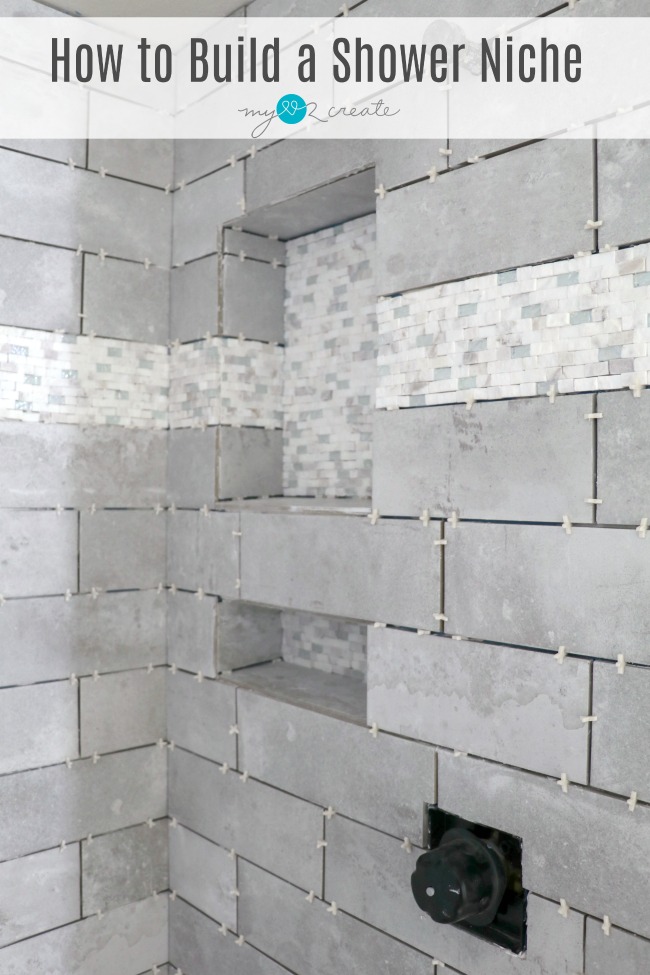
I am super happy with how mine turned out…now it just needs some grout. 😉 All in good time folks!
Last week I showed you How to tile a cement floor, and let me tell you it has been a busy week!
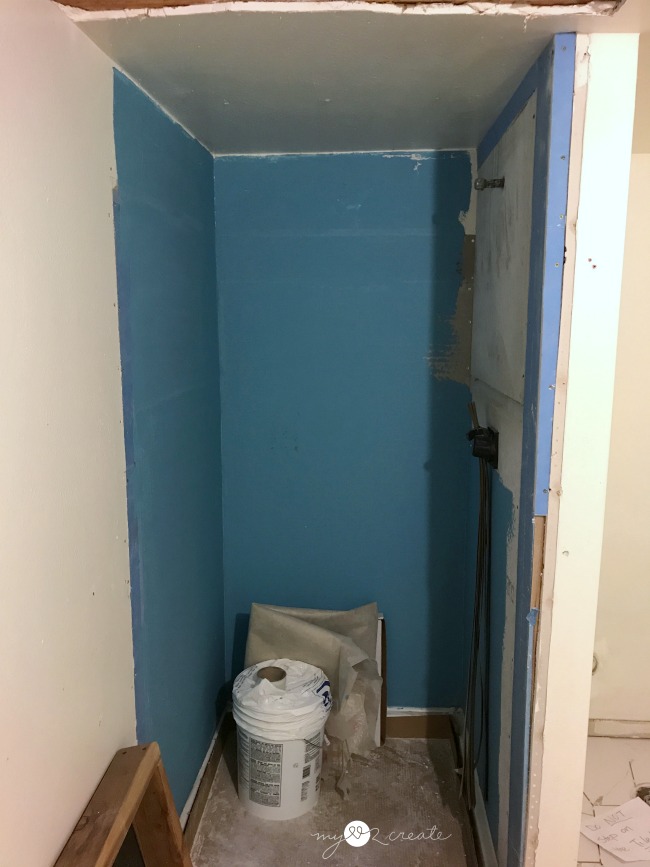
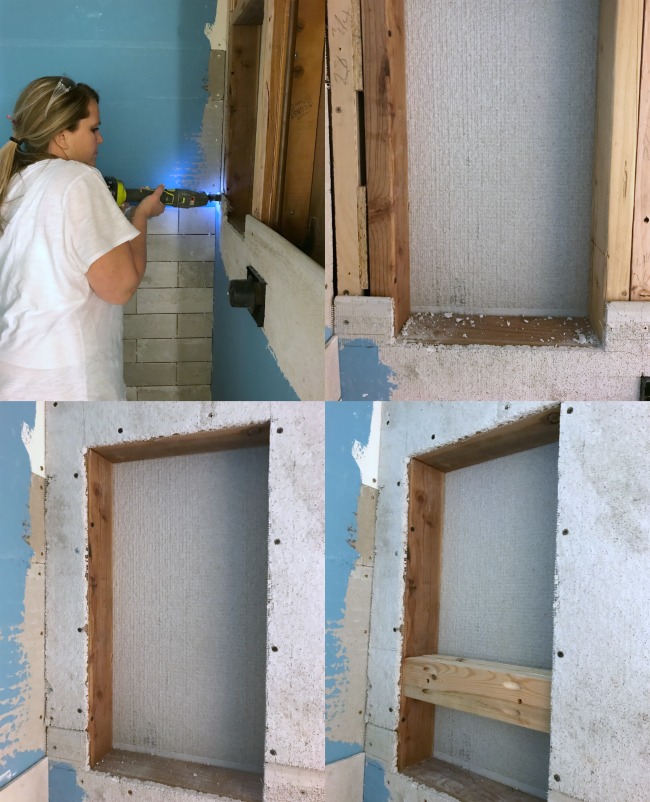
The cement walls were installed and the waterproofing membrane added, but you can see one wall isn’t finished. I really wanted to add a shower niche so my friend that has been helping me left it at this point.
How to Build a Shower Niche
Wood for Framing Niche Into Studs in Shower
1/2” Cement Board
Cement Board Tape or Backer Board Seam Tape Thin Set
Water Proofing Membrane
Tile Spacers
Screws
Miter Saw
Utility Knife
Tape Measure
Tiling Supplies
Multi-tool
Step 1: Measure and mark tiles for Niche placement.
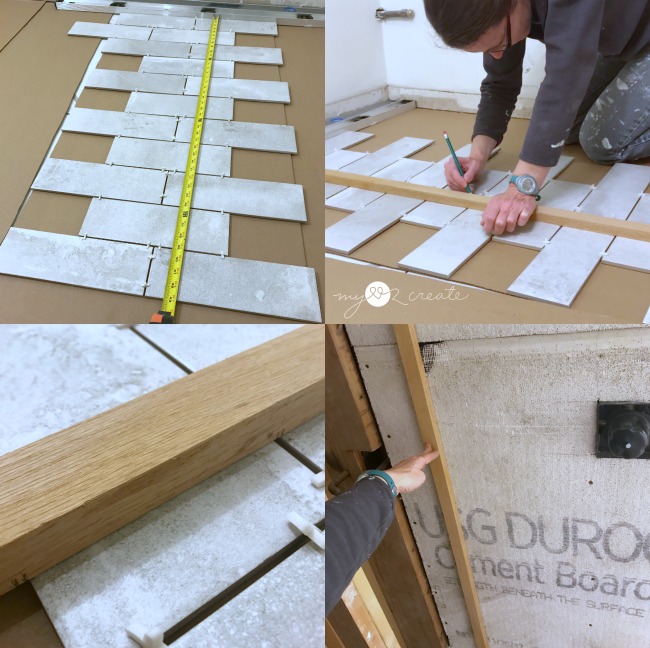
If you want your niche to match up with your tiles, it is nice to know where they will line up so you can make sure you get the placement you want, of course this is optional, but recommended.
Lay your tiles on a flat surface with spacers added to the height you want your niche to start. Then measure and mark on a straight board where each tile begins and ends. Once you have done this you can use the stick to determine where to place you niche in your shower.
You will most likely not have cement board up at this point…so you can measure in the studs.
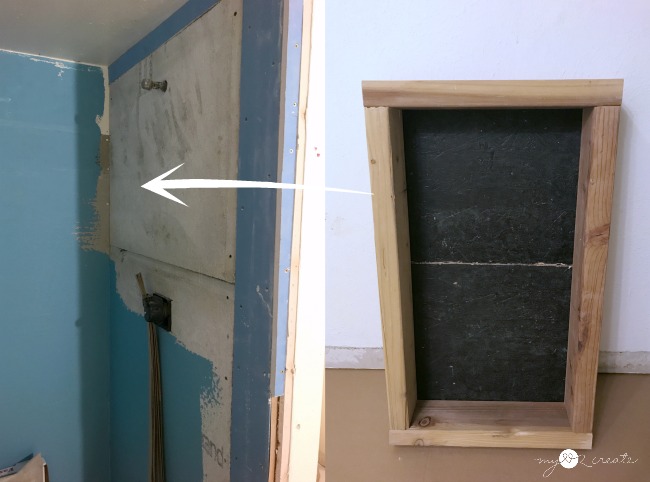
Step 2: Build your Niche to the size you desire.
Step 3: Attach your built niche into the studs.
*When spacing remember to take into account the cement board depth, the tile depth, and also allow for the space between tiles. It takes some brain power but it is doable!
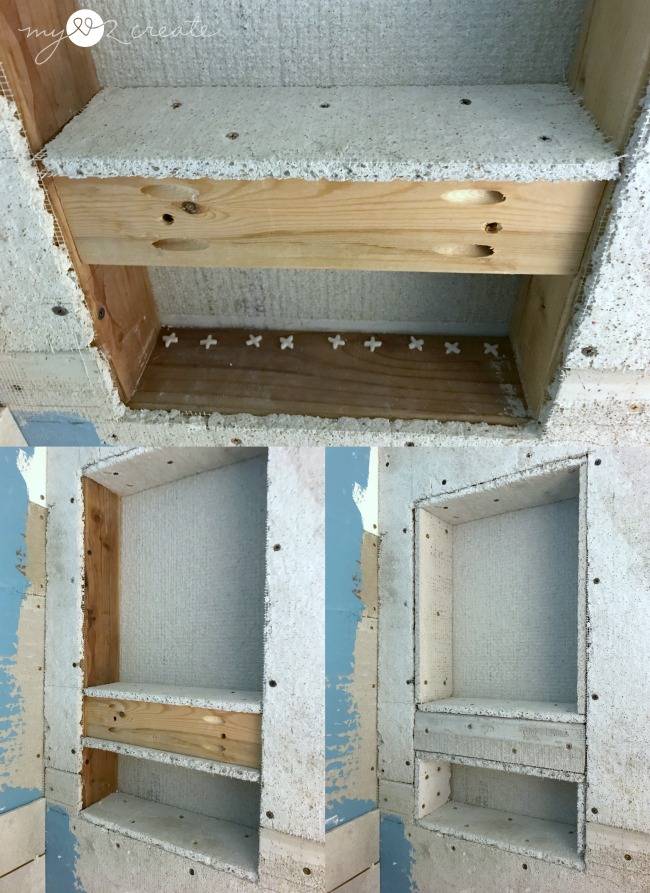
Step 4: Add your Cement board to all sides of your niche.
Measure, cut and attach cement board (or backer board, which ever you are using) to all sides of your niche.
I added the top boards and my shelves first, they will need to be flush with the cement board attached to the wall.
You need to slope your shelf, so the water can run off. In the top photo above you can see I added a row of 1/8” spacers to the back. Then I attached my cement board over it with my screws. This adds a perfect little slope! I did this on both shelves.
Then attach cement board to the sides and the front of your shelf. Remember to slope the sides to match the shelves.
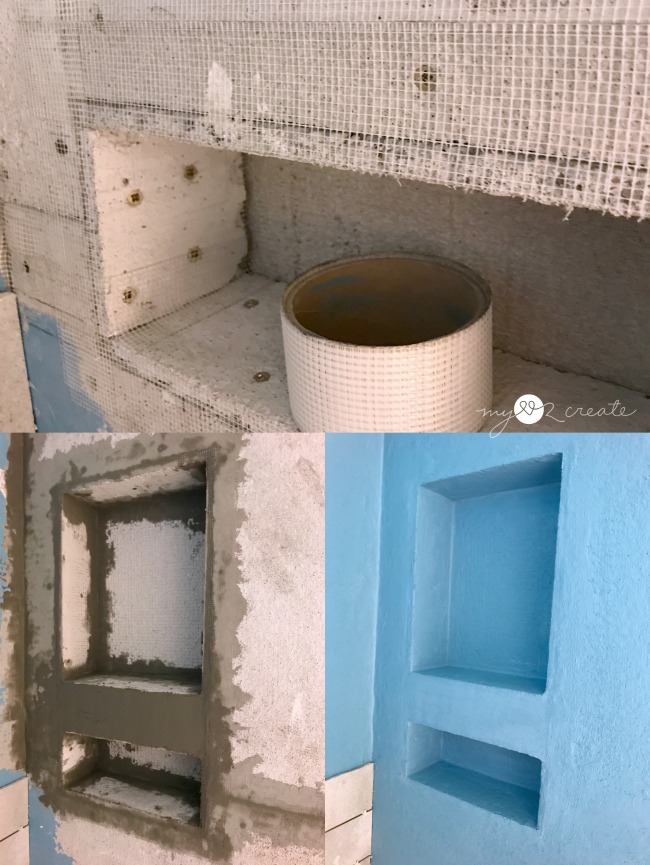
Step 5: Finishing Shower Niche- Tape, thin set, and water proofing membrane.
Step 6: Tile your niche!
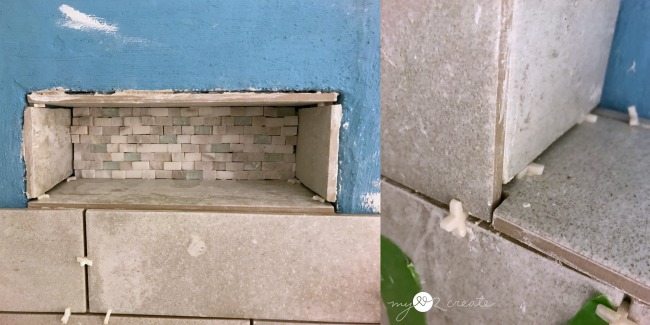
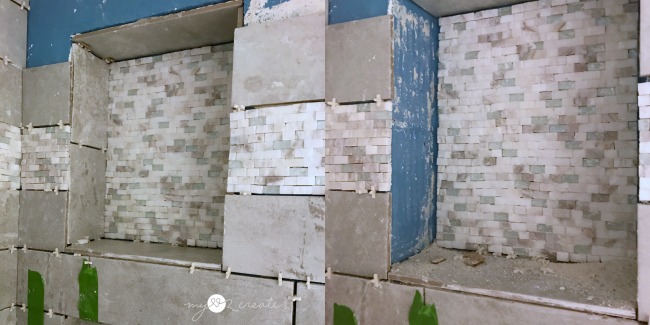
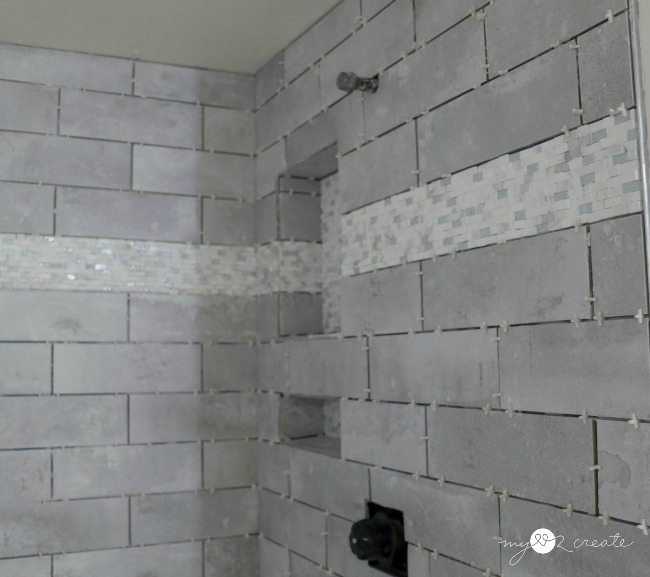
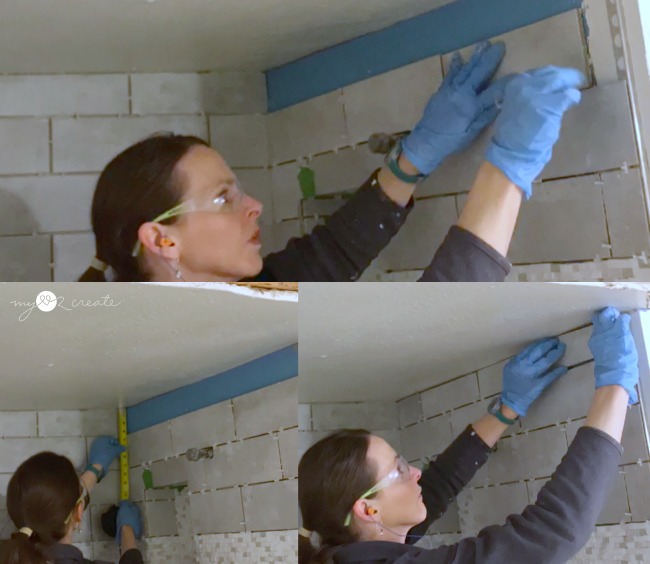
The last step is to tile your niche! I did mine so my tile and grout lines matched up. It wasn’t totally perfect, but I think it will look good once I grout.
I got excited and started tiling my top niche and didn’t even consider wrapping the decorative tile. When I woke up the next morning I realized my mistake…ugh! Luckily I was able to rip out the sides and start over…I had to fix it!
I am SOOOO glad I did! Phew! It would have driven me crazy!
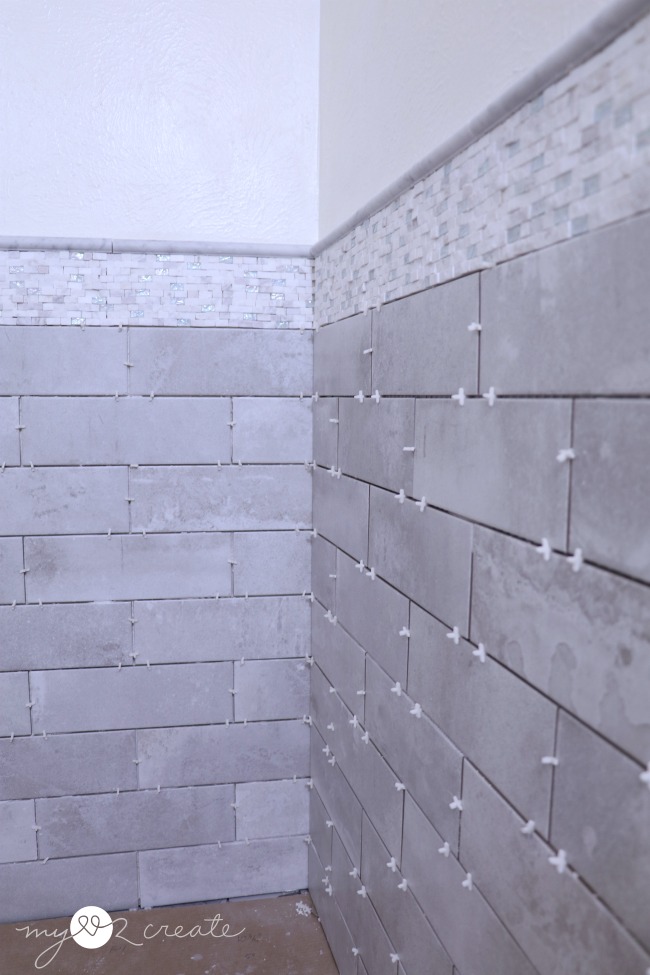
This Stone Creek Tile you guys is AMAZING! I love it, plus it looks better in person! The Mosaic
is perfect with it…just a touch of style! Jeffery Court really knocked it out of the park with their tiles!
Now to show you what was going on while I built the niche…it took a while.
Remember Amy?
Amy offered to come and help me tile, because she is amazing like that! So I got her for almost two days and she was such great help, I have such limited time to work on this bathroom so it meant the world to me! Seriously so grateful for her!!
While I worked on the shower niche…and other things (which I will show you in a minute). Amy knocked out most of my shower! We got pretty cozy in there together! Ha ha! This is not a big space!
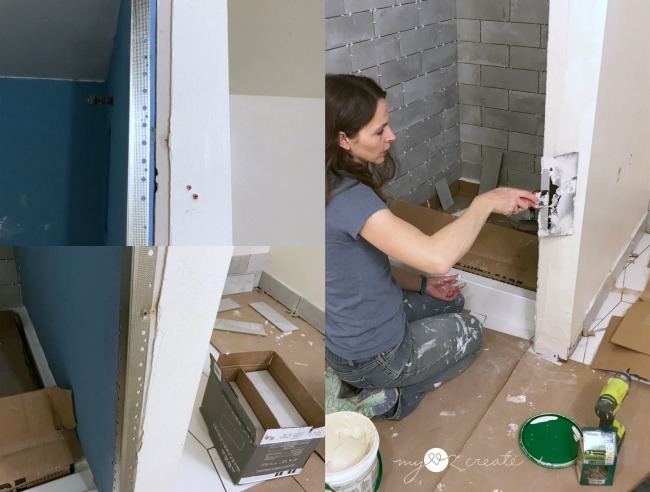
In order to add the ends of the shower tiles with the metal edge I needed to fix the wall. I had to add a metal corner bead and then do some mudding and taping, yay!
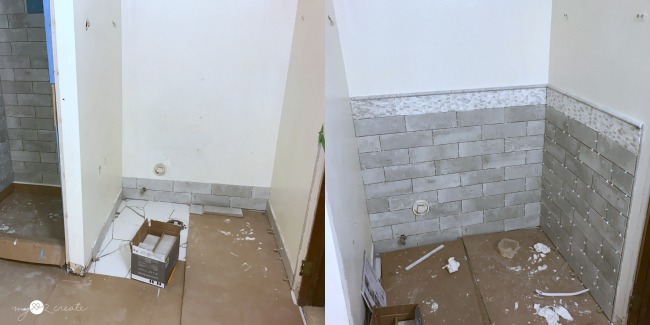
Amy started the side walls around the toilet area and made sure they were level. Then we let them set up before working on the other two walls.
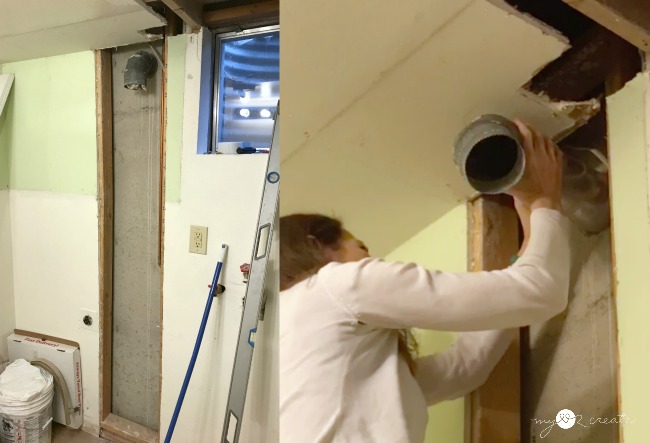
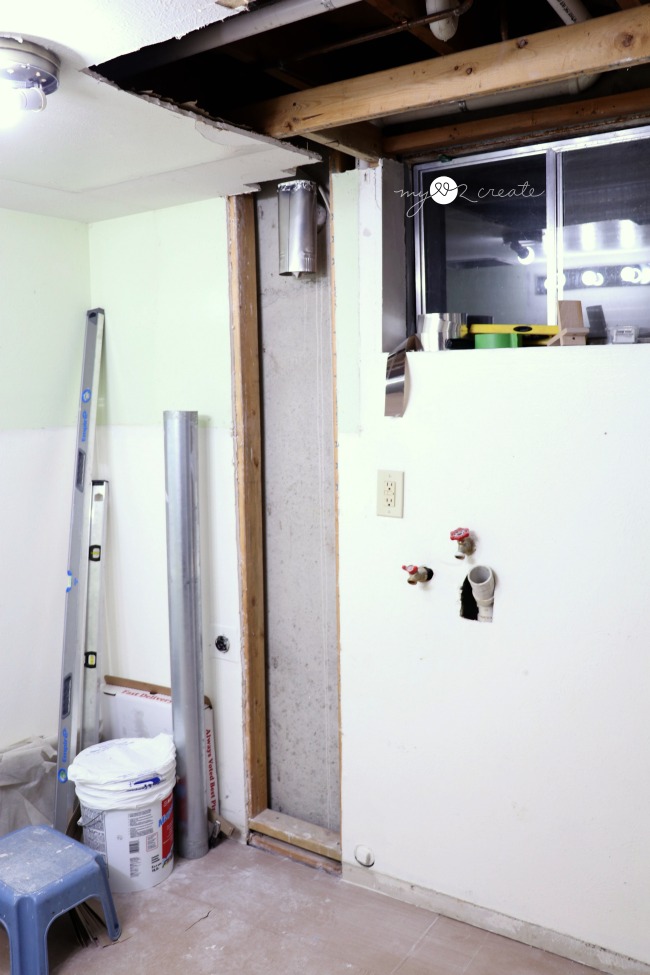
I spent some brain power trying to figure out my dryer vent and getting it into the wall. I cut the drywall out to the studs for more room to work, and after some research online got some ideas.
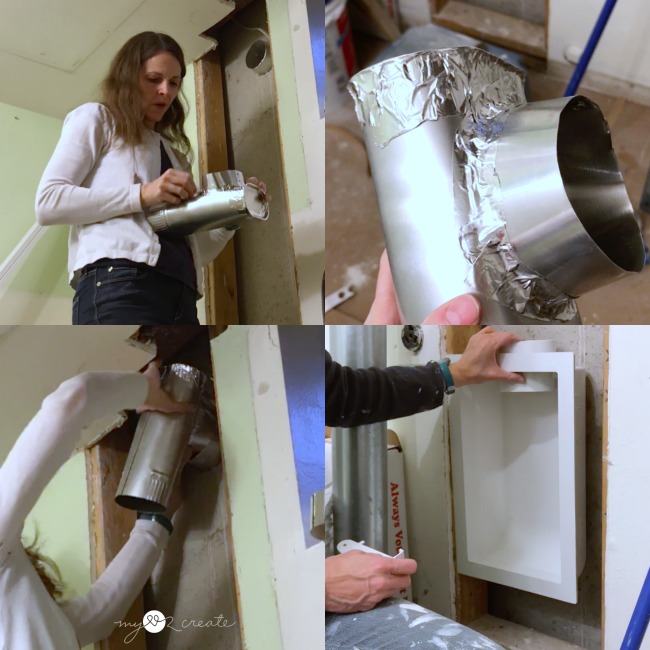
I eventually found a top piece that I connected to my outside vent. I taped it for extra precaution since it will be inside the drywall. I will still be able to clean inside the vent from the outside, which is good.
I may or may not use the the wall piece in the bottom right photo. I am still trying to decide. Meanwhile my friend has let me do laundry at her house…and the piles are overflowing, again…good grief!
I really need to get this thing solved. Plus grouting, I still need to grout the floor!! And two weeks seems like not enough time!
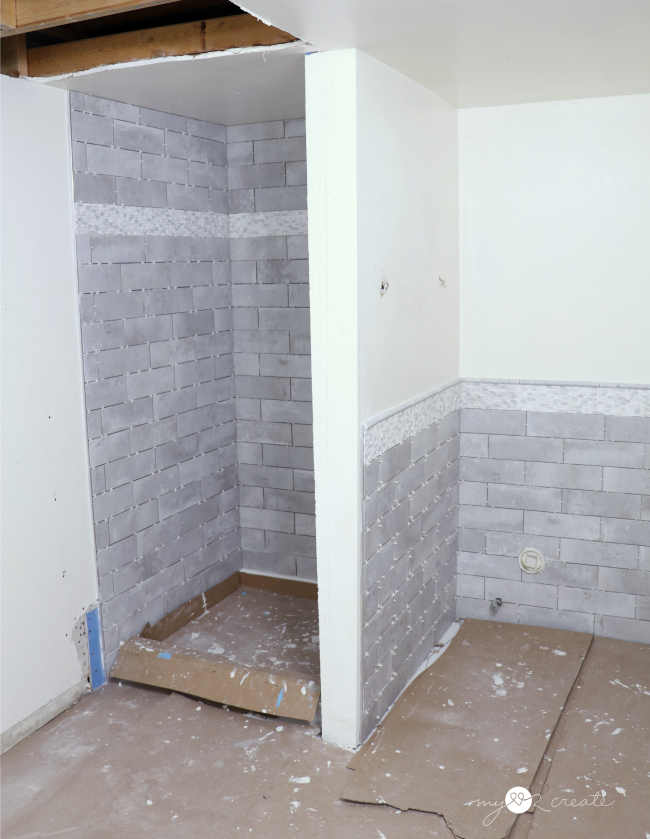
Ok, enough sob story! After Amy left I was able to tile the shower niche, and fix it, and then I finished up the shower…
And the other wall by the toilet! Ahhh happiness!!
As you can see I have a TON of work to do and not enough time. I just want to sit and look at my pretty tile…is that allowed?!
Head on over to the One Room Challenge Week 4 and see all the amazing progress on everyone’s rooms!
Until next week, wish me luck (and a few prayers might be nice too!)
*Jeffery Court has provided me with tile for this one room challenge. All thoughts, opinions, designs, and ideas are my own.








Fantastic work!You ladies are amazing!
Awesome Job!