How to Make a Lap Desk from Repurposed Cupboard Doors
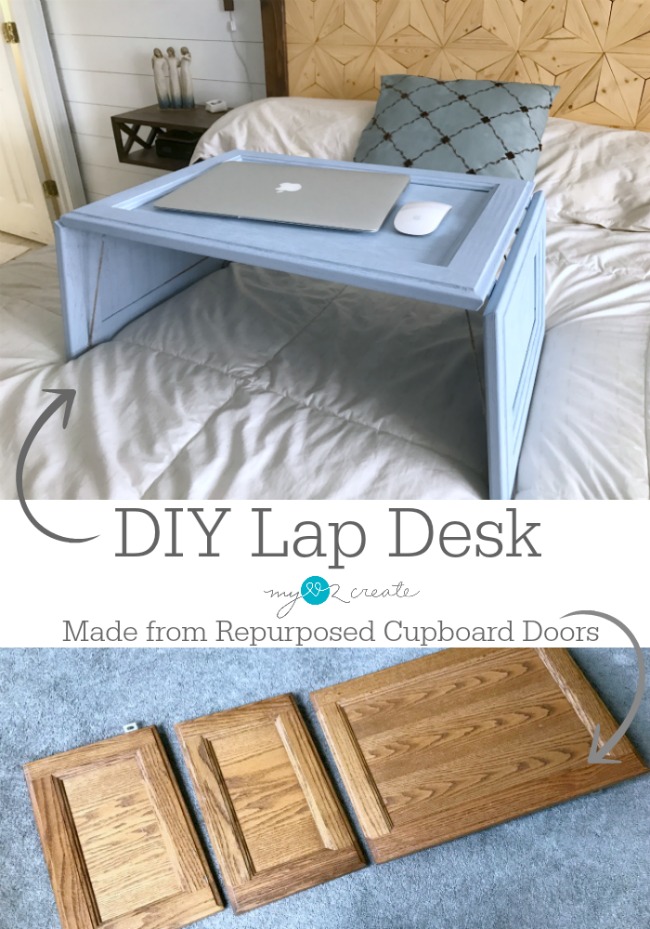
Hello friends, today I am going to show you how to make a Lap Desk from Repurposed Cupboard Doors!
I seriously love this project, because I have wanted a lap desk for a looooong time and now I have one…yay!
The best part is that I was able to repurpose these awesome cupboard doors which were perfect for what I wanted!
I shared this project as one of my Contributor posts at My Repurposed Life about a year ago, and I am happy to finally share it here!
Would you like to learn how to make one? Ok, lets’ get started!
How to make a Lap Desk from Repurposed Cupboard Doors
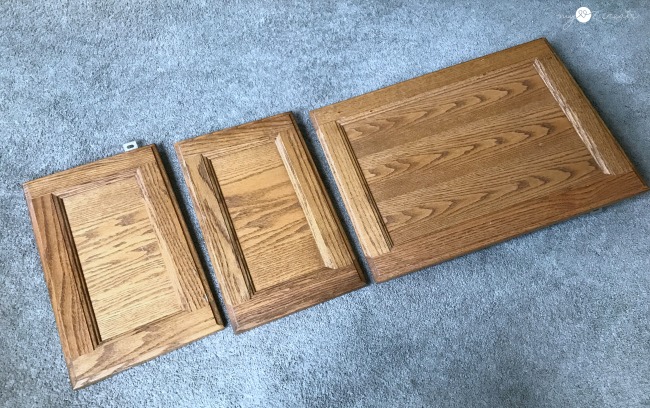
- Three Cupboard doors- one size for the top and two small sizes for the sides. They all need to be the same width. (If you don’t have cabinet doors you could just use wood. Or if you just have a top cabinet door, you could use scrap wood for the sides…use what ya got!)
- 4 small Hinges
with screws
- Twine or thick Leather string
- Dowel
- Drill
- Paint and painting supplies
- Stapler
(optional) for attaching twine or leather (could also use a screws instead)
- Since cabinet doors are various sizes you can make your lap desk any size according to the cupboard doors you have. Below are the sizes of my doors to give you an idea, or you can cut wood to make it without the cupboard doors, and adjust it to fit your needs.
- 1 Cupboard door (or wood) @ 22” x 16” (Top)
- 2 Cupboard doors (or wood) @ 10” x 16” (Sides)
- 1 1/4 to 1/2” dowel cut to approx 2” longer than the top piece mine was approximately 24”, I recommending cutting it longer first and testing it, then trimming as needed.
- 4 pieces of twine or leather cut to fit the legs when unfolded and in a good position, make sure to leave room to tie knots on each end.
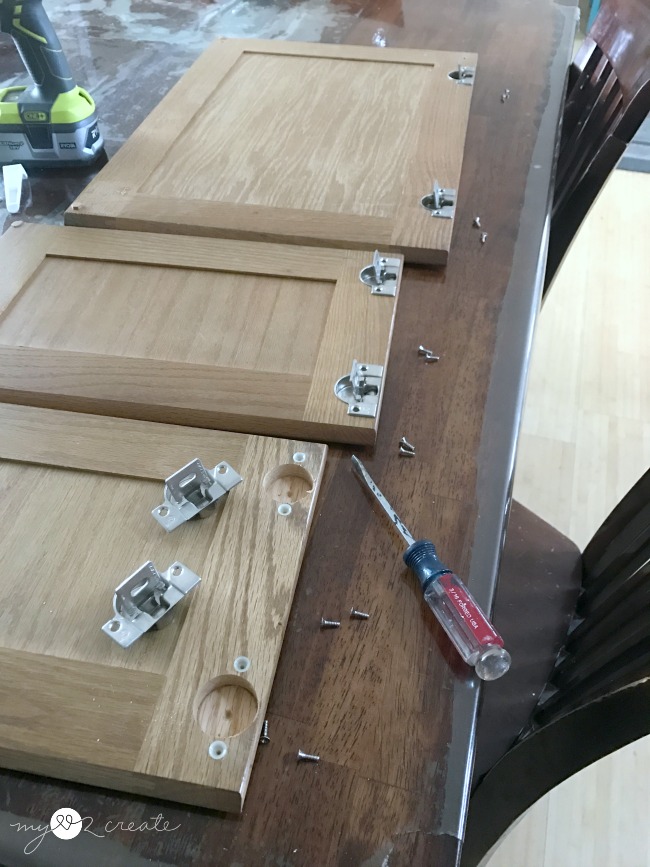
Step 1: Remove hardware from cupboard doors
Step 2: Attach hinges and twine or leather to top and sides
Attach your hinges to the top and then screw them to the sides. I missed a photo on this step because I had issues with he screws breaking on the first hinges I bought! Ugh! In my irritation of having to drive back to the store to return them, in a snow storm, I might add…I forgot to take pictures when I installed the “good” hinges.
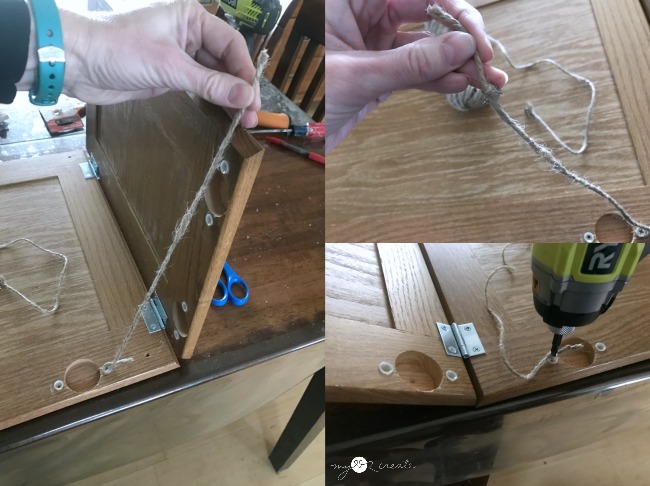
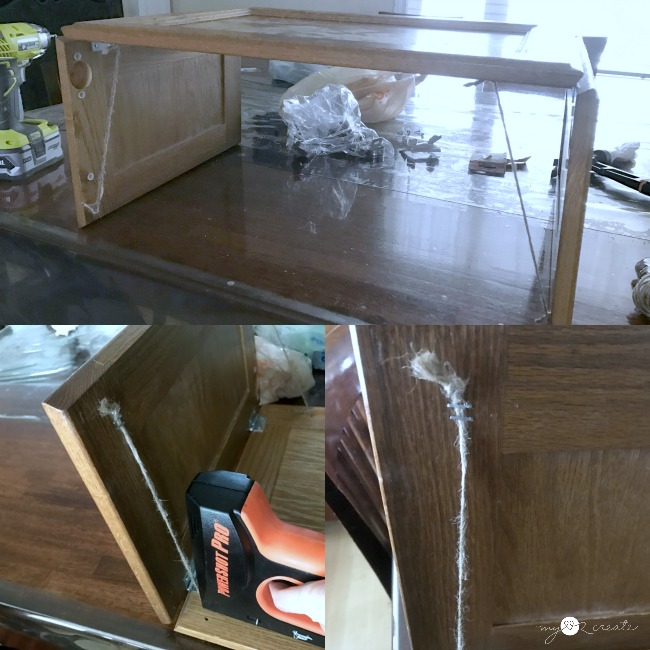
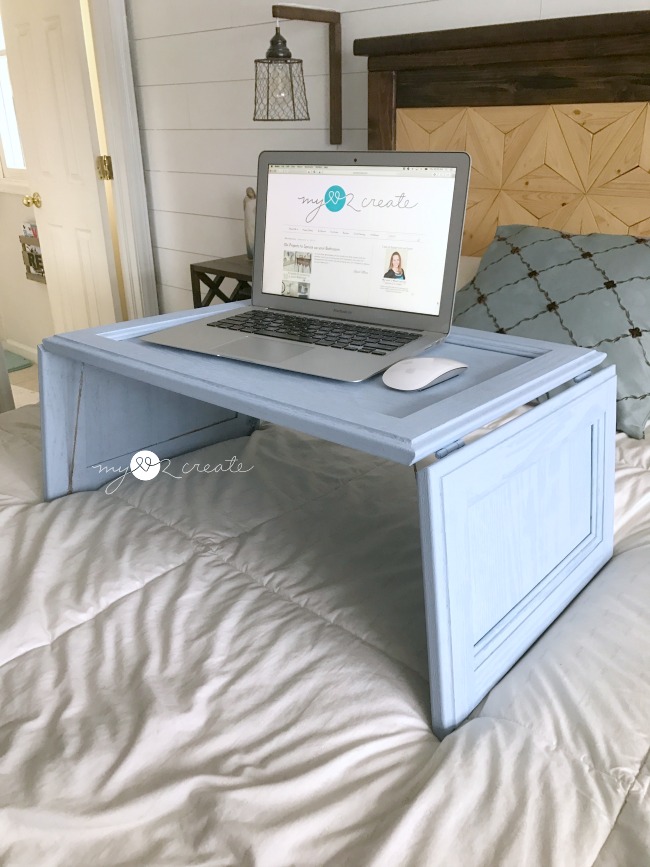
After testing it with the hinges installed I quickly realized the hinges by themselves made the legs WAY to wobbly, so I used twine attached to my top and sides on BOTH sides to keep them secure.
I would use leather string if you have it since it would be much stronger than twine, but twine works too, or rope… Tie a knot in both ends of your twine or leather and staple or screw them into the top and sides of your cupboard door.
This took away the wobbly legs problem, but if the legs got knocked from the side it would fold in and fall over, which is where the dowel comes in…
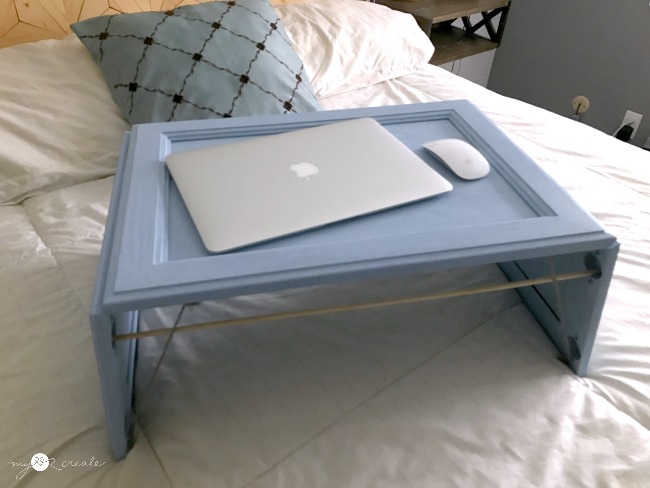
Thankfully my cupboard doors still had the holes for the hinges, so I used those to put my dowel into, to keep the legs from tipping. If you don’t have holes then you will need to drill some for your dowel to sit in on both of the sides. Make the holes bigger than your dowel so you have some wiggle room to bend the dowel into place.
Step 3: Paint, finish and enjoy!
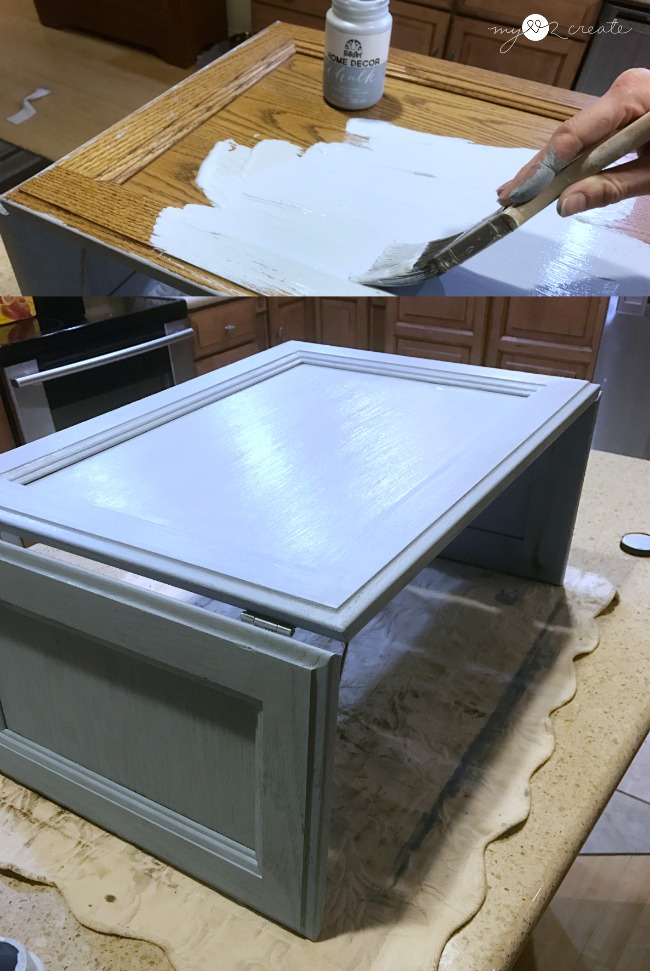
After cleaning the cupboard doors really well I painted it with two coats of a blue folk art chalk paint that I had on hand.
I sealed the desk with some clear wax and it was ready to be used!!
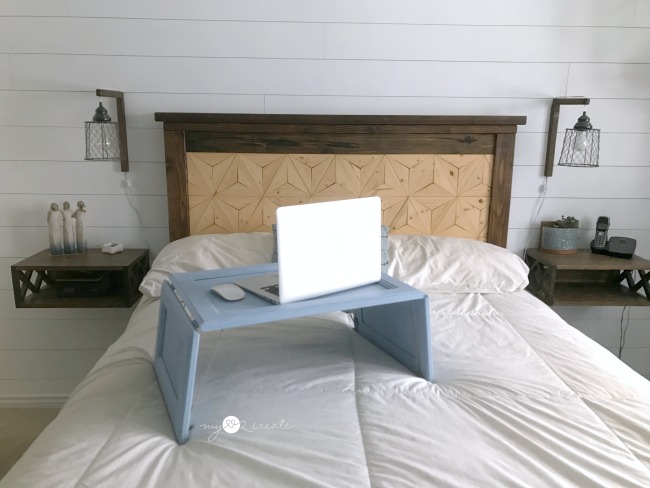
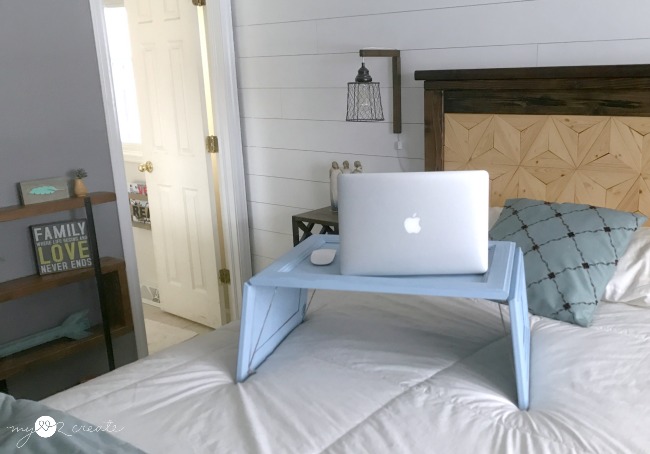
Here are some pictures using the dowel, it bends a little to put it in and take it out, but keeps the legs pushed out nice and secure so they don’t collapse inward if I bump them.
To put it away, just remove the dowel, and fold in the legs! It is perfect to slide under my bed and out of site until I need it again!
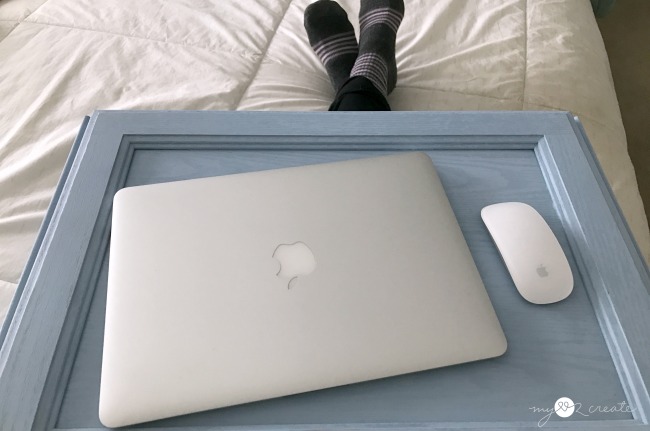
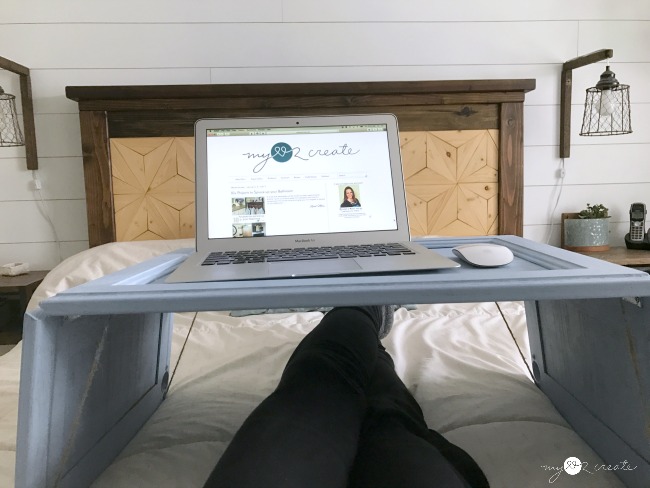
I am so glad I have this awesome repurposed lap desk, it makes it so much easier to do computer work in bed!
Since my cupboard doors were free, all I paid was around $4.50 for the hinges, everything else I had on hand.
Not only can I use this as my lap desk in bed, but it could be used for Breakfast in in bed…in my Farmhouse Storage Bed and my Master Bedroom Reveal…I probably should drop that hint to the kids… 🙂 Muah ha ha ha!


