How to piece scraps to make a sign
It is a very rare thing for me to be in a situation where I do not have scrap wood of all shapes and sizes at my finger tips.
In fact, I could probably open a scrap wood lumber store from my back yard. #sadtruth or should I say #hoardingtruth… #happytruth?
Regardless, I found myself in this very odd situation last spring, which leads to what I am sharing with you today, how to piece scraps to make a sign.
I love making signs, they are fun, easy, and add a cute factor to almost any project, not to mention a personal touch. 🙂
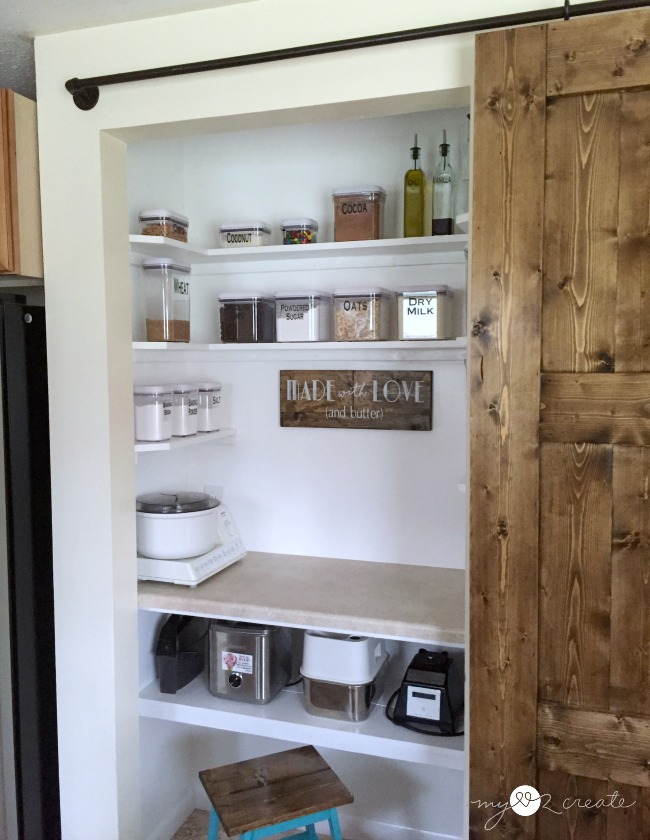
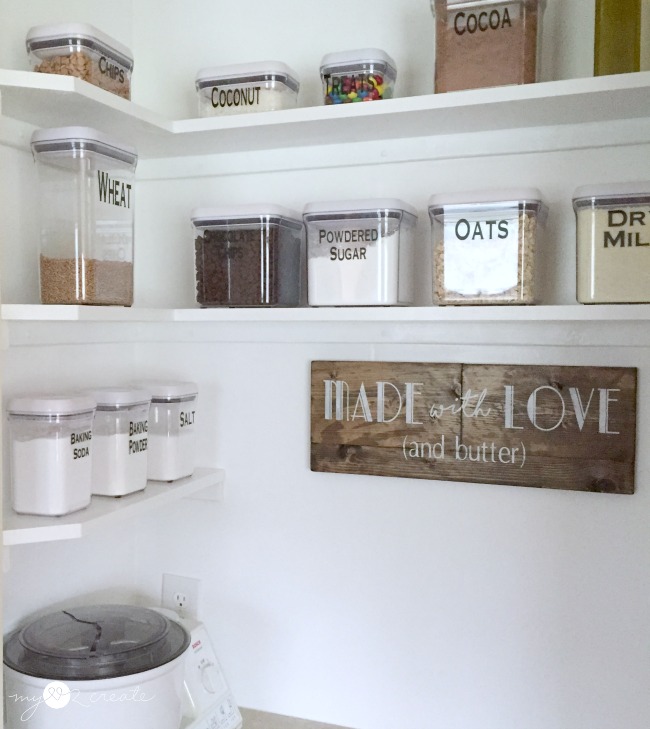
A personal touch is just what my Sister’s Baking Center needed. I went to Iowa last spring to help her convert her pantry into this amazing baking center, and it was so much fun! My sister does not have a scrap wood pile. The only wood she had was the wood we bought for this project.
See that barn door that I still need to write a tutorial on on the right? I had two small scrap pieces of wood left over from building it. And that cute stool at the bottom? crap, and I need to write up plans for that too I had a scrap piece left over from that…wait.
Actually, as the cobwebs are clearing out, the stool was built from scraps as well, so I guess technically the scraps I had were double scraps, which were left over from building the stool, from scraps… did you follow that? Good. I didn’t either.
This post contains affiliate links that help me at no cost to you! Read more.
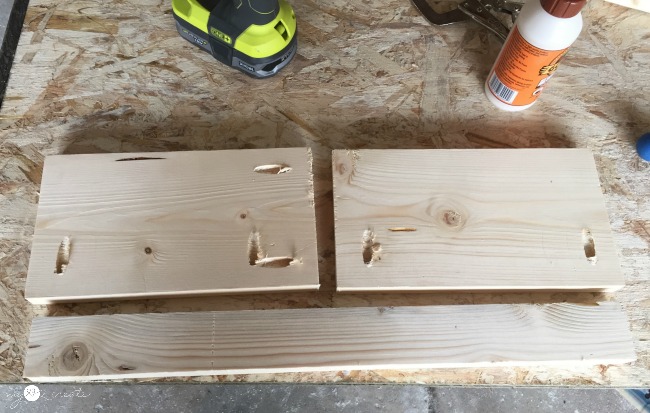
What I mean to say is… after finishing the baking center, this is all I had left. I still needed a sign, that was a decent size, and none of these pieces were big enough. So I decided to modify them to fit my needs, since our budget was spent, I had to get creative.
After staring at the scraps for a minute which was totally boring because they didn’t do anything I realized that if I put the two 1×6 boards together it gave me a good length, and by adding the 1×2 on the bottom I could get a good height. Perfect!
So I busted out my Kreg K5 Pocket-Hole Jig  and drilled 3/4” pocket holes.
I glued and clamped them, then zipped in my 1 1/4” pocket hole screws. Then I repeated with the 1×2 on the bottom.
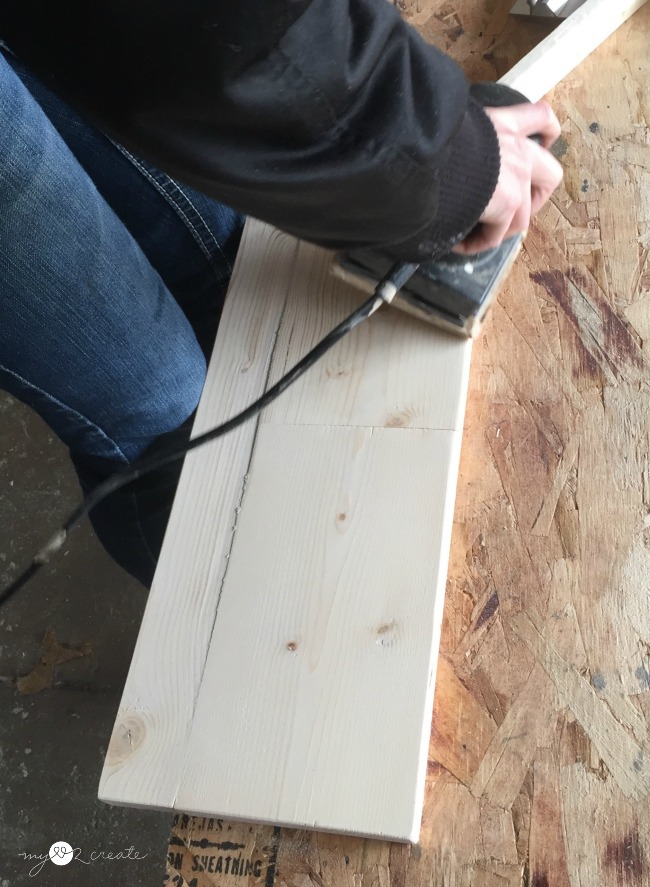
My lovely sister did the sanding and you can see the 1×2 was a little warped. Hey, it is allllll good, no project is perfect and I have learned to embrace the imperfections. It makes me and my project happy, cause I am not perfect either.
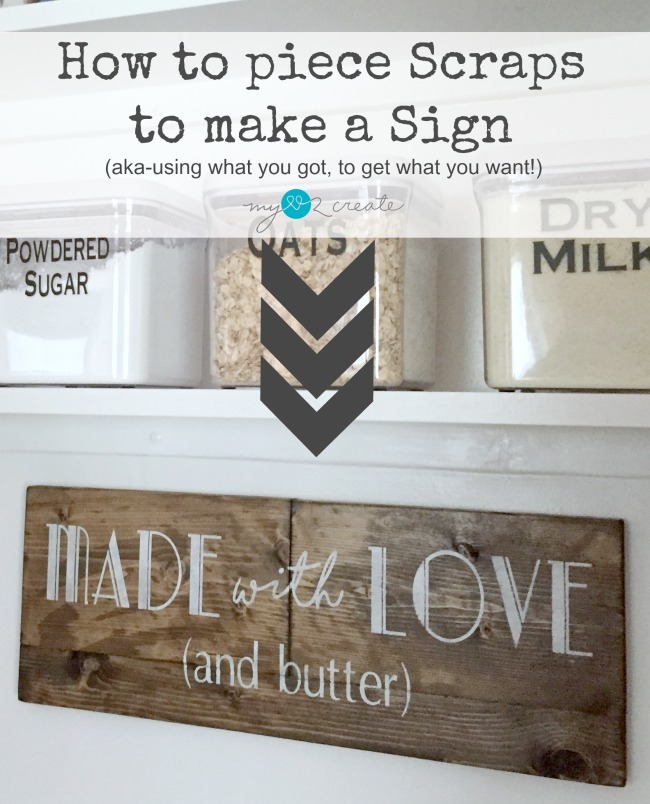
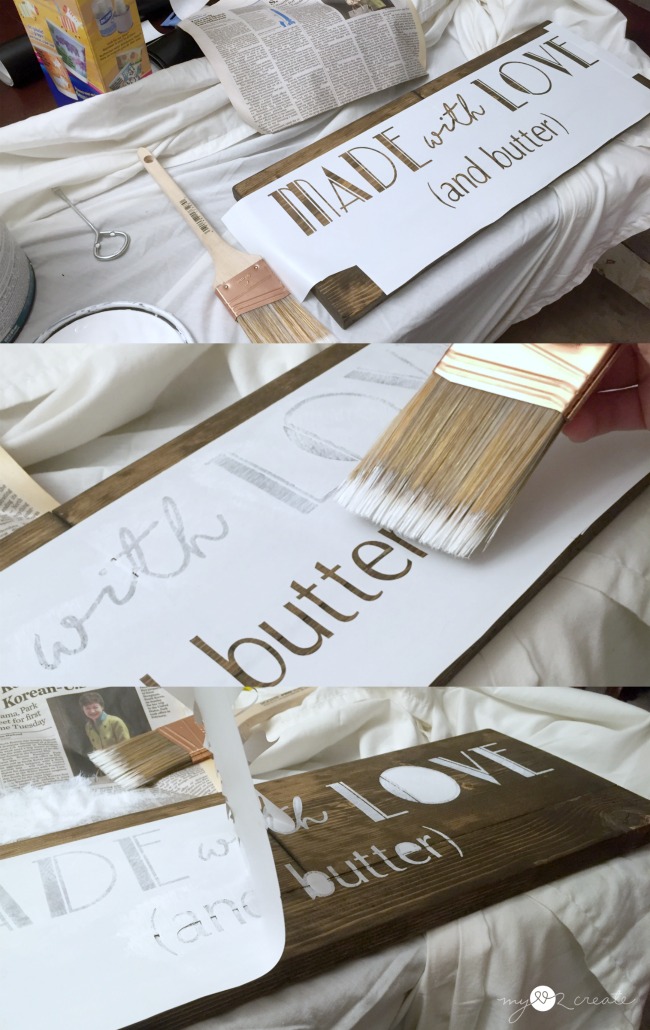
The new scrap wood sign was stained the same color as the sliding barn door, which was Minwax Jacobean I believe. I put my sister on Cricut Design Space, and she designed her own sign, and I think she did a fabulous job! probably because she included butter, and we all know…everything is better with butter 😉
The stencil was cut out on the Cricut Explore One Cutting Machine using contact paper, and then we used it to paint the sign. If you want more details on how I do this check out my How to Make your own Signs post, it has lots of great tips and other methods if you don’t have a cutting machine!
And there you have it! Rock what you got people! Sometimes the most creative ideas come from forcing yourself to use what you have. I know this project is not a particularly amazing idea, but it is still a true principle.
Besides, it doesn’t have to be amazing to be loved, and this sign was perfect for this space. Plus, it was free, beccause we thought outside the box and used what we had. That is a very satisfying feeling. 🙂
So what are you waiting for? Get out there and modify what you have to fit your needs, get creative and go for it!
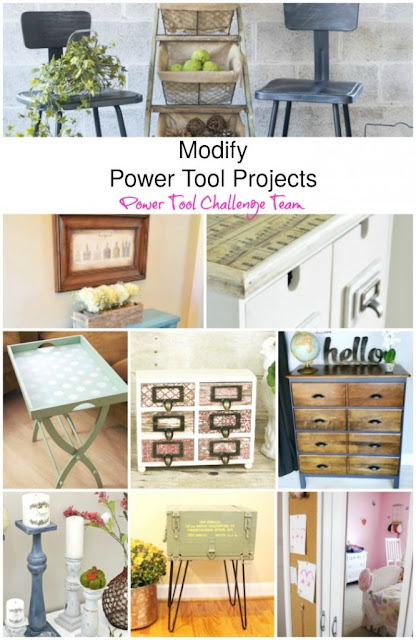
Also as party of this month’s Power Team Challenge check out all these awesome projects that have been Modified! And trust me these ones are super cool!!!
Ikea Wardrobe Update by Domestically Speaking
How to Piece Scraps to make a Sign by MyLove2Create (you are here!)
How to Piece Scraps to make a Sign by MyLove2Create (you are here!)
Happy creating!
Mindi
I will be linking to these parties, Savvy Southern Style, and Bloom Designs






Mindi,
The sign is a perfect addition to that lovely pantry!!! I used a bunch of scraps yesterday to make some one board stools for my upcoming craft show. Scraps should never be thrown away. 🙂
super duper modification!
gail
Such a CUTE sign… and yes, everything is better with butter!
Mindi Love your attitude and yes you clearly rock what you've got! What a lucky girl your sister is to have a baking center and a talented sister to help build it! Love your door by the way! This is awesome! Pinned:) XO-Wendi@H2OBungalow
Aren't you smart to use what you have to make what you want? I love your sign and your baking center is wonderful. I agree that keeping scraps is a must!
First off – I love that saying…and everything is better with butter! 🙂 I am still drooling over your sister's baking center, it is so amazing. Great job with the scrap pieces, did you use every last bit? So amazing!
Mindi, this is so darn cute! I love that saying! The font you used are perfect as well! Great job!
Mindi, I love the cute sentiment on your sister's sign. I also love your determination and can do spirit! I remember that awesome baking pantry you two created and walked this house trying to find a closet I could convert. Pinning and sharing 🙂 Marie from The Interior Frugalista
That's a really beautiful sign. I hope you'll share it this week at #thecraftycorner link party. Have a great day 🙂
So cute! It really gives it a unique look Mindi! Thanks for sharing with SYC.
hugs,
Jann
Stunning job! Such a cute sign. I really love your pantry! Thank you so much for sharing with us at Dishing It & Digging It!
This looks so beautiful Mindi, I love it!!
I love this, what a wonderful touch to your pantry! Thank you so much for sharing with us at our To Grandma's house we go link party! Pinned!