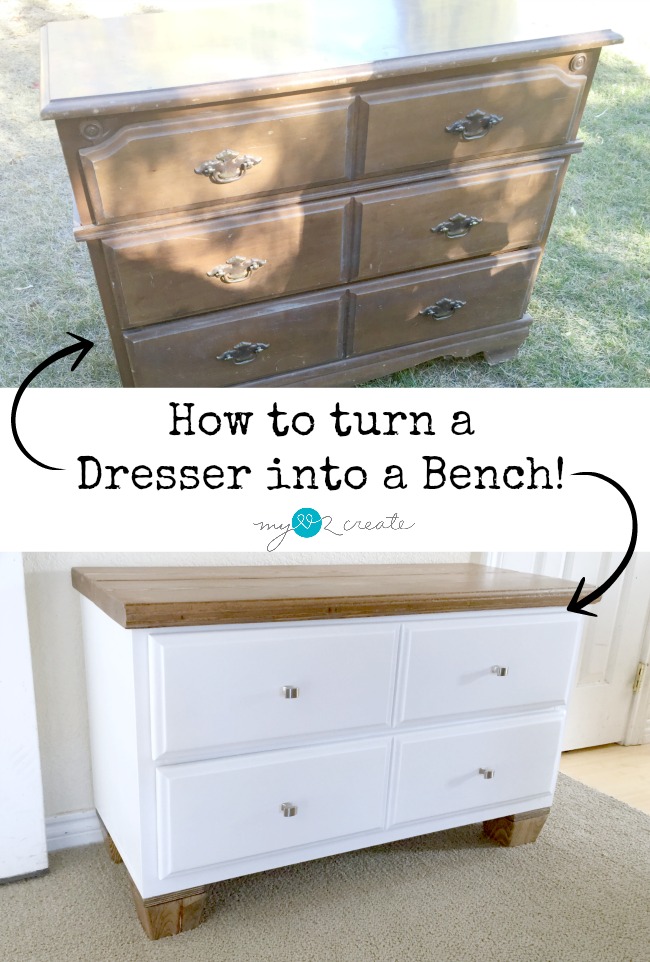
How to turn a Dresser into a Bench
I totally love the project I am sharing with you today, How to turn a Dresser into a Bench!
There are many ways to do this, and lots of other great ideas, but this one is pretty simple. So lets get started!
I first shared this project as one of my contributor posts at My Repurposed Life, Here, and I am excited to finally share it on my blog!
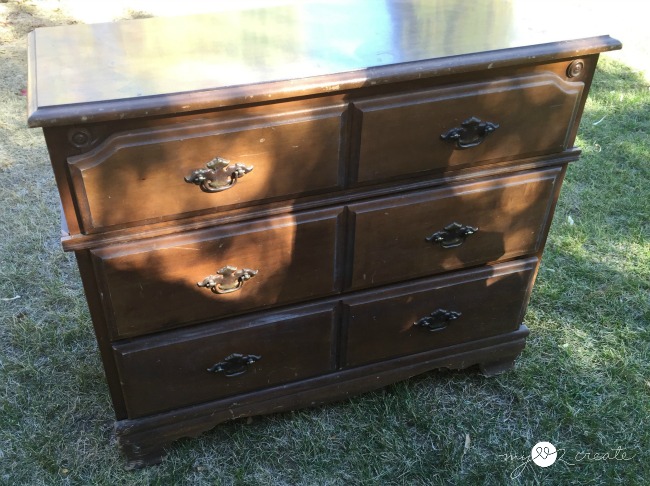
The story of this dresser is sort of long. I got it for free on craig’s list and was planning on refinishing it. It lived on my back porch for a while until I decided to try and use it for my Teen boys bedroom makeover.
My idea was to combine it with another dresser to make one really big dresser for both of my boys to share in their new closet.
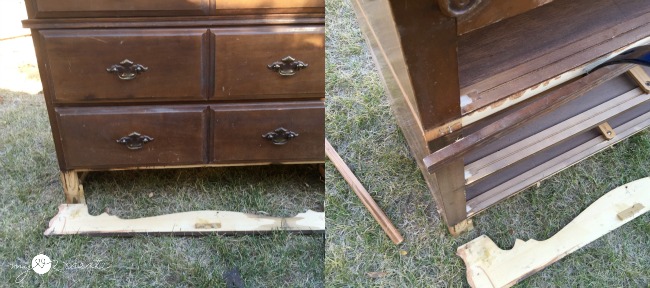
So I started to work by removing the trim from this dresser.
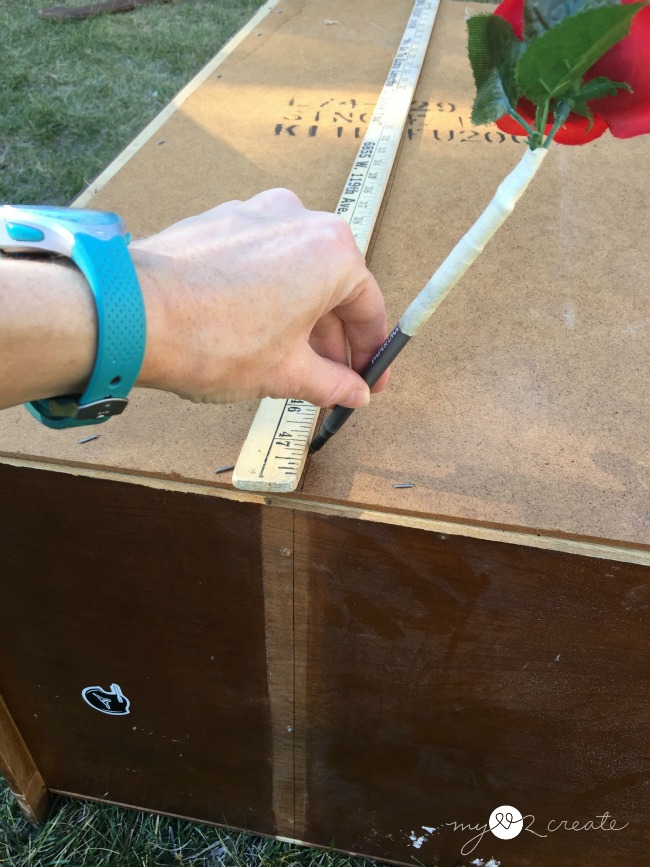
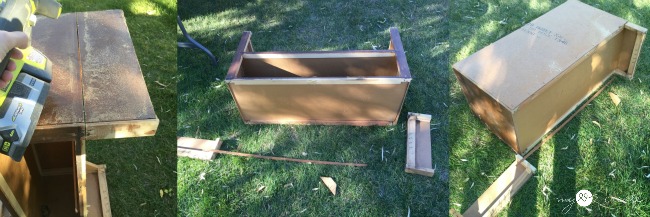
This dresser had a perfect break where the trim had been, so I measured and marked all the way around it and then prepped for cutting. Most dressers have dividers between drawers so they help you determine the best place to cut.
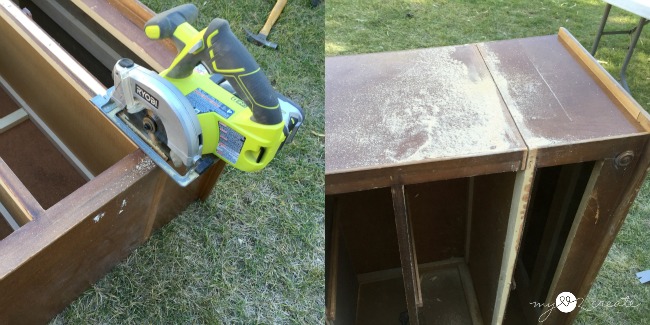
Using my Ryobi Circular Saw I simply went around the whole dresser and cut on my line. It was easy to cut one side, flip the dresser, and cut the next, until I had cut all the way around. I stopped my saw each time I would flip the dresser.
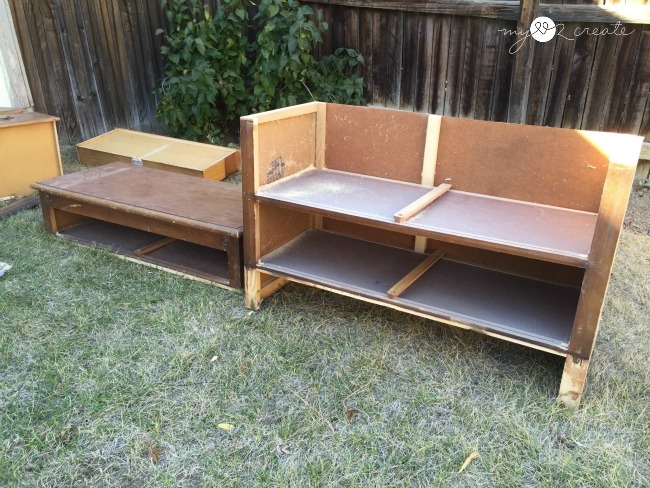
I ended up with two pieces when I was done cutting. Make sure to remove the drawers before you cut, it just makes it easier. I used the bottom portion on the right for this bench, and will be sharing what I did with the top portion (on the left) in the next few weeks, so stay tuned!
As I looked at the bottom part, I decided that I didn’t want the “legs” so I cut them off too.
At this point I tried to fit the two dressers together for my boys room but I could see it was NOT going to work. I decided to store this dresser on my back porch, again, and extend my other dresser with scrap wood, which is now in my boys room.
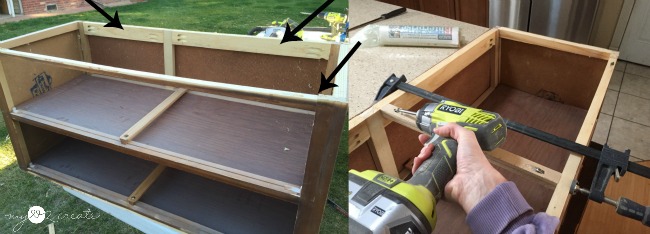
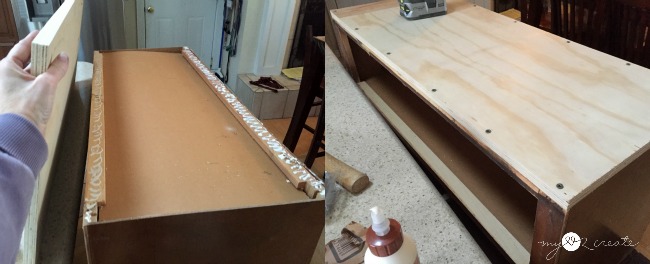
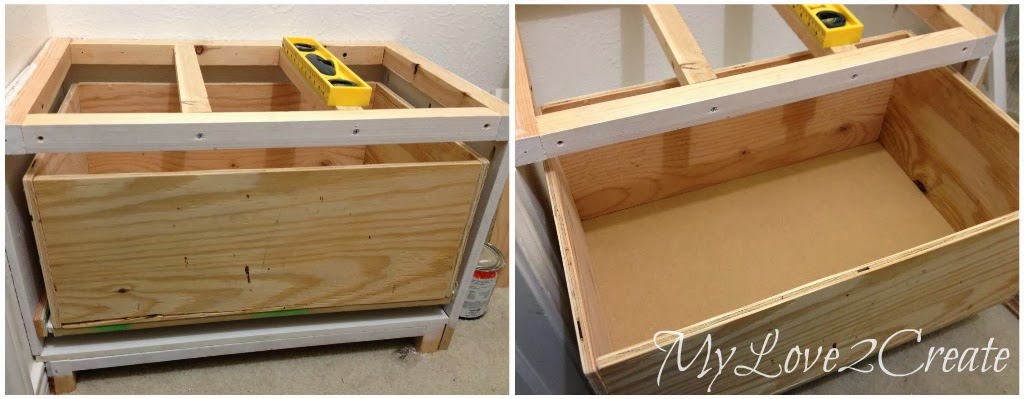
In order to add stability to the top after cutting, I attached some scrap 1×2’s to the back with pocket holes, and also re-attached the front piece with pocket holes, because it had fallen off when cutting it apart (photo on the left).
In the right photo I decided to add a middle support piece with a scrap strip of plywood at the top. Then I tucked it away on my porch…until it was winter…
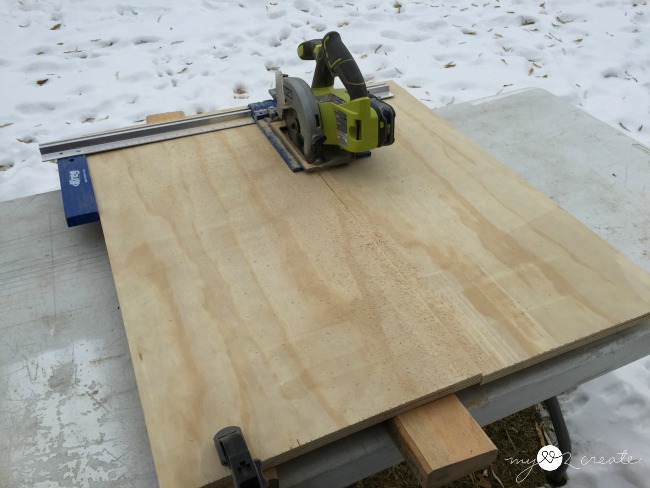
…And snow was on the ground. This why I needed to turn my bottom dresser portion into a bench…my kids boots needed a good home. I grabbed some scrap plywood and ripped it to create a bottom for the new bench. It was a little short on one end so I ripped an additional piece to make it the length of the dresser bottom, which you will see in a couple photos below.
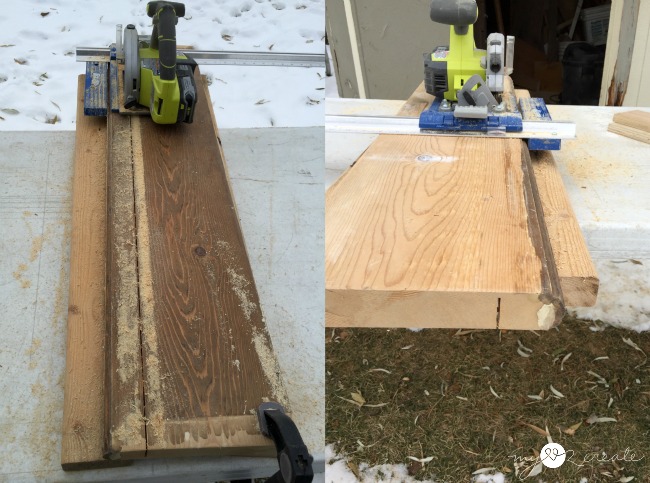
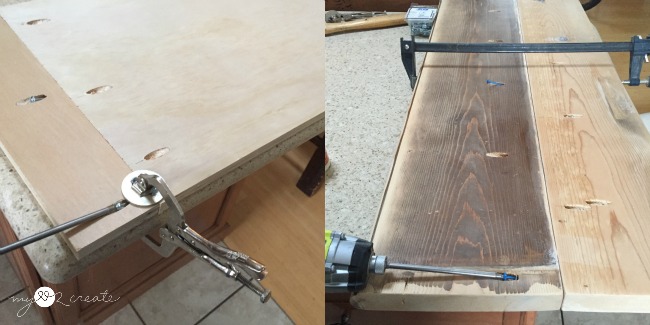
For the top I used some reclaimed shelf boards that I had gotten for free of off craig’s list at some point. They weren’t the perfect size for the top so I used my Kreg Rip-Cut and Ryobi Circular Saw
to rip them down to the right size.
My saw couldn’t cut all the way through, so I made one pass and then flipped the board over made a second pass to get my full cut. This tool combo is perfect if you don’t have a table saw to make rip cuts.
I drilled pocket holes with my Kreg K5 Pocket-Hole Jig and then used glue and pocket hole screws and glue to attach the boards together. See how I extend the bottom piece? Just using up scraps people!
I glued and screwed the plywood onto the bottom of the dresser, making sure to pre-drill holes first.
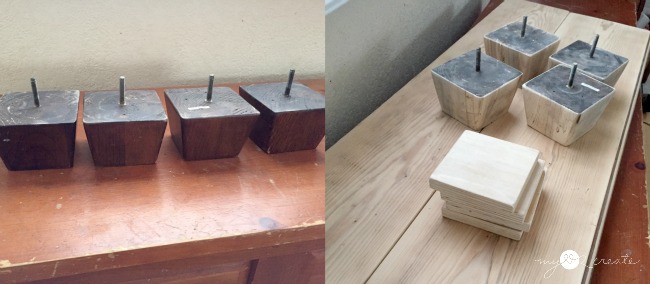
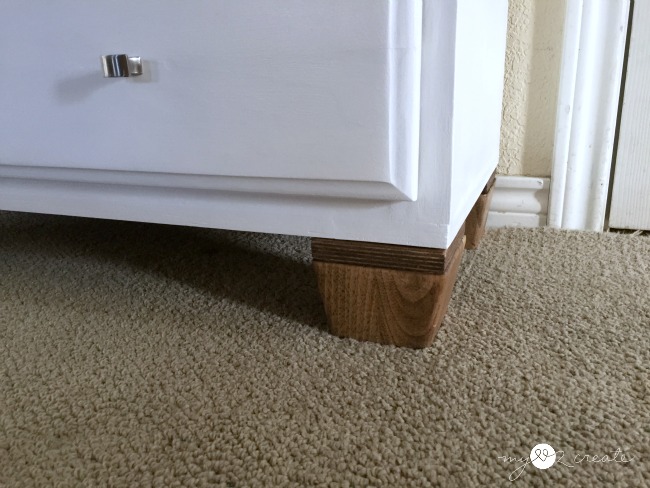
I had been debating on what to use for the feet when I remembered these feet I had taken off of an old couch that was in the garbage on the side of the road. Waste not! I thought they would be fun for the bench feet. Plus…FREE.
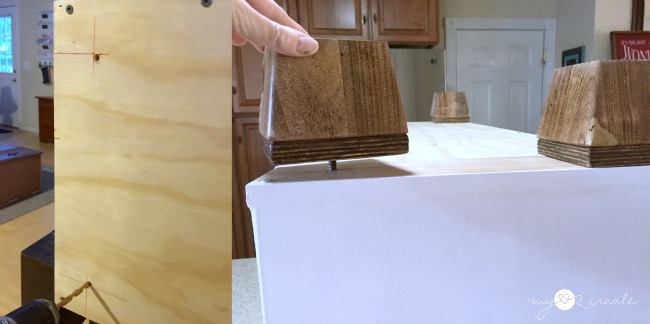
I realized quickly that the screws were too long for the plywood and I was apparently too week to screw them in farther, so I cut some smaller plywood scraps to screw onto them to make them fit better. I sanded everything down to prep for staining.
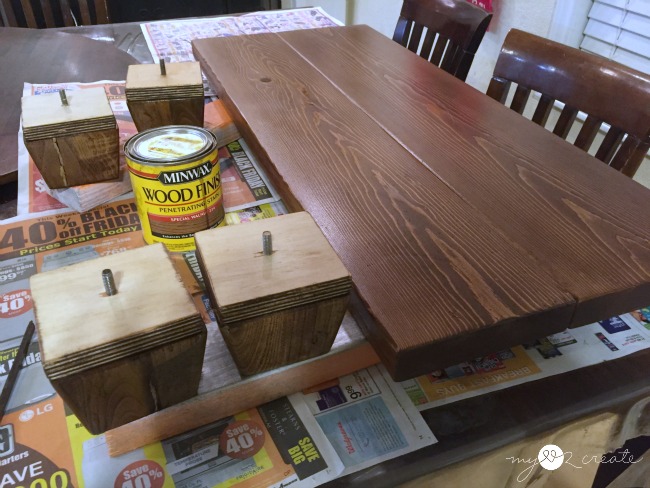
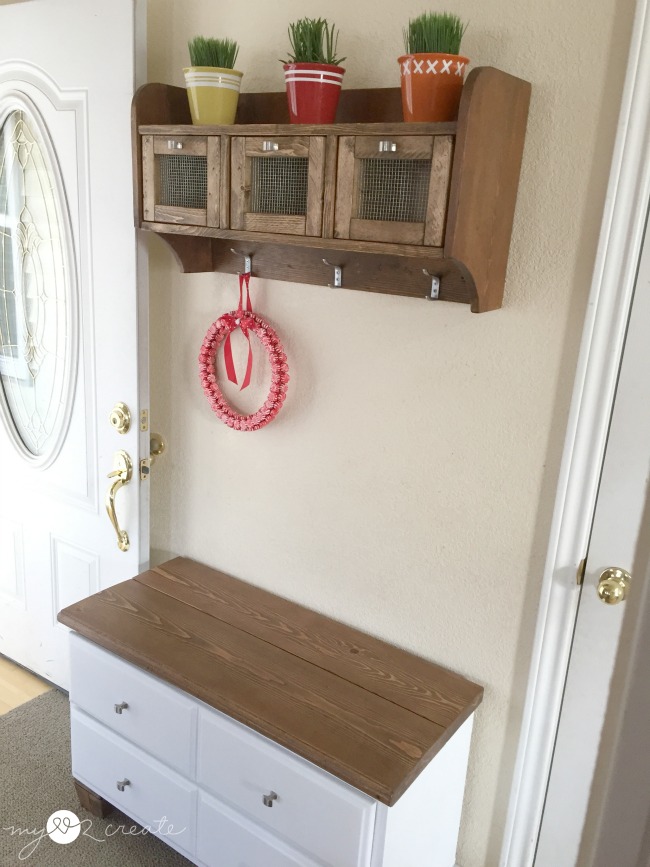
I ended up using Special Walnut to match the Hanging Storage Shelf I had made, which this bench will be sitting under. While I stained and added poly to the top and feet I painted the dresser and drawers white. Unfortunately I totally forgot to get a photo of that, but I primed first with Gail’s DIY chalk paint recipe and it worked great!
For attaching the feet, I measured out how far the screws were from the edge of the feet and marked it on the plywood. Then I drilled holes and screwed the feet onto the bottom. I know the plywood edges are exposed but I kind of like the look.
I am happy with how the feet turned out, they wouldn’t be my first choice, but since I was trying to do this for free, they fit the bill. 🙂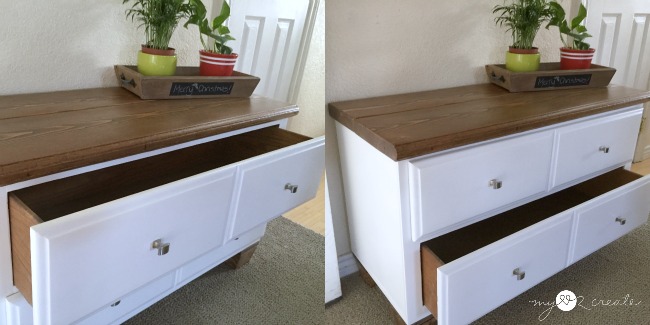
The drawers have been so awesome for boots, and extra winter stuff, and I LOVE having them hidden away and not all over the floor!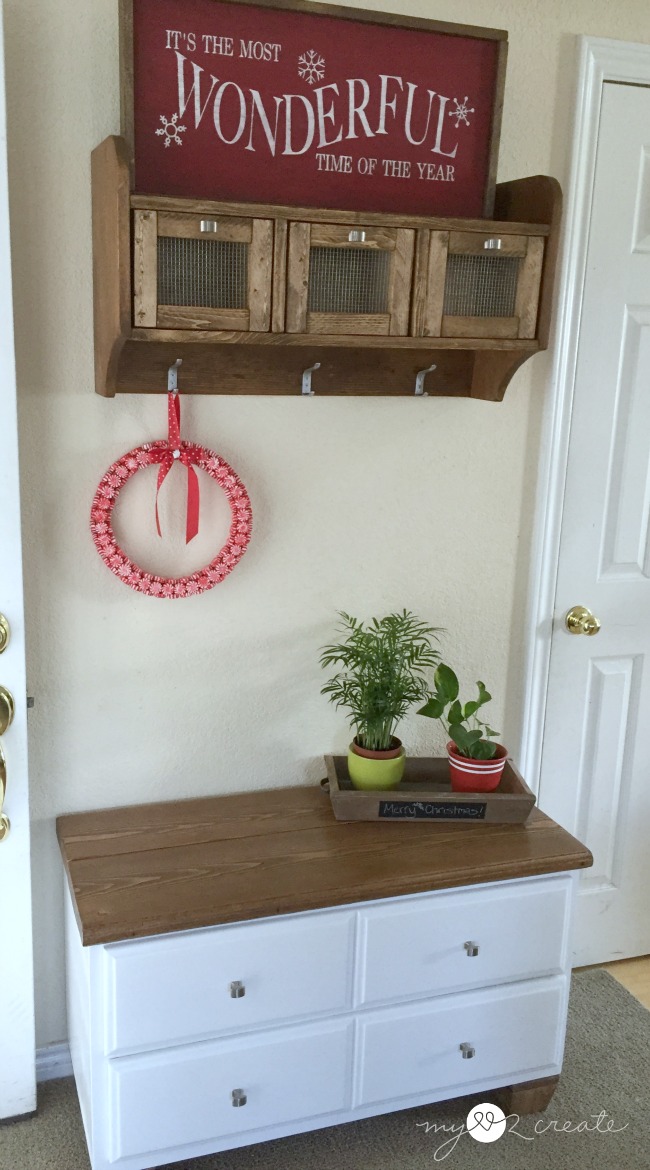
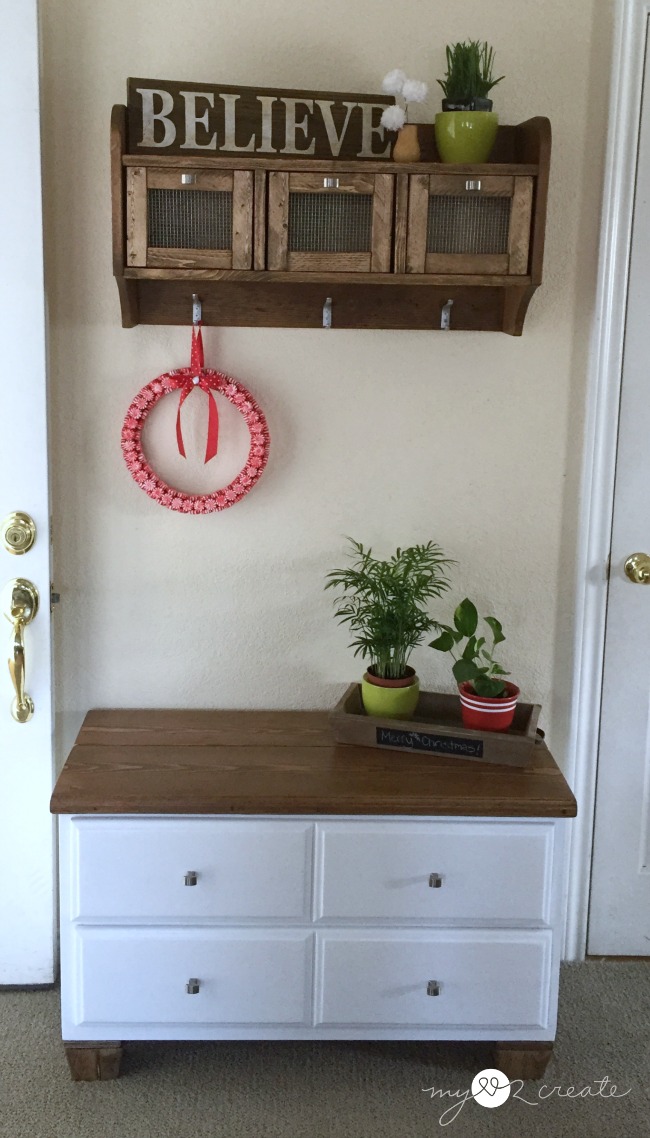
It makes a fun little entryway bench, don’t ya think? So much more useful than an unused dresser sitting on my back porch! The pulls I used for the bench and the hanging storage shelf above were salvaged from another free dresser that had died.
As you my have noticed I took these photos at Christmas time, and peppermint wreath is still going strong after all these years!
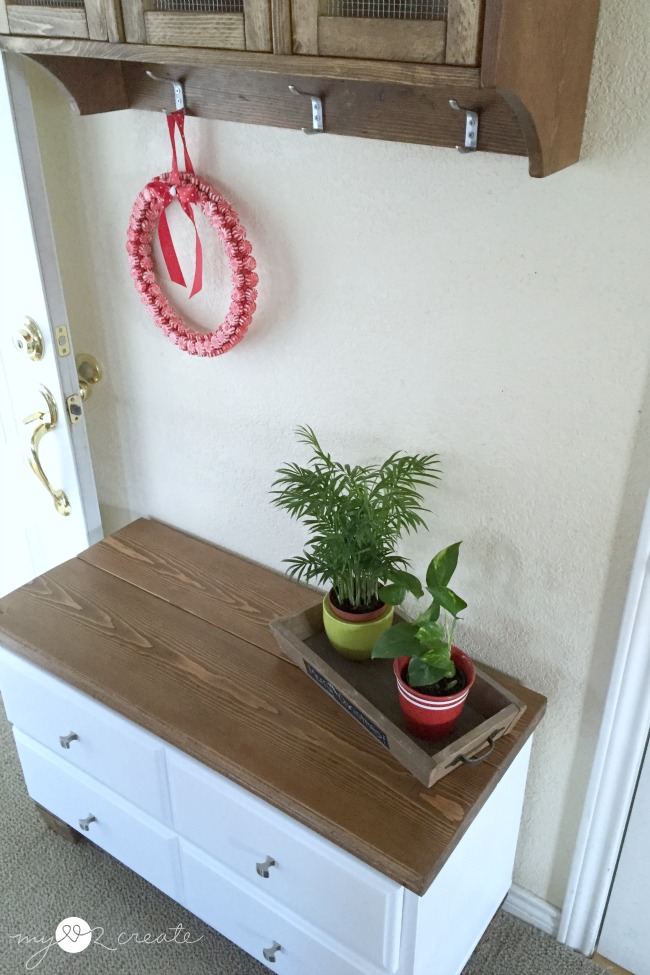
The wood grain on the bench top is my favorite part, it is so pretty!
This bench is the perfect compliment to my Hall Closet Makeover. With 8 people and all the winter clothes we can always use a little more storage!
So that is how to turn a dresser into a bench! This bench is still being used in the same spot today, and has been much happier as a bench then a dresser, because everyone would rather be loved then cast away alone on a back porch!
So do you have any out cast dressers? Maybe you should give this a try!
If you are on Facebook, Instagram, or Twitter please share your MyLove2Create inspired projects and tag me so I can share them too! I LOVE to see what you create!!
Hugs,
Mindi
I will be linking to these parties, Savvy Southern Style, and Bloom Designs



VERY CUTE, GREAT IDEA!
Awesome before and after! Love the feet you put on it 🙂
I love how this turned out. Thanks for joining us at the Inspiration Spotlight party. Shared
Pinned and featured at the new party tonight. Beautiful. I must make one of these. Best wishes Linda @Crafts a la mode