I turned an end table into a desk!
I am so happy to FINALLY post this project!
It was completely built 2 & 1/2 weeks ago….but getting it finished well…
I am blaming it on the weather…because truly it has been way too winterish. Staining wood and below freezing temperatures don’t mix…and making my family high off of fumes….not happening.
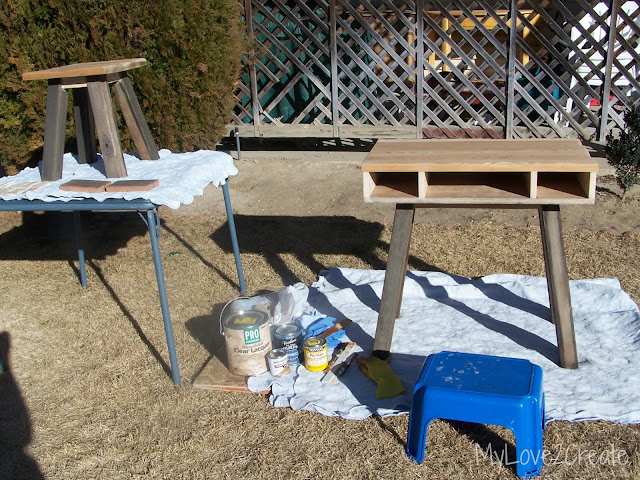
So I waited, and waited, and waited. Then on a 48 degree temp day I braved the freezing wind to get this baby finished. I am from Vegas, and I don’t like to be cold.
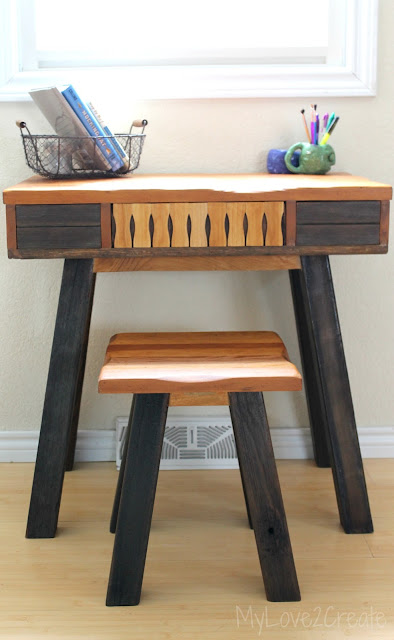
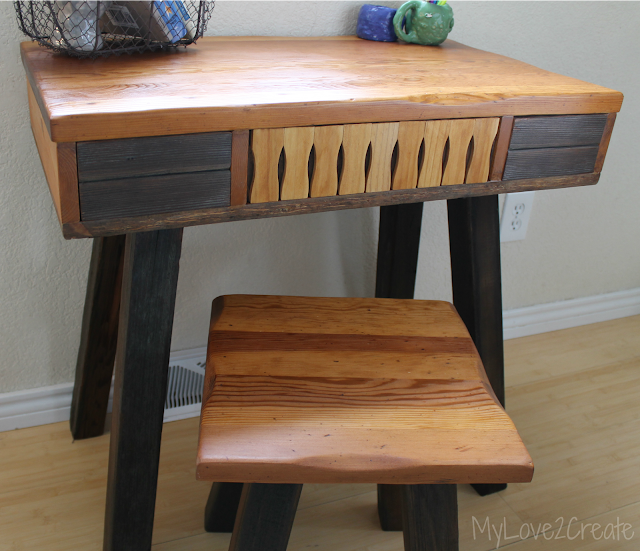
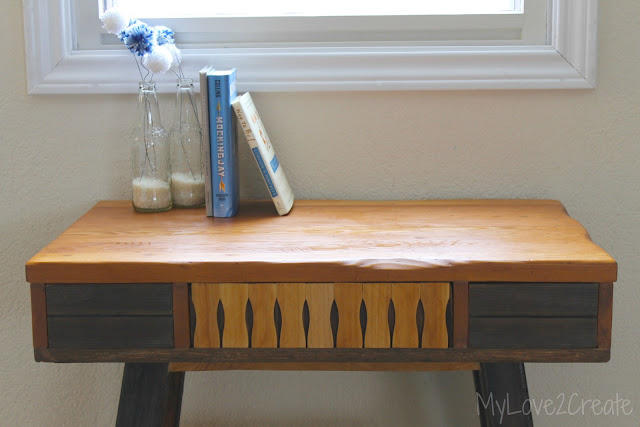
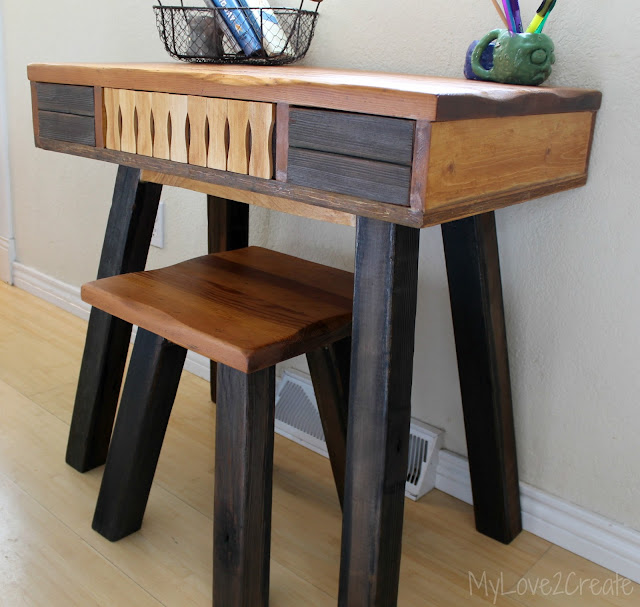
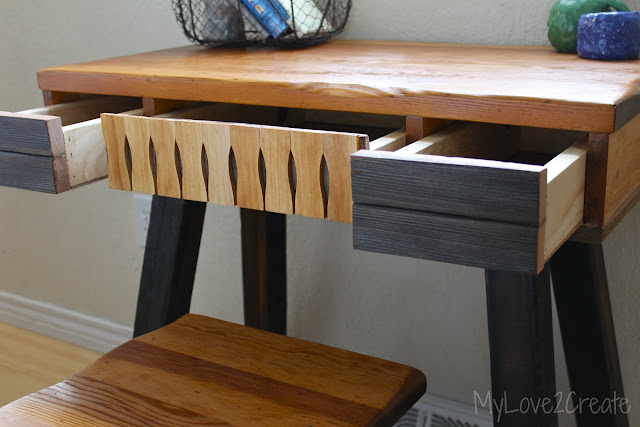
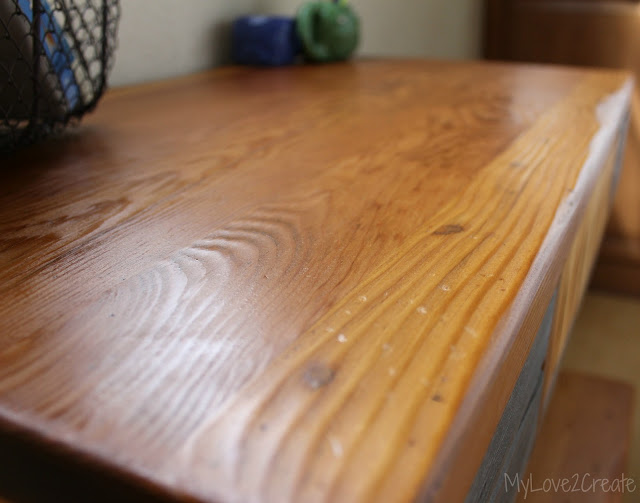
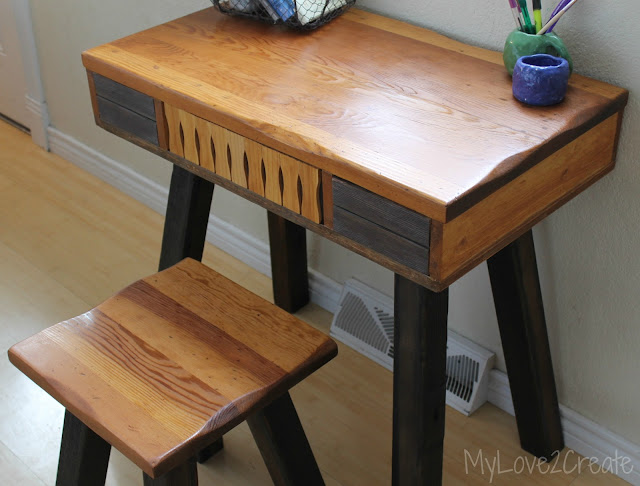
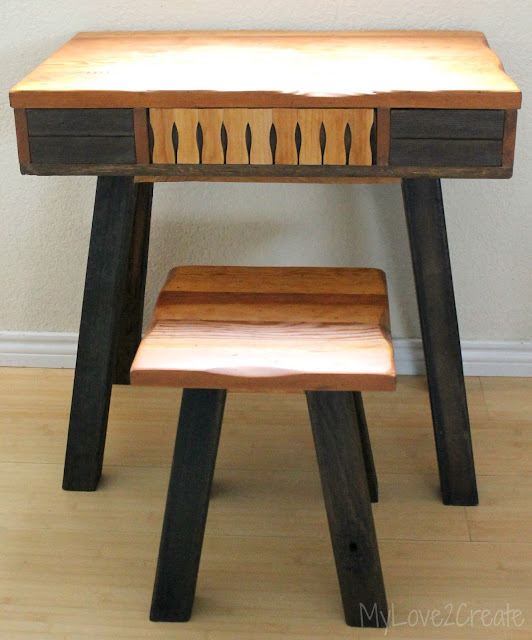
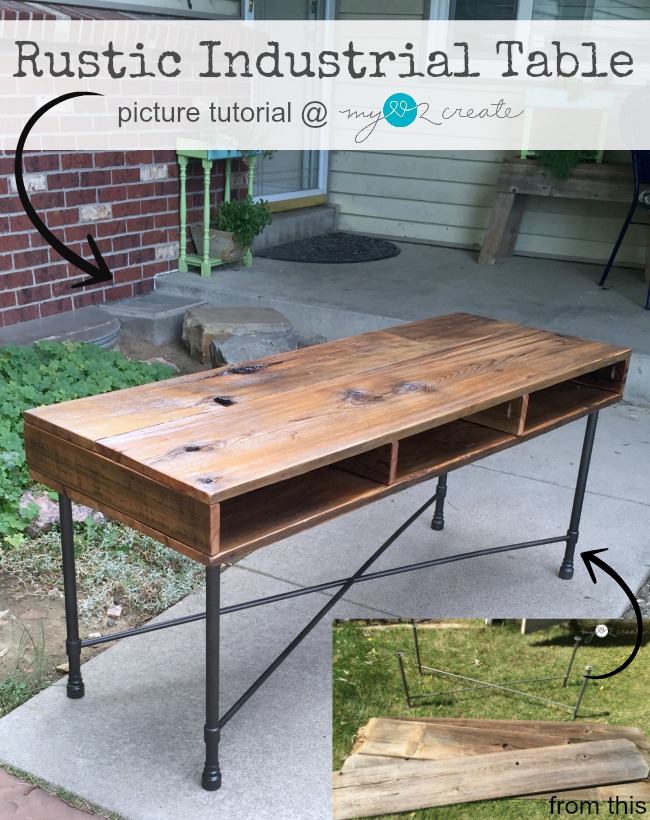
OK enough talk, meet my oldest son’s new desk!
Eeekk! I truly LOVE it!
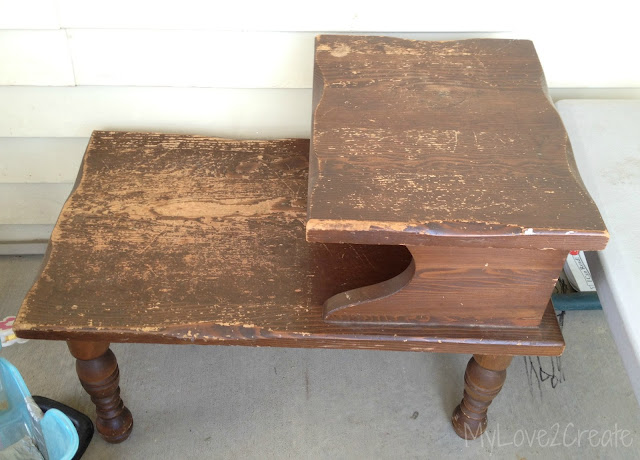
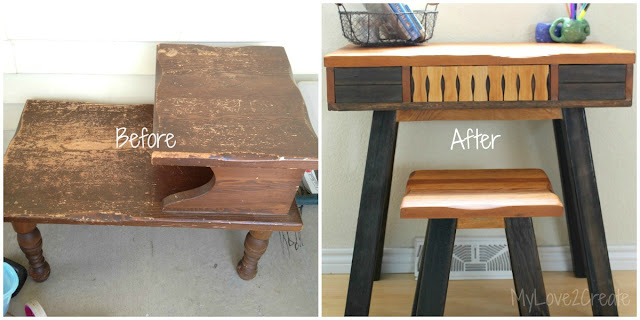
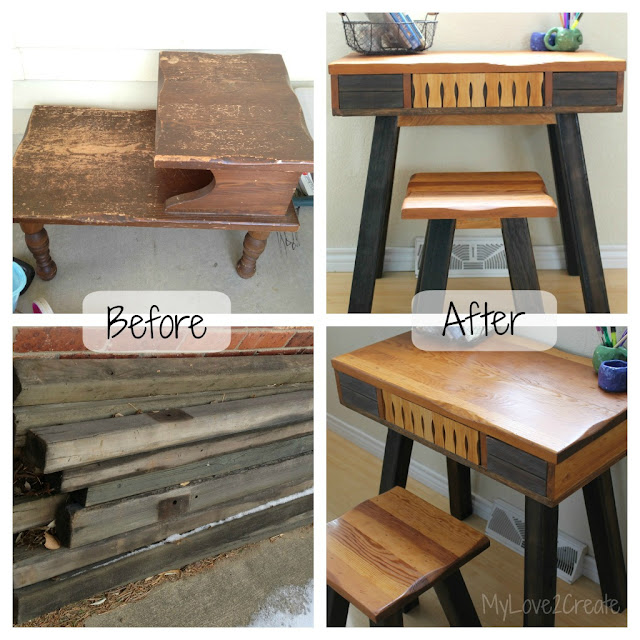
What is even more cool is that it used to be this:
We might need a side by side…
This poor sad end table, can you believe it? I was about to work on a project and remembered I had moved this to my back patio.
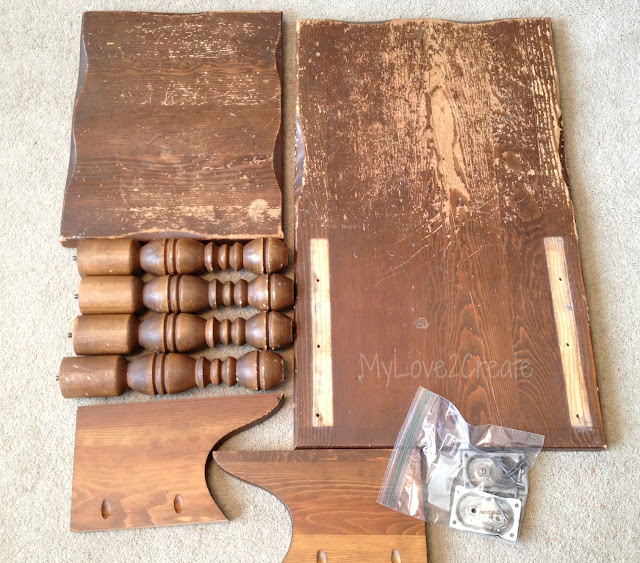
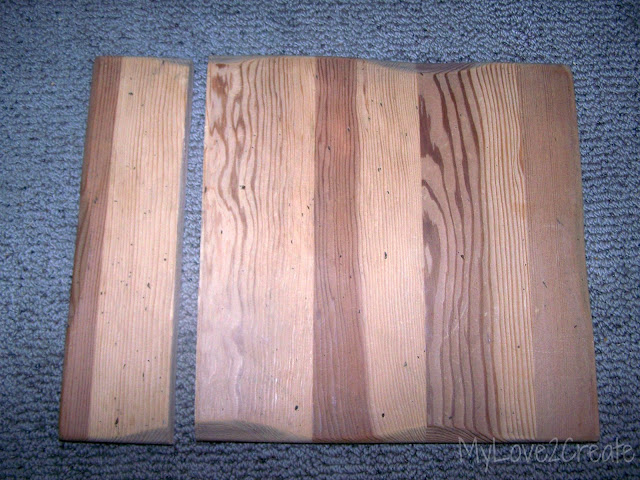
I loved the thickness of the wood, so I brought it in and took it apart.
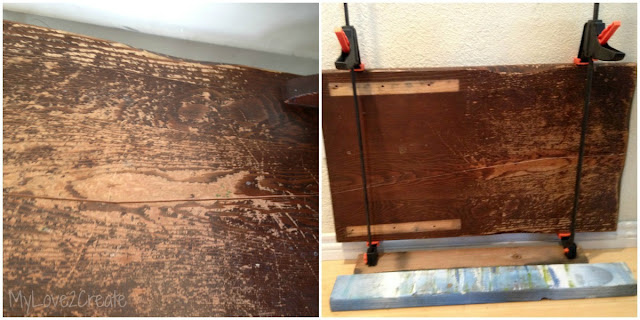
Then I went to work repairing the damage that occurs when kids jump repeatedly on something. I wood glued and clamped it together.
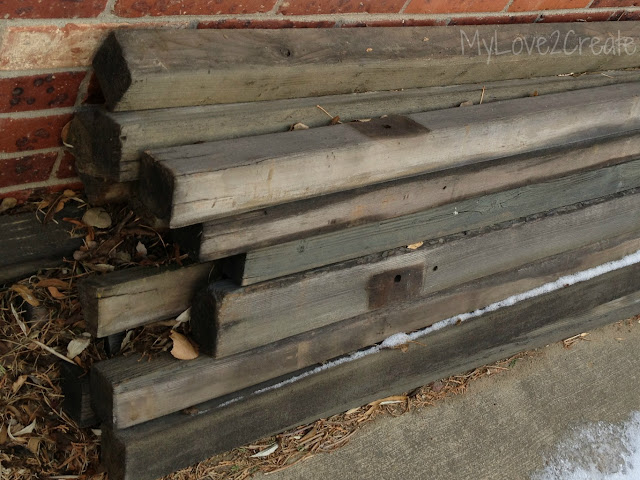
I started to get an idea…I had this amazing old wood that was given to me.
These beauties were once benches around town and the “soon to be Eagle Scout” that replaced them happened to know I like to build….of course I couldn’t refuse his offer! I have had them since last fall and it was so great to think that I finally had a project for them.
I ran went to the shed to see if I had a piece of plywood that would be about the same size as the end table piece I had glued together.
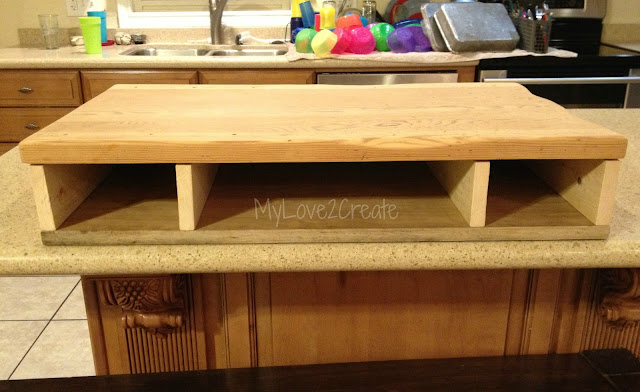
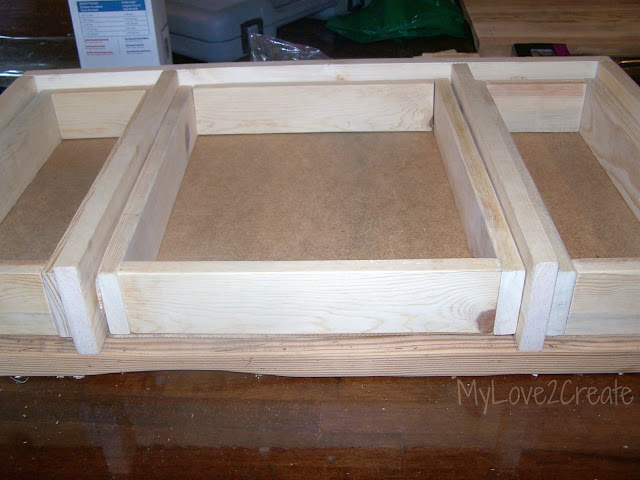
The stars were aligned, I had the perfect size scrap piece! So I set to work and grabbed some scrap 1×4’s and cut them to fit. I ended up with a box like this:
It was decided, I was going to build a desk.
(Please ignore the late night photo, and the dishes, our dishwasher is broken-of course). This was my dry fit and obviously I sanded the heck out of the end table pieces, they looked so much better.
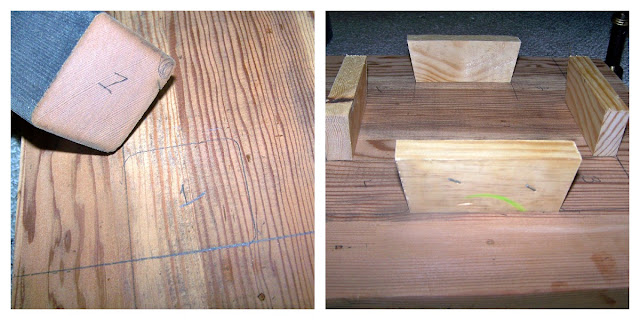
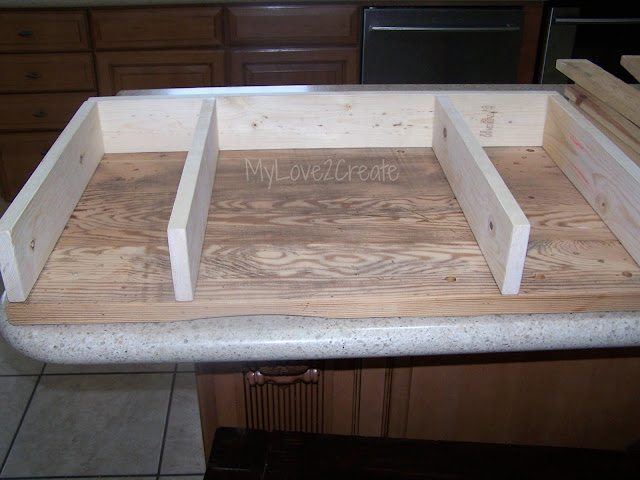
To start I took my top and put it upside down. Then put my 1×4’s where I wanted them and traced lines all around them. This helps when I actually screw them together I know if they are in the right place.
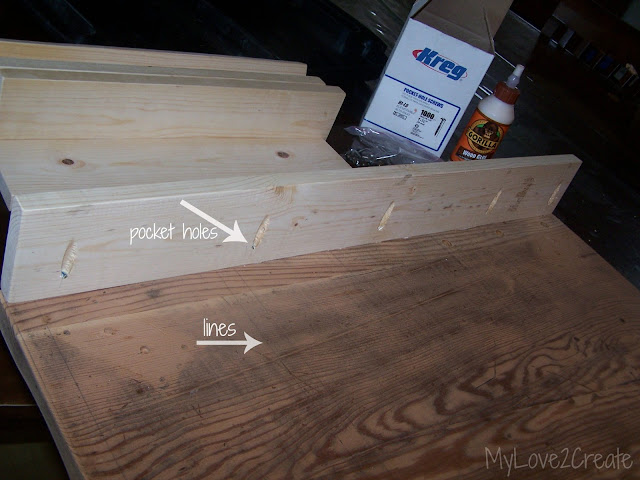
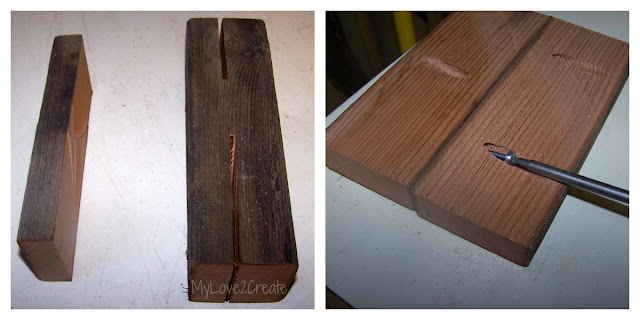
I drilled pocket holes into all the 1×4’s then glued and screwed on the back piece. Remember this is the desk top flipped upside down. 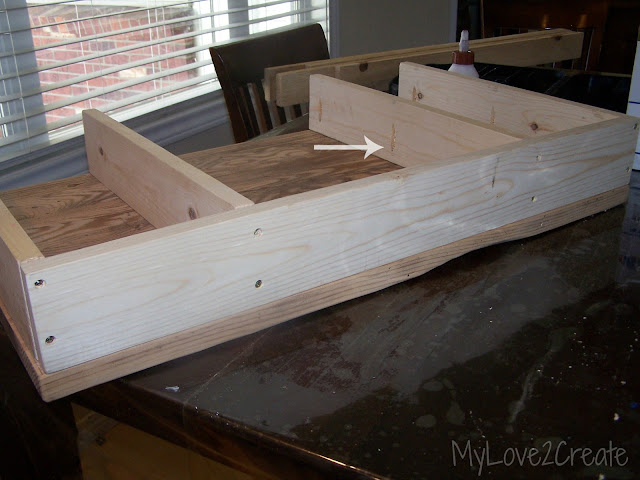
Next I glued and screwed on the side and middle boards. Last, I screwed from the back into the long boards. The arrow is showing my pocket holes, gotta love my Kreg Jig!
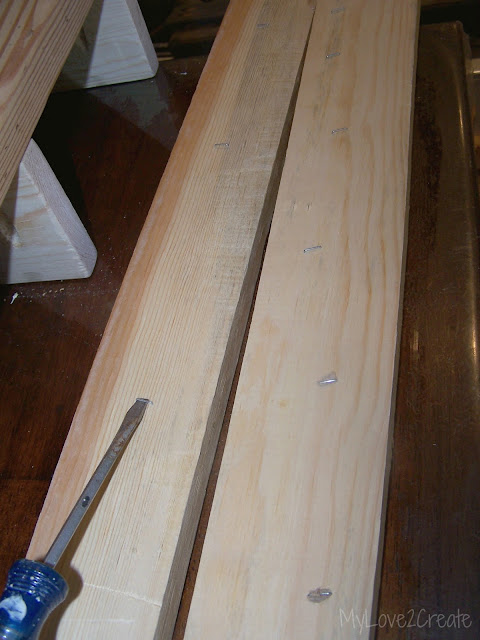
Next up was making drawers. As luck would have it I had taken apart some old bunkie boards (the best way to describe them… they were once a frame and wrapped in cardboard and covered with a material that was all stapled on). Being the cheap person I am I keep the wood that was still in good shape after I demoed them and I am so happy I did because there were 1×3’s the perfect size for my desk drawers. So here I am removing all the staples, that was fun…
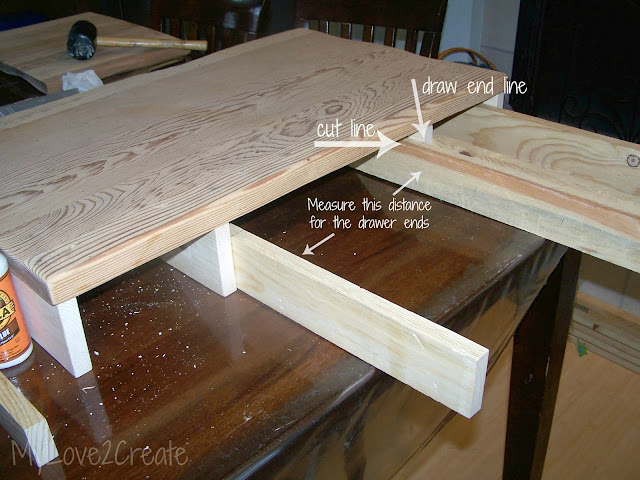
I slid in the 1×3 scraps and measured where I would need to cut to make the box for all three drawers. I measured the very end, and then made a mark back 3/4 of an inch to make room to add a drawer front. I also measured the distance for each drawer end.
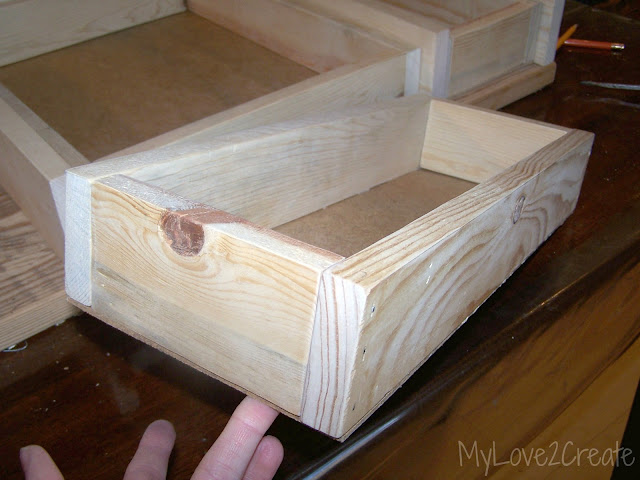
Then I went out and cut every thing and built the boxes with my nail gun. I used scrap wood for the bottom of the drawers as well. You might have caught on by now that this desk was totally and completely free….my most favorite thing in the world!
And I now had drawers!
They are so cute!!!!!!!! This is so much fun, don’t you think?
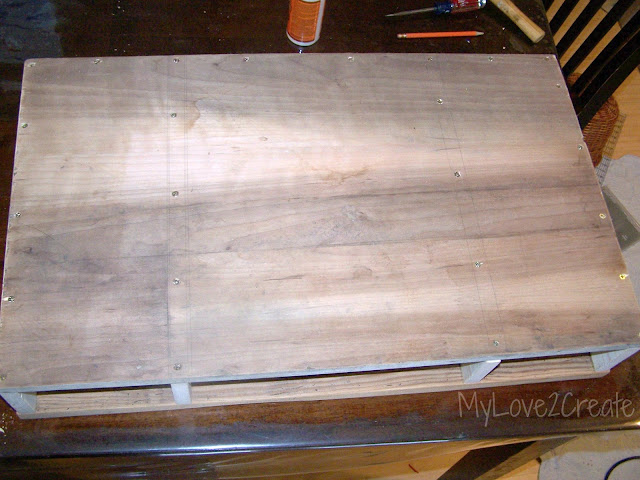
Are you wondering why the drawers are upside down….I was just testing them out. Now I needed to attach the bottom.
I glued and screwed it on. Notice how I drew lines, it helps so I don’t screw in the wrong place…I always pre-drill my holes too, and I might have gone overboard on how many screws, I tend to be a better save than sorry kind of gal.
My desk top was done.
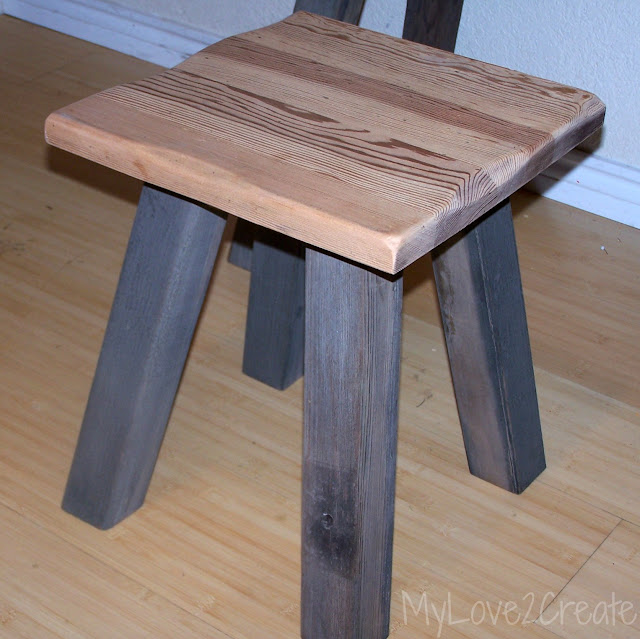
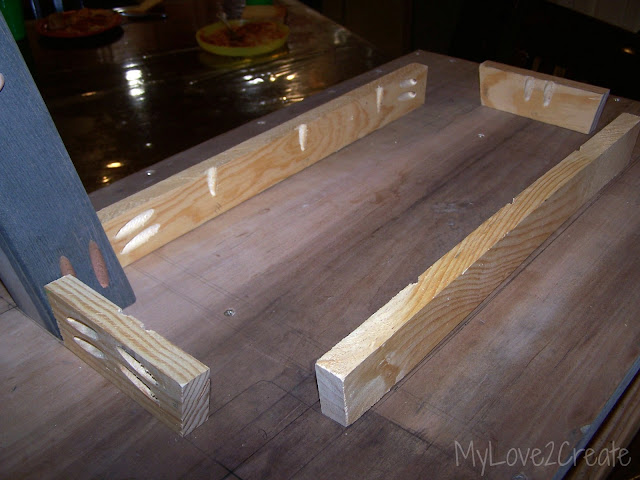
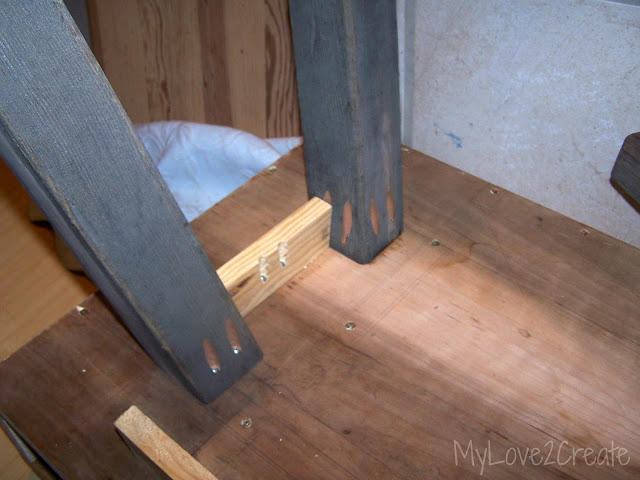
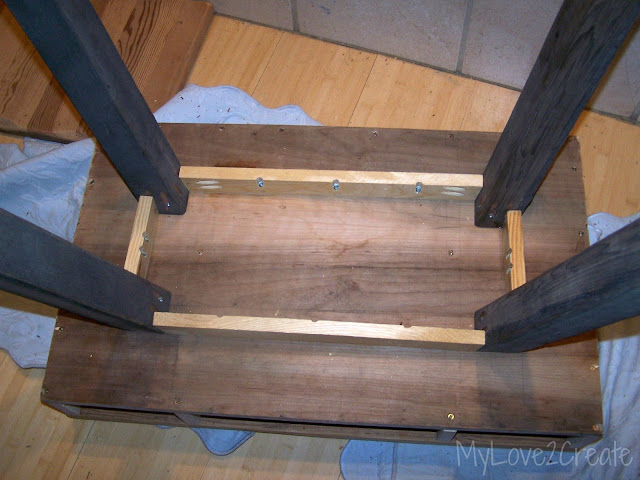
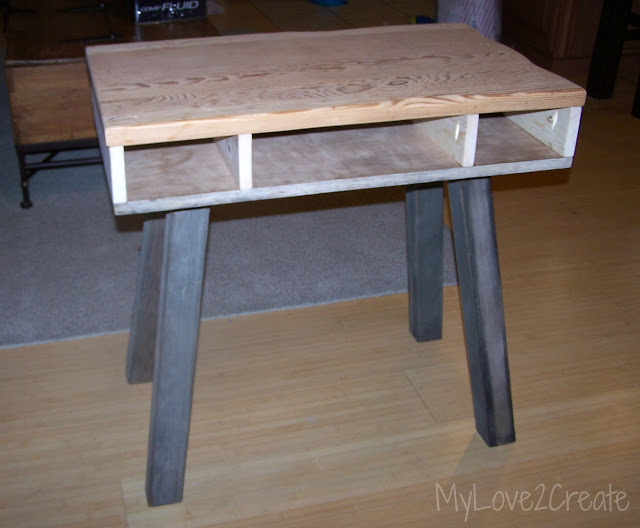
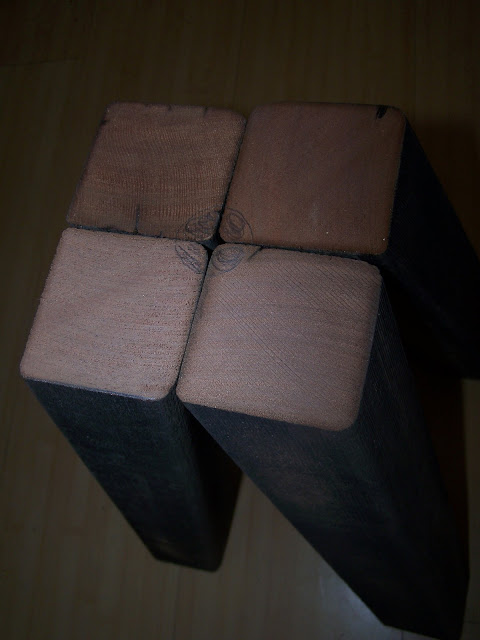
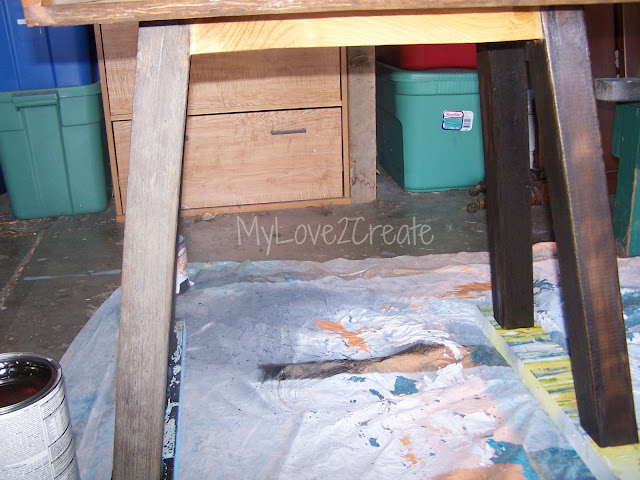
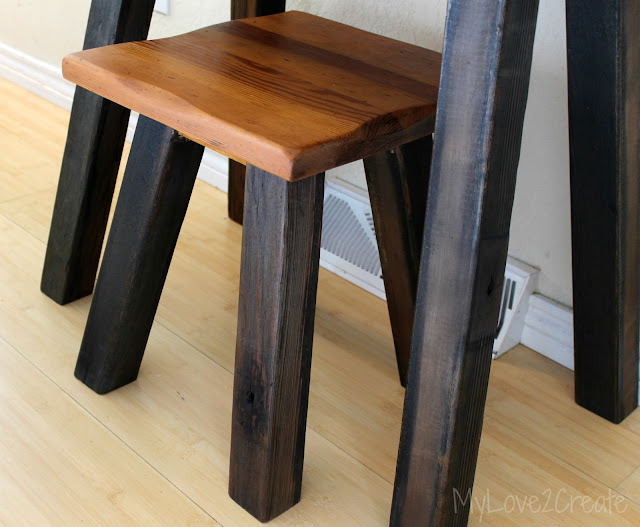
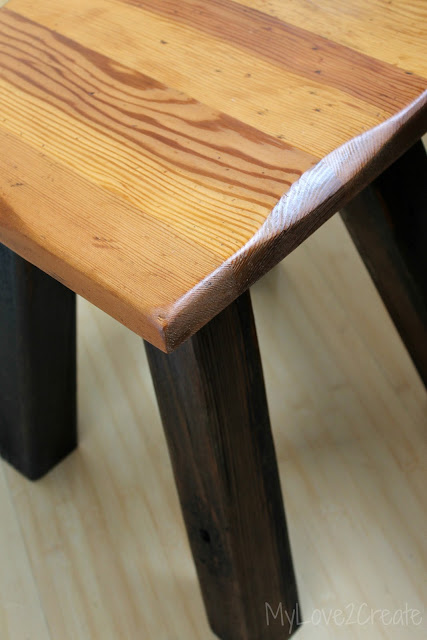
On to the legs. I cut them the height I wanted with a double bevel at 10 degrees, ends parallel. Then I used some more scrap wood from the bunkie boards that were 1×2’s for the aprons.






Wow!! You did all that? That's amazing!!! You're definitely craftier than me!! Your son's desk is full of character..love it!
Selene @ restorationbeauty.com
I am SO impressed with this makeover. My husband is the handy-man between the two of us, so this really amazes me. Clicked on this project over at East Coast Creative and was delighted to end up here. I thought, "I know Mindi!" Hope you get selected for Creating with the Stars! You'd have me in your corner.
Warmly,
Lauren
Oh my gosh. I am so excited the post is up and Linked at Creating with the stars. You already know how I feel about this super awesome desk, but I have to tell you the tutorial is super good too. Even I, the space challenged and tool frightened, understood it. So freakin awesome! I am pretty sure you'll one of the twelve…not apostles, but creative geniuses to win Crafting with the Stars!
I am super impressed with this project and your skills with using tools. I am afraid of tools other than a basic hammer, lol. Thanks for stopping by my blog and taking a look at my bathroom transformation.
How amazing of a repurposing…. Love it!
this is so beautiful! I'm inspired!
you really did WONDERFUL. thanks for the detailed post and pictures!
Wow! What a fantastic transformation. Thanks so much for linking up at One Creative Weekend! Enjoy your week.
You seriously rock! I mean come on! I took a woodworking class in college but man I have never been able to put something like that together!! Bravo on re-purposing! It is so stunning!!!!!!!!!!!!!!!!!!!! You should be so proud!
wow this is quite the transformation! i love the little desk.
I am blown away, what a awesome transformation! Love it!
that's seriously amazing, even more so when you show the side by side. i would never have thought that was the before. you did an awesome job!
This is amazing! I love everything about this project! Really great job!!! Good luck on CWTS!!!
This is the most gorgeous piece of furniture. YOU ARE AMAZING!!! I am in awe of your creativity!
This desk is amazing!!! I hope you make it on crafting with the stars… You totally deserve it for this project!!
That is UH-MA-ZING! You made it totally different and it's beautiful! You rock, I adore it!
Wow, great project and great how-to photos also. Thank you for this post!! What an awesome project! 🙂
Wow! I found this on Hometalk and it is so fabulous! I can't stop looking at it! I happen to have 2 of those very same end tables in my shed right now and you have inspired me to do something with them. Pinned this project! Your blog is new to me, and it looks like a fun one. Happy to be following you via GFC and looking forward to more!
This is beyond repurposing – it's art. Awesome!
Your vision and craftsmanship are amazing. I am truly blown away.
WOW! That's all I can say……….WOW! What a transformation! You are awesome!
Wow! Just. Plain. WOW!
WOW !!!! You did one heck of a nice job !!! Love it !!! Esp love the paint stick front !!! I didn't guess until the last minute !!! Great to have all the right tools to use, too !!! Have seen those pocket drills on TV a few times.
Again, great job !!!!!!! Nice work. 🙂
Truly awesome!
Congrats Mindi! I'm passing the Liebster Blog Award to you which honors new bloggers. Get the details at http://www.laurieslittlebitsofcreativity.com/2013/02/liebster-blog-award.html
Absolutely amazing! I loved this project. Your photos just add to the awesomeness! :O) I love to do woodworking. Check out my site too.
Thanks for sharing!
Pam @ The Patriotic Pam
I love the upcycle!
You are unbelievable. That is truly unique! I would love to have you link this super DIY project at What to do Weekends. Following on twitter and Pinterest. Linda
http://www.craftsalamode.com/2013/02/what-to-do-weekends-7.html
I love this AND I have an end table exactly like the one you used! I am going to try and persuade my hubby to help me. Thanks so much for this wonderful idea!
Really amazing transformation! And I love the paint stick ends detail! Pinning it!
Awesome transformation!!!
LOVE YOUR LITTLE TABLE TURNED DESK, WHAT A GREAT IDEA, I WOULD LOVE TO FEATURE IT, IF THAT WOULD BE OK PLEASE LET ME KNOW,
LAUREN
Wow! You did an amazing job! I found this via the Diana Rambles Pin It Party, and I'm definitely pinning this! Gorgeous desk!
Navy Wifey Peters @ http://usscrafty.blogspot.com
I love this, what an amazing transformation! Thanks so much for the great tute on drawers–I have decided it is time I build some so this will definitely help.
That is one heck of a transformation! You've got a great eye; I would never have thought to transform that side table in such a way. I would love it if you shared this great DIY at Thrifty to Nifty Thursdays at A Jennuine Life. http://www.ajennuinelife.com/2013/02/thrifty-to-nifty-thursdays-8.html
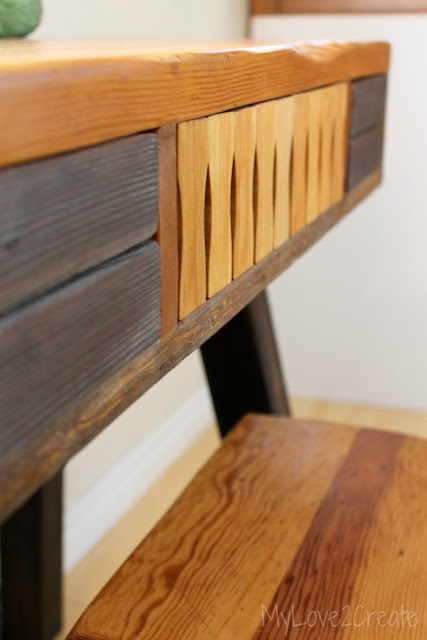
Holly Cow!! This is A-mazing, Mindi! I love that it was free, the way you re-purposed things, and the pretty design! The paint sticks detail is AWESOME! I love it all!
This is an amazing transformation! Great work 🙂
I wanted to invite you to our weekly Meet & Greet Blog Hop! It runs Friday nights till the end of Monday, come stop by if you have time this weekend and link up 🙂
http://createdbylaurie.blogspot.com/2013/02/weekend-meet-greet-blog-hop-15.html
Thanks so much for linking to Make the Scene Monday @ Alderberry Hill. You are being featured today!
I hope you are having a wonderful weekend, and join me later tonight for Make the Scene Monday #63!
What an amazing transformation. Very nice design work. Visiting from Show & Tell Saturday
Gorgeous. Totally gorgeous. I clicked through from the "Creating with the Stars" linky, and I have to say, I'd probably vote for yours ahead of my own, even. I love it that much. (Mine's number 175, the Card Catalog Coffee Table, for reference.) Good luck to you!
I absolutely love this!!! What a great transformation! I'm featuring you tonight at MMM!
Wow! A lot of work that really paid off with an incredibly unique piece. Saw you at CWTS and popped over to pin this 🙂
<3 Christina at I Gotta Create!
Wildly Original linky party every Wednesday
Oh my goodness, never in a million years would I have seen that side table and lumber and come up with what you did. You get my vote!!
I hate throwing anything away and instead try to re-purpose them. I love how your desk turned out. Thank you so much for sharing with Saturday Spotlight. Have a great week and come back soon!
This is an amazingly repurposed and reinvented piece. Congratulations!
Small House / Big Sky Donna / White Oak Studio Designs / SW Michigan
Hand-Painted Vintage Furniture Transformations
Blog: http://smallhouseunderabigsky.wordpress.com
Facebook: donnaallgaierlamberti@facebook.com (for portfolio of chalk painted work)
LOVE this!!! It is so creative and beautiful. I am off to pin!
honestly…this is one of the most awesome transformations ever! I feel like I learned so much from your tutorial. Wish I could just hang w/you and watch your magic. Your son will love his desk so much!
LOVE IT! SO impressed. Come repurpose my house? 🙂
So impressed! Love it! I'll have to rethink some yard sale finds now! Thanks for sharing & linking up @ DearCreatives.com Hope your having a great week!
oh my gosh… Mindi–you have me sooo itching to get back to the shop! I love your vision!
this is such an awesome project. I did click over and clicked your link 🙂
catching you (again)
gail
I love looking at your post. I also have a kreg and seem to split the wood more then bring them together. I was trying to make dinning room chairs for my table but got frustrated that the wood kept splitting. Any advice on how not to do that? I was having the most problem with I believe 1×3. Thanks in advance.
Hi Lacey! I totally understand I have had problems with splitting too. It could be several different reasons. Are you using the proper kind of screws? Also sometimes you have to adjust the collar depth a little to adjust to the thickness of your wood. I have found that sometimes it is just me over tightening the screw. Here are a few links that have helped me in the past. It is good to read through them and see which things might work for you. I hope they help! Good luck!
http://www.sawmillcreek.org/archive/index.php/t-162066.html
http://shiftctrlart.com/BlogPost/ukat
http://www.woodworking.com/forum/archive/index.php?t-5447.html
http://kregjig.ning.com/forum/topics/tips-to-avoid-wood-splitting