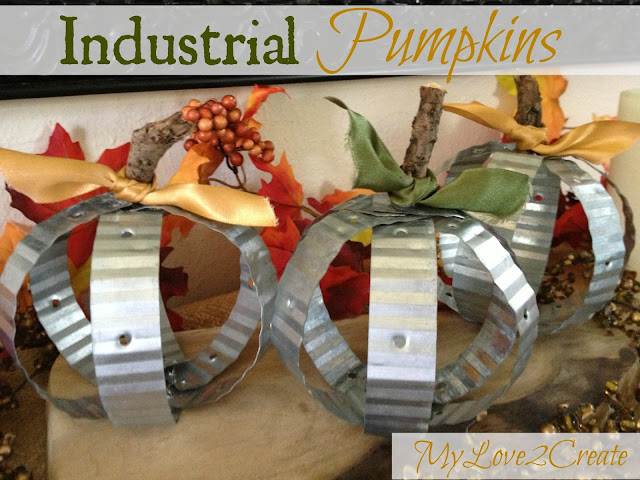
Industrial Pumpkins
I have been seeing pumpkins. Super cute pumpkins…everywhere, and lamenting that I had none.
Today I was going to the garage to get something for a different project when I had a moment of inspiration…
So, I set to work, and yes, I totally dropped my other project…in. the. dust. Don’t worry, I’ll get back to it…eventually =).
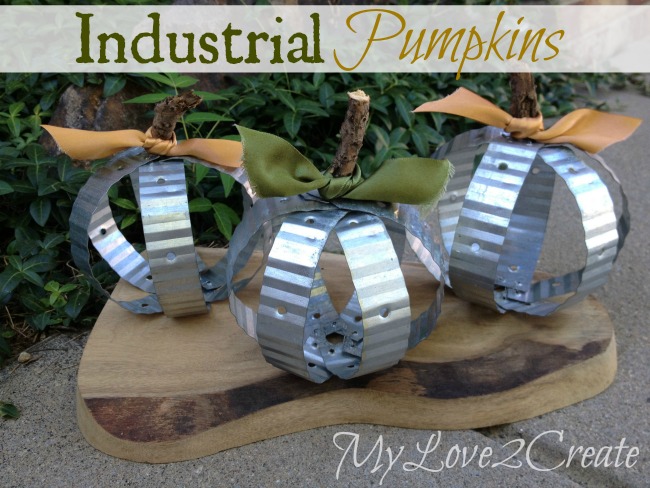
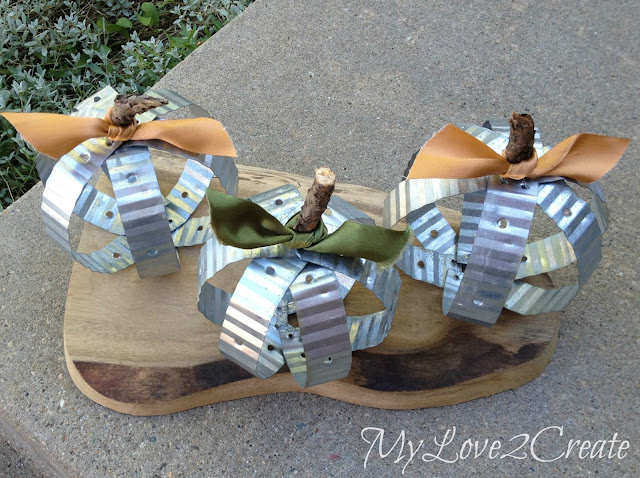
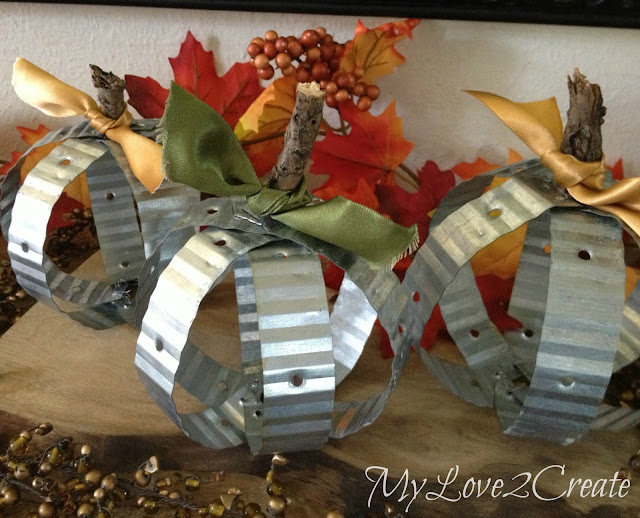
I did some experimenting and came up with these cute industrial pumpkins! I love them!
They were actually really simple to make and I will show you how, just don’t ask me what those metal things are…I am working on it (meaning I will take one to Homedepot and ask someone), but my kids have been out of school, see this Post, and that means running to the store is not happening. They start back tomorrow so I can update the post then….I just had to post these right away!
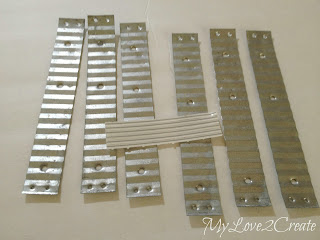
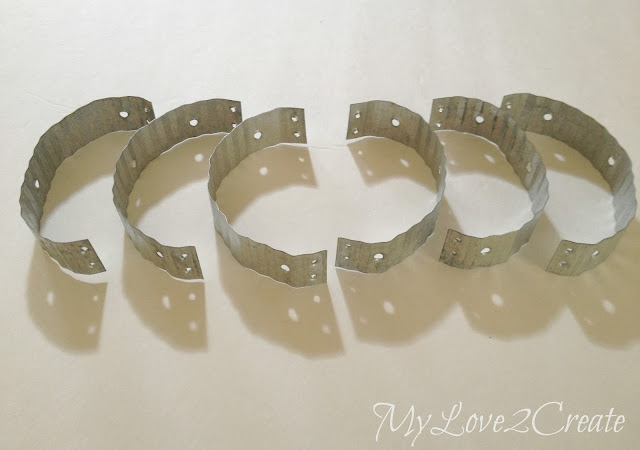
So here are the mysterious metal pieces. I added the two holes on each end myself. They only started with the three holes. I actually used one as a magnetic strip on my Dual-sided Message Center. I got a whole box of them at one of my “free wood” scores on craig’s list. The people were moving and getting rid of stuff and willingly gave them to me. I thought they might be useful someday, and I was right! (adding it to the hoard, my poor husband!)
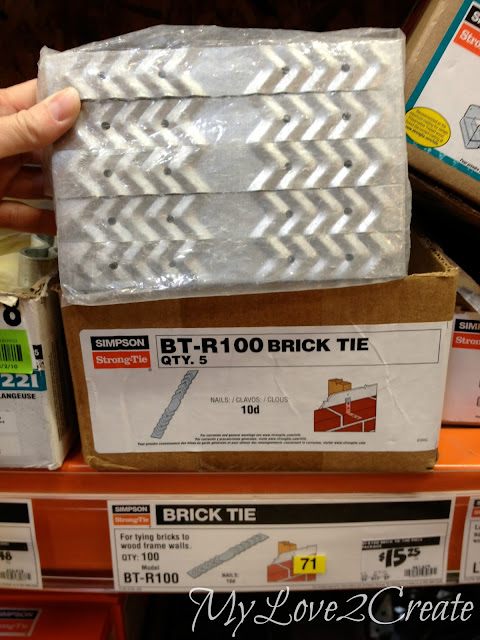
*Update* I went to Home Depot today and discovered what the mystery metal pieces are. They are called brick ties, and they are used to help secure bricks to the structure they are being installed on, helping to hold the bricks in place (at least that is what I understood from what the nice guy said =). I took a picture for you (I like the pattern on these too, totally looks like chevron!).
Ok, done with the update, back to the post!
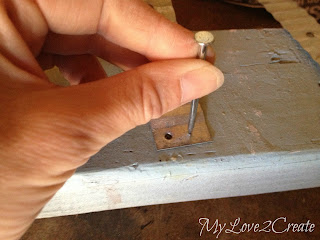
When the idea hit me, I set to work right away and started punching two holes in the ends of each metal piece. I got a scrap board, a nail, and pounded away with a hammer.
If you noticed in the first photo with the metal pieces all in a row there were some twist ties. Those are important to have, I tried using regular wire and it didn’t work, it was too thick.
Oh, I am getting ahead of myself, before I used the twist tie wire, I bent all my pieces like this. The mysterious metal is pretty easy to bend, but not too bendy. (is that even a word?)
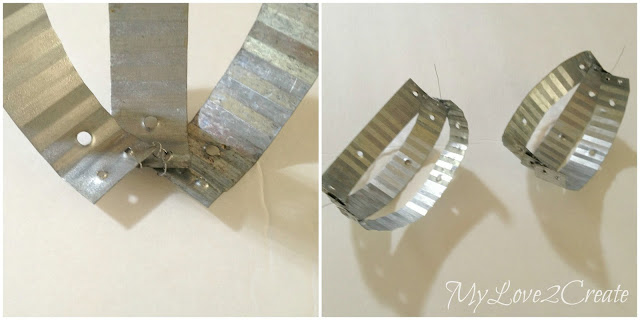
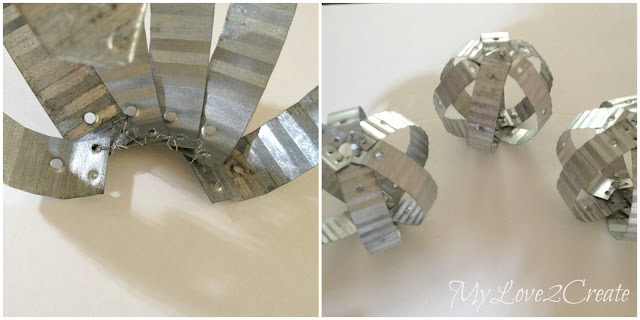
I stripped the paper off the twist ties and used the wire to sew the metal ends together through the holes I punched. For each pumpkin I used six strips of metal, and 8 to 10 twist ties. I sewed three together at a time, on top and bottom, see photo on right. Then I attached the two sets of three to form a ball.
You can do it that way, or like I did on my first attempt, and add one strip at a time (above left photo). Either way you just use the twist ties to wrap through the punched holes until you have a cute little ball. (note the center one on the right, I only punched one hole on the top and secured it with a thick wire, I decided to do the other two the same on the top and bottom by punching two holes)
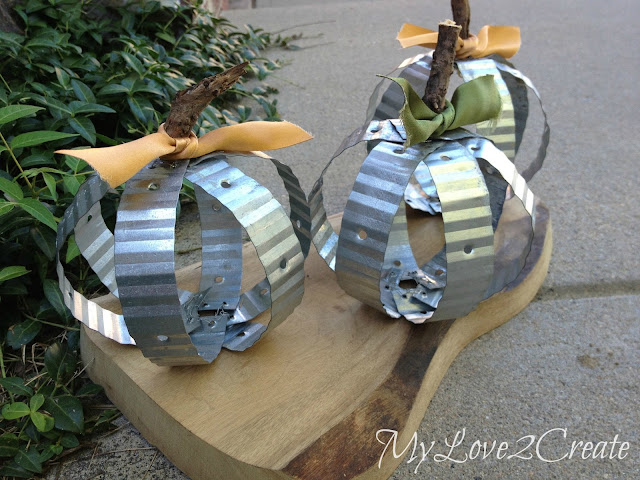
I went outside and found a stick, cut it into three pieces with a hack saw to make the stems. I used a little hot glue to secure them into place, and added some ribbon! All done!
They are super fun!
My kids have been playing with them all afternoon, and they are holding up nicely, thank goodness.
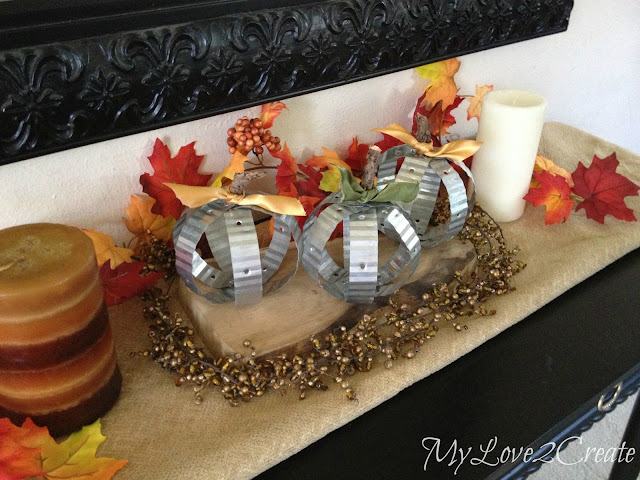
Here is where they currently reside. They are doing a good job of making me smile when I walk by because,…
I finally have some pumpkins, and cute ones at that!
I love the industrial look with the rustic wood, two of my favorite things!
Do you have fall pumpkins in your home?
Thanks for stopping by, please come again!
Mindi
I will be linking to these parties.


Totally my style! I love them! Pinning
Very creative thinking!
Ok these are adorable!!! Love! Thanks for sharing with us! 😉 Bonnie @ Uncommon Designs
How creative! They are very cute, I'm loving that rustic-industrial style 🙂
Love your mystery metal pumpkins!! Such a great idea.
The industrial look is so popular – perfect timing ,
Deb@LakeGirlPaints
I love these! The texture of the metal is what really makes them great, plus the softer additions to the top. Great project, you're so creative!
These are super cute. Thanks for the great idea.
in love. So stinckin cute!!!
Really cute! Pinned. I 'm making scraps pumpkins. Stop over:)
Very Clever! I love the industrial look of these pumpkins. I would love for you to link these little pumpkins and anything else you'd like to our All Things Thursday Blog Hop going on right now. Hope to see you there!
Blessings,
Nici
How cute are those! I pinned 'em.
Very cool! Way to work with what you have on hand!
Very cool! Way to work with what you have on hand!
These are super creative! I can't wait to start breaking out the fall decorations soon. 🙂
Oh so chick. Love them!
I love what you have done. Please come show off your creativity at Frenzy Friday.
We are at http://obsessiveandcreative.blogspot.com/2013/09/craft-frenzy-friday-5.html I will not be a party without you!.
Very creative… I love them!
Very clever! I love things made with hardware!
Noreen
Crafty Journal
So cute! I thought they were cookie cutters when I first saw the picture. Great job! Thanks for sharing! Stop by my Friday's Five Features and link up this post (and others)! diy-vintage-chic.blogspot.com/2013/09/fridays-five-features-no-9.html
This is exactly why I'm not a DIY blogger 🙂 I would never have thought to do something like this, but I love the way they turned out! Found you over at Weekend Wonders.
Very cute!!!
Those are GREAT!! I'm featuring them on MMM this week.
Yep!! A true original here friend! I have never seen anyone use metal before with pumpkins…..hey turned out amazing! They are so whimsical!!!! And way to go on repurposing!!! I am sending you a big high five for your creative, amazing work!!!! All the best this weekend!!!! You rock!!
I love this project! I teach 7th grade and this might be a great project to do with a small group for enrichment. Thanks so much for sharing at Throwback Thursday!
Paula@SweetPea
http://www.virginiasweetpea.com
Completely adorable!! Great job!
Mindi,I saw these over at the Happy Housie and just LOVE them! Such a great and creative idea! Thank you so much for sharing and pinning! If you have time, would so love you to share these at our Best of the Weekend party. Have a happy Saturday and a fabulous weekend!
These are fantastic! what a great use of leftover materials and a fun pumpkin for fall!
Visiting from Be Different Act Normal – Rhonda @ home.made.
These are great! I love the way the industrial mingles with nature and the bright oranges reflect off the metal… and the fact that they come pre-cut in the perfect length too is a bonus!
I linked over from the Craft Frenzy Friday Party where I am participating too with Ghost Shaped Card and Free Cut file and would love it if you'd stop by.
Hugs, Antonella 🙂
These are great! I'm definitely going to have to attempt to make some!
Misty
http://thebarnprincess.com
Woman, I totally love this! Very creative and way cool! lol 😉 Mindi, you sure do come up with some very creative creations. I enjoy seeing what your mind thinks up next. 😀
These are really cute. Thanks for linking up at Throwback Thursday.
xoxo
Denyse
I love this! I have seen them made with canning jar rings, but love the look of these! Thanks for sharing at the party! Theresa @DearCreatives
Love these pumpkins. 🙂
These are SUPER cute!! Thanks for linking them to Think Tank Thursday. I featured them today at saving4six(dot)com.
Hi Mindy! Popping back over to let you know that your great pumpkins are one of my features at tomorrow night's Best of the Weekend! Thank you again so much for sharing them and have a fabulous Friday!
Stopping over from DIY Vintage Chic. — I love your pumpkins. They are so cute and modern! I love it when someone can see past the ordinary and see what it could become. Great job!
If you're interested, I'd love if you shared this at my Show & Tell party going on right now. http://www.gingerlymade.com/2013/09/show-tell-45.html
Thanks for linking up to Gingerly Made's Show & Tell Party. YOU've been featured! http://www.gingerlymade.com/2013/10/show-tell-features.html
Thank you so much for sharing this post at last weeks Saturday Spotlight on Angels Homestead!
Hope to see you again this week!
April
This is a great post. Thank for share this