Kids Pull Down Table
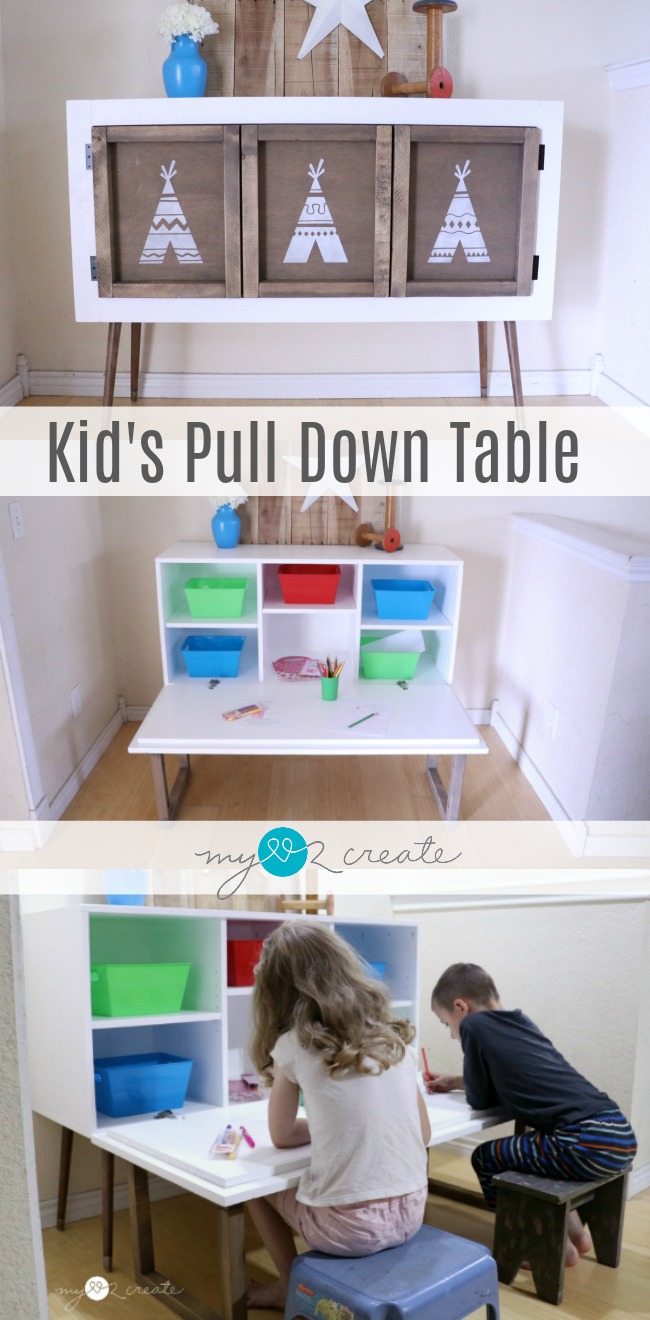
Nothing makes me happier than a piece of furniture that is functional, so when it is also stylish…well I call that a match made in heaven, and my kids like it too!
This is a sponsored post with Kreg and I am happy to share the free building plans with you on their project plan site, Buildsomething! So be sure to them out so you can build your own! And of course, all thoughts, opinions, ideas, and use of tools are my own. I use what I love!
How to build a Kids Pull Down Table
Let me show you some in process shots…
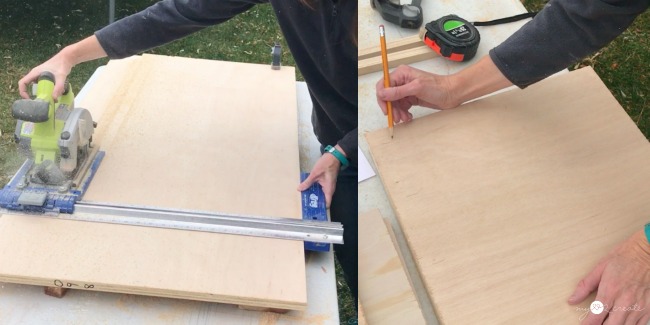
I started with making my cuts, and of course using my favorite tool combo, my Ryobi Circular Saw and my Kreg Rip-Cut
was a great help on the larger plywood cuts.
I also find it very helpful to mark where I need to drill my pocket holes after I cut my wood (right). This helps to avoid drilling pocket holes in the wrong place! Trust me when you are drilling a lot you can easily get confused, or forget. If you mark first, then you can just look for the marks and drill with no worries of putting them in the wrong place!
I really want to share this tip from the photo above. Soooo many times I will cut my wood and then start building without checking to see if things are going to fit… you don’t want to do this!
For this project used some plywood I had in my scrap pile and one of the pieces was just a little short of what it was supposed to be, but I knew it would still work…so I used it, and tried to modify my other pieces as I cut them.
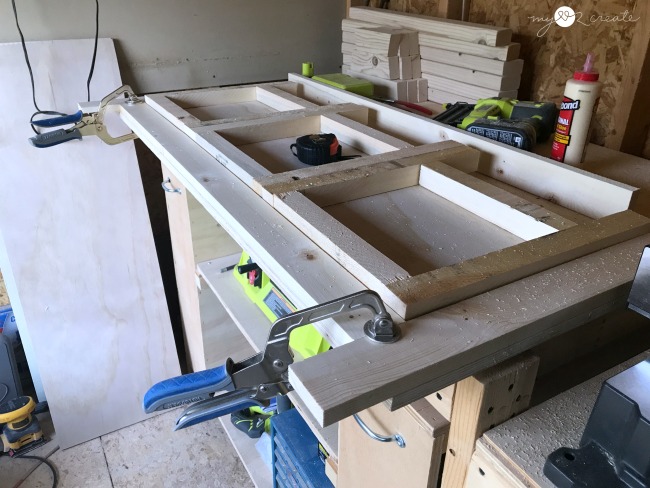
When I finished cutting I had the presence of mind to check to see if the front frames fit over the plywood, and it is a good thing I did! I ended up having to shave off a tiny bit on each rail in my three frames…if I had built them without checking I would have gone to put them together and they wouldn’t have fit! Phew! Disaster averted.
Moral of the story…always do a dry fit before building. It is worth the few extra minutes to check!
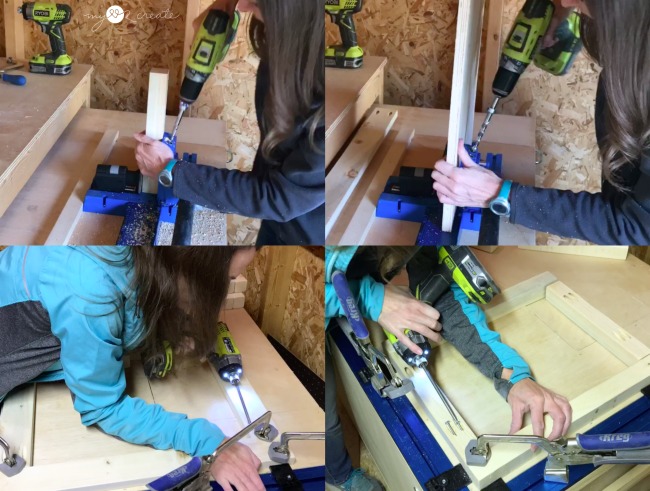
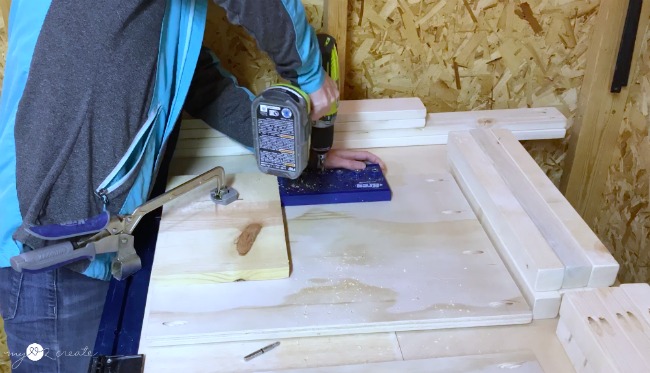
After I had all my cuts done I got out my Kreg K5 Pocket-Hole Jig and drilled all my pocket holes, then sanded all my pieces before building.
You can sand after, but I find it much easier to sand before I build, it is totally personal preference. 🙂
For this Kids pull down table you will need a large face frame and 3 smaller frames for the front. I used my Clamp Trak Kit to help hold my frames in place while I drilled in my pocket hole screws.
All you really need is a clamp to make sure the joint stays together while you drill. If there is one tip I can give you when building with pocket holes always clamp if possible!
I drilled pocket holes into my shelves, and then at the last minute decided that I would rather have them adjustable, so I got out my Shelf Pin Drilling Jig, oh I love this thing, and drilled holes into my sides and divider pieces.
You can see the scrap board I used to position the jig at the height I wanted for drilling…Yay for not having to measure and mark!
The original post didn’t have any plans, or they had been removed, so I had to figure a few things out on my own. And this was my first challenge, figuring out how to make the hinges on the frames work in the design…
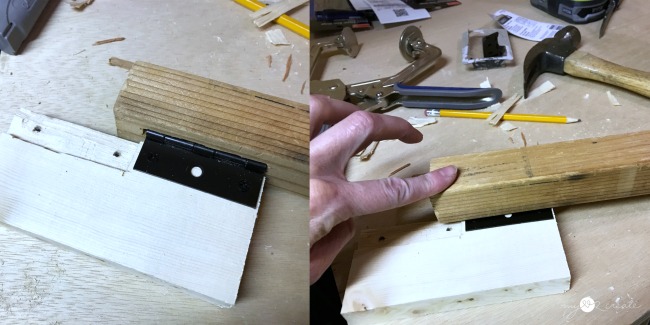
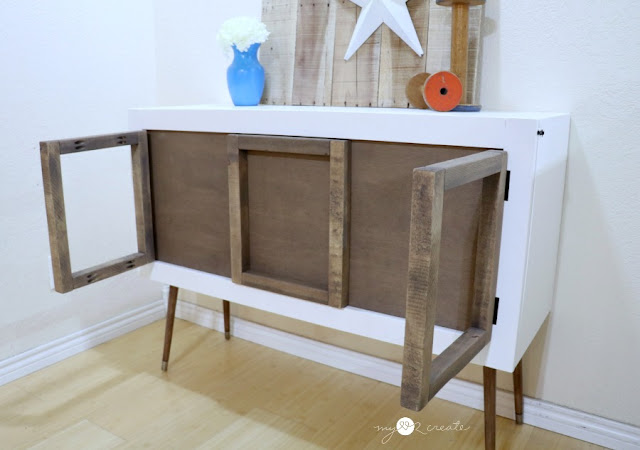
I used some scrap pieces the same size as my face frame and my 2×2 frames and set to work to solve my problem and get my frames to fold out so they sat flush with the face frame. And I did it!! After a few trial and error attempts… The solution was to notch out a strip on the 2×2 frame for the hinge to rest in. You can see I first notched out a place for the hinge…which was unnecessary. 🙂
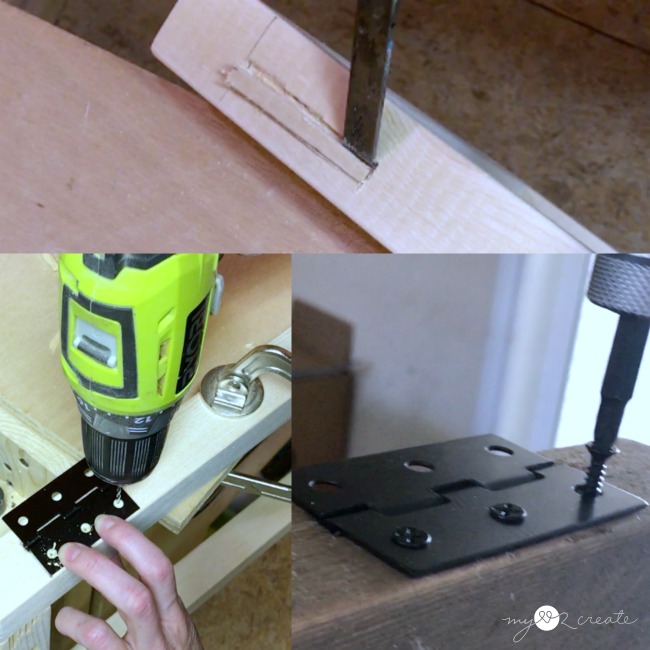
I used a Multi-Tool to cut along the marked lines where the hinge would lay, and then used a chisel and a hammer to knock out the wood. I really was pretty quick and easy. I decided to pre-drill the holes for the screws, to save time for later when I was building.
See how nice and flush it sits?! This made me so happy!! It is the simple pleasures people! 😉
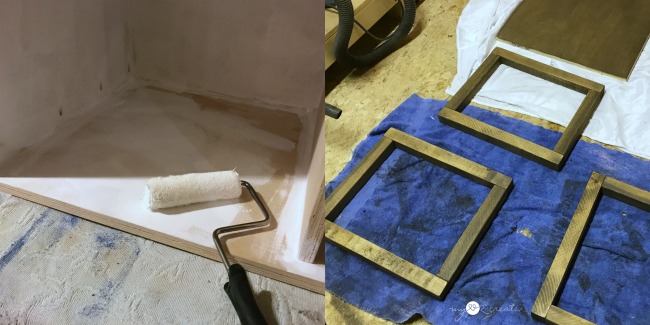
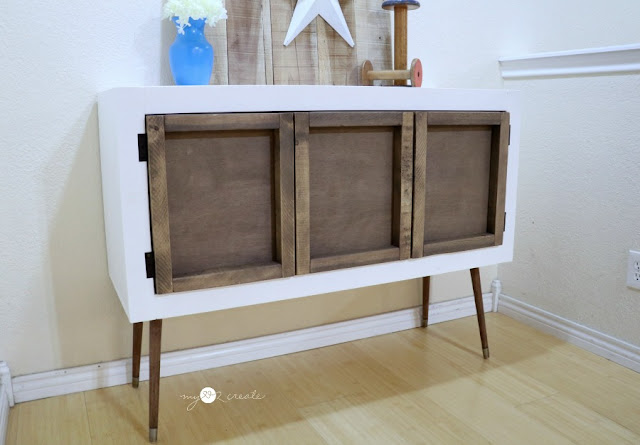
I always struggle with how to finish pieces…I am very indecisive. So because I love my Modern Rustic Buffet, and because I wasn’t feeling very good when I was ready to finish this project and couldn’t think…I did a similar look.
Stained wood and white, classic. P.S. Foam rollers for painting are the bomb. Does anyone even say that anymore? Ha, I guess I do.
So there you have it!! Isn’t it pretty!?! I really do love it, but when I got to this point those panels were just too…blah.
So indecisive me decides I need a stencil…and I don’t feel good and I am tired…and I have to make a decision? Smart. Not. But I am set on putting something inside…did I mention I am stubborn too…
Oh, lets do a quick pause and admire those fold out frame legs that work so perfectly! Sigh.
Where was I? Oh yeah, my stenciling dilemma. I thought about trying a geometric shape but couldn’t decide. I texted my sister and she had a good idea, but it didn’t have enough pop, plus she is just as indecisive as me. Ha ha!
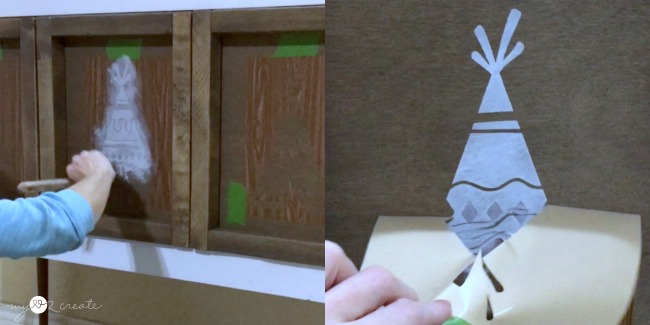
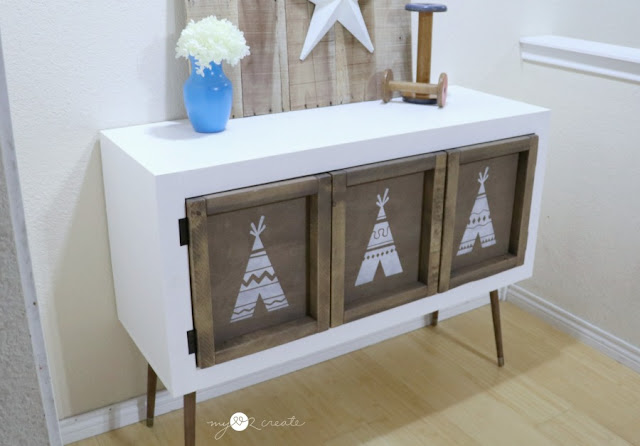
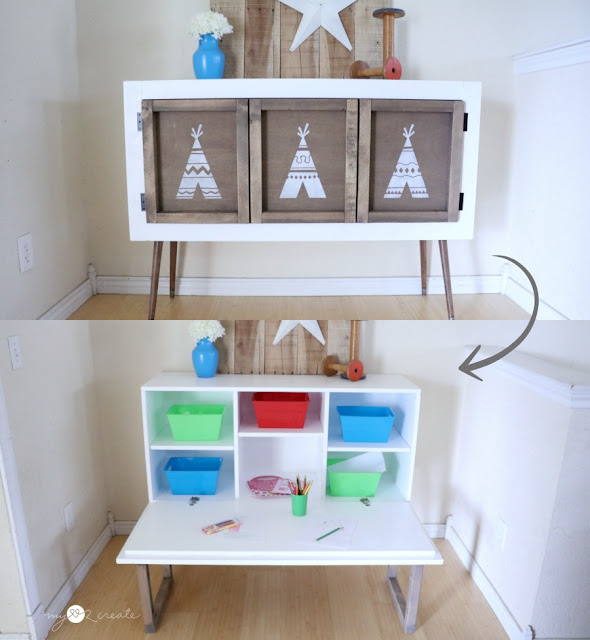
Then I did have an inspiration, to do a boho or tribal look…and I loved the idea… But, sooo many designs. And I didn’t want to pay for the really cool ones. (cheap) Somehow in my searching I found these adorable teepees on etsy and decided they would fit the bill and I made an executive decision and went with it. It is for my kids after all, I will be keeping my buffet and this will go down in their room. So it works.
I used my Cricut Explore Air™ to cut the pattern out of contact paper and the used it as a stencil.
I am loving the teepees! Of course if I was keeping this for me…I might have to splurge on some cool tribal designs, just sayin’.
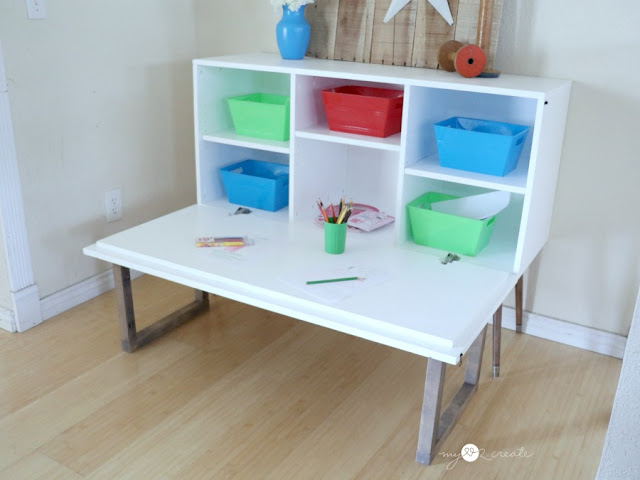
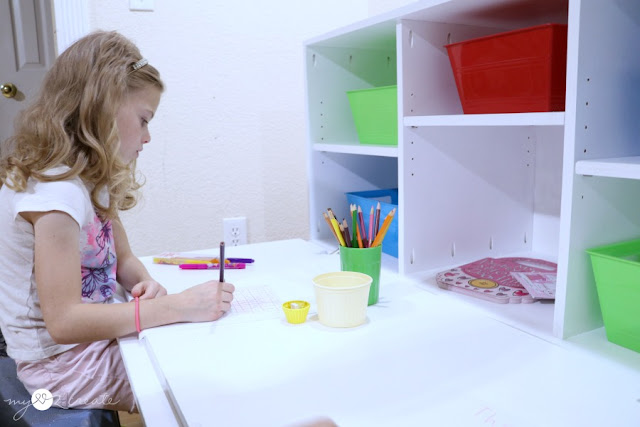
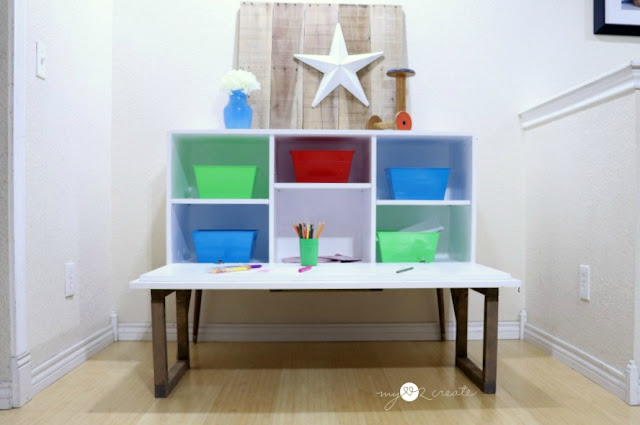
Look how fun it is when it is folded down, it can be used as a craft art center for the kids, a LEGO table, books, toys, anything!
You can even use it as credenza or buffet and fold it out for the kids to eat at during the holidays when you have company over!
Now I did have a second challenge on this project, but you can read more on that when you see my plans on Buildsomething. I had to figure out how to best install this hinge, and ended up doing some notching on the table top. The trick is you need your legs on the cabinet to be the same length as the fold out frame legs, I thought I had measured mine, but they ended up being a little too long, so I had to motify a bit, but it all worked out!
And that is it! My kids have been doing a lot of drawing the last few days, any excuse to sit at their new little table.
I must confess I have been itching to build some cute rustic stools to go with this…maybe that can be my next project?!
Do you think your kids would like this? I would love to know what you would use it for if you had one in your home!
Get the plans for this Kids Pull Down Table on Buildsomething!!!
Hugs!
Mindi



Such a cool idea. The design is so cute too. Thanks for sharing with our link party!
That is so cute in the room and I too love that it is functional! Thanks for sharing with SYC.
hugs,
Jann
Such a creative idea! And I like the design of that table as well! Kids must me excited to have this awesome table at their use 🙂 thank you for sharing this with us, I will totally keep this idea in mind just in case 🙂
cool