Kids Street Sign
I have been wanting so share this project for a LONG time, but time is not always on my side, if you know what I mean. I never seem to have enough of it!
It is another pre-blogging project so it is not a tutorial, BUT if you want me to do a tutorial please let me know. (I secretly want to make another, maybe for my front porch!)
Last year, my friend Iuliana called me and said she wanted to make a sign for her daughters Elmo Party, and wondered if I would help her with it.
Of course I was totally on board. I love projects and as luck would have it I had seen some newel posts at the Restore the previous day for only $1 each. I guess it was meant to be!
Since I was going to help her make one, I decide to make one for my youngest son as well.
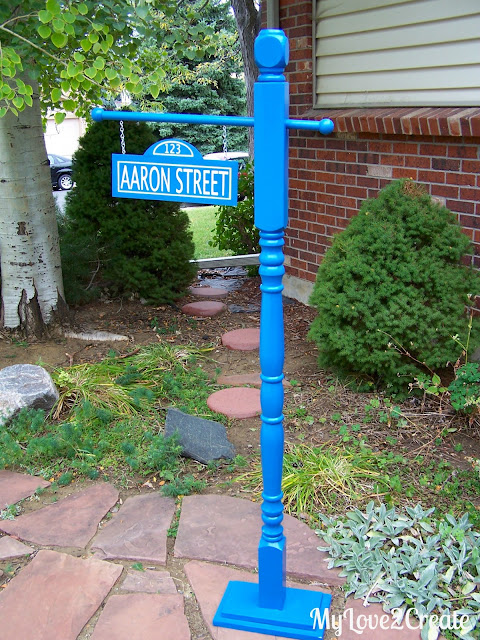
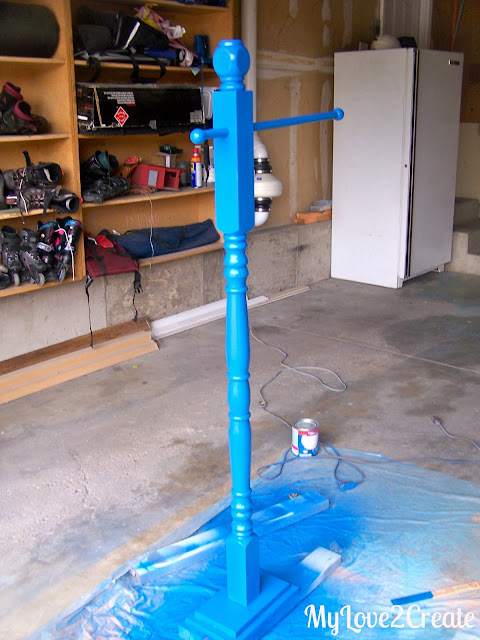
Here my post has just been painted. I used two pieces of scrap wood glued and screwed together for the bottom. Then I drilled pocket holes in the bottom of the newel post (that is the main section of the sign with all the pretty curves and detail) to secure it to the scrap wood. The very top piece was cut off of another smaller newel type post (another restore find, but only 50 cents a post). And then I drilled a hole for the dowel and glued on little knobs.
It was a super easy build!
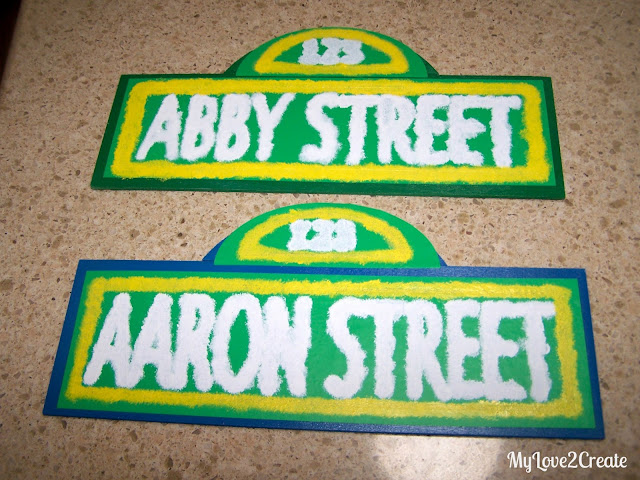
For the sign I used craft wood I had on hand, then cut a craft woodcircle in half to make the two tops for the signs. They were glued together and painted. Next I used my cricut to design and cut out the names and numbers. You can see how Iuliana and I pounced on the paint!
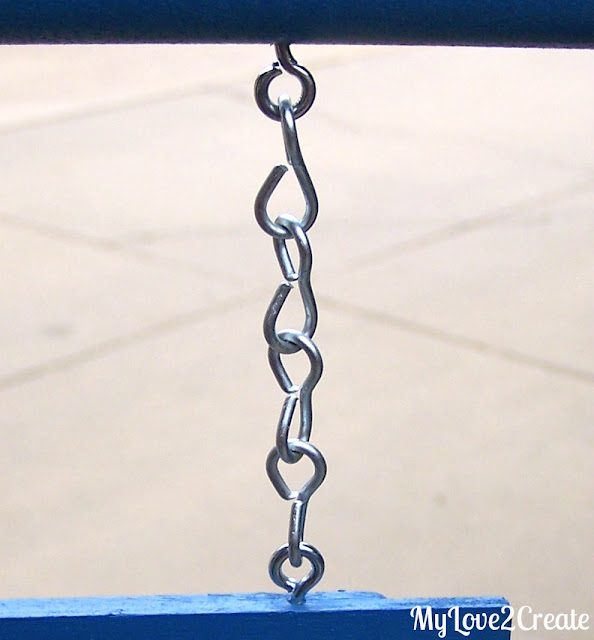
And I used little eye screws to attach the sign with a chain, this chain was definitely my FRIEND! (If you want to know why take a look at this POST).
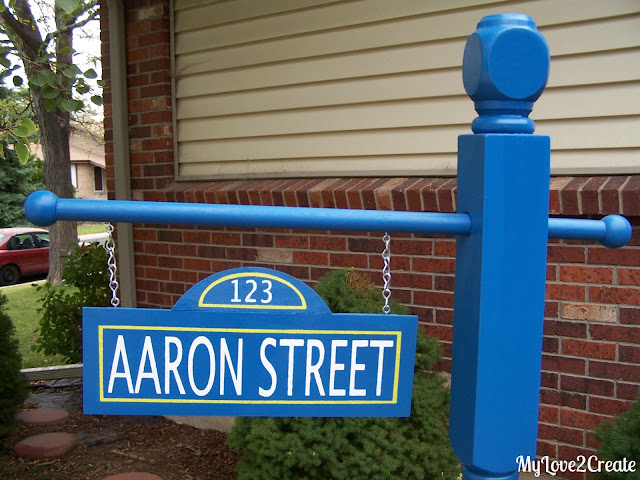
And there you have it! Super cute for a kids bedroom, and especially if they are into Sesame Street. My little one loves his sign!
It even came in handy for a quick Halloween makeover for my front porch…
I added my Halloween Sign I made and used and old ripped black sheet. I just ripped it up into strips and wrapped it around my sign post! (anyone remember that little bench?)
So there you go, a super cute and fun project!
Let me know if you want a tutorial! It will get me motivated to make another!
Mindi
I will be linking to these parties.

OH my cuteness! I absolutely love it! What a great idea! You can use this for so many things! Your such a create lady!!! Ha and I know what ya mean about the time thing!!! Great stuff!
that is definitely an awesome project! Everybody love sesame street 🙂
So perfect! It looks like you bought it at a store! At first I thought you'd painted it for Halloween 🙂 oh, well, great idea!
Ahhhh…it so very cute! Thanks for sharing at my party this week.
Blessings,
Linda
So excited you posted about it! It looks great and the pictures look good too!
This is such an adorable idea. I was just showing my sister some of the things you have made and we're both in awe 😉 You are crazy good!
xo
summer
such a cute idea 🙂
http://xtheperfectmess.blogspot.com.au
OMG this is adorable!
Oh this is TOO cute. My friend is planning a transportation-themed nursery right now – something like this would be so cute! I hope you do post a tutorial so I can point her to it. 🙂
Kelly @ View Along the Way
http://www.viewalongtheway.com
Wonderful project! I'm aching to do some outdoor spring-y crafting. Ideas are swimming in my head for the "signs" to swap out – thanks for sharing, and yes, I'd love to see a complete tutorial on making it from start to finish.
I saw your post on Diana Rambles: Pin Me Linky Party #19. Pinning! My posts are #186 and 188.
Reecea
Okay, this is so darn cute! I can't believe you made that sign. No wonder your friend came to you! I'm sure she was really happy with it. I'm so glad you stopped by so I could visit you back. Your blog is awesome! I see that we started blogging about the same time. I love finding new bloggers. Have a great weekend!
Debbie
So fun! Love it! Recently found your blog and am enjoying it. Nominated you for the liebster award. You can find details here on my blog:
http://www.createitgo.com/2013/02/liebster-award.html
Thanks!
I love this! What a creative idea!
Love this idea! Great to make this spring!
Kimberli @ greatastestuesdays.blogspot.com
Oh my word. This is just too cute! Love it! This would be so fun for my daughter when she is a little older! So glad you shared it!
Jenna @ http://rainonatinroof.com
I love this idea & the Sesame Street sign is cute too! Thanks for sharing & linking up @ DearCreatives.com Hope your having a great week!! Theresa
This is very cute! Happy Valentines Day and thanks for sharing at Monday Funday this week!
Take care,
Trish
Love it Mindi! Pinning it!
gail
Hello! Do you take custom orders for the signs? If so, please email me at christian.reyna84@gmail.com. Thank you