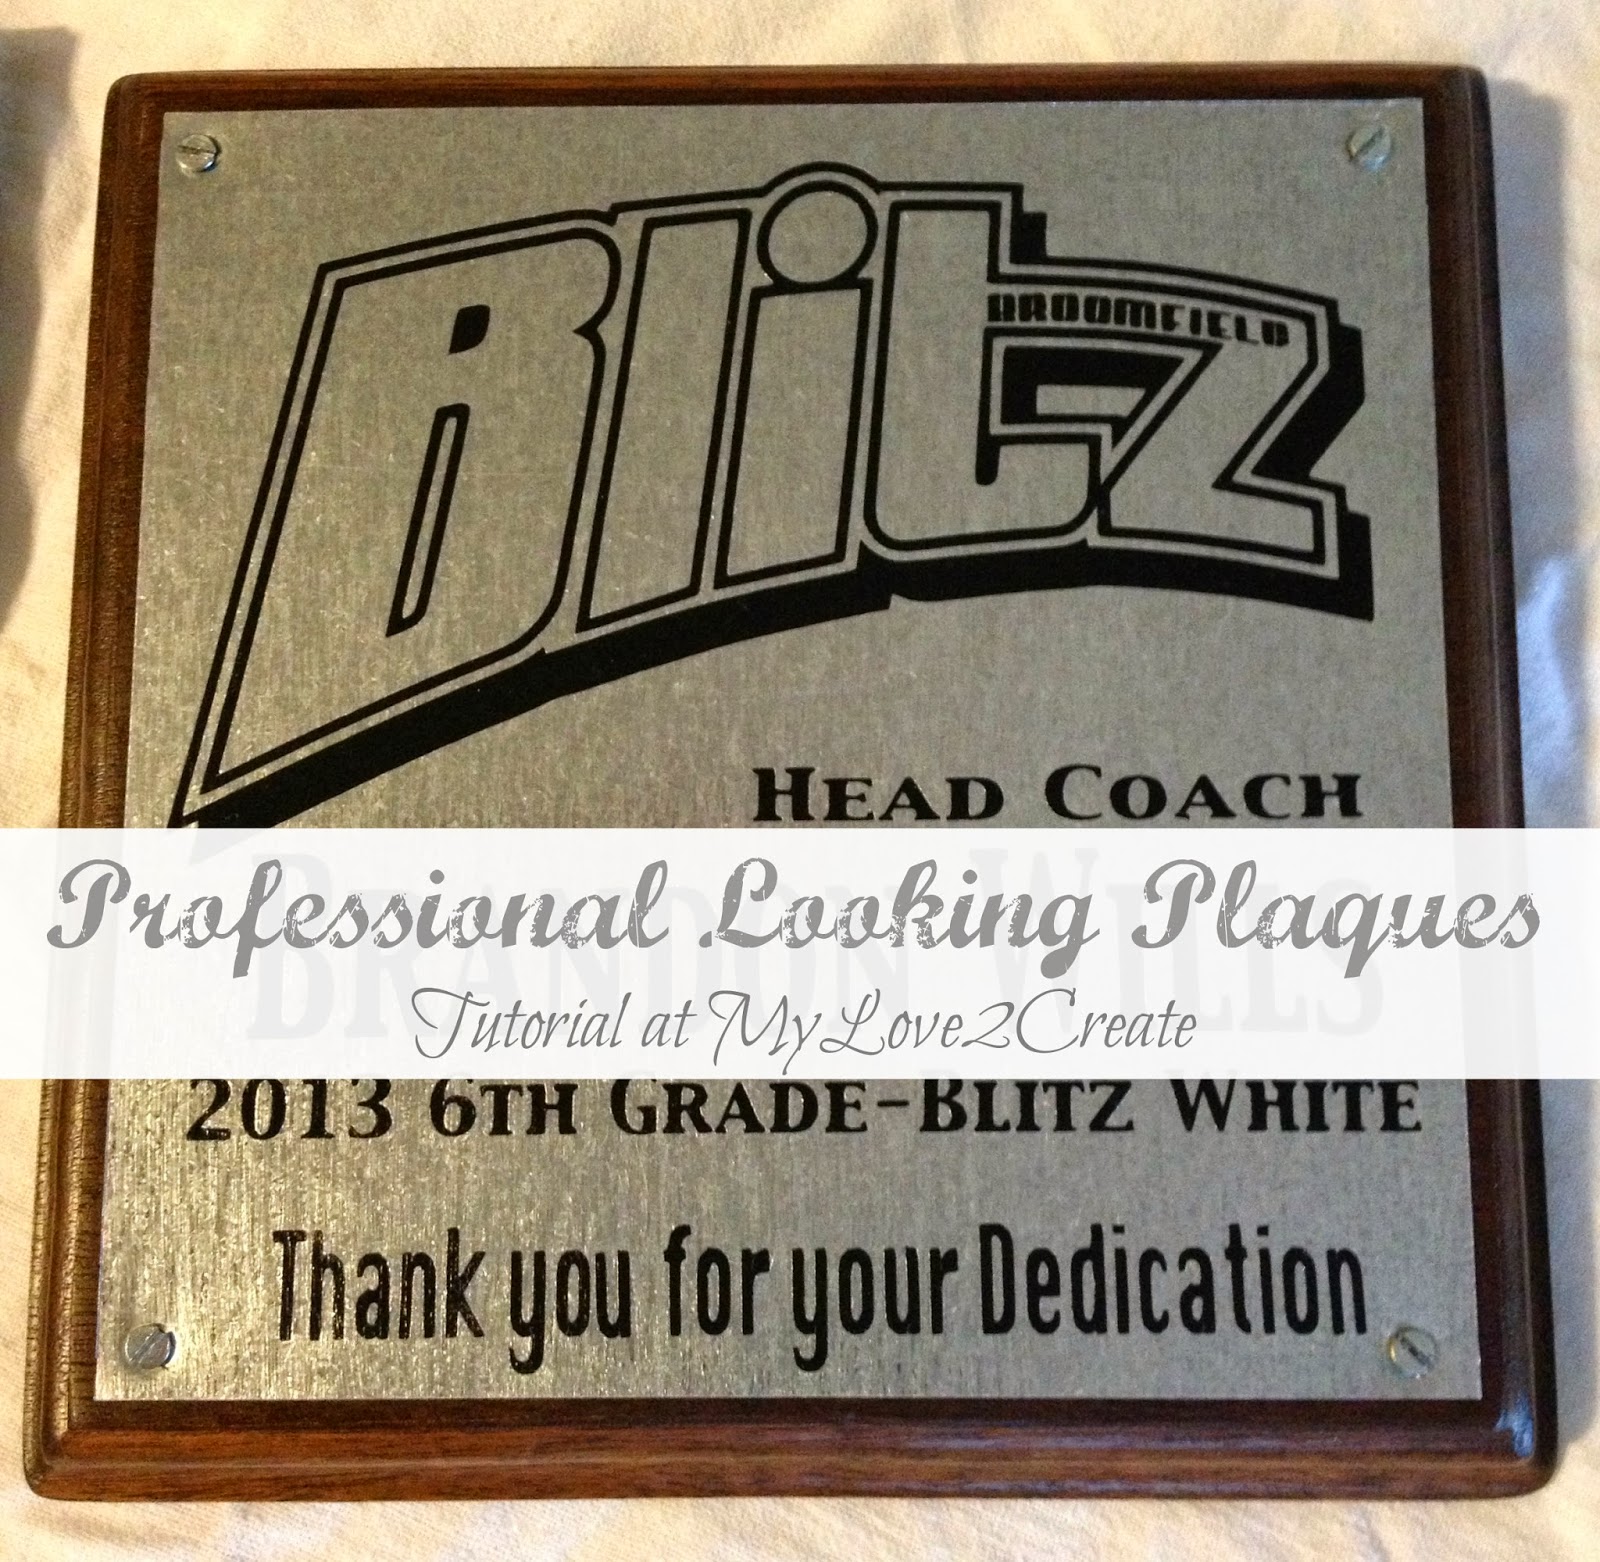
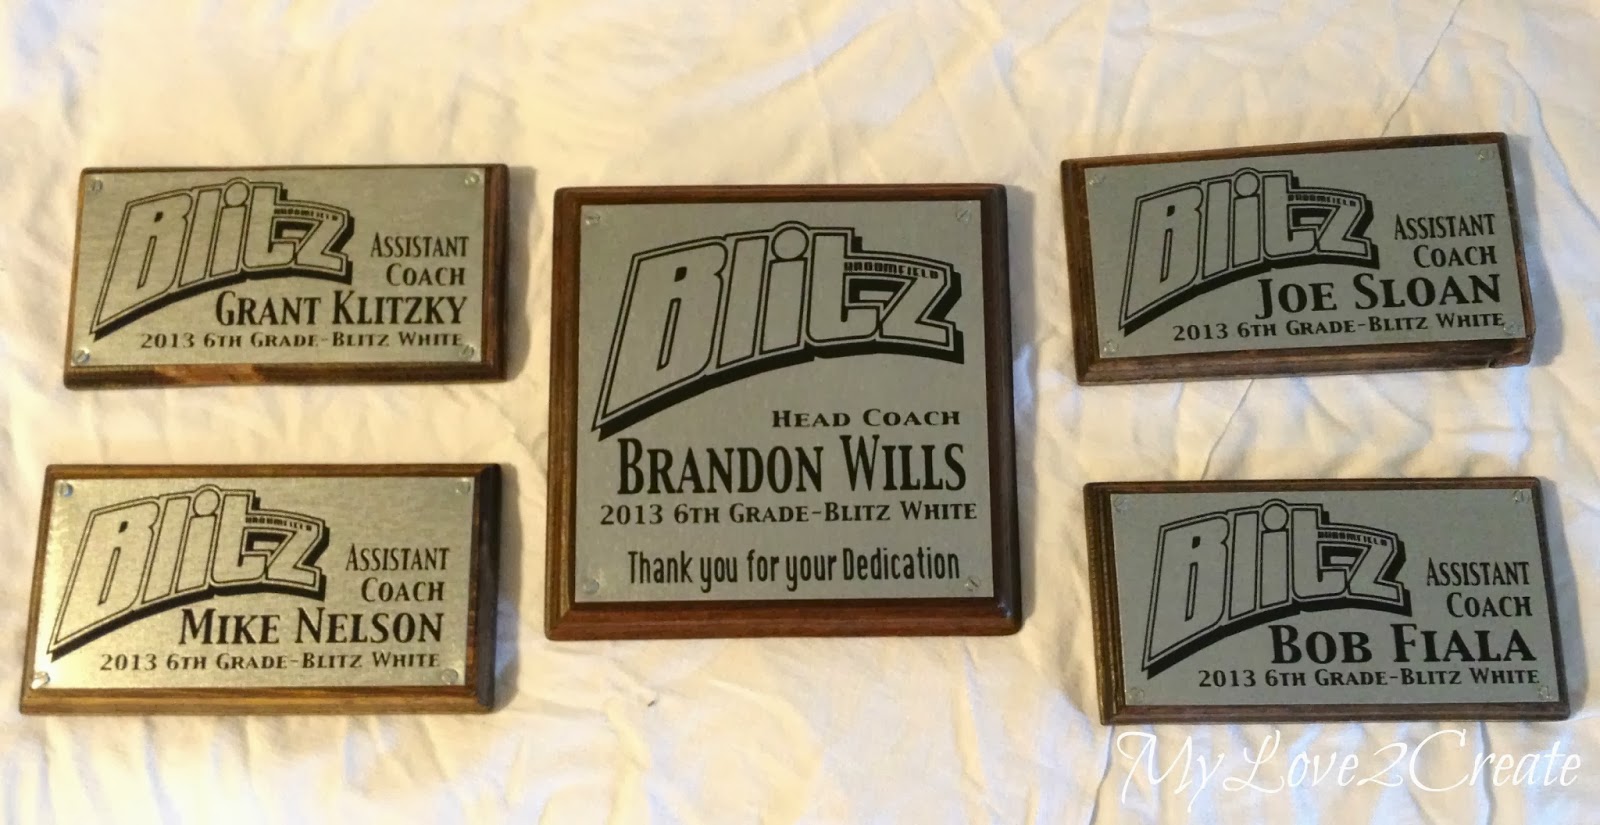
In the fall my second boy played football. We were super happy he was able to get on a team with amazing coaches that truly cared about him, as a person and a player! At the end of the season I really wanted to show my appreciation for all their hard work and so…I made them some plaques!
In the beginning I wasn’t planning on blogging about these, and then thought I should take pictures anyway. For the final team party I ended up being in a huge time crunch and only had time to snap some photos on my phone at the last minute. So I am sorry about the quality of the photos, seriously they look so much better in person. I wish I could have staged some nice shots….but that is life!
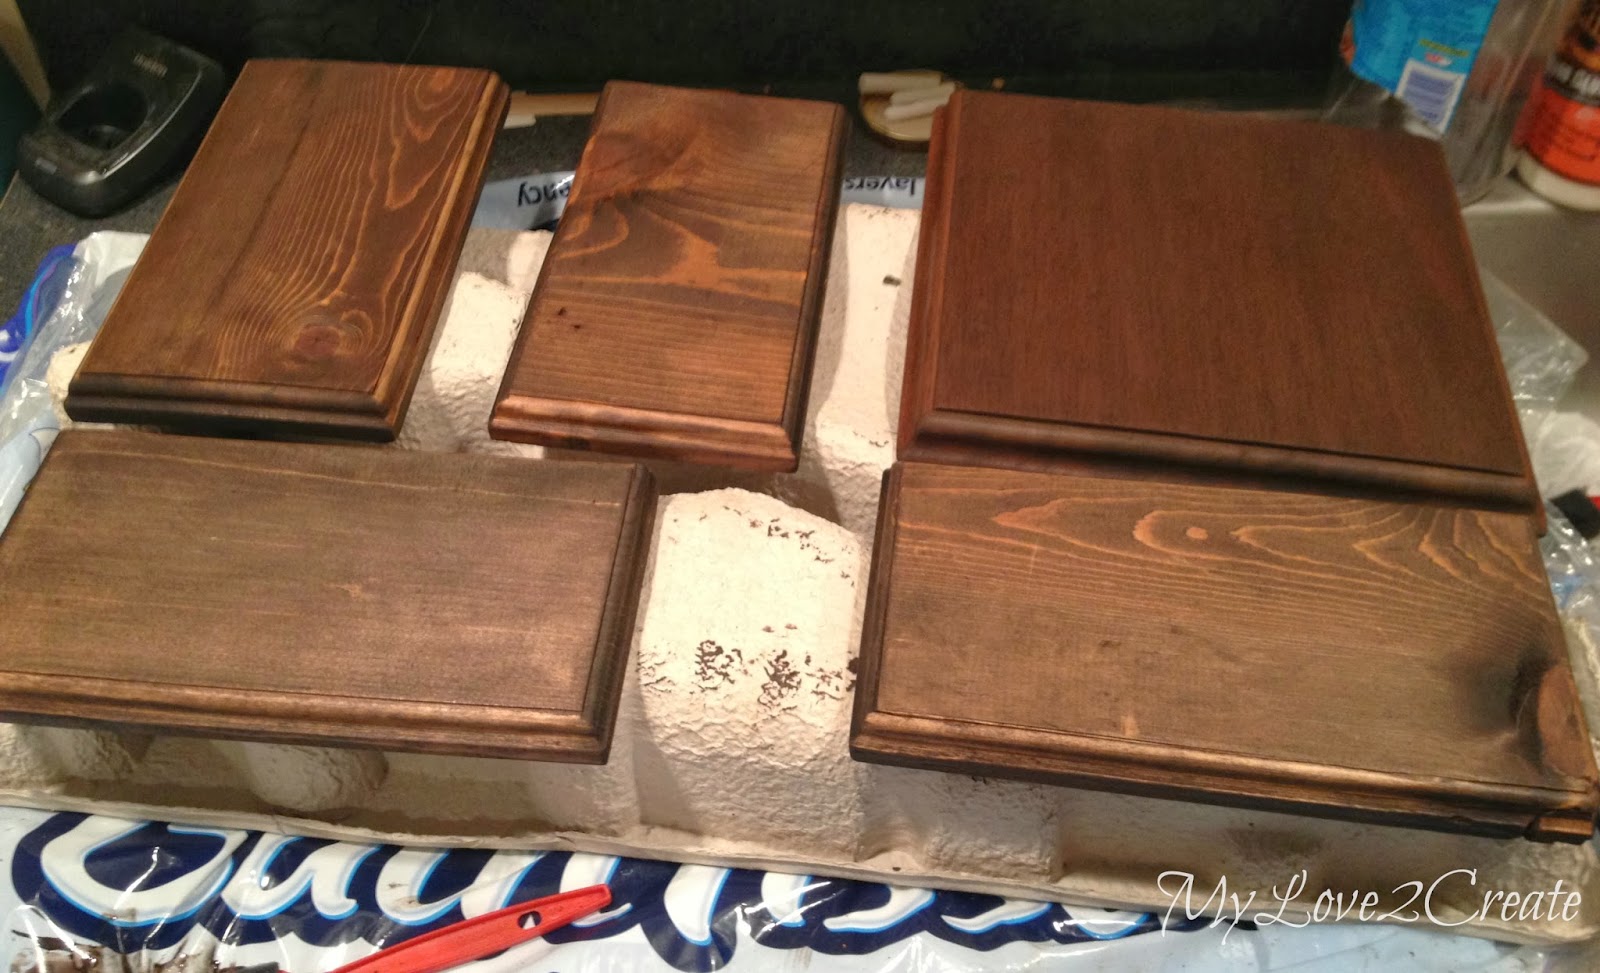
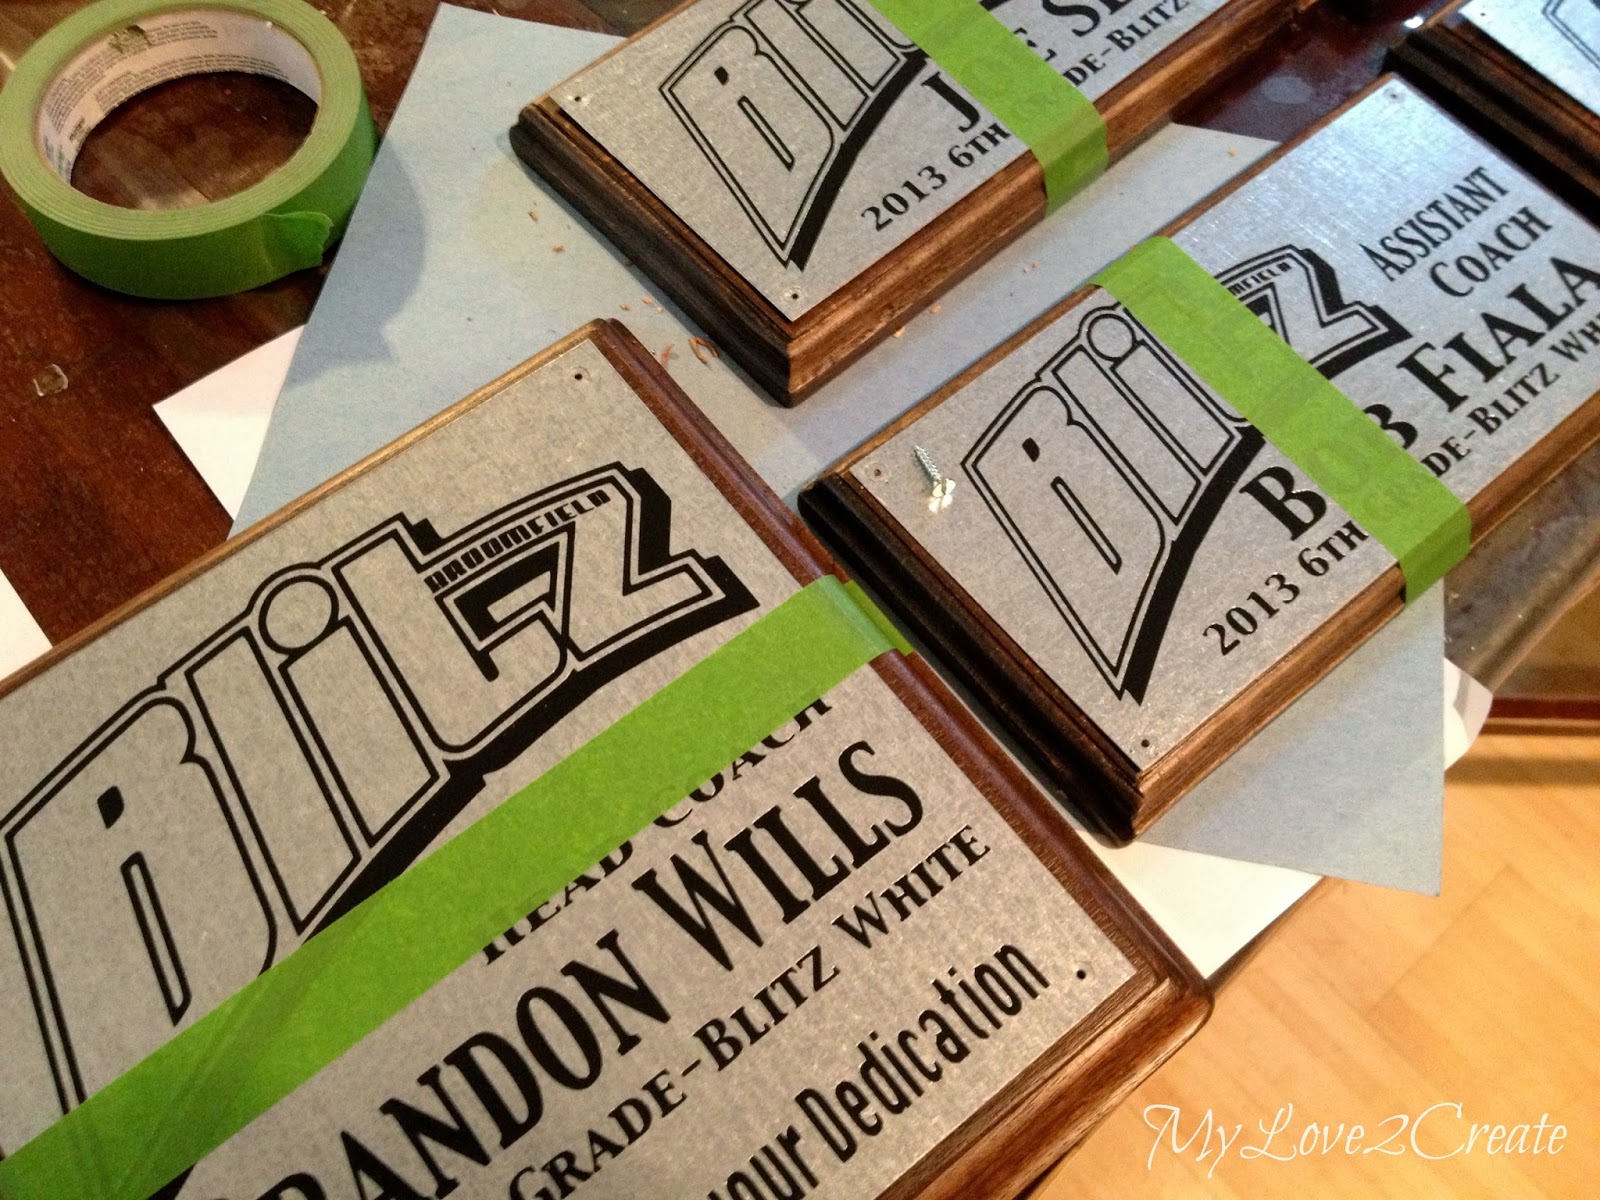
This is the first photo I took, all of these pieces of wood were from my scrap pile. I cut them to a size a little bigger than my metals sheets and routed the edges. Then I stained them with Rust-oleum’s Kona. I love that it only takes one coat!
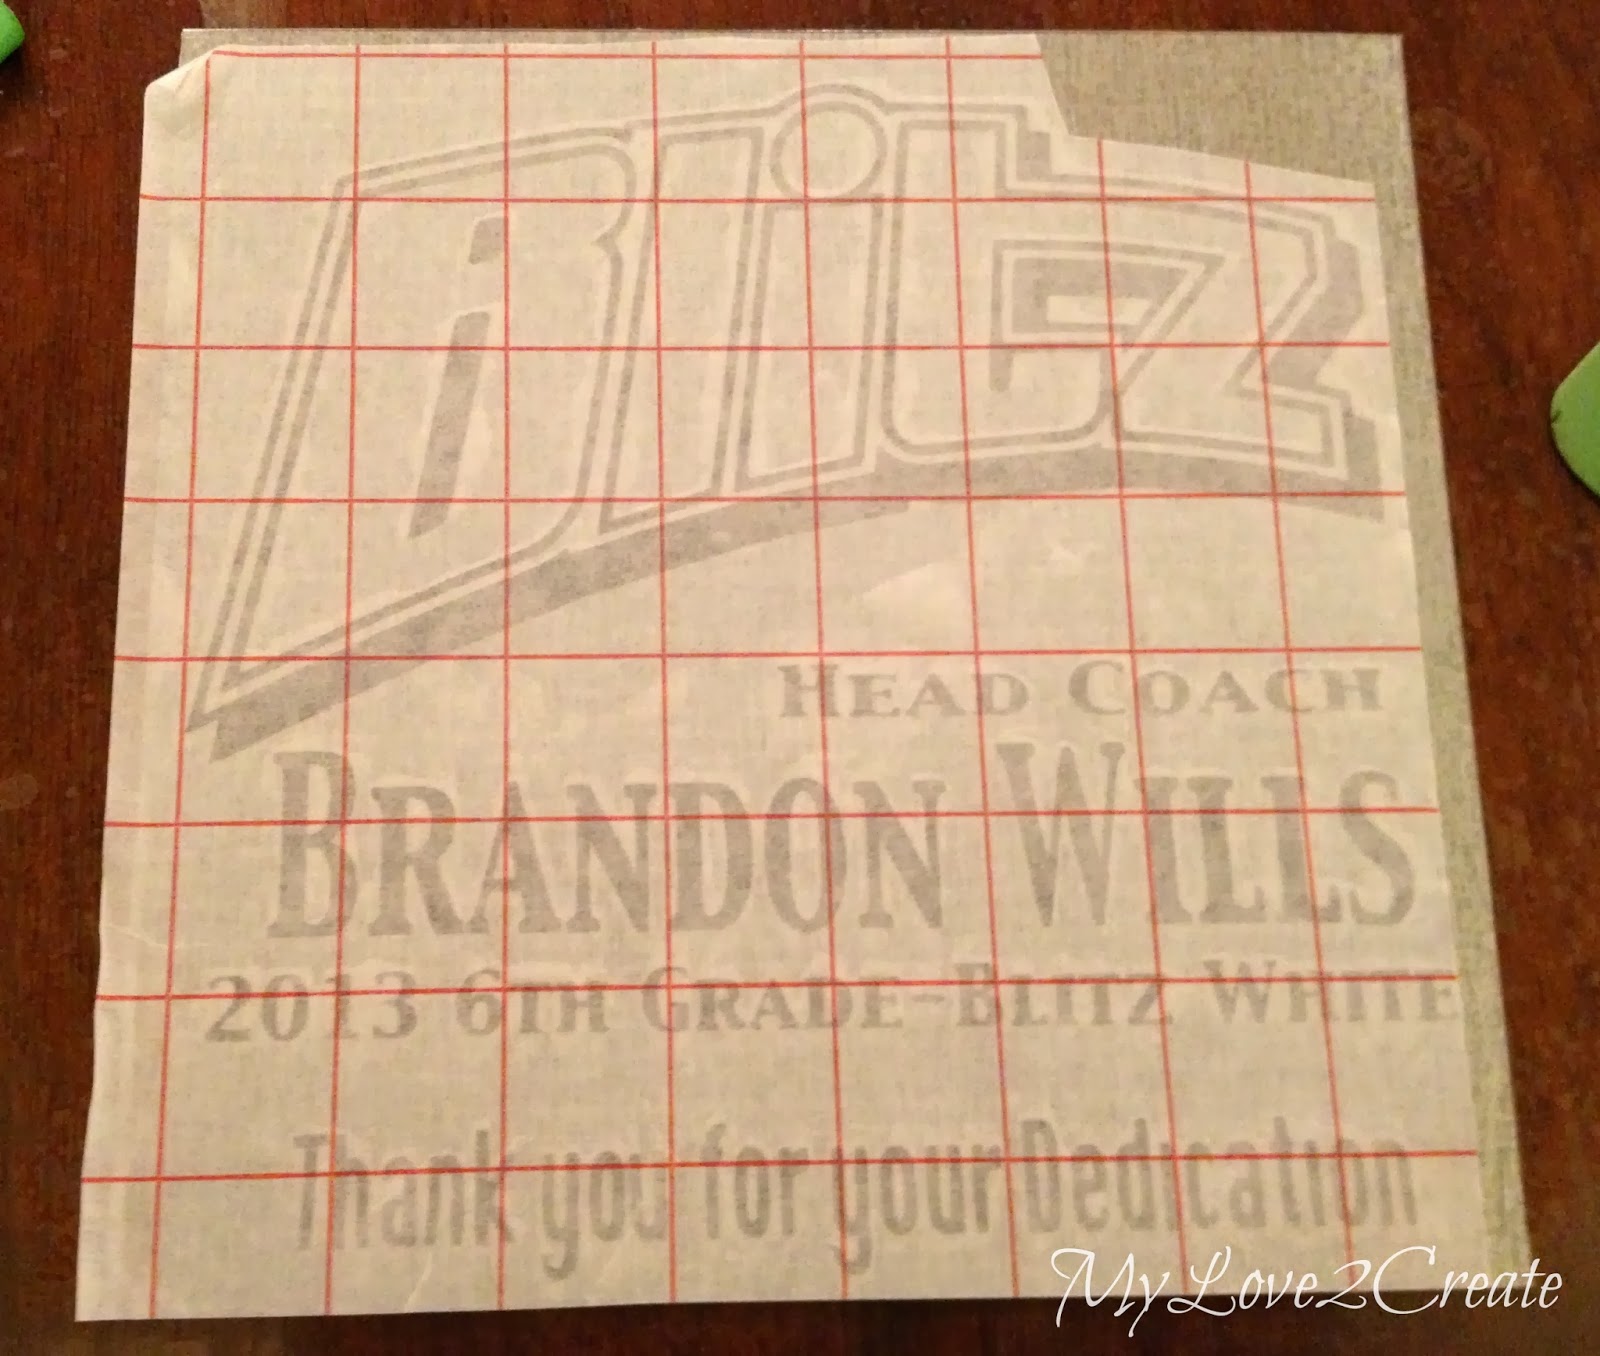
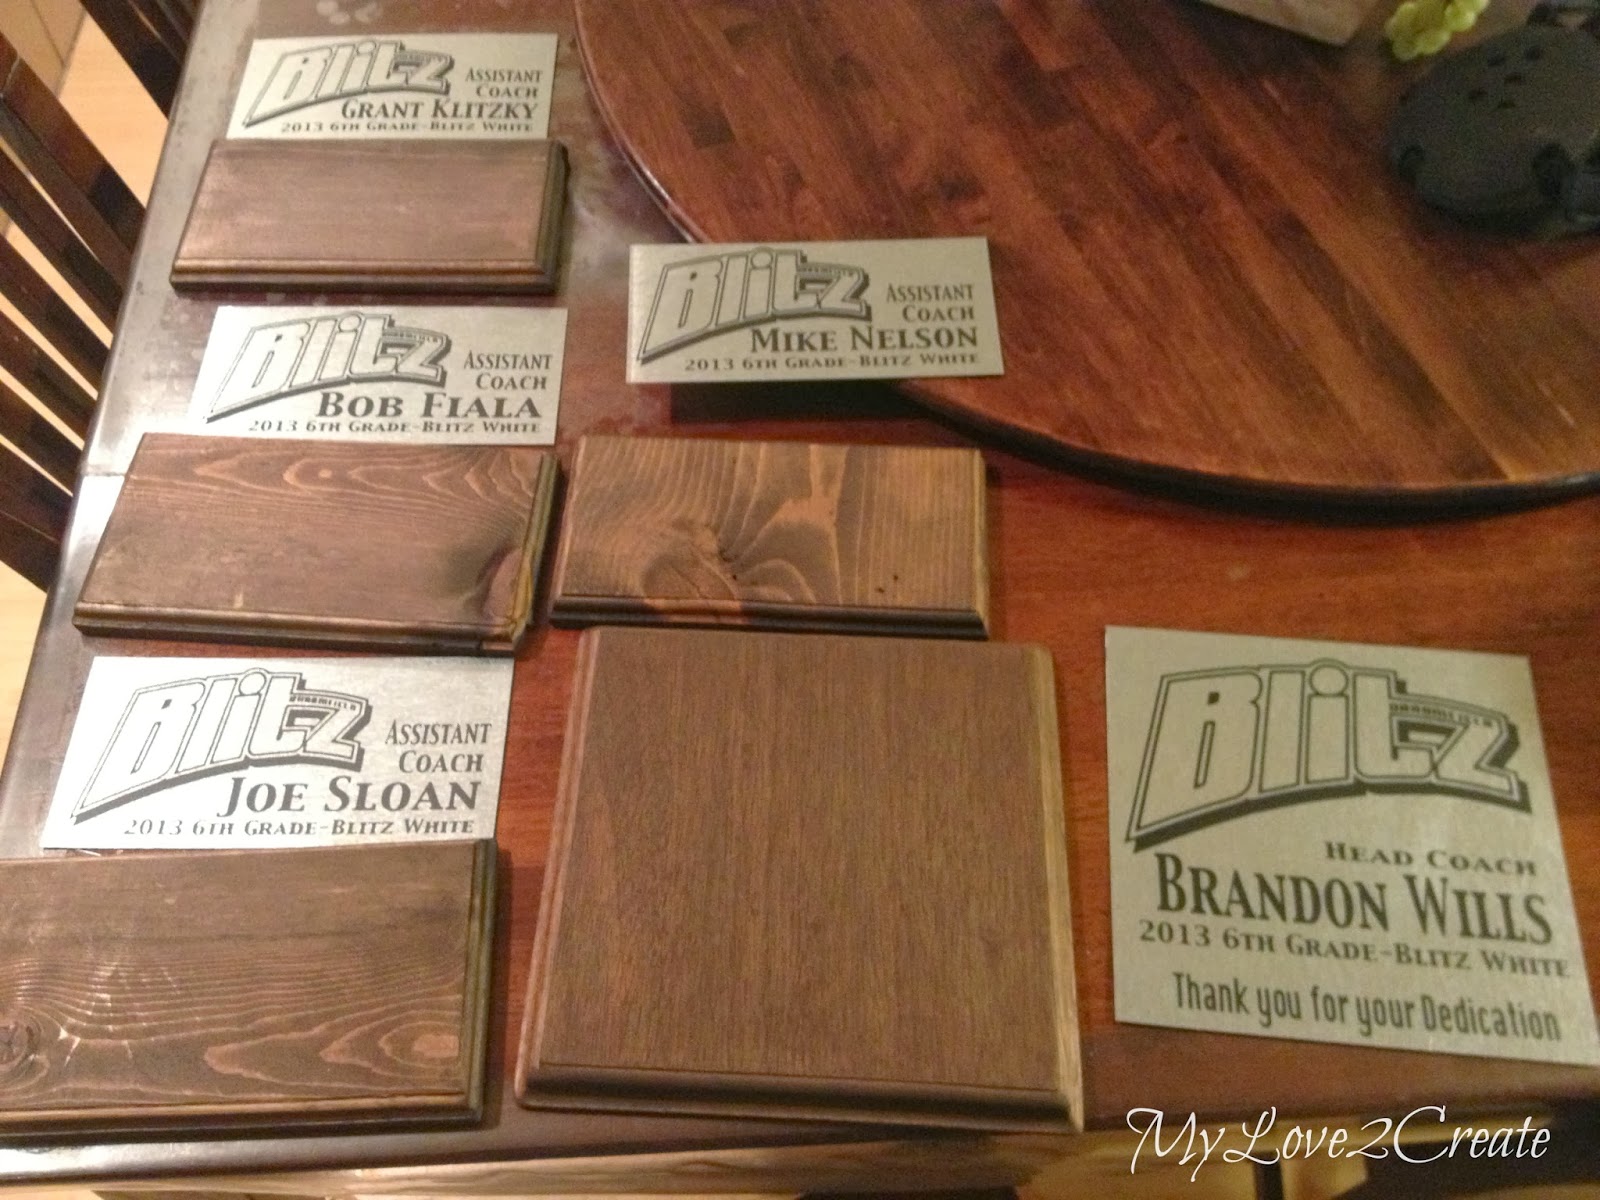
I found the team logo online and converted to an svg file, you can google “convert to svg” and you will find free conversion sites. I designed the plaques and inserted the coaches names, then I cut them on black vinyl. My friend had some extra metal sheets that she had used for a different project and she was so kind to give them to me! The big sheet is for the head coach, and the small ones are for the assistant coaches. You can buy metal sheets at a hardware store, or a local sheet metal company. It is a little more expensive from the sheet metal companies, but they cut it to size for you, and the hardware stores do not.
Make sure the metal is clean and then transfer on the vinyl. I also sealed mine with a couple coats of mod podge.
All ready to be attached!
In order to attach the metal to the wood I used painters tape to hold it in place, then pre drilled holes and screwed them together. (tip: use plastic wrap or paper to cover the part where you tape so the mod podge doesn’t come up with the painters tape, unless you have time to let it cure properly, since I was in a time crunch I learned the hard way and some of my mod podge peeled, not fun!)
All done!! These were a lot of work for me, but I really loved how they turned out! It was worth it to show how much I appreciate their time and effort! I think they turned out nice and professional looking!
Hugs!
Mindi


Oh these rock! To think that you could make cool plaques rather than ordering them through a company is just genius! And they are beautiful! And I am sure the coaches just love them! Such a great piece to add to a gallery wall! Way to go you…what in the world can't you make?!?!! Hope your weekend is filled with happiness!!! Nic xoxo
Amazing job Mindi- wow!
These do look professional–great job!
Those turned out fantastic!
way to go Mindi! those plaques look fabulous! 🙂 I have some small sheets of metal….maybe this will inspire me to use them somehow.
gail
Awesome plaques and project! Thanks for sharing at the party. Hope this finds you have a great new year so far & a happy weekend! Theresa @DearCreatives
Wow, Mindi! These do look very professional! You did an excellent job, I am sure they will appreciate all your hard work.
I love it! What a clever idea! And, thank you for stopping by Shine a Spotlight Saturday and sharing! See you next Saturday! —Deb at DialMforMoms.com
What nice signs, you are so creative! Thanks for linking up this week at Sewlicious Home Decor!🙂
Marti
Such a professional job! That is a new process for me. Would love to do something like that. Thanks so much for showing us how!
Deb@LakeGirlPaints
Those look great. You said you cut them on vinyl. Was that with a Cricut or something similar?
Thanks Marti! I did cut them on a Cricut, I have the Sure Cuts a Lot software (SCAL) that allows me to design things and cut any svg image. I got this software a few years ago, and sadly any new Cricut machine is not compatible with SCAL anymore. If you are looking for a cutting machine I would go with some type of silhouette machine where you do not need cartridges. I hope that helps!
What??? that looks awesome! the rounded edges really make it look like a professional job