Master Closet Makeover, trim, shelves and rods
Hey friends! I am finally taking a minute to put up a post! I am excited to share the next step in my master closet makeover.
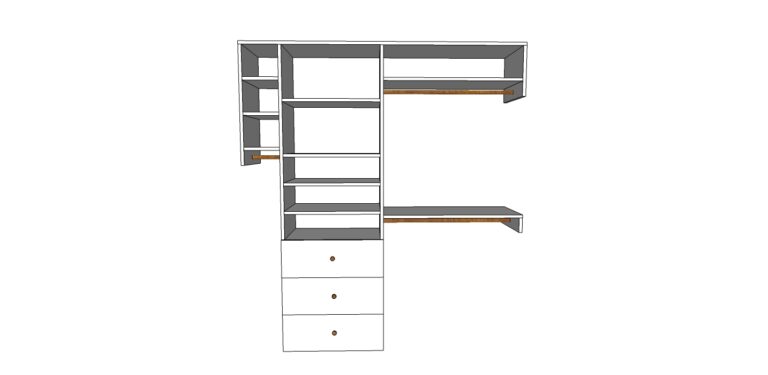
It is amazing what some trim, shelves and rods can do! It is starting to look good!
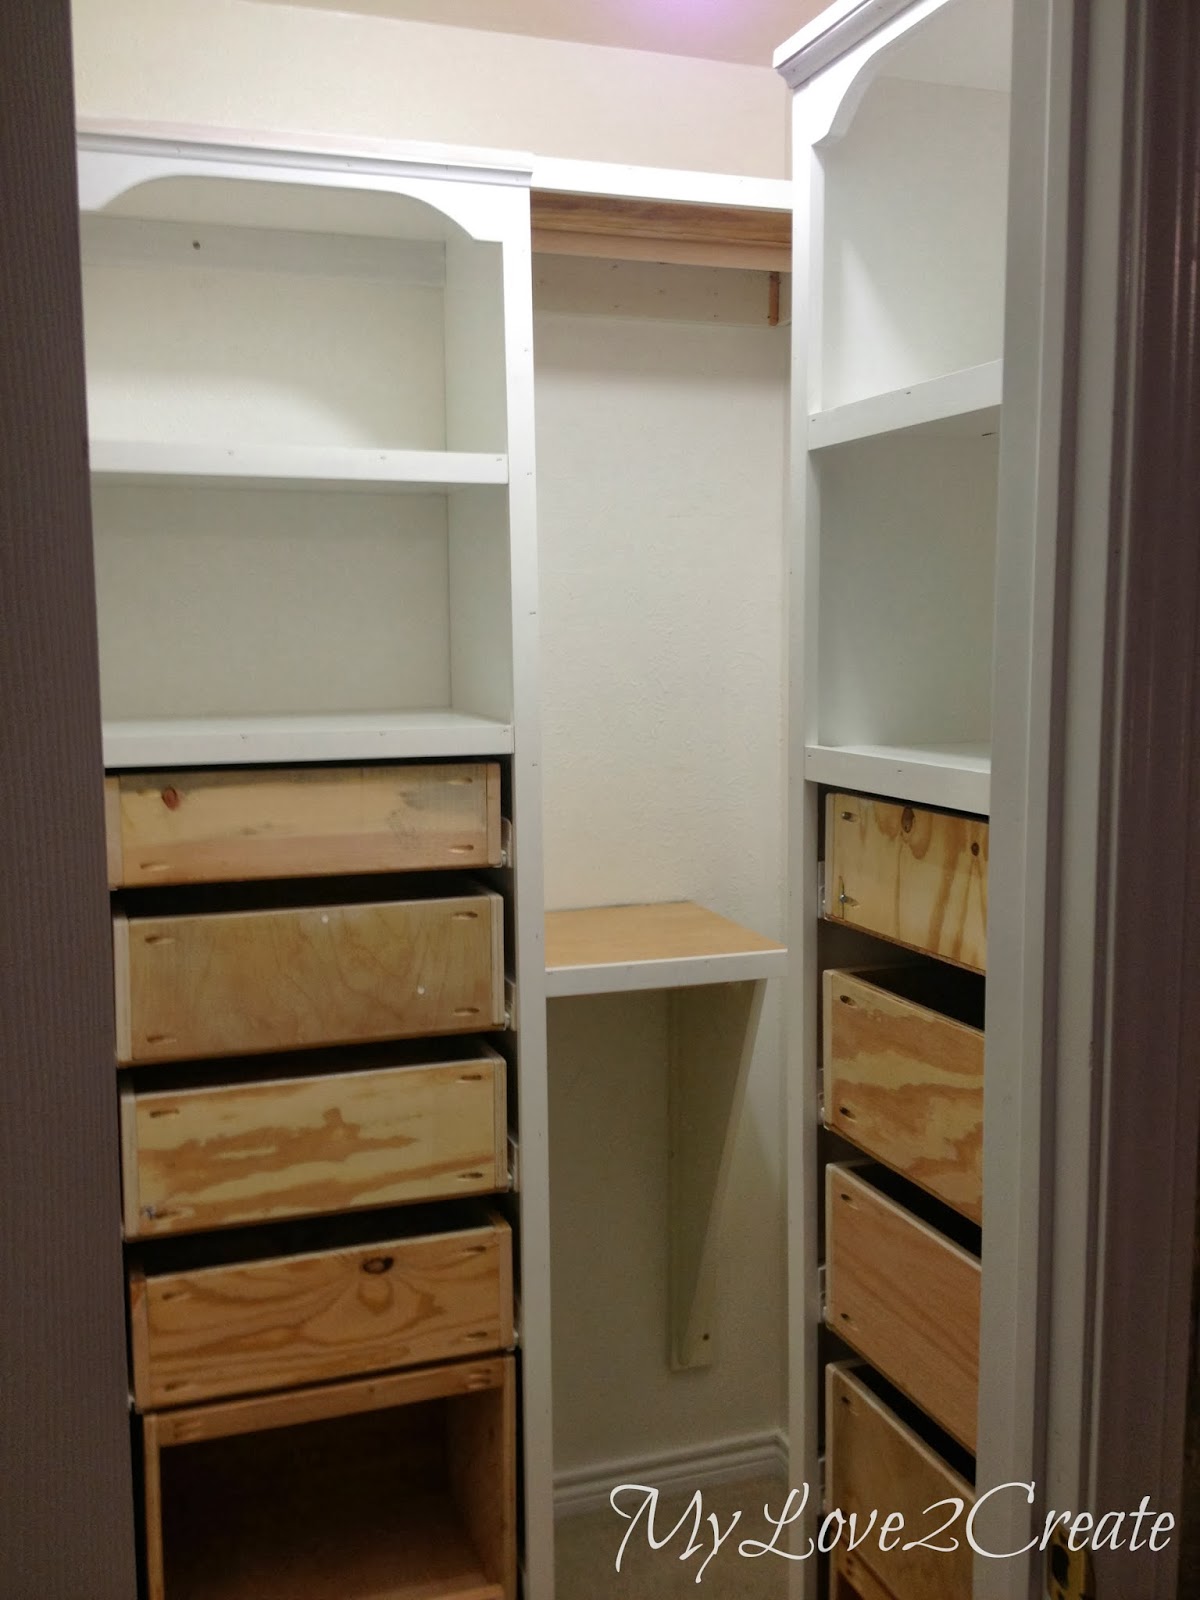
I last left you with my Drawers and Drawer Slides, and if you missed the previous posts you can see them Here and Here. So, to pick up where I left off, I started by removing all my drawers…
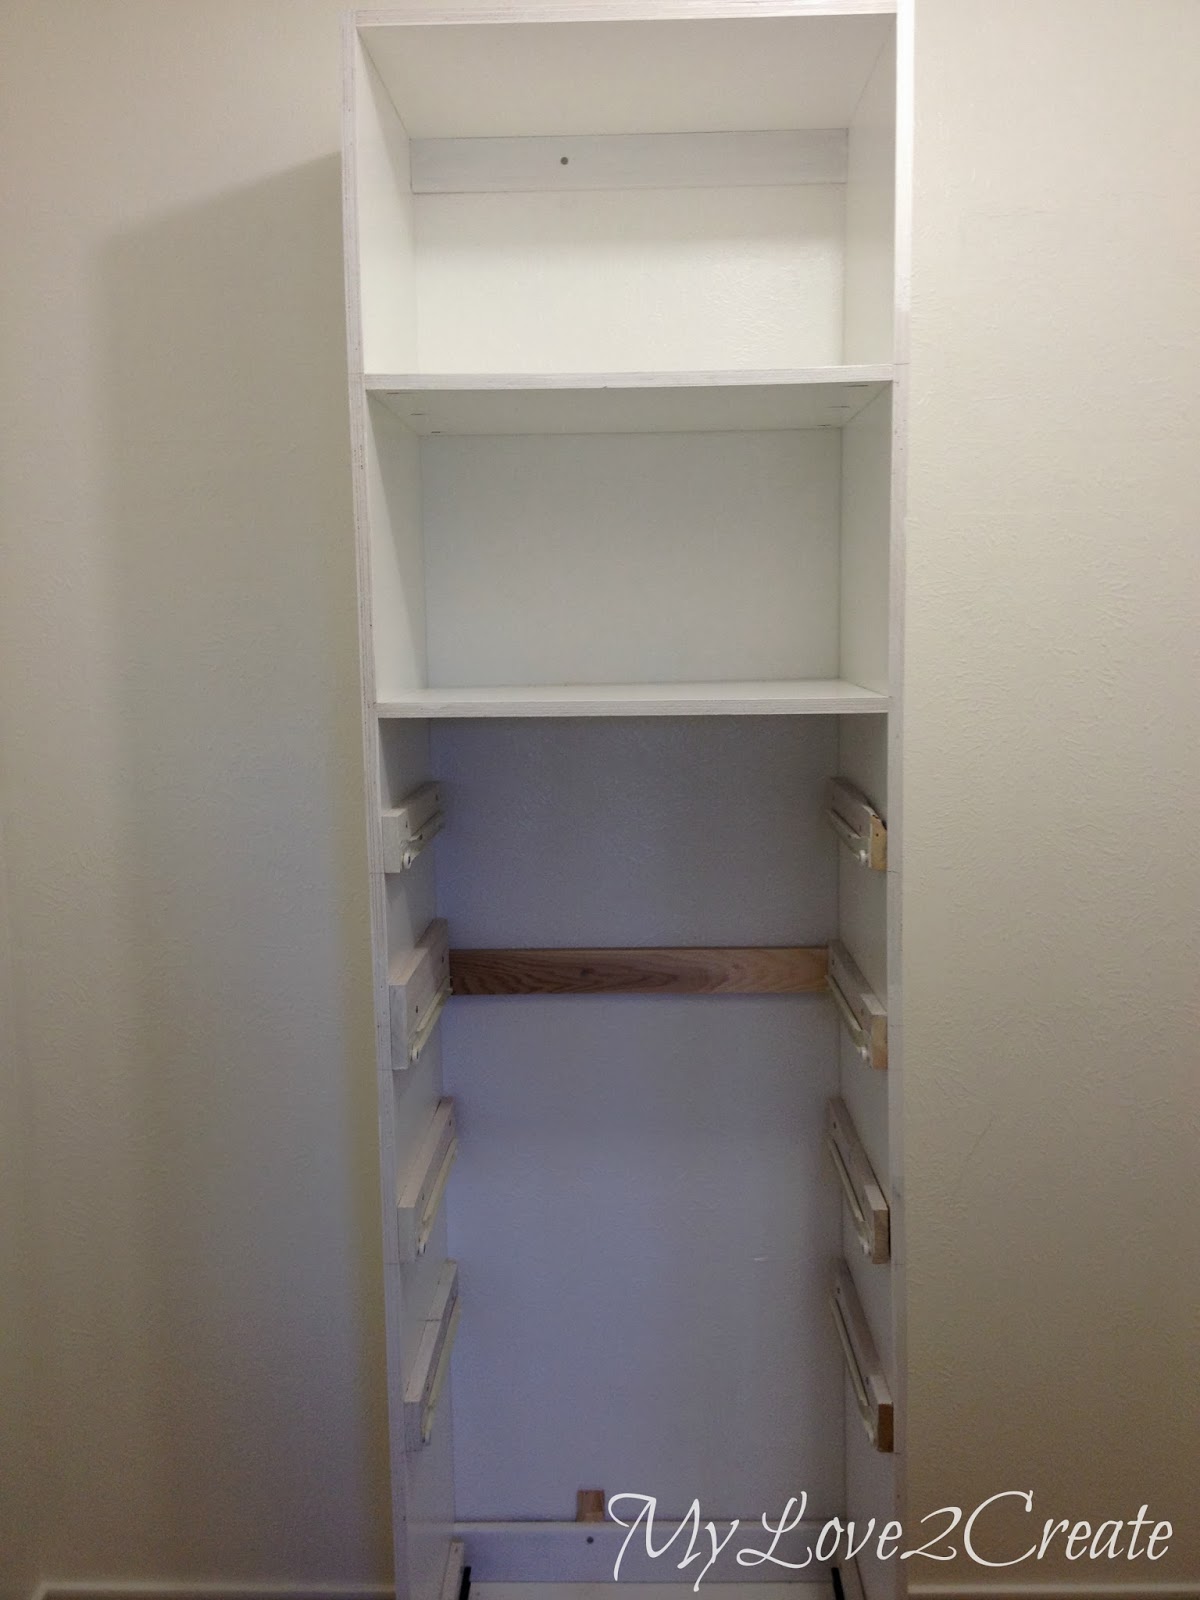
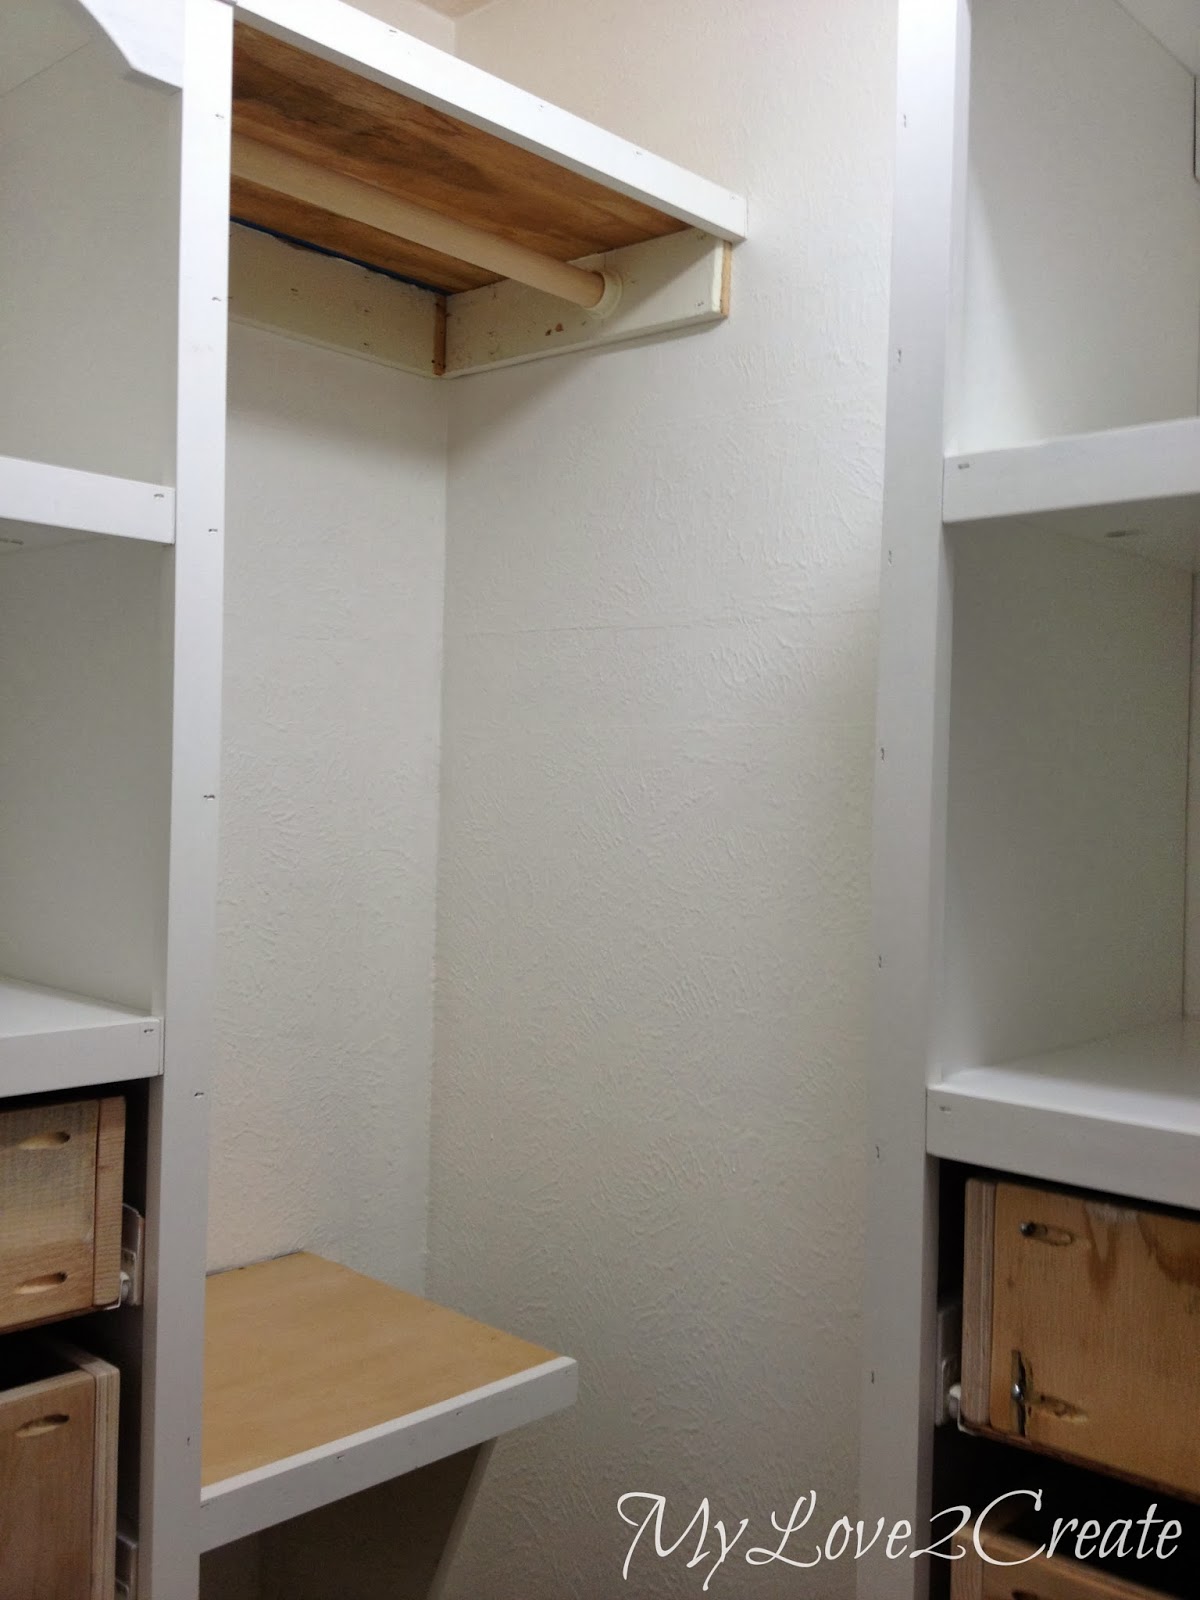
You can see the middle board I added for support that I talked about in my last post. I didn’t bother to prime it. If you look closely you can also see screws in all three support boards. They are screwed right into the studs anchoring the towers to the wall.
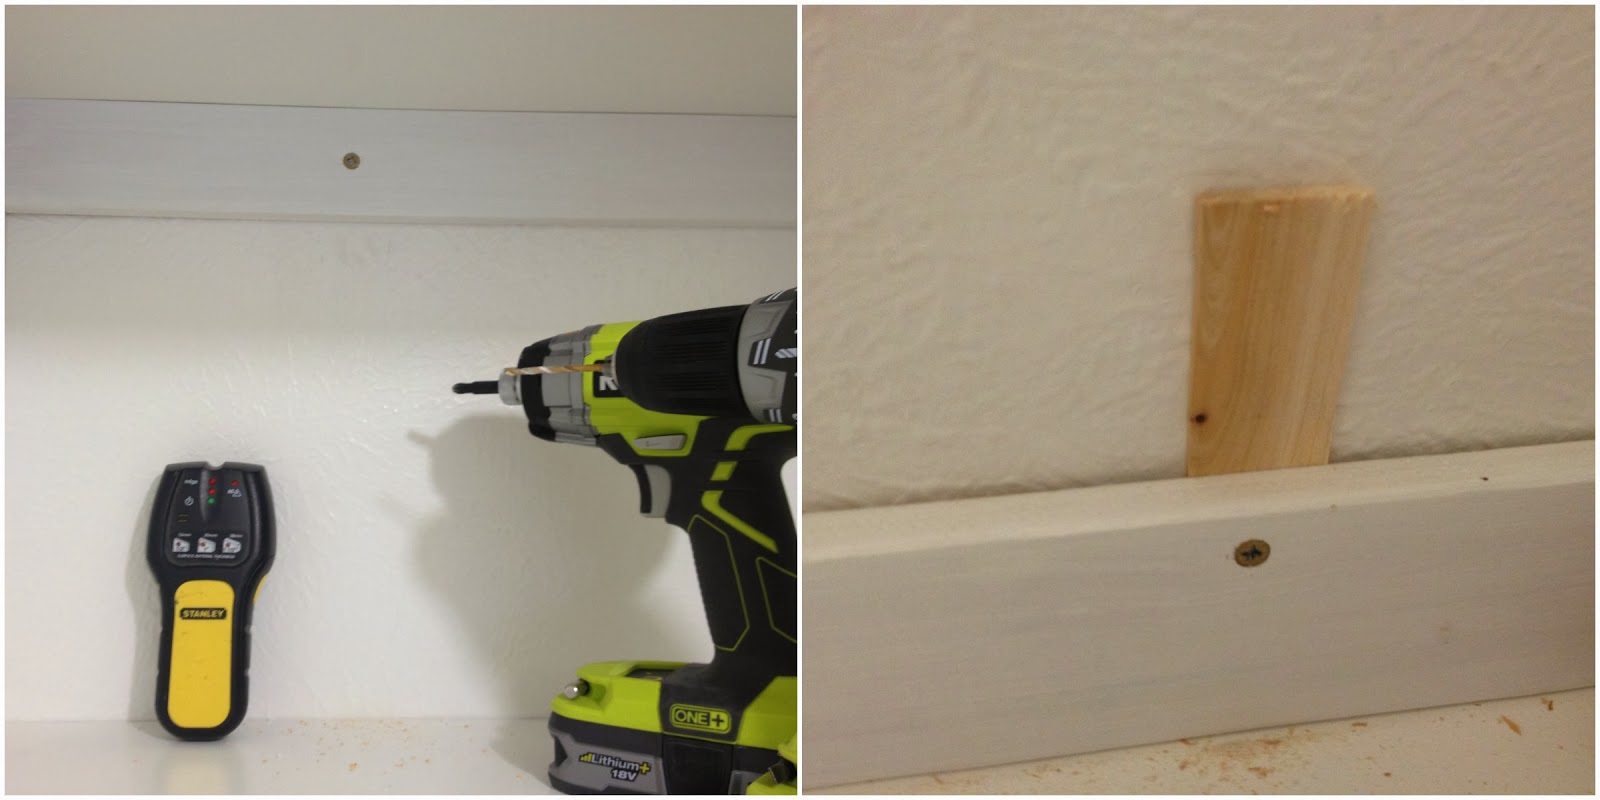
Using my stud finder, I located the stud. Then I pre-drilled and screwed in 3 1/2 inch screws. The bottom support didn’t quite touch the wall, let me tell you…walls are not always even and straight. So I used a shim to fill the gap. I should have cut off the top of the shim, but it will be hidden by the drawers, so I was lazy. =)
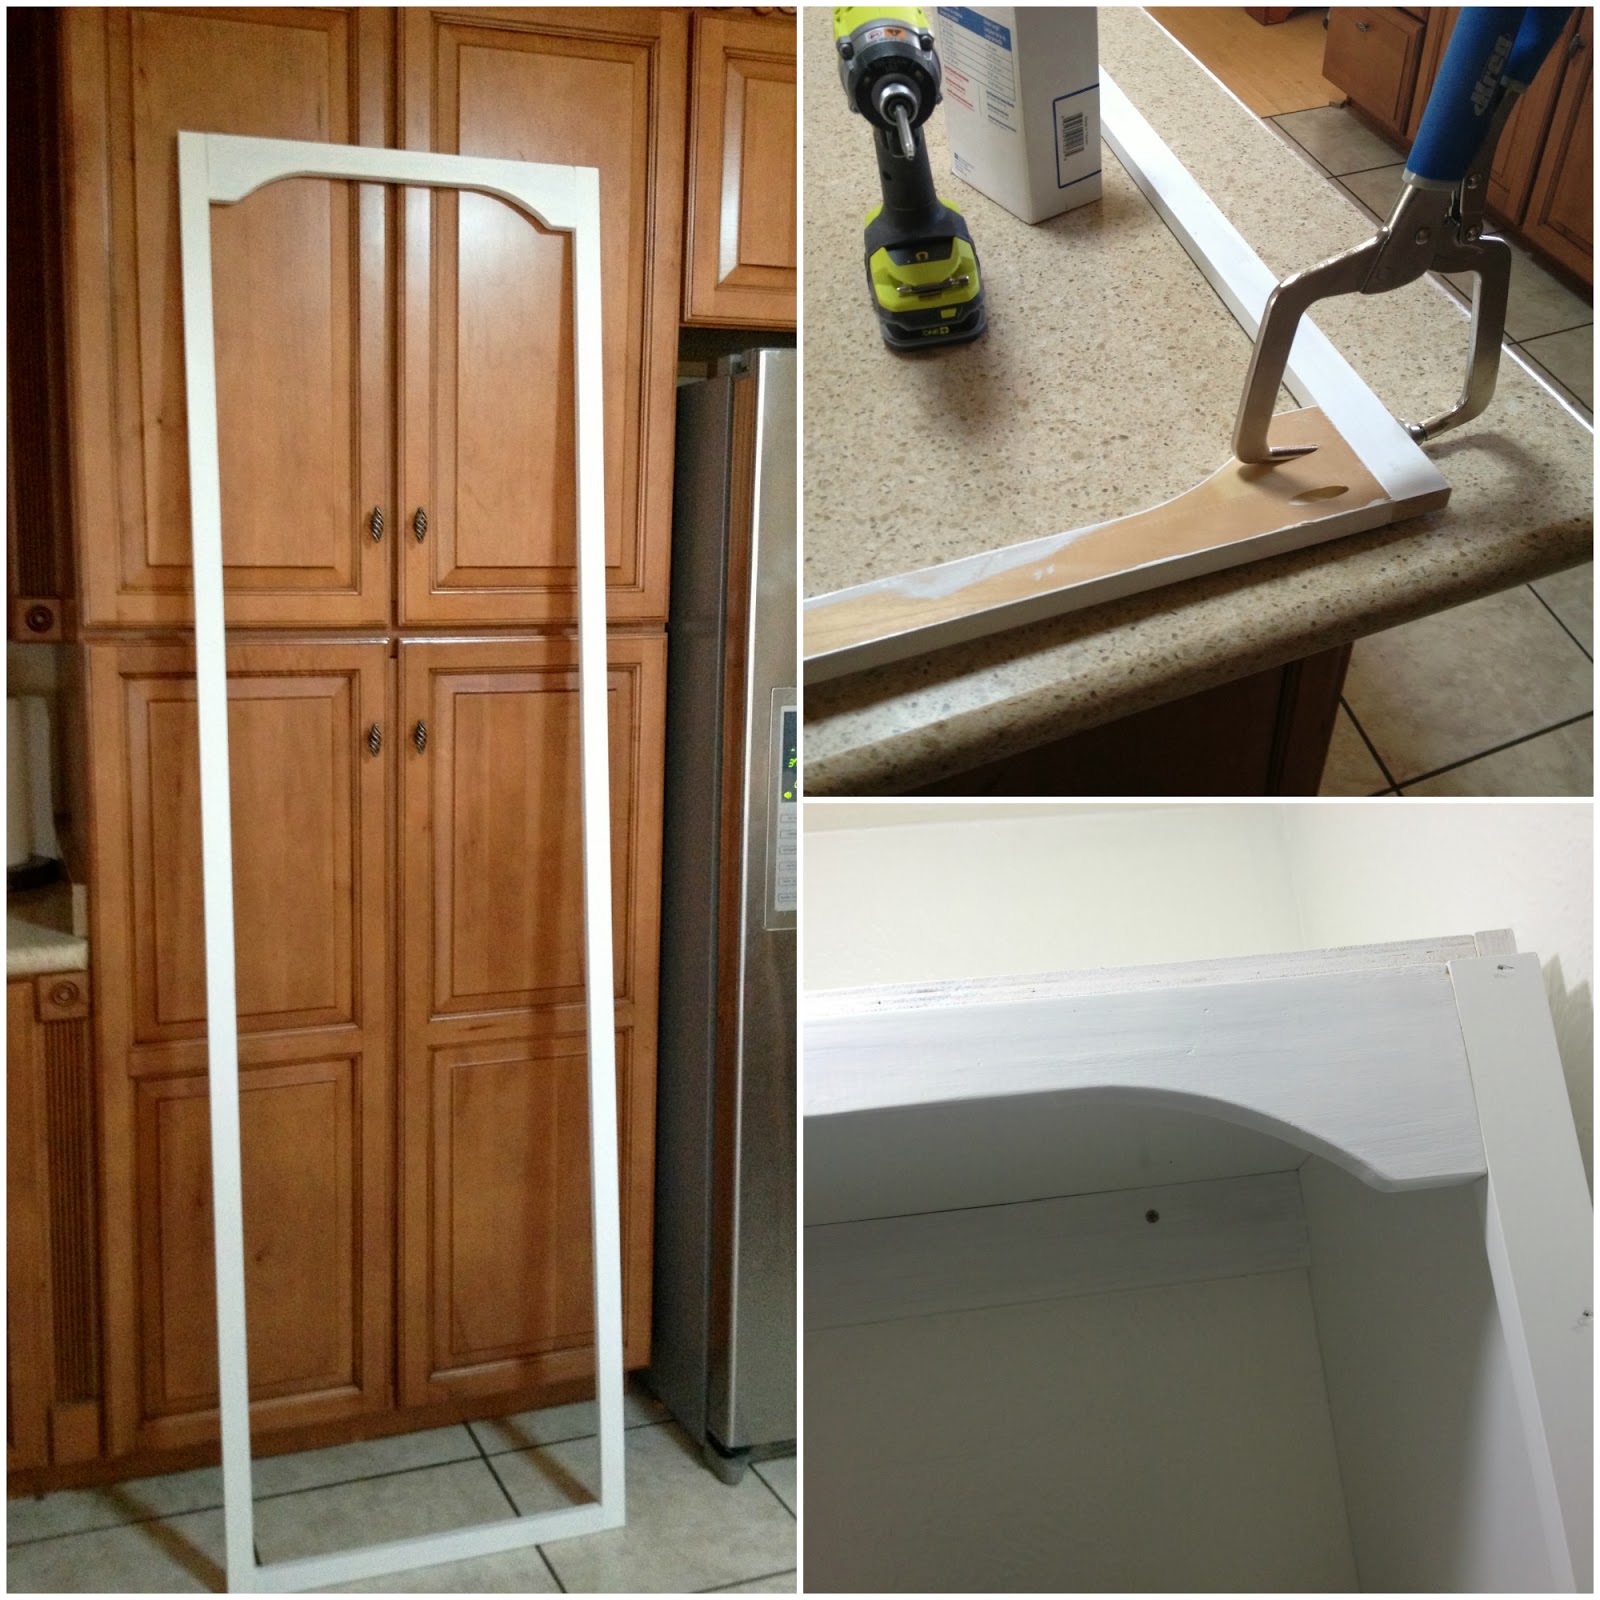
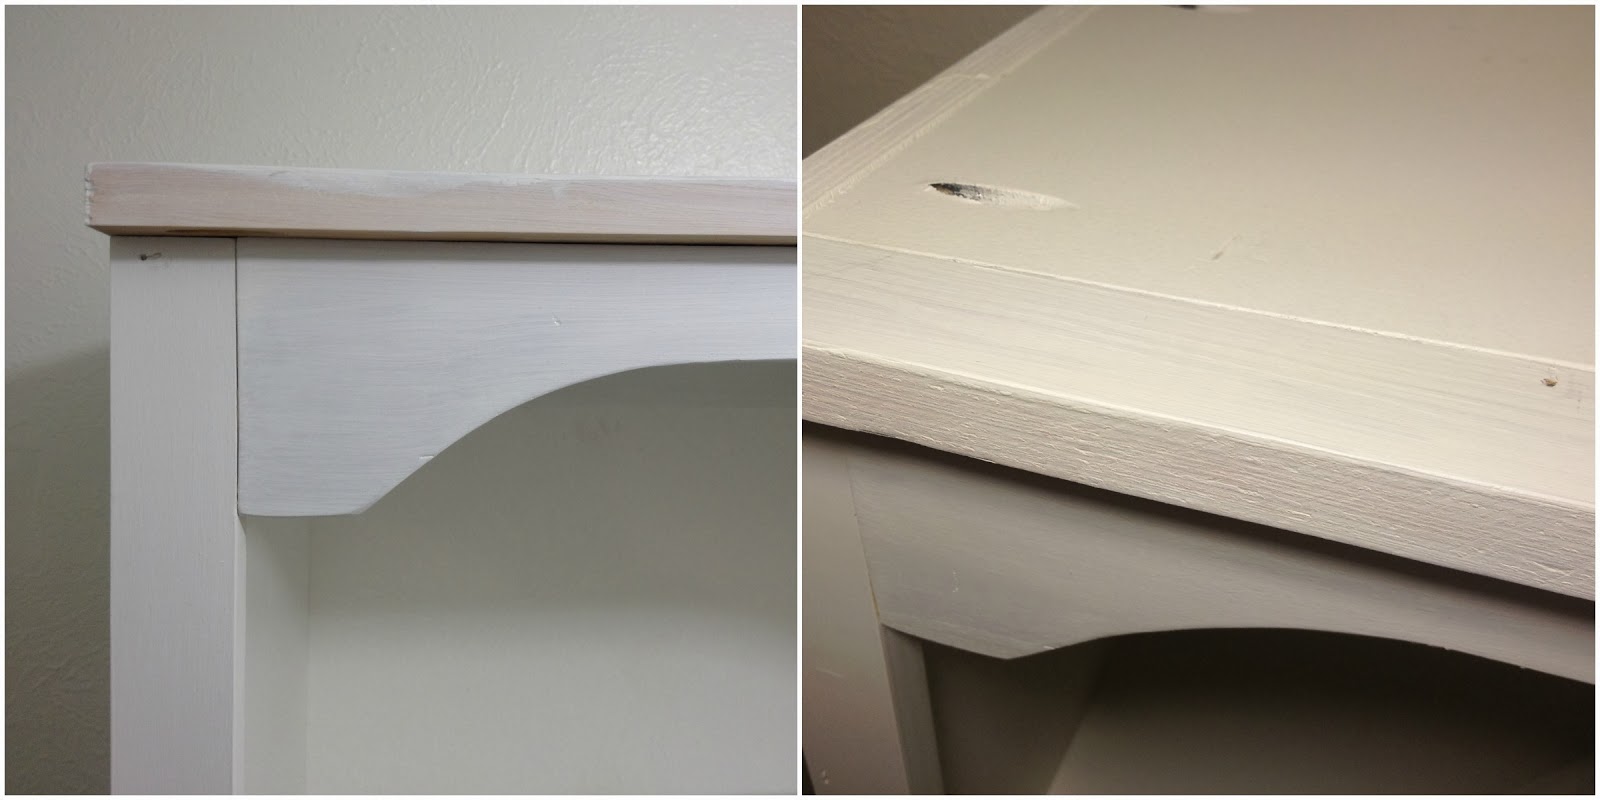
Once the two towers were secured to the wall I started building the face frames. Then I nailed them onto the towers.
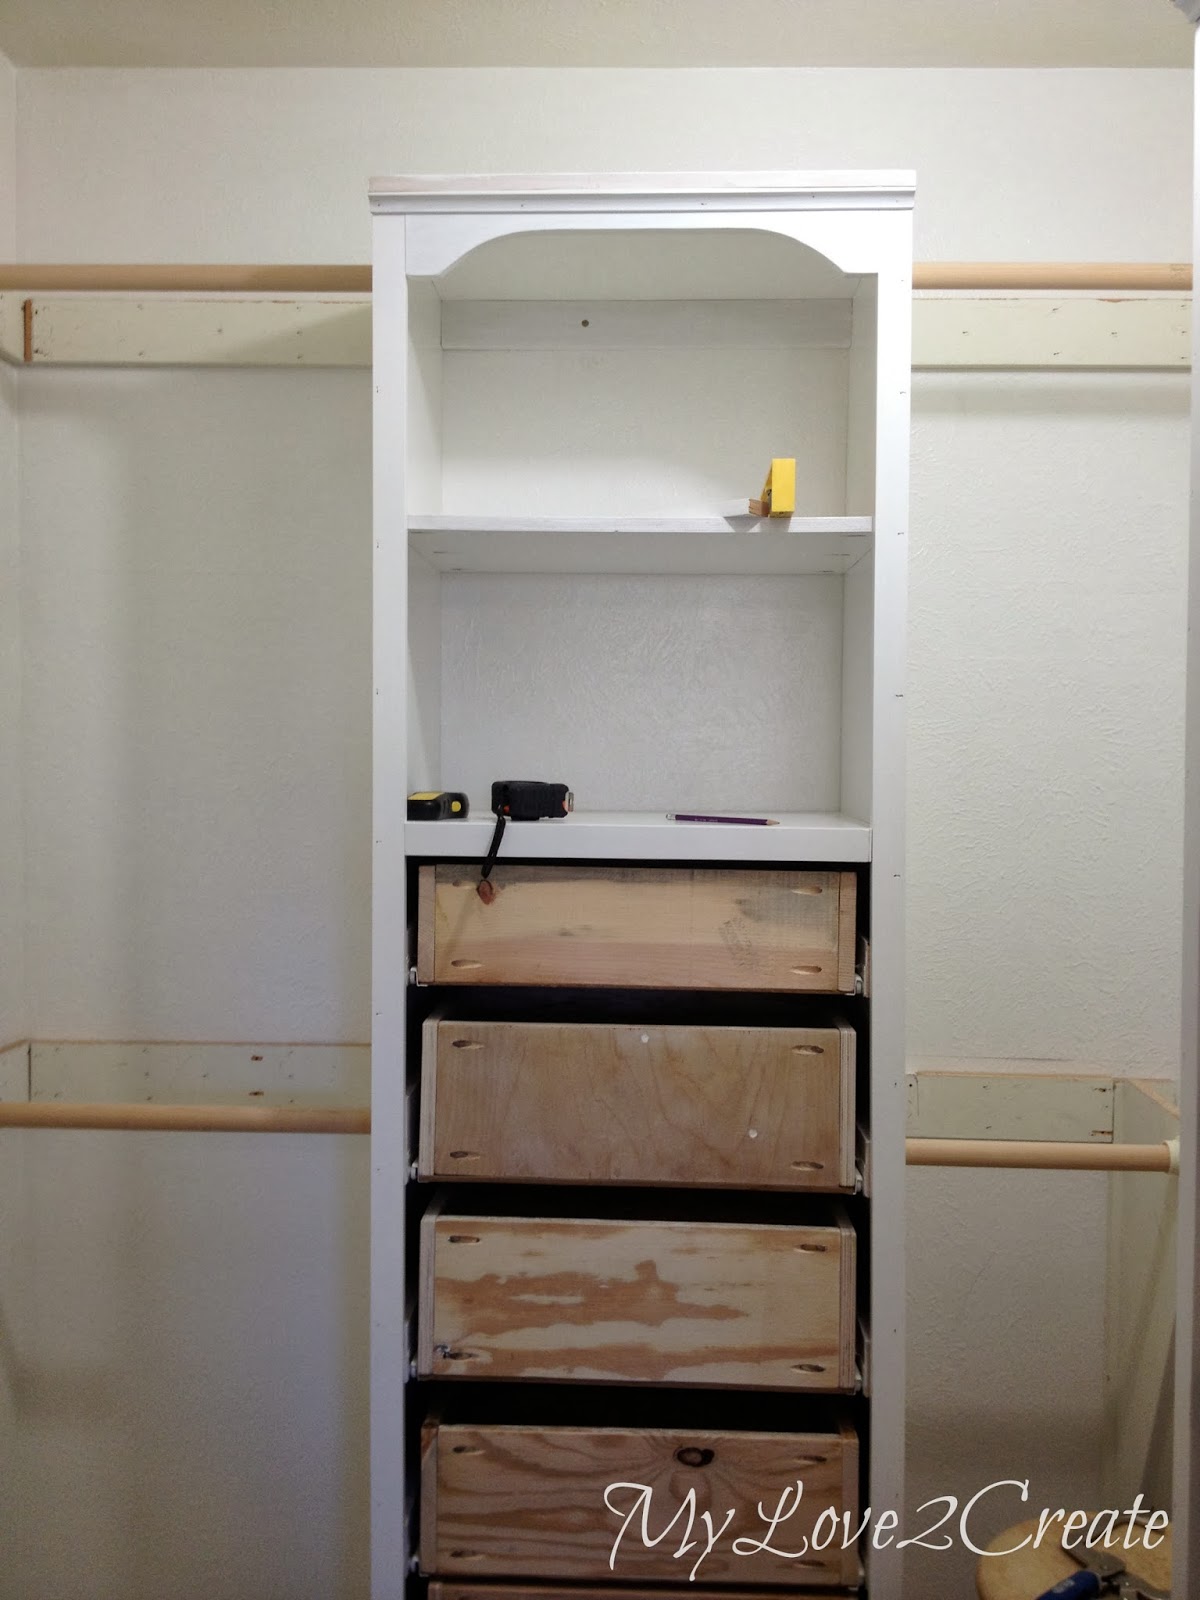
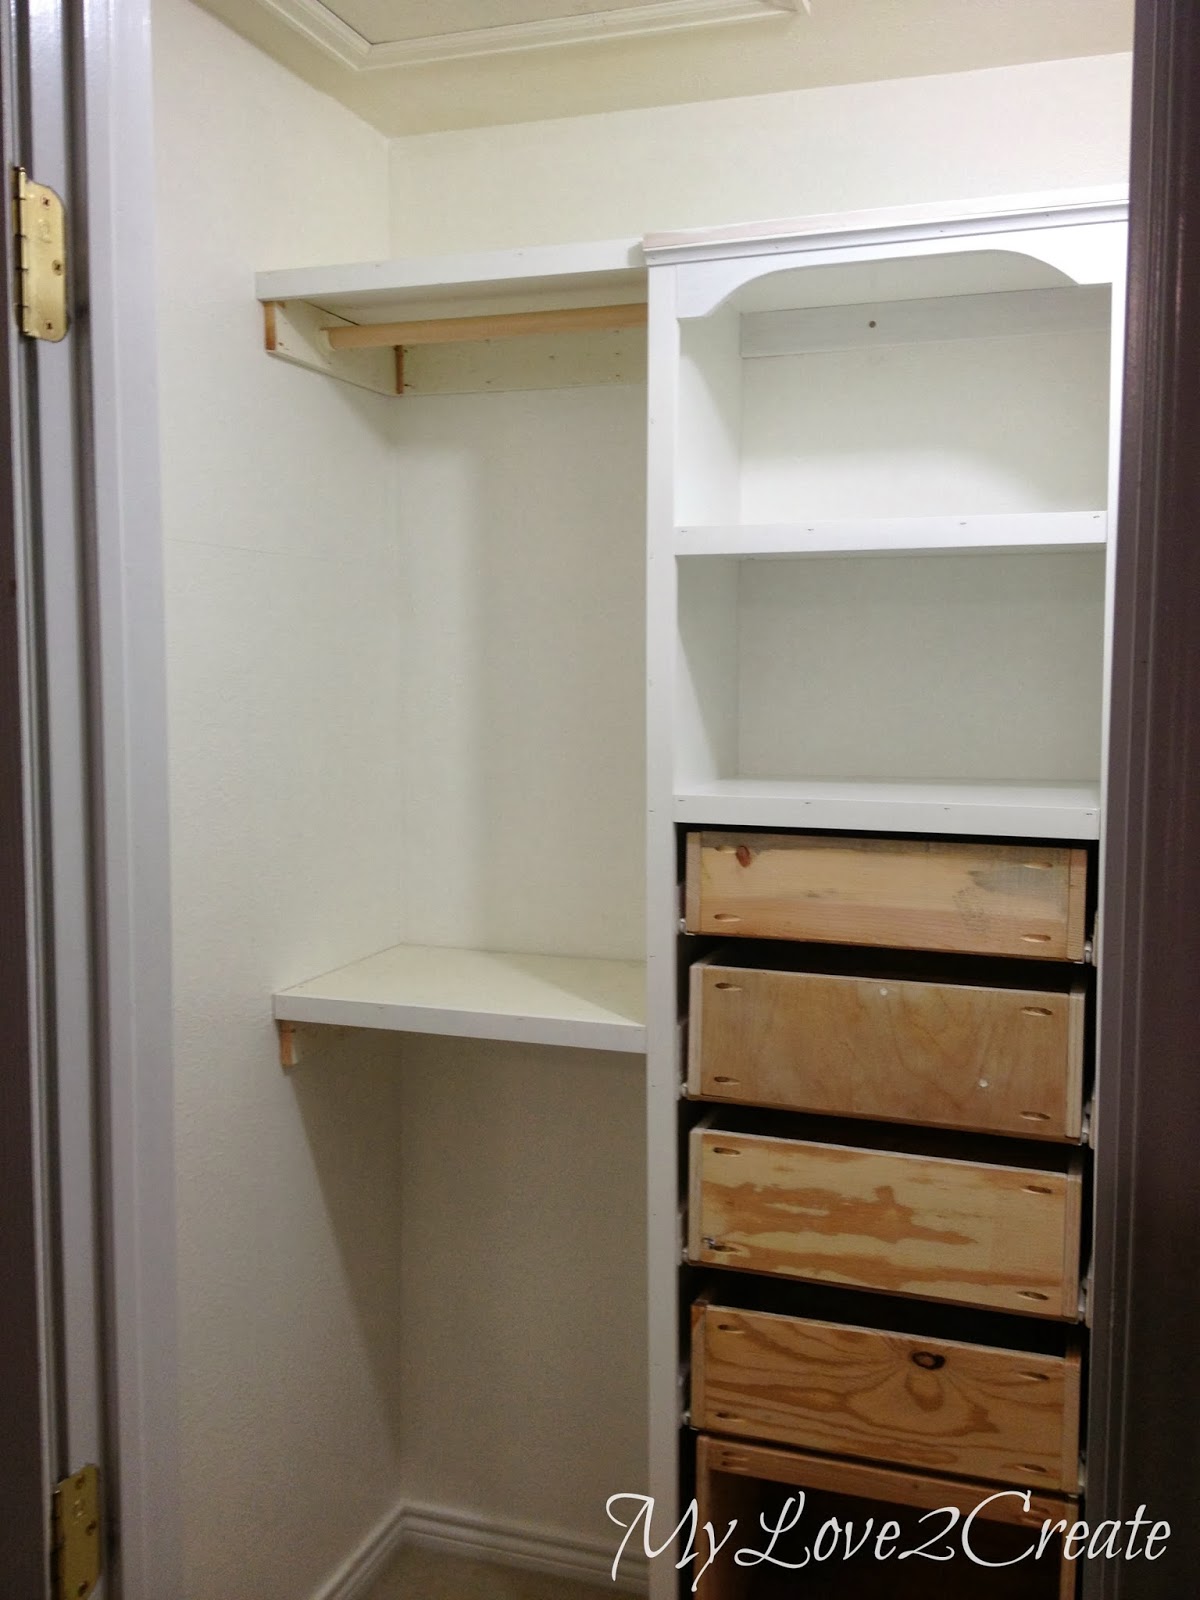
I added a 1×2 to the top. I really loved adding the trim it makes such a difference! I also added 1×2 trim to the fronts of the shelves. Up to this point in my closet makeover I have used the wood I originally purchased from the store, with the exception of the drawers, those were made with scrap wood. For the shelves above the rods I stated reusing the original closet shelving, and some scrap wood.
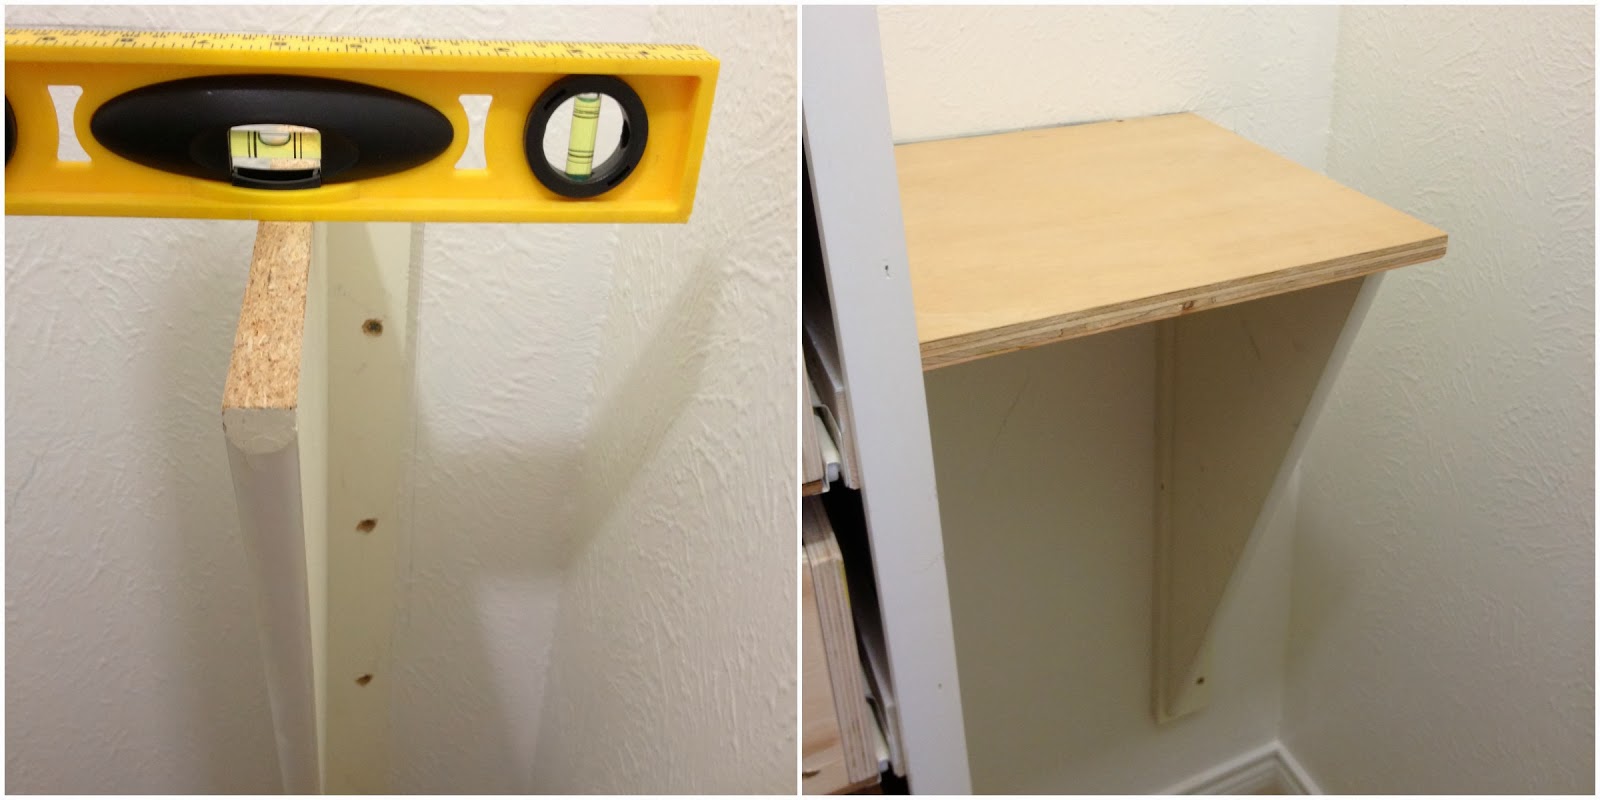
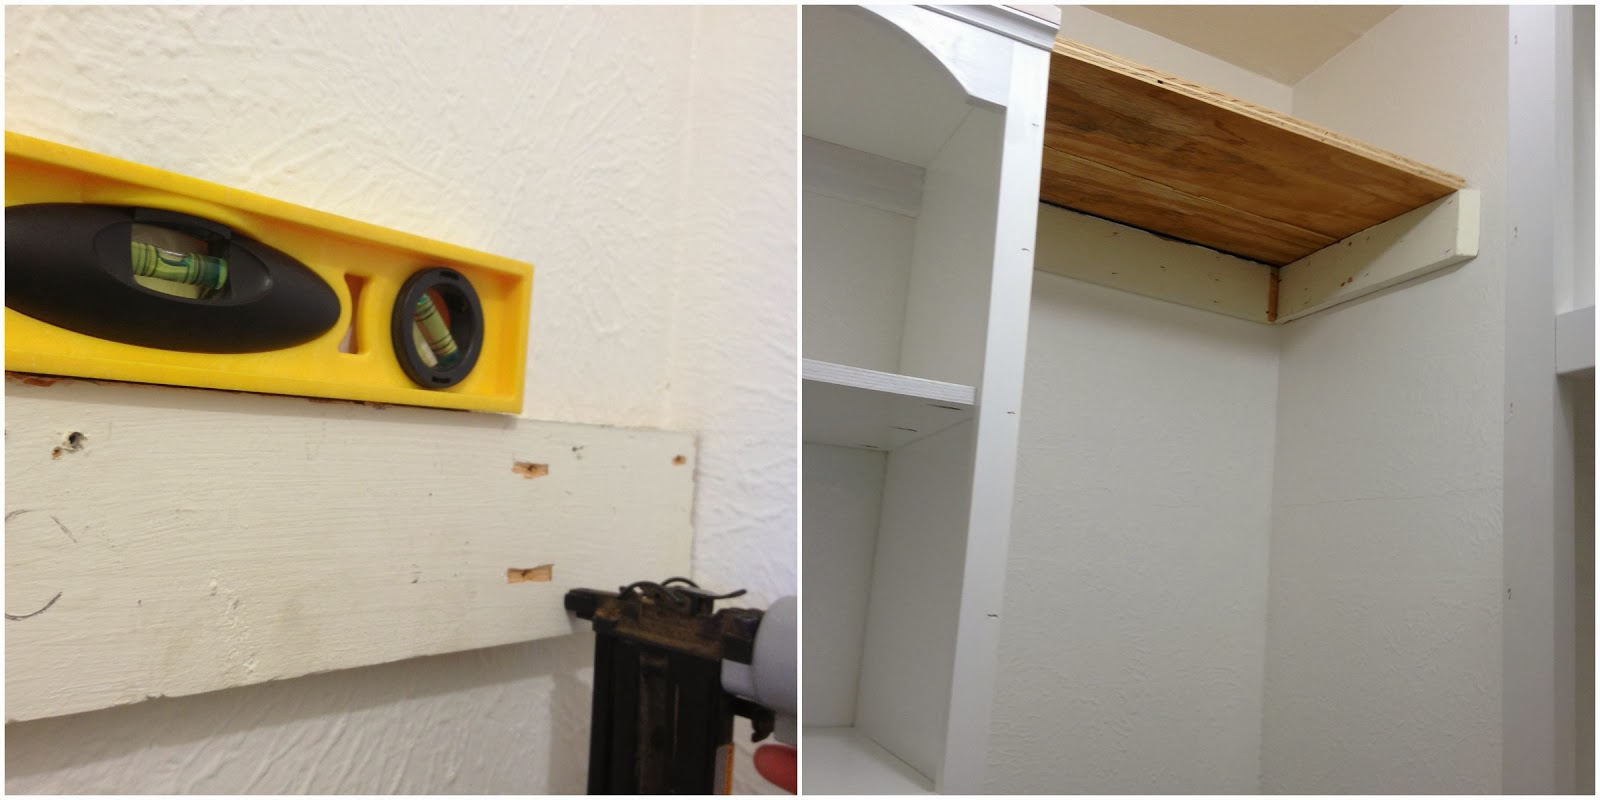
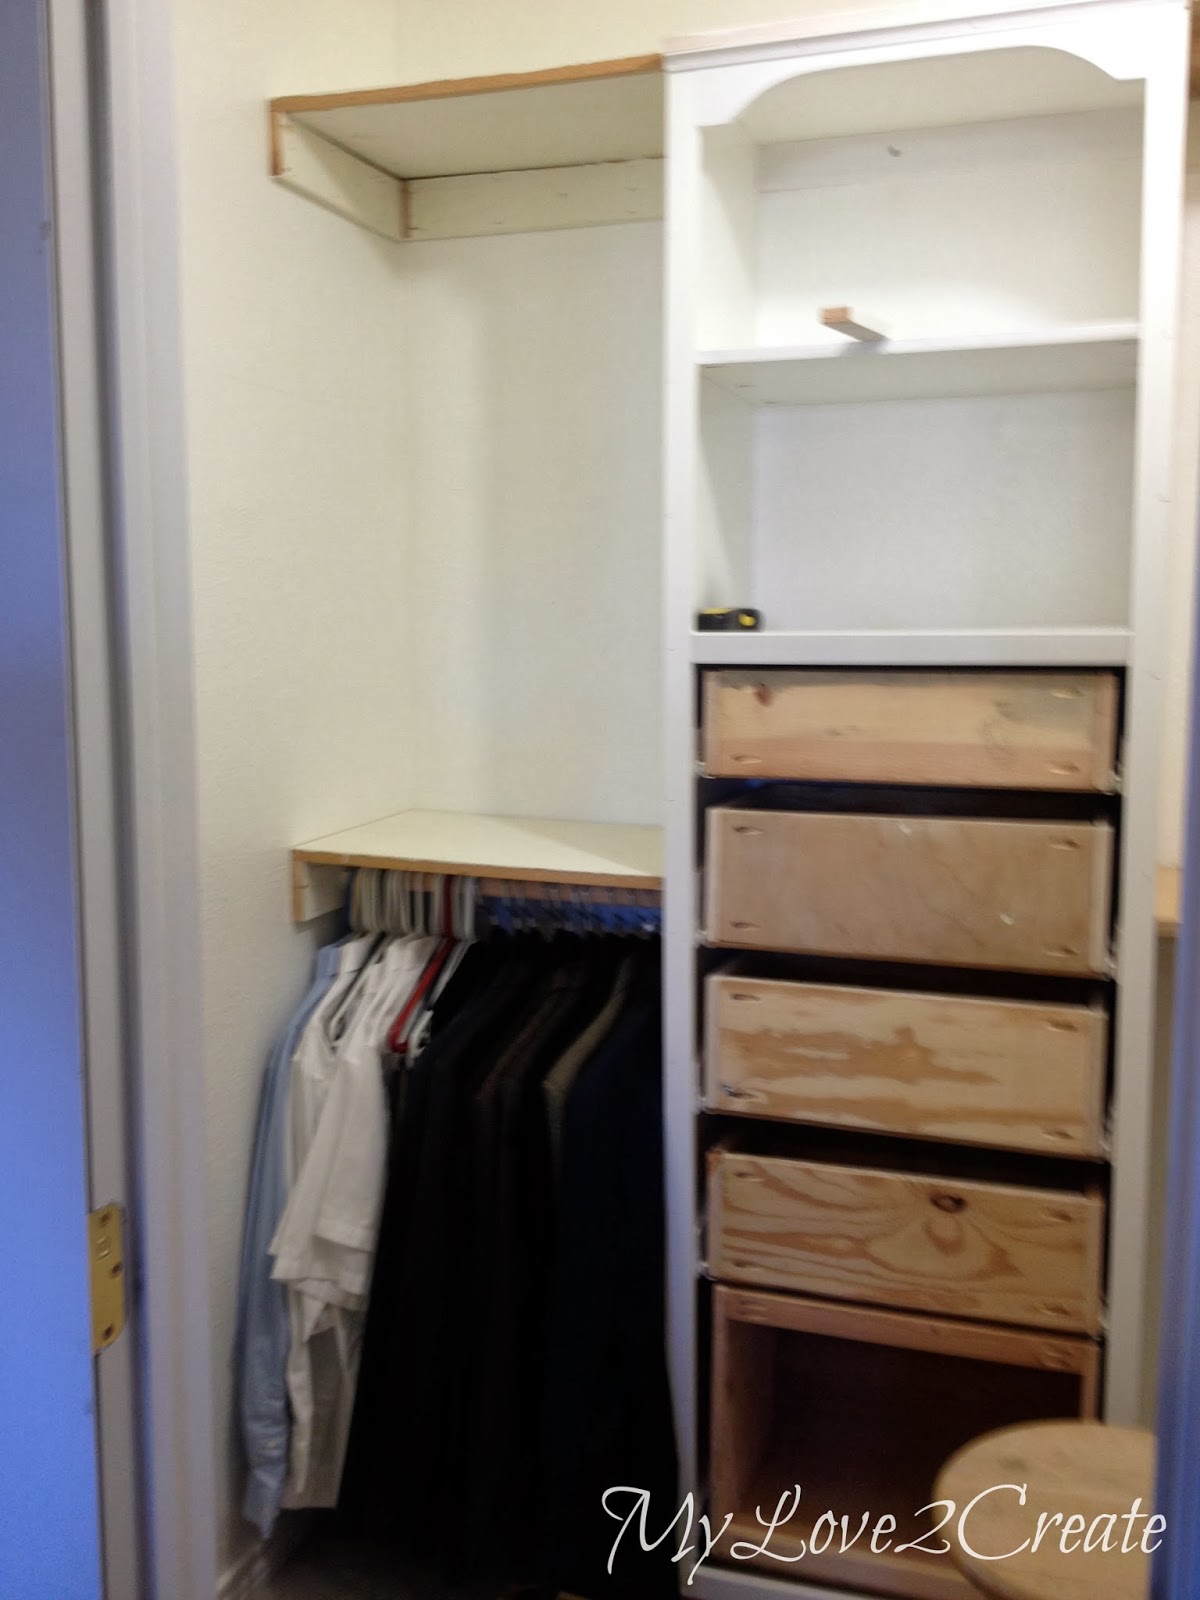
I started by reusing the closet divider that I had in my previous closet. I cut it down a little and removed the top piece. I am using this so I can hang my long dresses in the corner, I don’t have many. I located and marked the stud, set it on the wall, checked for level, and started screwing it into the stud. In the right photo above I was trying out the shelf I had cut, it is not nailed down yet.
I reused all the old shelf supports cut them to size and started installing them on both sides of tower one, on the back wall. Again, I am trying out the shelf I cut on the right photo above.
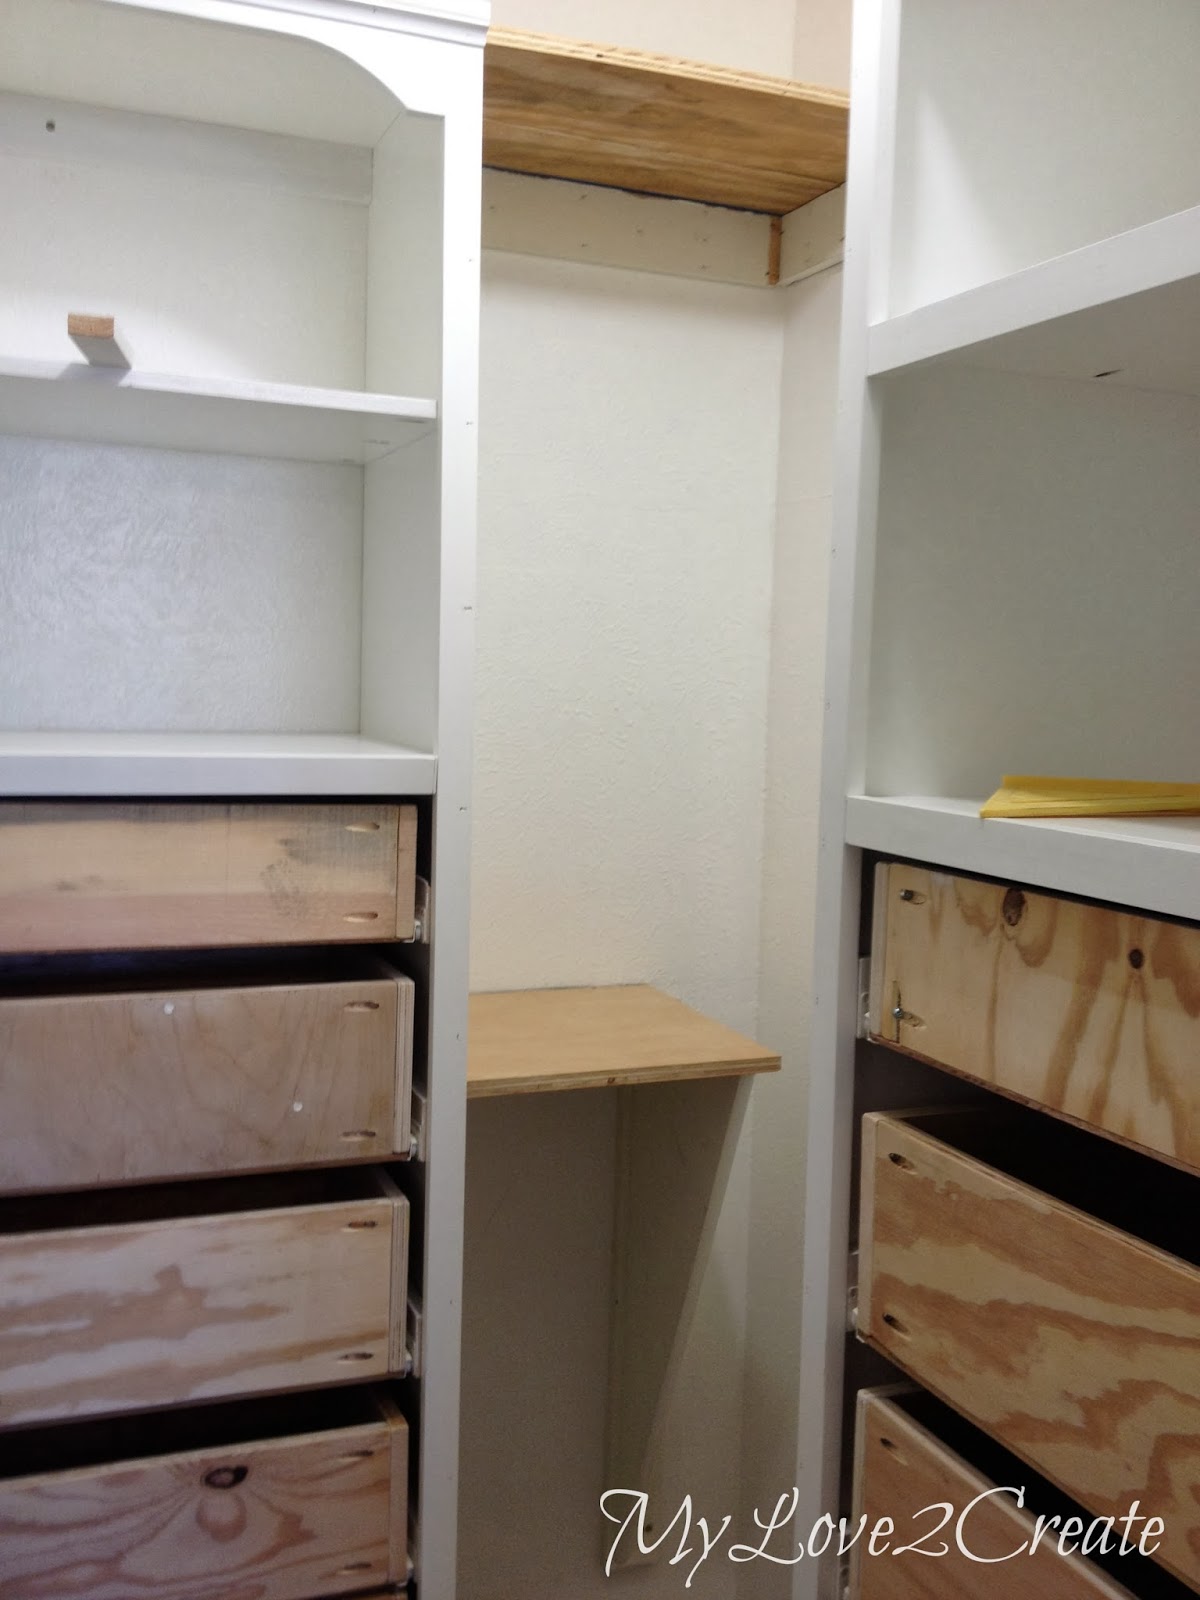
One side down…and I still haven’t nailed on the shelves, I didn’t want to do that until I had the rods installed.
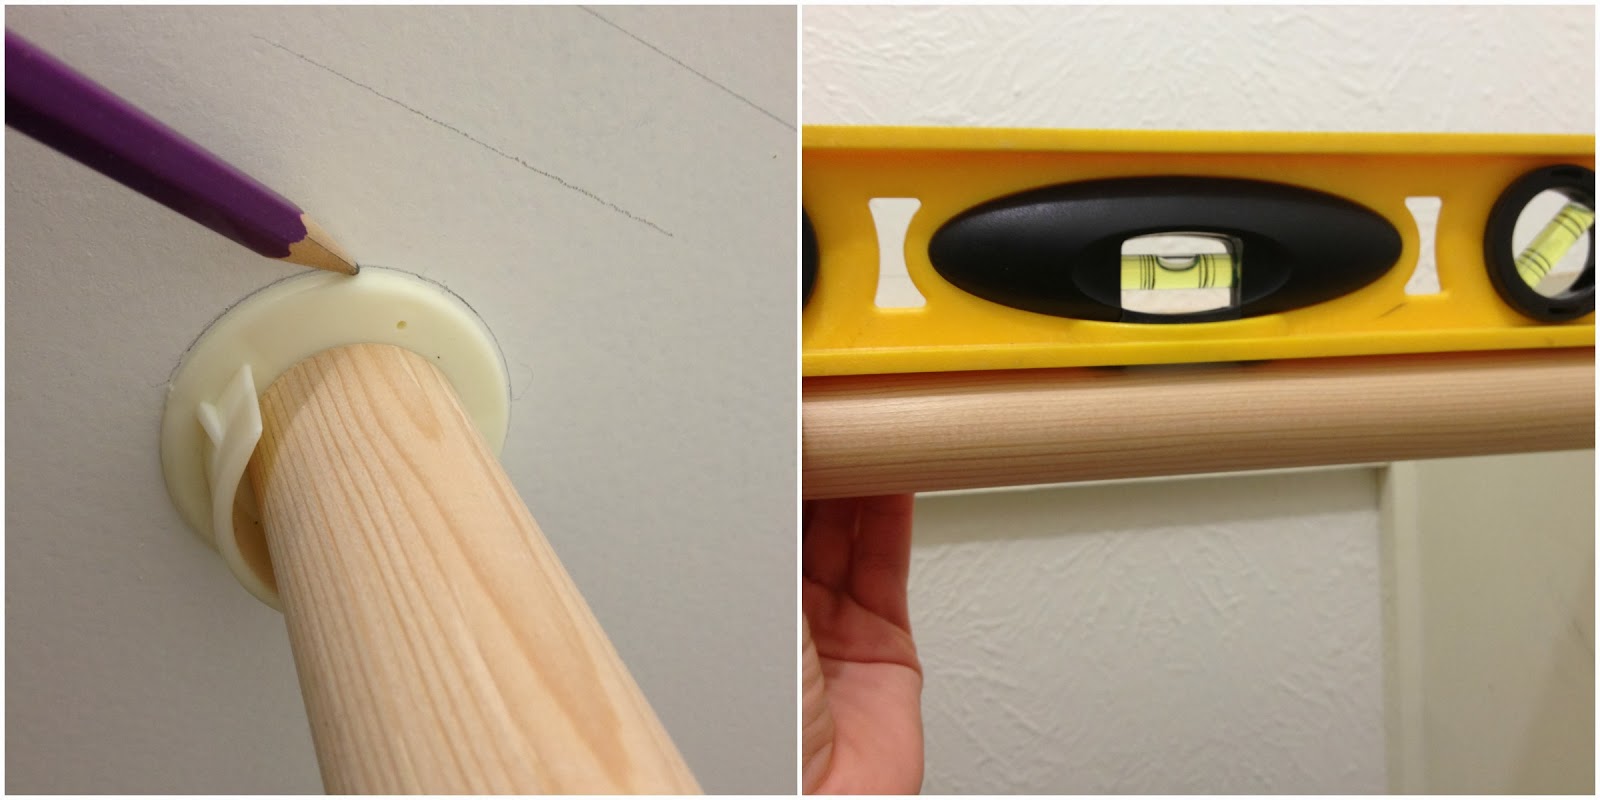
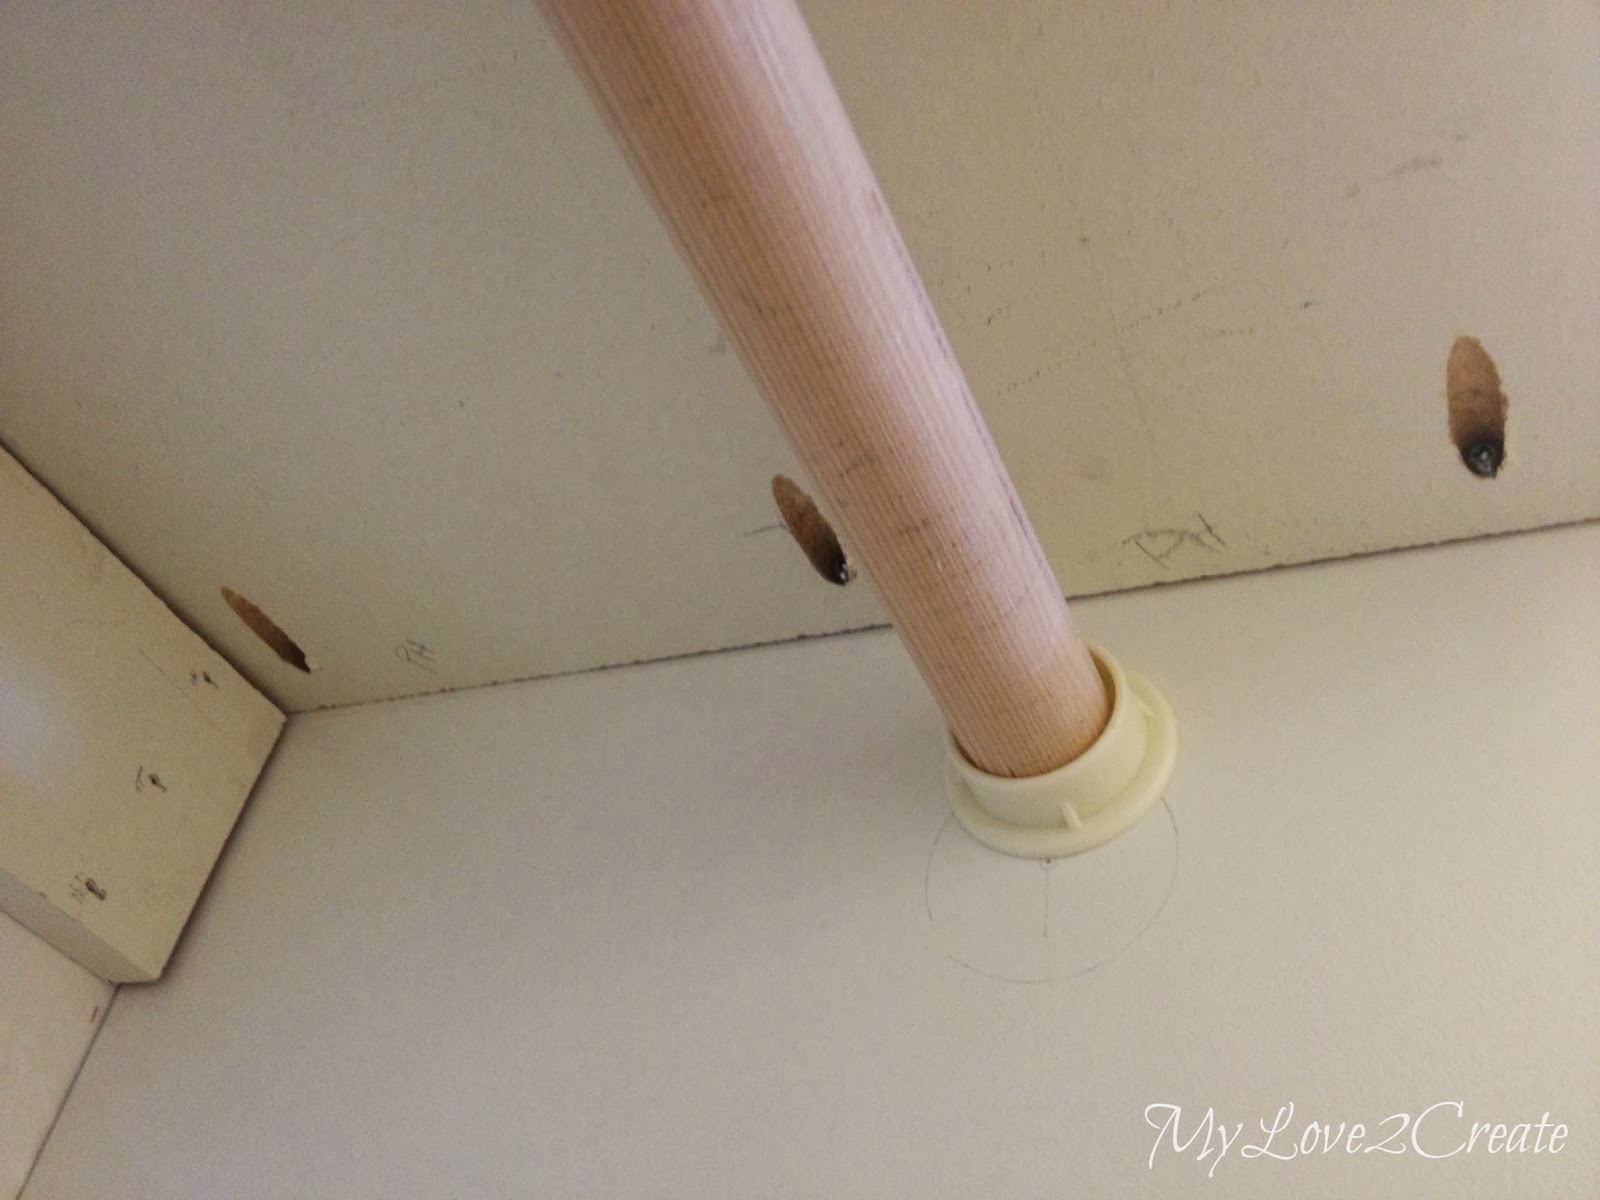
I bought the really cheap plastic closet rod holders (somewhere around $1.50) and a rod at home depot. I followed the directions and installed them. In the left photo above you can see I drew two lines where the shelves would go and then measured down to install the holders. I carefully measured and cut the rods, and still had to run out side and cut them down a little more… Once one side of the holders was installed I set the rod in to the other side and slid it until it was level, then I drew a circle around the holder so I knew exactly where to drill in the second holder.
I finally got all four installed! Now to add the shelves. I did not put a shelf support on the sides of the tower. I drilled pocket holes to attach the shelves directly into the tower.
This is under the bottom shelf. On the top shelves I drilled the pocket holes so they are on the top, and you don’t see them. Once the shelf was secured with pocket holes I nailed from the top of each shelf into the support boards on the back and sides. Above you can see where I had to redo one of my rod holders, I am glad I caught that mistake before I drilled it into the tower!
I wanted to test out the clothes after I installed my first rod. I also took measurements with the clothes hanging so I knew how long to make the bench that will be going just to the left of the door when you walk in. Sorry this is such a blurry photo, it is so hard to remember to check when you are in project mode.
I added 1×2 trim to the fronts of the shelves…
on both sides. The shelves on the left side of the tower were cut down from the old closet shelves, that is why they are already painted.
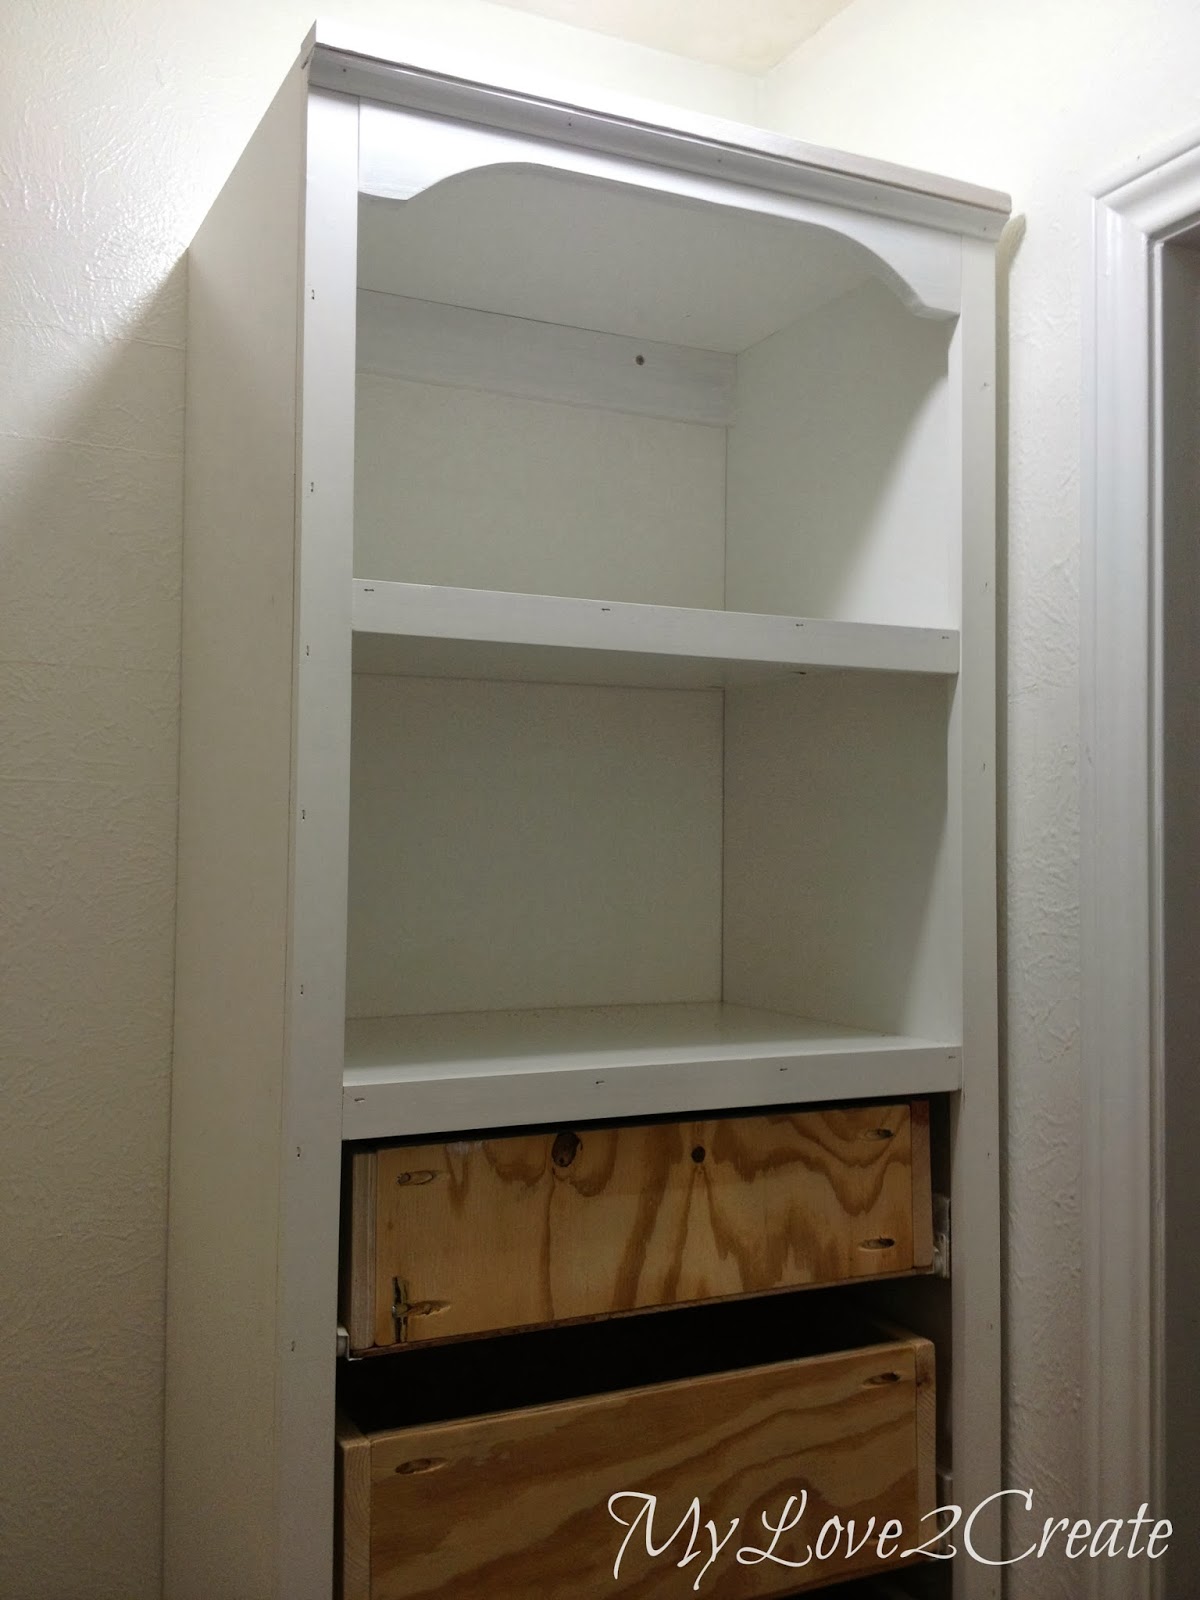
Here is a shot of tower two with trim. You can also see I added a piece of cove moulding under the top 1×2, it adds that finishing touch, and yes it was free. One of my scores from the craigs list free section was a ton of moulding, I have been saving for a day such as this!
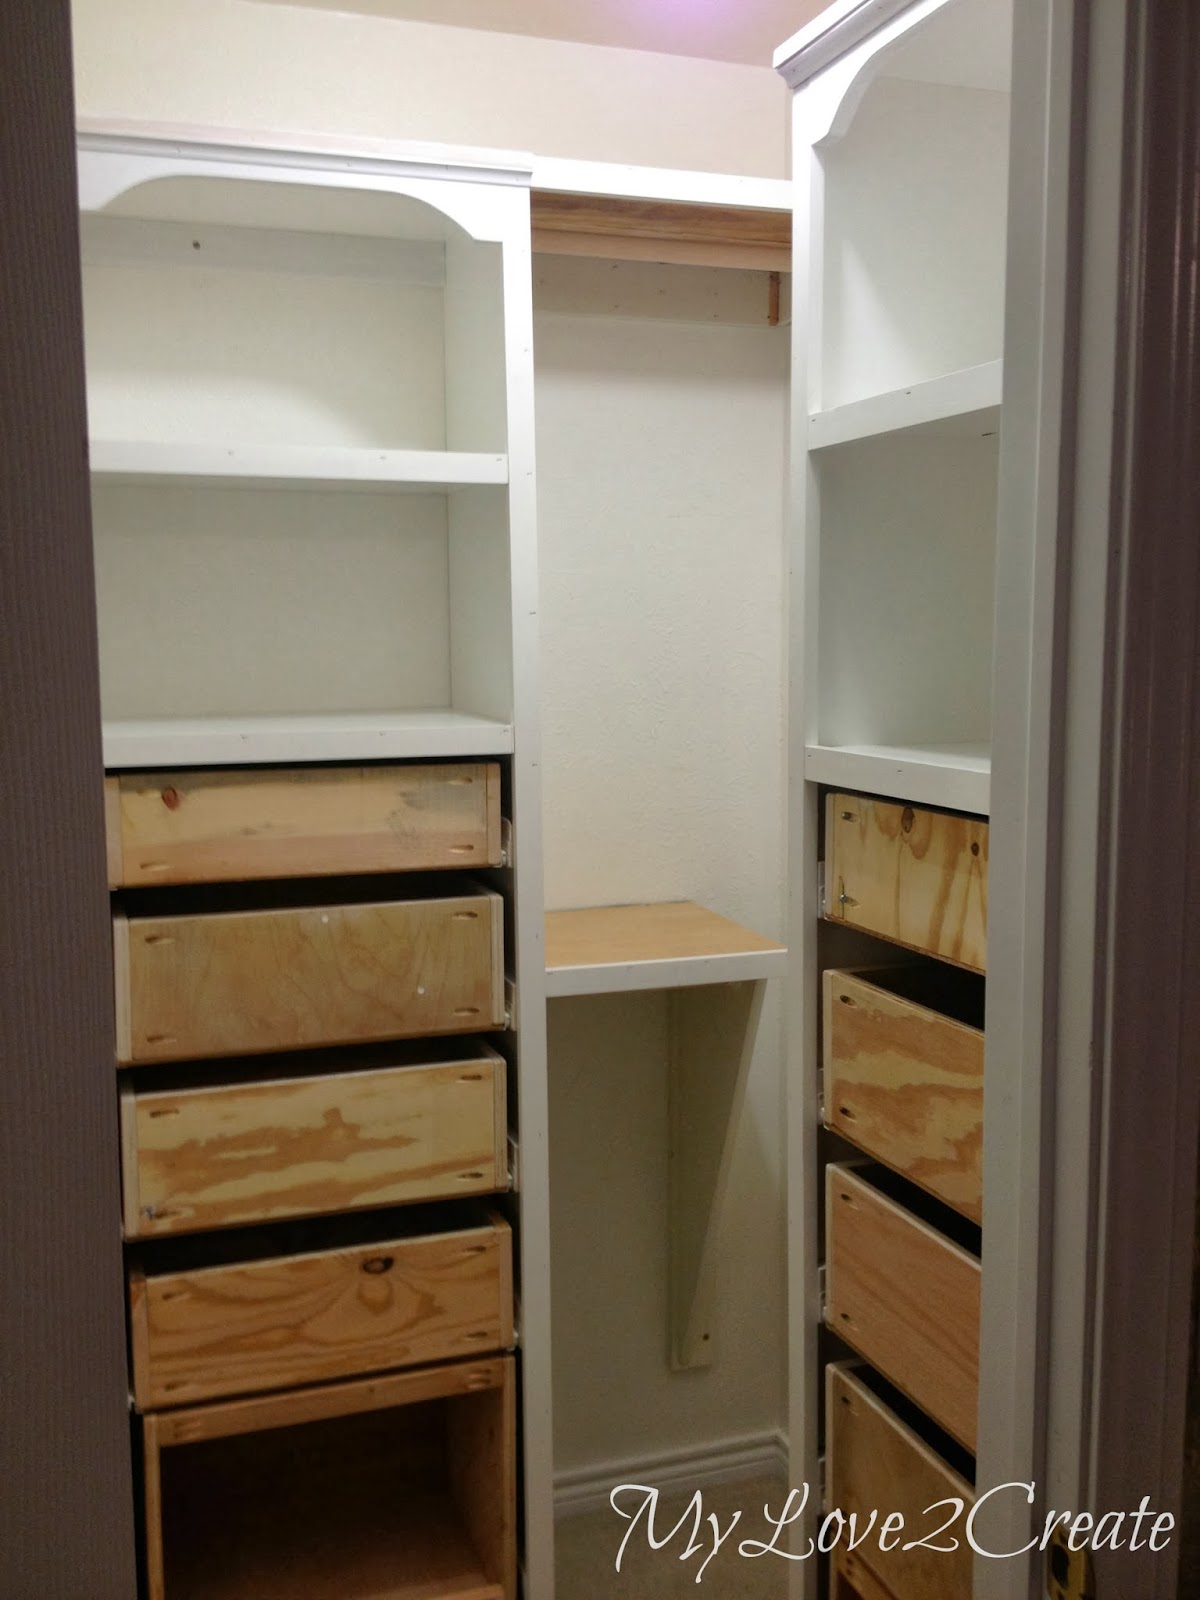
Not bad for a day’s work! At this point, my husband was finally starting to see my vision and I think maybe some doubt flew away in the wind…for both of us. Maybe I am not crazy after all, and this closet just might turn out!
I have some more work done and am pushing hard, some days are better than others. My littlest guy got croup and I was up with him all last night, poor thing. So I am hoping to finish next week!
Thank you so much for all you sweet comments and encouraging words, you are keeping me going!
Hugs!
Mindi
I will be linking to these parties.




It's looking fabulous – we're doing the faux front finishes on our billy bookcases – hoping they come out as beautiful as yours did!
xox
What a difference your face frames and trim made, just finishes the towers so nicely!
Amazing to get all that done in a day!
Val @ artsybuildinglady
Aww…so sorry your little guy got croup. 🙁 Give him extra hugs.
Mindi, this is turning out absolutely wonderful! the fun part will be when you are putting away your clothes when it is all done. 🙂 Lady, you have the magic touch when it comes to finding free stuff. How do you do that? Free molding / trim is a dream come true. lol
You know, I just realized that H and I had built my daughters closet. I think I mentioned it a post a long time ago, and then I forgot about because of all the poo with the house. Anyway, her closet is still not finished. I need to add a couple of more shelves and drawers. However, I think I may just put in a dresser, so I do not have to make drawers. 😉
Thank you for the inspiration and the reminder of an unfinished closet I need to get done…one day.
gotta love those little touches, and being FREE is the best part! I always forget to check Craig's List on a regular basis.
my favorite part is the detail the front facings give your look! 🙂 very pretty.
gail
Hope your little one feels better soon, Mindi! Closet is looking awesome. Maybe I will be brave and try to update mine too!
Hi Mindi! Your master closet is looking AMAZING! All those drawers are going to be awesome and I love how you are trimming everything out.
-Tasha @ Designer Trapped in a Lawyer's Body {www.designertrapped.com}
Awesome! We redid our closet and I couldn't be happier. OK maybe if it were bigger!! But yours is looking great.
Oh Mindi, I love the detail on those shelves! yeah, trim transforms everything 🙂 You go girl, you're almost done!
It looks prettier than the companies that come out and do "custom" closets! You have to be kidding me!!! Your work is gorgeous! The trim just adds the prettiest detail to your closet! Bravo to you and all of your hard work!!! I do hope that your little man is feeling better…there is nothing worse than that terrible cough…all the best friend! Nicole xoxoxoxoxo
You are doing an awesome job Mindi! I can see your vision. Sorry your poor little guy is sick…it's hard on mom too I know. Hope you have a great weekend. ~Deborah
Im really proud of the work you did and i admire the great job and detail that went into it! Im building a house and im looking for all kinds of deals to save money, this is a great one for me to show my builder!
ThanksMaria
This looks great! I love the detail you're putting into it! Can't wait to see it finished!
This looks great! I need to makeover my closet badly. Can't wait to see the finished product. Visiting from Do Tell Tuesday.