My Pinterest Serving Tables
I love finding great ideas on pinterest, but it makes me even happier when I actually make that idea into a reality. It is time to share another PPC! (personal pinterest challenge)
So, Brook, at Being Brook made the cutest little mini serving tables last spring. I loved them and pinned her great tutorial so I could make them.
This past Mother’s Day I had my excuse to finally do it!. My tables were free because I used only scrap wood I had leftover from other projects…Yippee!!
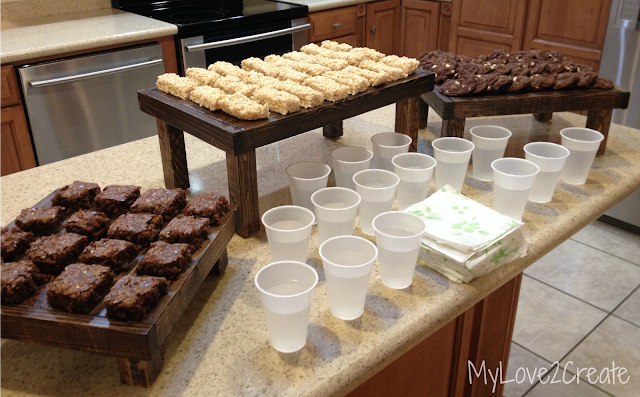
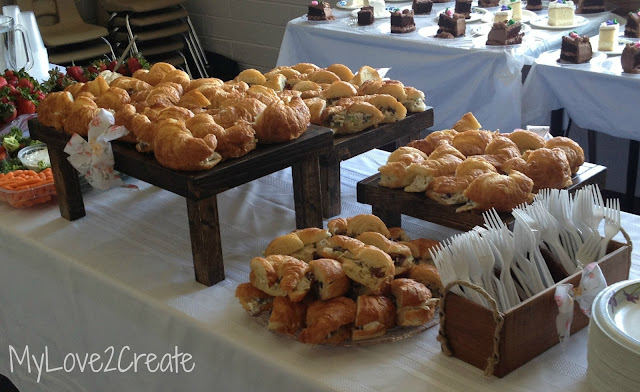
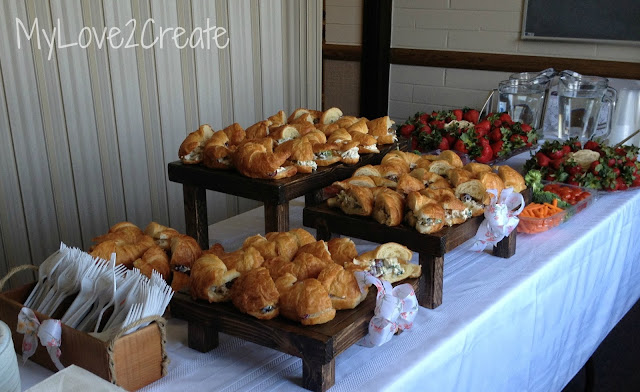
This was our treat display at my boys piano/clogging recital. It was an in home recital, and we are pretty casual, but at the last minute I remembered the serving tables and they made the treats look even better!
So let me give you a run down on how I built my tables. I did a few things different than Brook’s tutorial, so if you want all the measurements and full details check out her post Here, I figure why write another tutorial when one is already written, sa-weet.
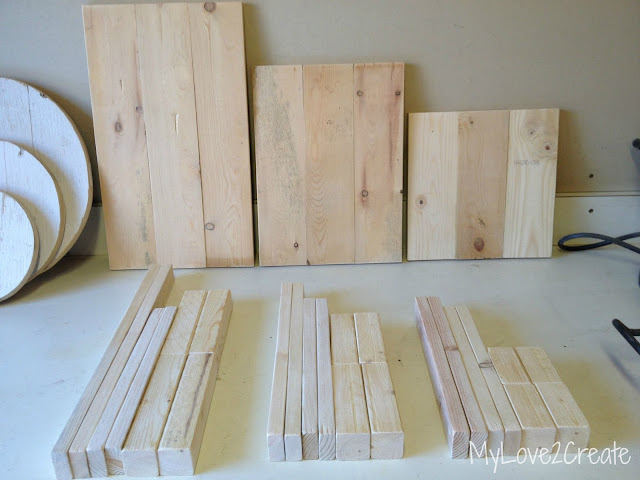
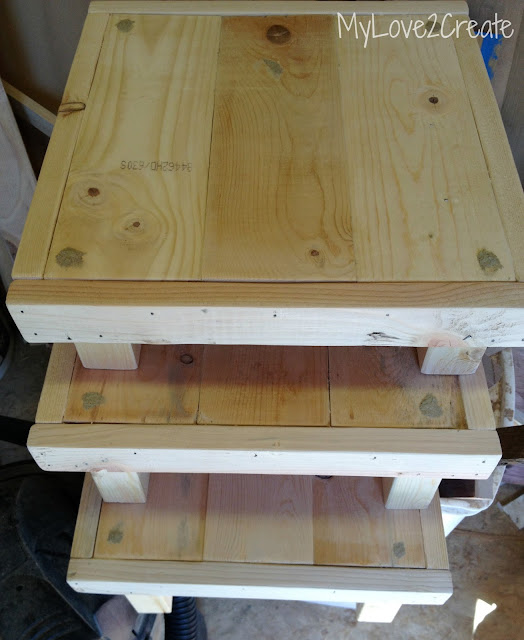
Here you can see all my wood cut and ready to be assembled. The table top boards are already attached together with wood glue and pocket holes. And you can see my Cupcake Tower circles I built at the same time off to the left. I guess I am weird but I love seeing the wood like this…ready to go, it makes me happy inside =)!
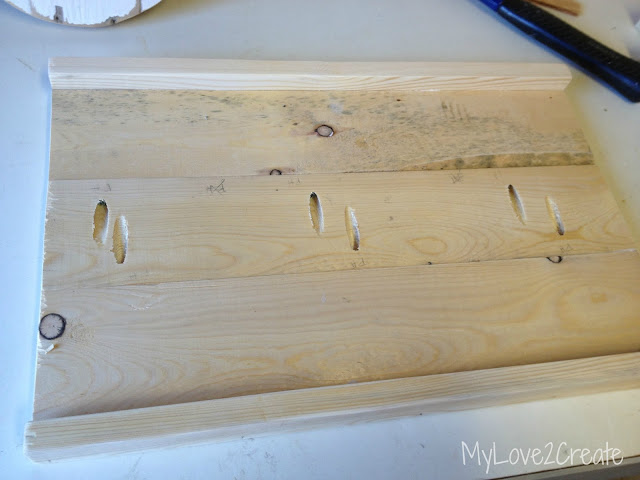
See the pocket holes? I attached the sides with wood glue and a nail gun.
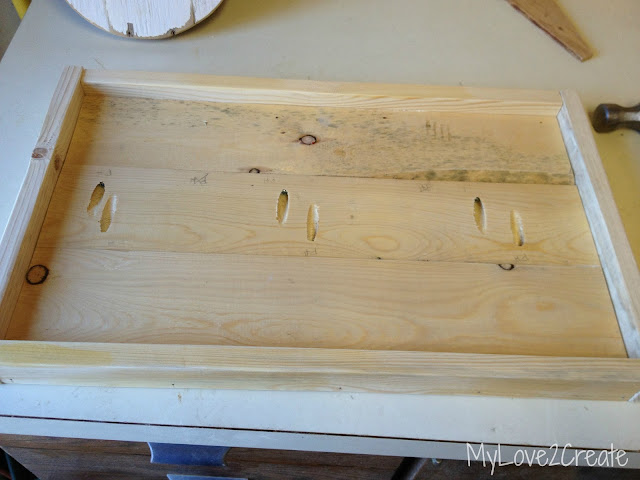
Then the end pieces.
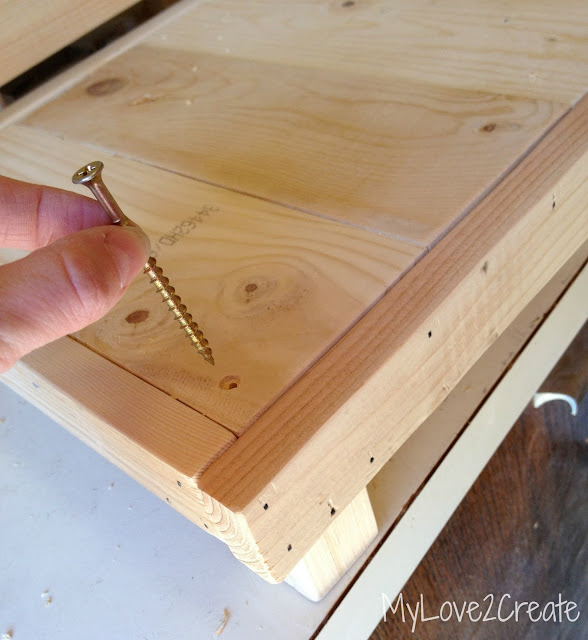
Then I glued and nailed on the feet. To make it really sturdy I added screws from the top into each leg, don’t forget to pre drill.
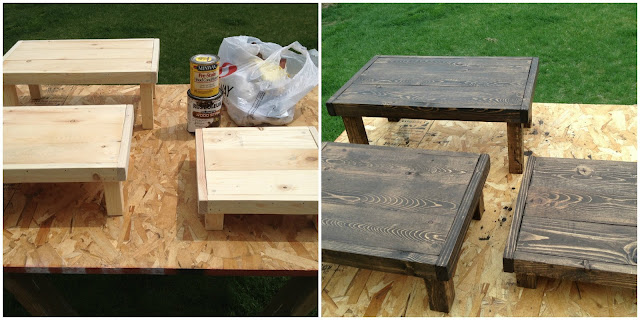
After all three tables were built I filled the holes with wood filler and sanded them smooth. I didn’t fill the nail holes…I like the rustic look, aaaand I am cheap…and sometimes lazy.
Then I stained them, dark walnut, one of my faves. I sealed them with three coats of poly and sanded with 400 grit sand paper between coats. They are so smooth and wipe clean so easily!
This is a picture of the Mother’s Day brunch I originally made them for.
Simple, yet perfect! Man, I am getting hungry!
Oh, and you can see a smaller version of my Divided Crates holding the forks! I LOVE crates, I can’t wait to start building again!
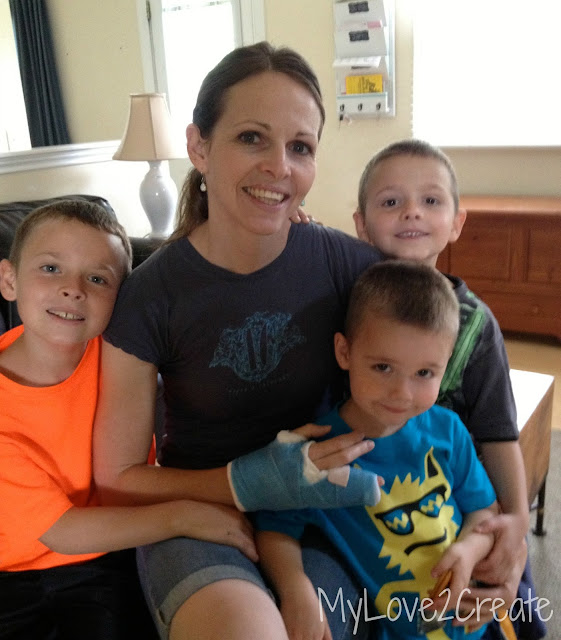
I am now in a cast (long story), and it is WAAAAY better than the splint. Hopefully only one more week in this bad boy (like the color?) and I can start getting my hand back to where it was before!
Thanks for stopping by!
Hugs,
Mindi
I will be linking to these parties.

Oh those serving trays are super cool! They add the perfect something to the table!!! The different heights and the rustic feel of them is awesome! Well done you! I love that pic of you and your kiddos! I wish your hand was better but I am thinking the cast may help it heal faster?!?! You take care and have a wonderful weekend!!! Good stuff!!!
That spread looks awesome! Love those trays! Mindi, I understand the whole being happy inside when woodworking. Actually, I was eying those pocket holes you did. *le sigh* A Kreg Jig is on my wish list.
Glad to hear that the cast will come off soon. Have a fun weekend lovely lady. Those boys are handsome. 🙂
They look great! Is that a Relief Society room I spy? : ) I made some similar to this for our Halloween party last year, but yours are way more detailed and cute. Great job as usual!
Your serving tables turned out super cute, I would love having a few of them myself for big meals and holidays.
Thanks so much for sharing this at "The Saturday Spotlight party"!
Have a great weekend!
April
The serving trays look great, it all looks delicious! Nice pic of you and your boys! It must've been hard to work with only one hand all this time, take it easy once you have it back 😉
What a great idea and they look awesome! Love the dark walnut stain you chose! I am a new follower, excited to be here!
These are so great! Love this idea – pinned it! Thanks for sharing-
Kyra @ Caramel Potatoes
What a great idea! I love that they're a little casual and a lot functional and cute!
These little tables are adorable! We'll be featuring them over at Someday Crafts tomorrow! 🙂
I love these, I think they'd be great at our dessert bar, or popcorn bar, or whatever kind of treat station we decide on for our wedding. And the best part is that it's wedding decor we can use after the wedding!!!
Found this from Someday Crafts 🙂
These look great! They would be so helpful when we do a buffet and really create more room on my counter. Thanks for sharing.
Sarah
http://www.creativeramblingsblog.com
those tables are the cutest thing. I like how they add a 3D look to the food presentation. I am sure you will use them again and again
I absolutely LOVE these! I'm going to get my husband to make me some.
Allison
These look great and really give the food a fantastic presentation. I love how simple they are and the stain.
The new cast is really stylin', Mindi! 😉 And the tables are awesome. Thanks for linking up to Give Me the Goods!
Rachel @ Maison de Pax
Great idea for serving up the goodies! & …. Thanks for sharing! I've been wanting to make some photo props I can use for various projects & foodie posts. The Mr. got me a sheet of board to paint, lol! I guess I'll have to learn how to use tools myself!
The gang at My Personal Accent thinks your post about the Pinterest Serving Tables is WONDERFUL, and we would like to invite you to party with us at starting at 5:00 Thursday nights at our new Blog Strut Peacock Style Link Party to share your creative ideas. Come on over!! http://wp.me/P2Vf55-1K
Those little serving tables are super cute! I will definitely be making these! Thanks so much for sharing. Found you at the TGIF Link Party!
These are just brilliant and so super cute!! Would love to invite you to share at my Weekend Beautiful Blog Party 🙂
Shawna
You were featured on Give Me the Goods Monday. Be sure to check it out!
Rachel @ Maison de Pax
Really cute serving pieces. Loved the tutorial. Thank you for linking your post to my Blog Strut Peacock Style last Thursday! Please stop by this Thursday and link up again.. http://wp.me/P2Vf55-1K
These are so great Mindi!, what a fab idea. Hoping your hand recovery is going smoothly:)
love your little tray tables! I could do that with some of my cabinet doors and the endless supply of spindles I have! hahaha
pinning!
good luck with the pt and rehab! Can't wait to see what you get into when you're all better!
gail
Just a quick note to let you know I am featuring your serving tables at my Weekend Blog Party tomorrow. Thanks again for linking up, I love them! Hope you can stop by and check it out and share more goodies this week 🙂
Shawna
This is a fantastic website and I cannot recommend you guys enough Full of useful resource and great layout very easy on the eyes. Please do keep up this great work.
Beer Pong Table with holes