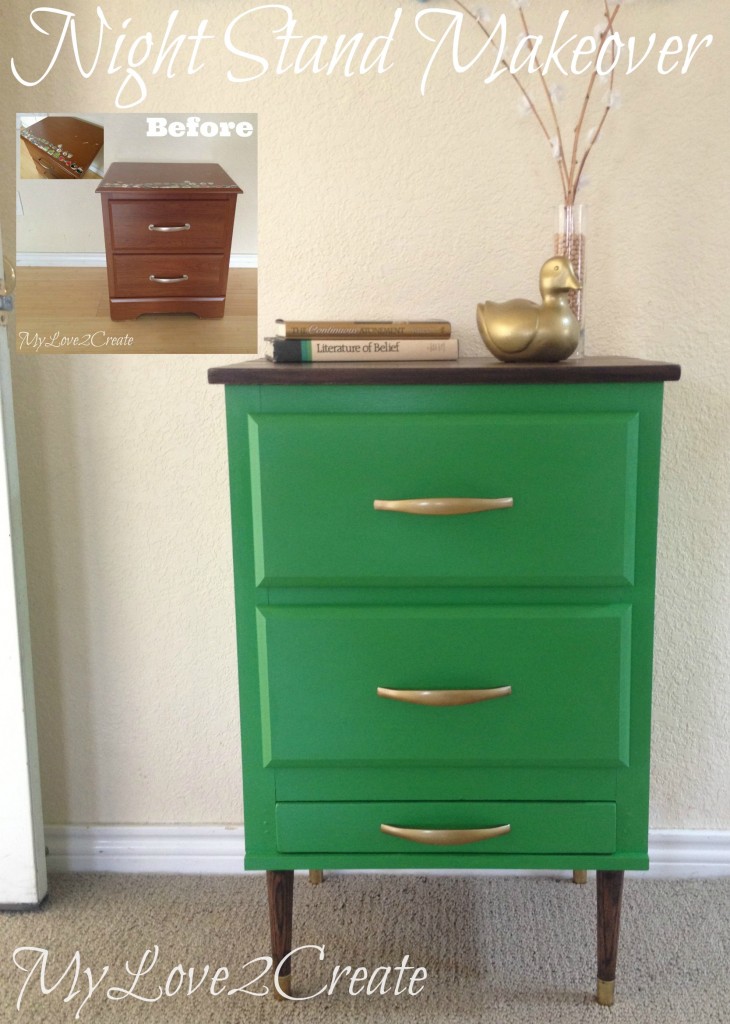
Night Stand Makeover
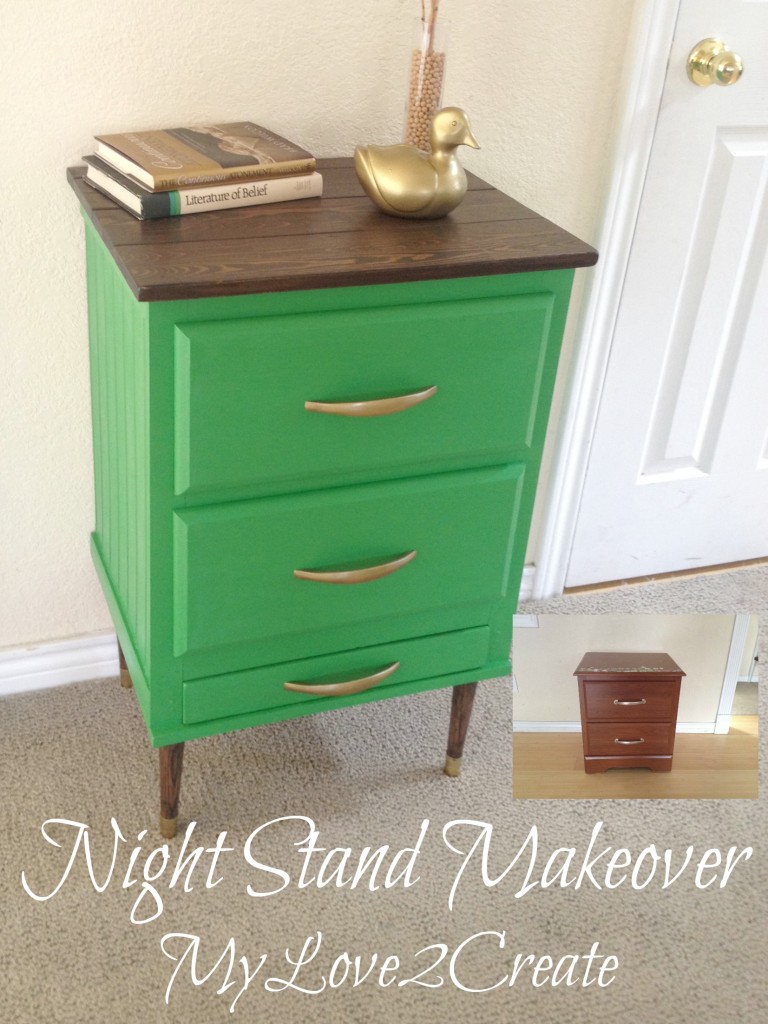
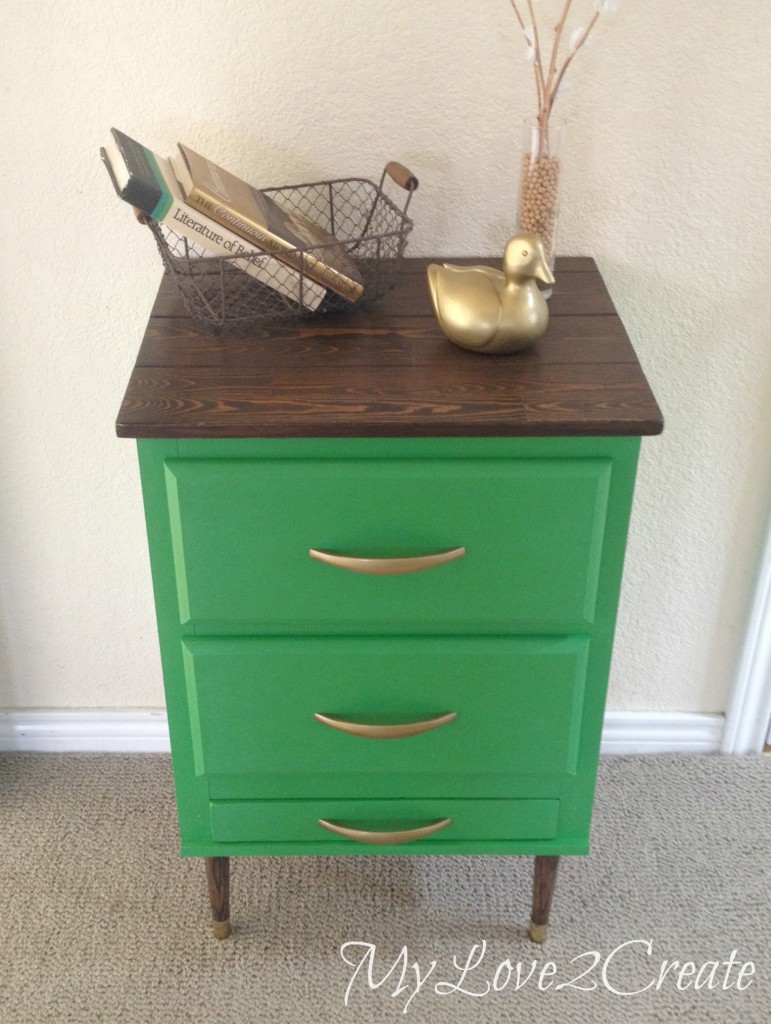
I have a fun Night Stand Makeover for you today! This project was first shared at My Repurposed Life back in March, as one of my contributor posts.
Life has been so busy I haven’t had a chance to share it with you yet, so I am happy to do it now.
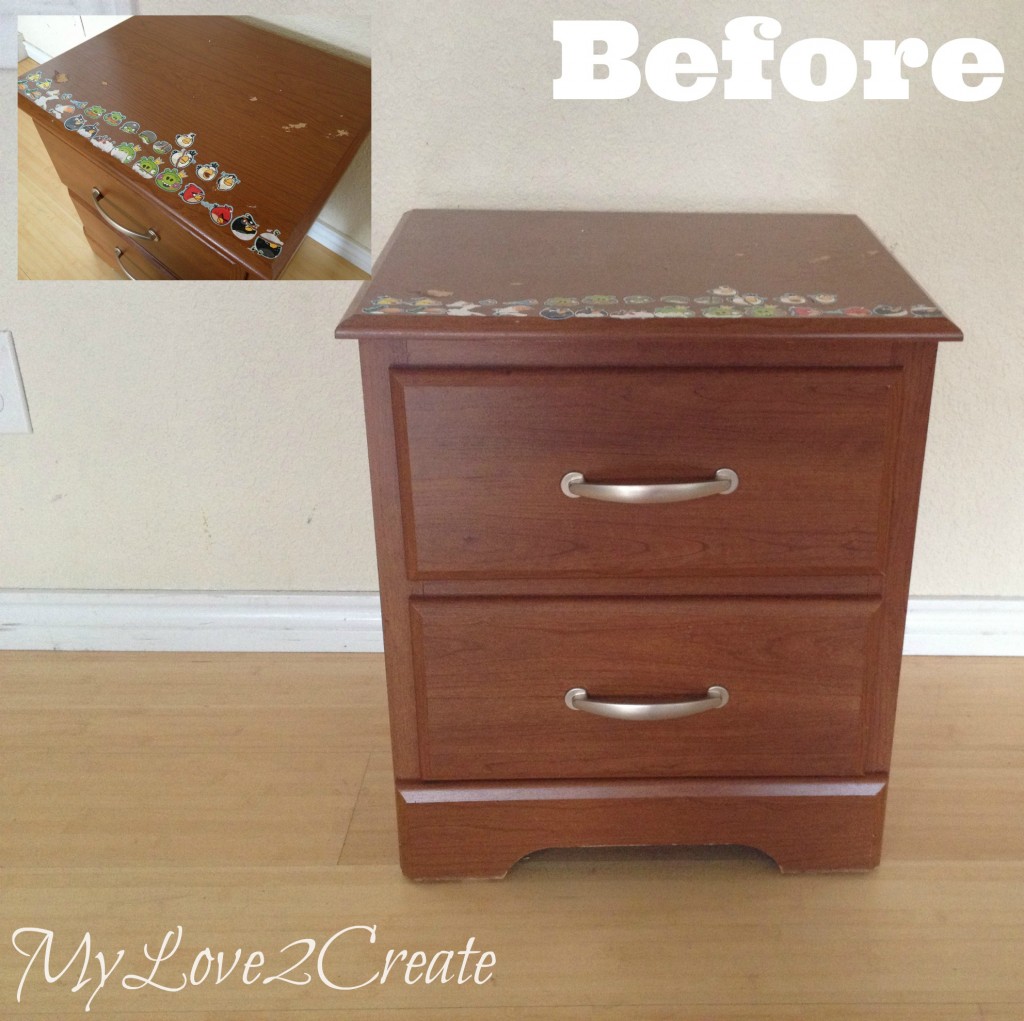
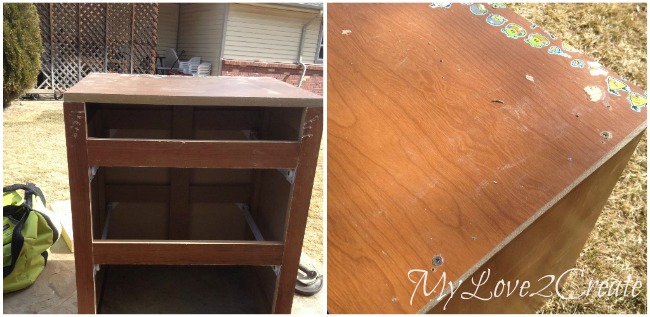
This was a free find that I got on Free Cycle, you can google it for your area, it is a great way to get rid of free stuff and receive it. This night stand was in great shape except for the stickers on the top. Even though it is made from mdf, I knew I wanted to make it into a statement piece.
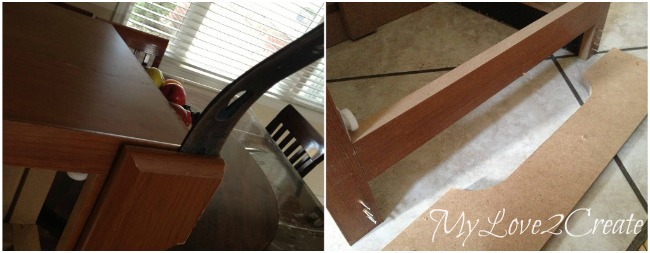
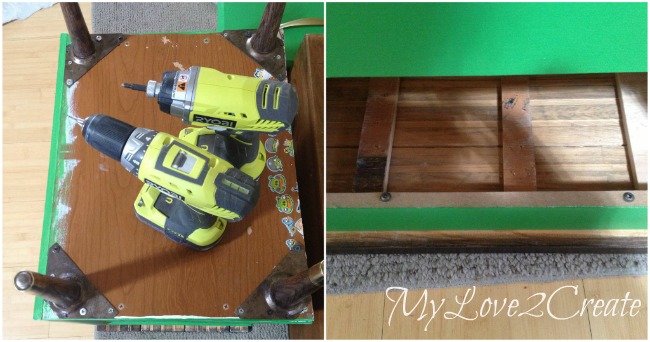
I started by prying off the bottom trim. It wasn’t too hard with a crowbar, but it left some lovely staples that I had to deal with.
I am always excited to use my new tools and I quickly grabbed my Roybi multi tool to do the job. Once I removed the staples I noticed the front trim had a lip on the side, so it didn’t sit flush with the side piece. See it in the photo above on the right? That meant I really couldn’t add different trim all the way around, but just to the front again….hmmm. I usually just wing things as I go and that is what I was doing here. I noticed when the trim was off that there was a nice space now maybe I could add a drawer?
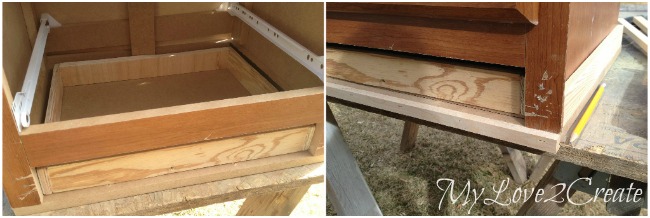
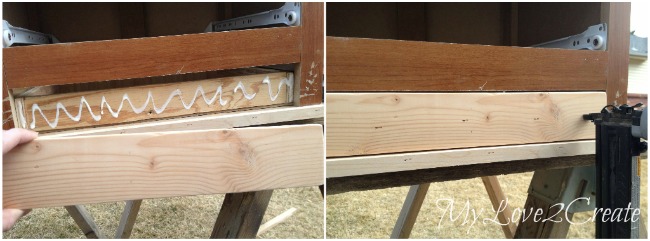
So I went to the shed and found scrap pieces of plywood left over from cutting my Drawer Fronts in my Master Closet Makeover. I built a simple box with Gorilla Glue and nails from my nailgun. I had a thin piece of wood left over from the back of a hutch, that I cut to size for the bottom of the drawer. When that was attached I tried it out in the night stand, it fit perfect.
You can see I left a space for a drawer front, I decided to put a small scrap piece of wood for some trim on the bottom so the drawer front wouldn’t look funny with out some kind of bottom support. I just glued and nailed it on. But wait? Did you notice the night stand now has a bottom piece? Let’s back up a bit.
I unscrewed the lovely stickered top piece and removed it and as I was doing that I realized that I would need a bottom piece if I was going to install a drawer, so I cut the top piece to size and glued and screwed it on to the bottom of the night stand! Sa-weet.
Ok, back to the drawer. To add the drawer face I did it the easy way. Put glue on the drawer front, position the drawer face where you want it and hold it there while you nail it on. Easy!
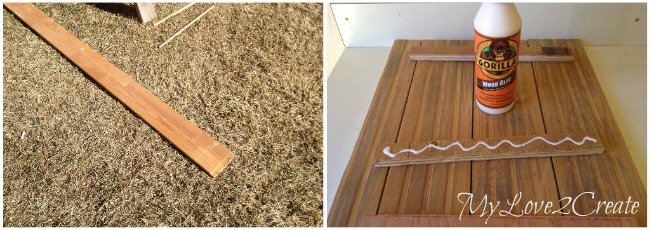
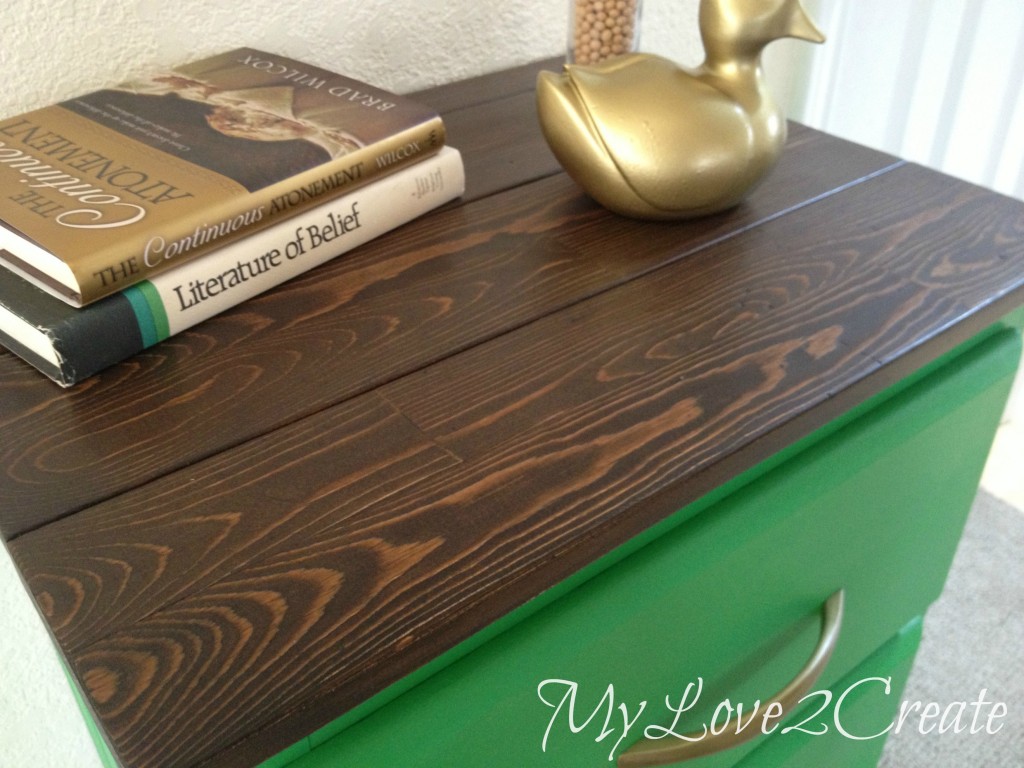
Since I took off the old top, I needed to make a new one. I decided to use this scrap piece of flooring I had picked up at some point. Garbage to someone but a treasure to me. It is beautiful wood. I needed at least four pieces to cover the night stand, so I cut them to the right length. It would be a little too long so I cut one of them with a jig saw, since I don’t have a table saw. You can see it above, it is not as wide as the others. I used scraps to glue and nail on the back to attach them all together.
After I nailed on the scraps, I wanted to clean up the back edge I cut so clamped it down and trimmed it again with the jig saw. I should have waited to cut it this way in the first place. Live and learn!
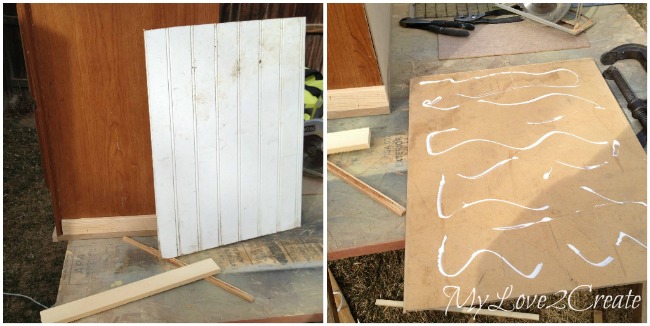
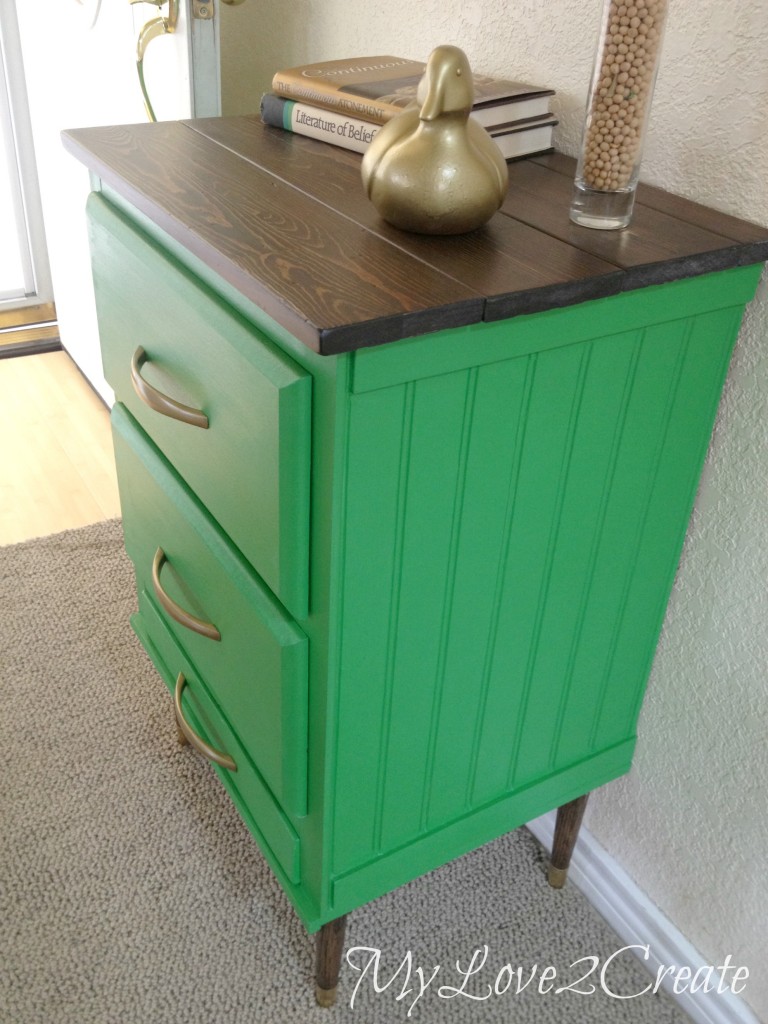
While I was in the shed I noticed that my scraps of bead board left over from my desk hutch makeover, might fit the sides of the night stand. Yep! I only had to trim them just a little to make them fit. I grabbed some scraps and cut them to the right length, and nailed one on the bottom. Then I added some bead board, using just glue and nails again.
Last I added the top trim piece. I think this scrap wood was a stake or something, it had a tapered end, and I had a few to cut up. Here is the night stand with all the additions, I just placed on the top at this point to make sure it would fit.
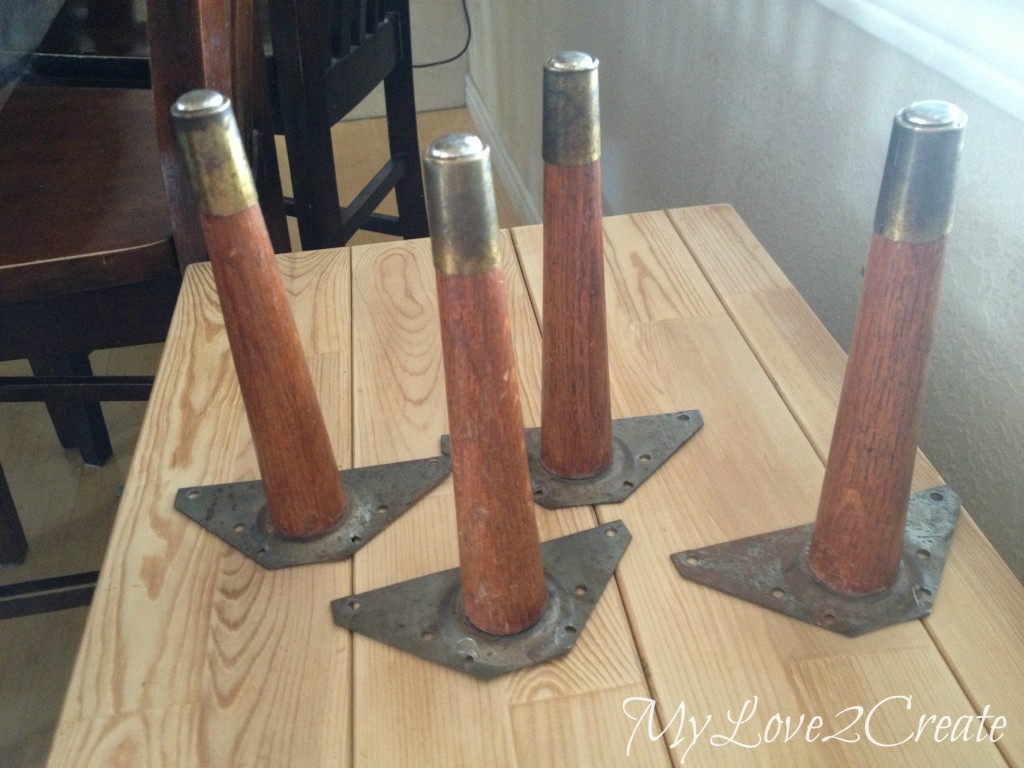
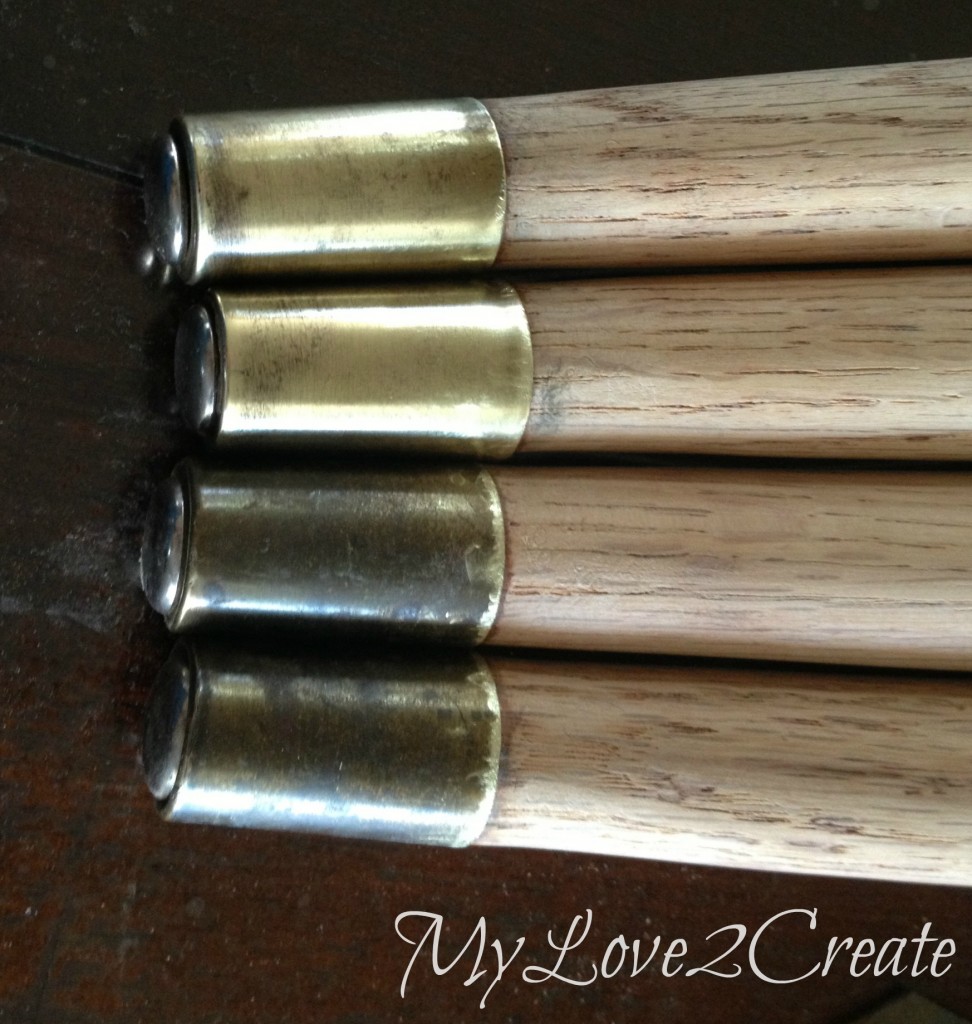
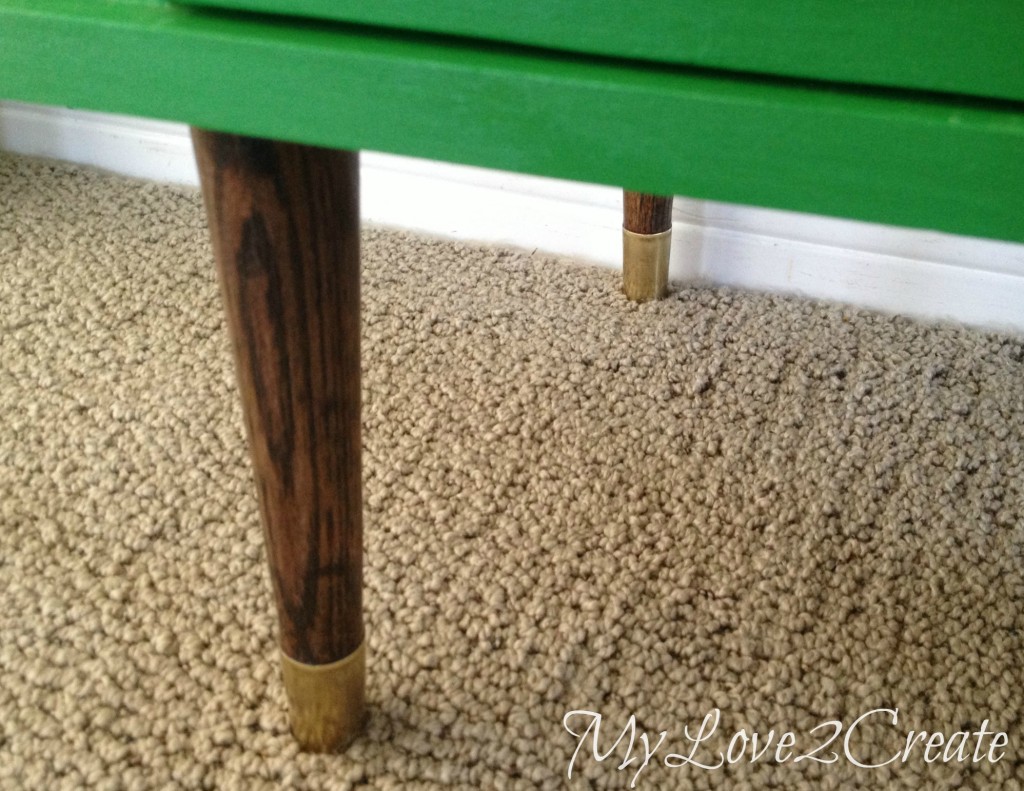
I wanted to stain the feet the same as the top so I sanded them down, and then used 000 steel wool (because that is what I had) to buff the metal parts of the feet. You can see I have two done in the above photo. I choose not to polish it too perfectly, I like it looking a little rustic.
I have found that I never regret using pre wood conditioner before I stain. It helps the stain go on evenly. I used Rusteloum’s Kona, for the color, I have an obsession for dark stained wood. I finished it off with 3 coats of poly, sanding with 400 grit sandpaper after coats 1 and 2.
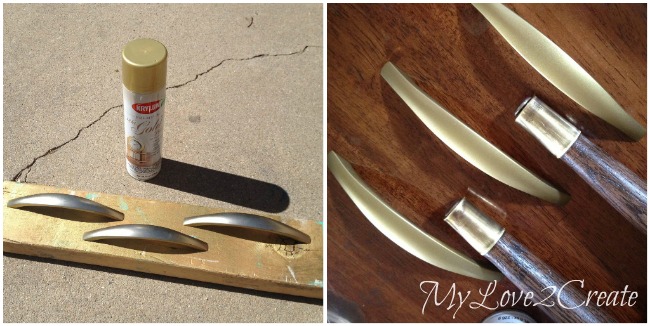
For handles, I found these in my stash. I can’t help collecting them when I find them at thrift stores for cheap, these were in a set of 5 handles for $2. I decided to try matching them to the feet, and I had this gold spray paint. It was a pretty close match, but I need to rustic them up a bit…
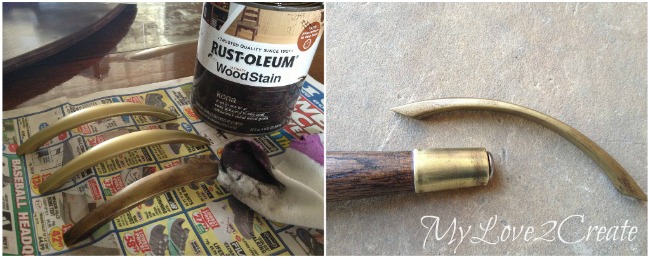
So, I got out the stain and rubbed them down, let it sit for a minute or so and then rubbed off most of it. It worked! I sprayed the handles with a clear coat so the stain wouldn’t rub off.
I decided to go bold with this piece. It seems like I always pick the same colors. I have seen the Sherman Williams Envy on a few pieces of furniture on the internet and loved it. So I gave it a try, I primed first, then did two coats of the SW Envy. It is totally fun, and I am glad I tried it.
To finish I used small screws to add the feet, pre drilling first. To attach the new top I used the same screws that were used for the old top.
Ahhh, the repurposed top is so pretty! Can you blame me for my weakness for dark stained wood?
It was fun to use the feet, I am glad I finally did!
Hugs!
Mindi
I will be linking to these parties.








What a lovely transformation!! I love the green color and gold tipped legs!!
That is so sleek and cool in every way! I love it with the green and the gold! It is stunning and would make the perfect accent piece for any room!! Way to go Mindi!!! Here is to a great week pal! Nicole xoxo
Love those feet! Do you think this green would work on a bigger dresser?
Dang, lady! I just read how you did the transformation, but I am still dumbfounded. lol I do understand how you did it; just having a hard to believing it is the same piece. lol Crazy! The legs and top look gorgeous and again you somehow magically find stuff for free and make them beautiful again. 🙂
As always, great work! 😀
I love how you completely transformed it from dark and boring to colorful and stylish! Look at those legs! Awesome project once again!
Wow what hard work, but an amazing transformation.
Love this makeover!! Those mid-century modern legs are gorgeous! 🙂
Wow! That was some makeover! All I do is paint, but you took it to another level!
What a stunning make over, and I love the shade of green you've chosen too. It blends with the wood tones perfectly. Great job 🙂
It's amazing what a nice pair of legs and a new top can do for things. Hmmm…. now that I think about it, I could use that makeover myself, my legs look terrible and my top, well I won't go there.
The before is simply blah, but the after is simply stunning!!! Great job!!! 🙂
hugs x, Crystelle
Crystelle Boutique
I love it! That green is literally the perfect color. Thanks for sharing at Fridays Unfolded!
Alison
Nancherrow
This is great. I love the Before version. Great work.
What a lovely night stand makeover! I especially love that you added your own drawer. Impressive! Thanks for linking up with Creative Spark!!
What an awesome statement piece, love what you did with the legs and top. Very inspiring.
Featuring this incredible little makeover on Trash 2 Treasure Tuesday tonight. 🙂
http://www.kammyskorner.com
I love that shade of green – it came out great, thanks so much for sharing this at the Friday Frenzy!
I love this Mindi! I am featuring your Re-Purposed DIY. Have a happy weekend ahead & hope to see you again soon. Theresa @DearCreatives
Thank you for sharing this post at City of Creative Dream's City of Links on Friday! I appreciate you taking the time to party with me. Hope to see you again this week 🙂
Just saw this and read through it. I love it. You did a wonderful job!