Old Chairs into New Bench

Wow, life has been so busy, and guess what?  It don’t think it will be slowing down….EVER!  
But I am good with that!  We are gearing up for back to school in a couple of weeks and I know my kids are excited, even it they won’t admit it!  My oldest will be a freshman in high school and I am declaring myself officially OLD, how did this happen?!  Fun times ahead…
As far as projects go I am trying to get back on track after vacations, family stuff, and friends visiting.  So, I thought I would pull out a post that was first on My Repurposed Life a few months back, some old chairs into a new bench….
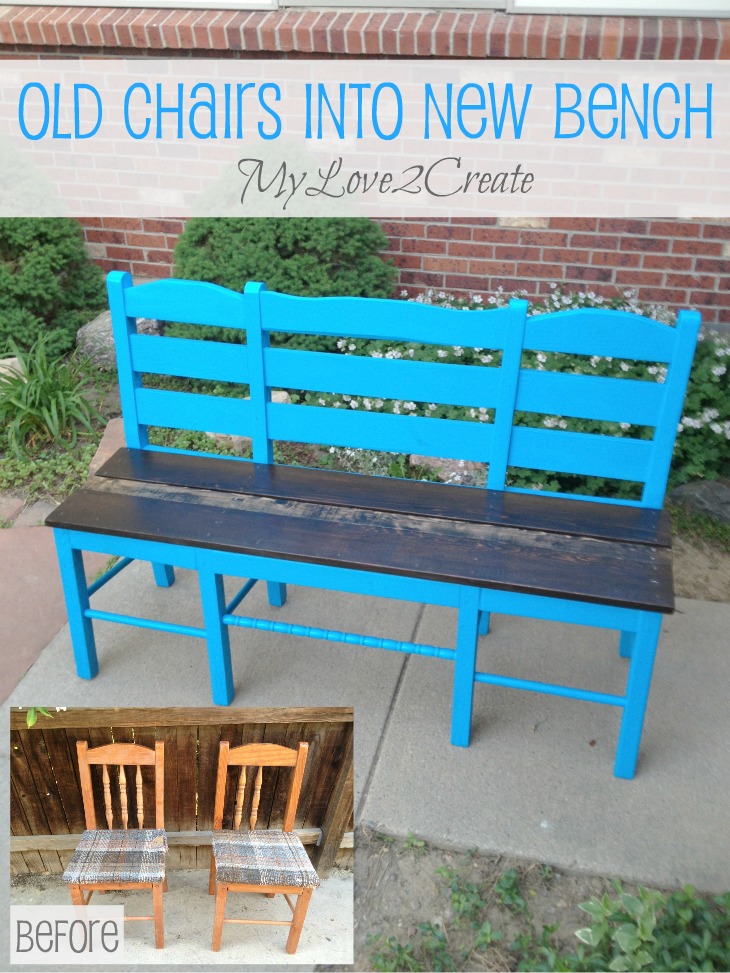
MyLove2Create, Old Chairs into New Bench

See, fun!

Old chairs before

I picked these up last year in a junk pile for our city’s spring clean up.  Obviously one spindle was missing, and the seats were…well UGLY, and gross.

I have made a promise (to my husband) to clean off the back patio, which is filled with free furniture I have collected.  I sold a bunch for dirt cheap and saw these poor little chairs and decided it was time to make them awesome.

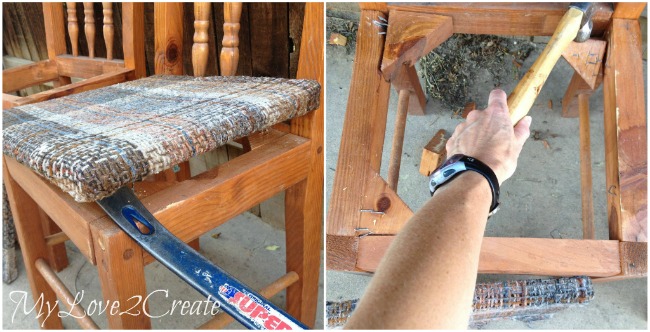
Removing old seats on chairs

I looked under and saw that the seats were stapled on, so I pried them off with a crow bar.  The nails were sticking up everywhere so I hammered off the triangles, since they wouldn’t be necessary with what I had planned.

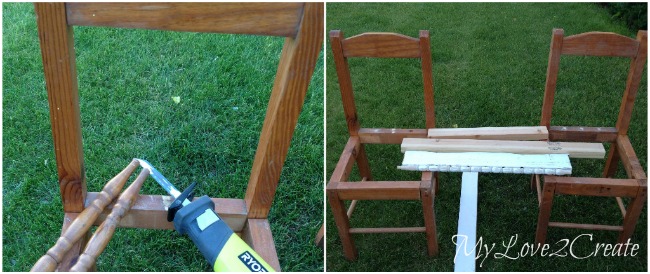
cut off chair spindles with sawzall

After some thinking, I decided that since I couldn’t replace the missing spindle, I would cut them all out and do something else.  I used my Roybi Sawzall and they were off in seconds, love this tool.  Then I gathered some scrap boards to make a bench!

Using clamps to hold wood for drilling pocket holes

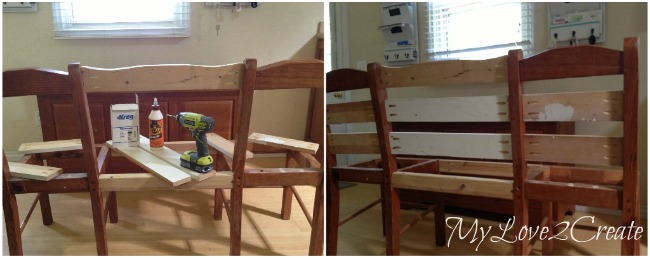
Using a 2×3 I drilled pocket holes and clamped it between the two chairs, the pocket holes are in the back.

using scrap wood to make two chairs into a bench

These chairs have seen a lot of weather and when I drilled the pocket hole on the right the wood started splitting.  I put some glue in it and clamped it to dry.  Then I added the back board.

using wood to attach two chairs to make a bench

The top board was also added with pocket holes.  I originally was going to use a piece from an old crib, but I accidentally cut it too short (figures), so I traced the pattern on a scrap 1×4 and used it.

adding seat backs with pocket holes

I then cut slats for the back of the chairs/bench and drilled pocket holes.  This wood was a left over shelf support board from my Master Closet Makeover.  It was getting so hot, that I decided to bring it inside.  I glued and screwed them in place, trying to keep the boards level and even.  One chair was a little askew so it is not perfect, but hey that is ok!  I have long since learned that perfection in projects is almost NEVER, and I am just fine with that.

trying out scrap wood for bench seat boards

I filled all the cracks and holes with spackle, and brought it outside to find boards for a seat.  A few months back I scored some reclaimed wood from a 1940’s garden/nursery in Boulder, I took as much as I could!  I used a couple of 1×6’s from that stash and a 1×3 I had in the garage.  Then I cut them to size.

adding crib spindle for foot rest

I had a spindle left from the crib I mentioned, I thought it would look cute in the front and help bring the piece together.  You might recognize this spindle… I used some on my Repurposed Hook shelf into Book Shelf which happened to be my first contributor posts here.  Using my Roybi air strike nailer I nailed it in from the sides of the legs, right where the arrows are pointing.

staining seat boards

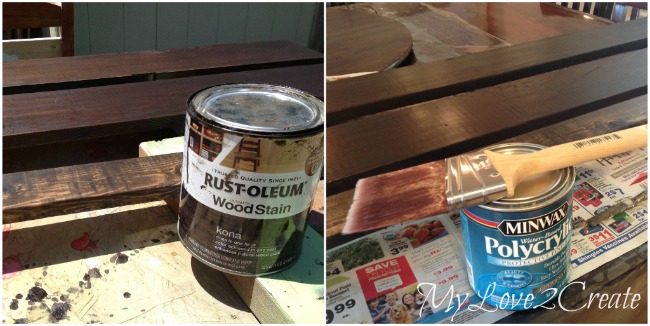
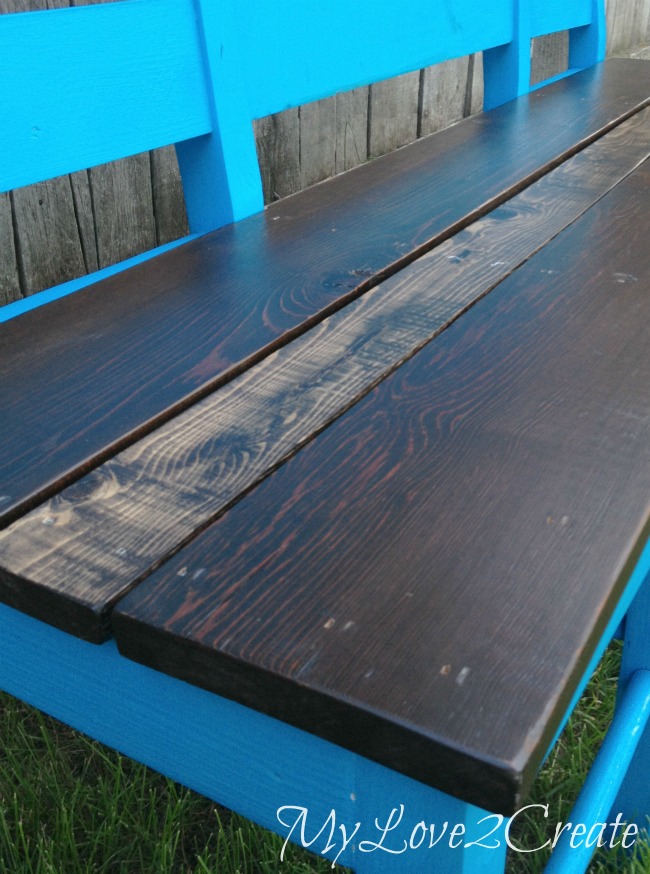
The boards got some stain and poly.  I guess I am still stuck on the dark wood…I did almost use the weathered gray that I used on my Old Deck Wood Laundry Crate, I did a sample of each on the back of the boards, but I liked the dark better.  You can see the smaller board stained totally different because it is a different kind of wood.  I knew that would  happen I like the contrast.

spray painting bench
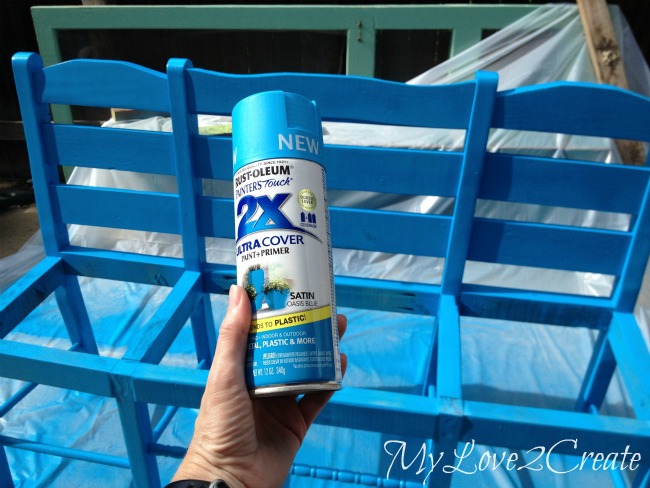
While the poly was drying I did some spray painting.  I stared with the bench upside down, and then ended with it standing upright.  I used about 1 and a half cans.  I was in a hurry and painting this bench by hand would have taken forever…so this bench was about $6 total, that is the cost of spray paint I had all the wood on hand, not bad!
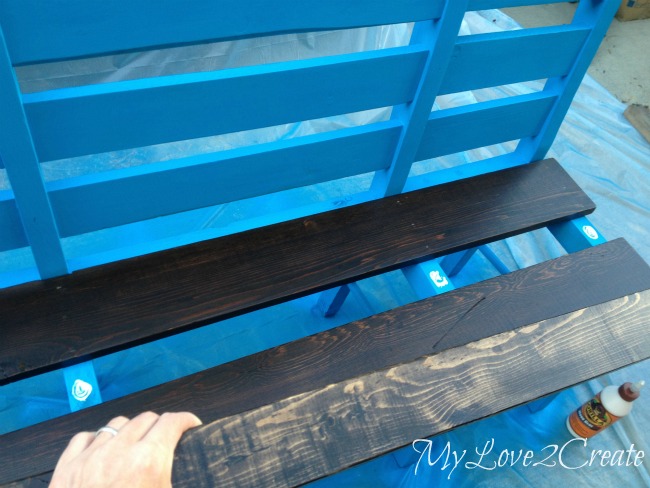
adding seat boards
Last up was gluing and nailing on the top boards!  I used Gorilla Glue, my fave, and 2 inch nails.  Some of the nails didn’t go all the way in, probably because of knots in the wood…so I just hammered them down, I am all for the rustic look anyway (remember nothing is perfect 🙂
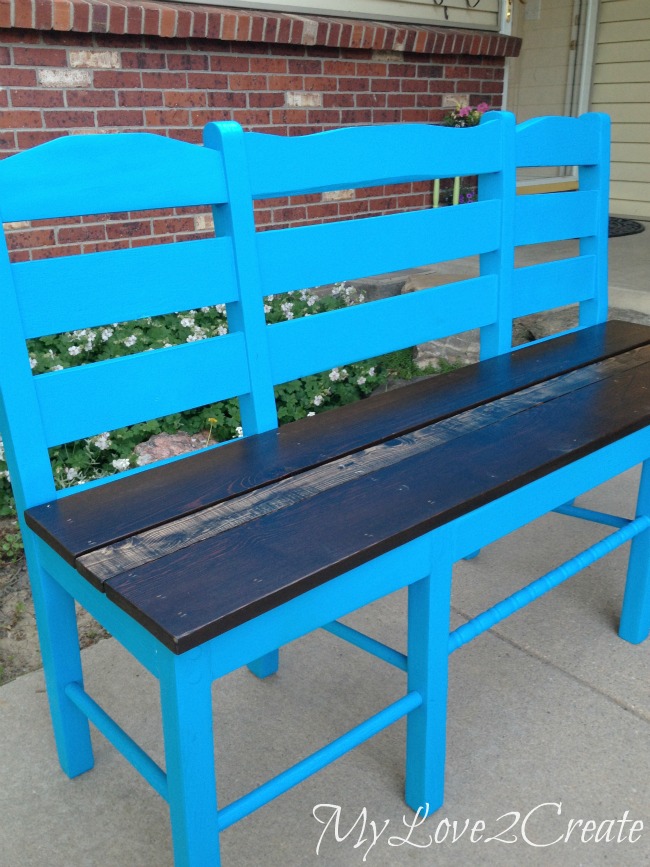
MyLove2Create, Old Chairs into New Bench
You can see a couple in the middle at the top that were nailed in…but I love it anyway!
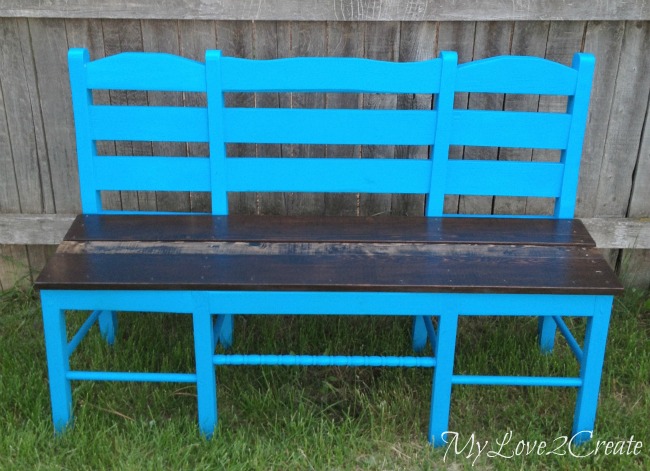
MyLove2Create, Old Chairs into New Bench
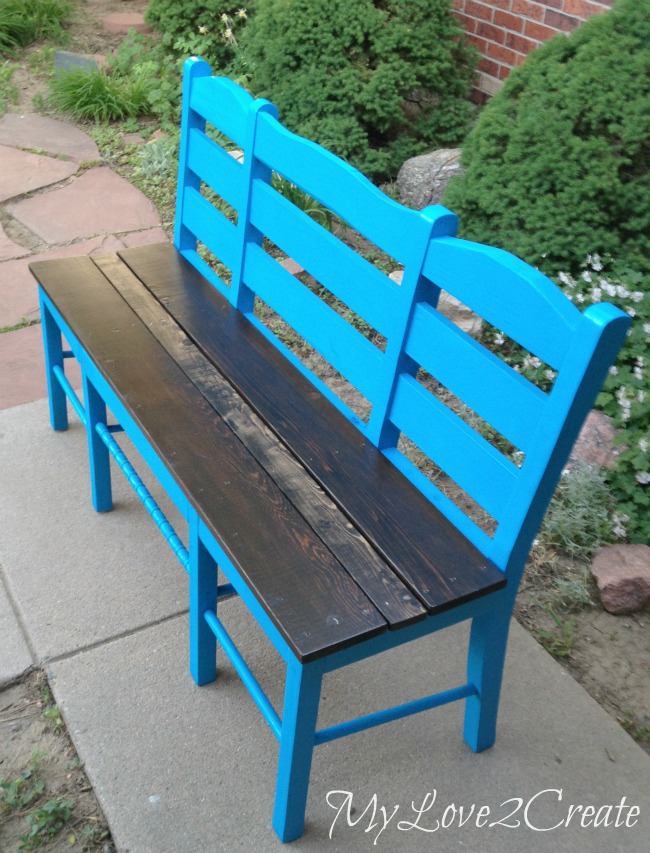
It is such a fun unique piece and I am excited to find a good place for it.
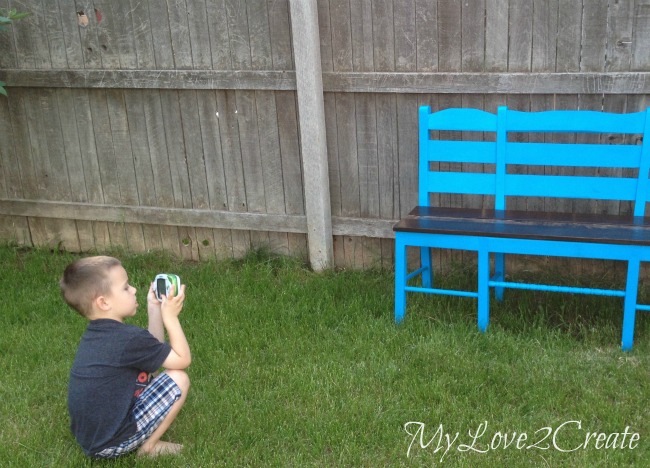
MyLove2Create, Old Chairs into New Bench helping mom take pictures
My little guy was helping me take pictures, It was awesome how he copied me by doing different angles… I couldn’t resist sharing, he was being so cute!
MyLove2Create, Old Chairs into New Bench
For now this bench is in my living room waiting for it’s new home on the back patio, we have enjoyed testing it out.  It fits five kids end to end, and four kids quite comfortably :).
MyLove2Create, Old Chairs into New Bench kids trying it out
Aren’t they cute?  My third boy was in bed not feeling well when I took this shot, poor guy.
MyLove2Create, Old Chairs into New Bench
I am happy to have finally figured out what to do with those old ugly chairs.  I think they are looking pretty good with a little TLC, what do you think?!
If the stars align I will finish my back patio, just in time for…Fall…?  Well, I guess that means it will be ready for next spring at least, which is good, gotta look at the bright side!
Hugs,
Mindi

I will be linking to these parties.
Similar Posts

Leave a Reply

Your email address will not be published. Required fields are marked *