Pallet and Scrap Wood DIY Picture Frames
*This post contains Affiliate links
I am so excited to share this fun and easy project with you!
I have a friend that is having a rustic reception and I decided to make these Pallet and Scrap Wood DIY Picture Frames for her to display on her tables. Since I have scrap wood coming out my ears…seriously it is getting bad…I decided to use it up. (a small fraction of it anyway)
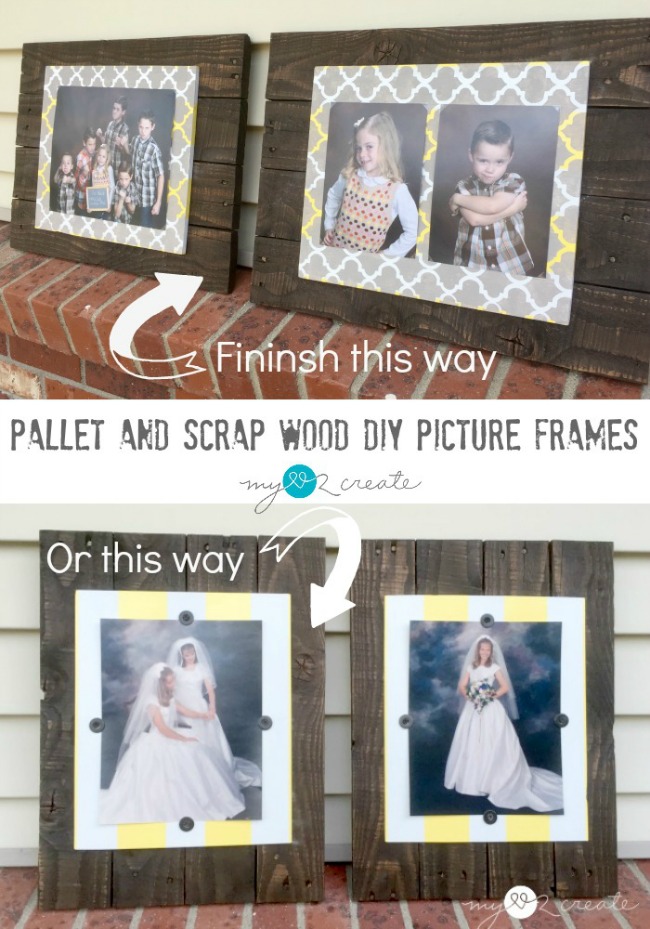
Aren’t they fun!? I am loving them, but it was an interesting road to the finished product. Like most of my projects I started with an idea and just made things up as I went along.
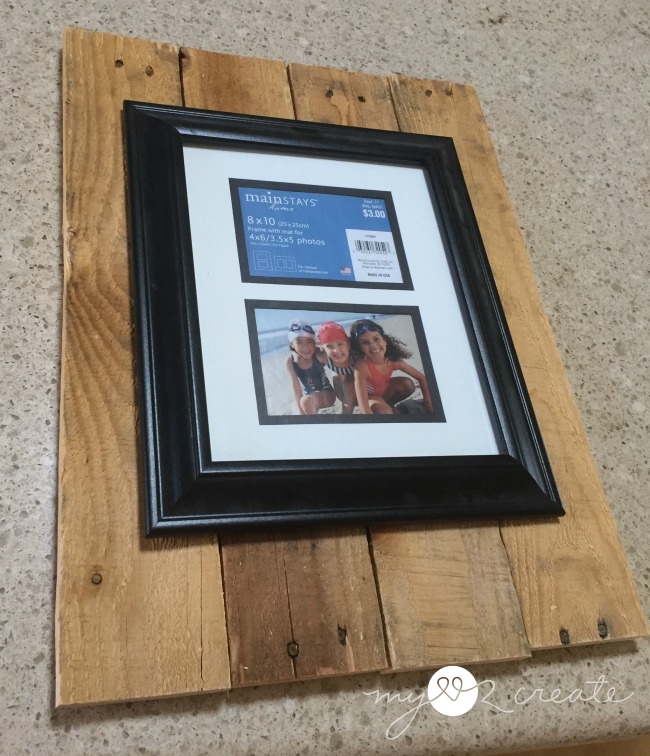
I had cut these pallet boards for another project and didn’t end up using them. I thought I would try them first to see if they would be a good size for a framed 8×10 photo, and they were perfect!
For my Chevron Frame Upcycle I used the actual frame, super easy and cute. For this project I wanted to try something different.
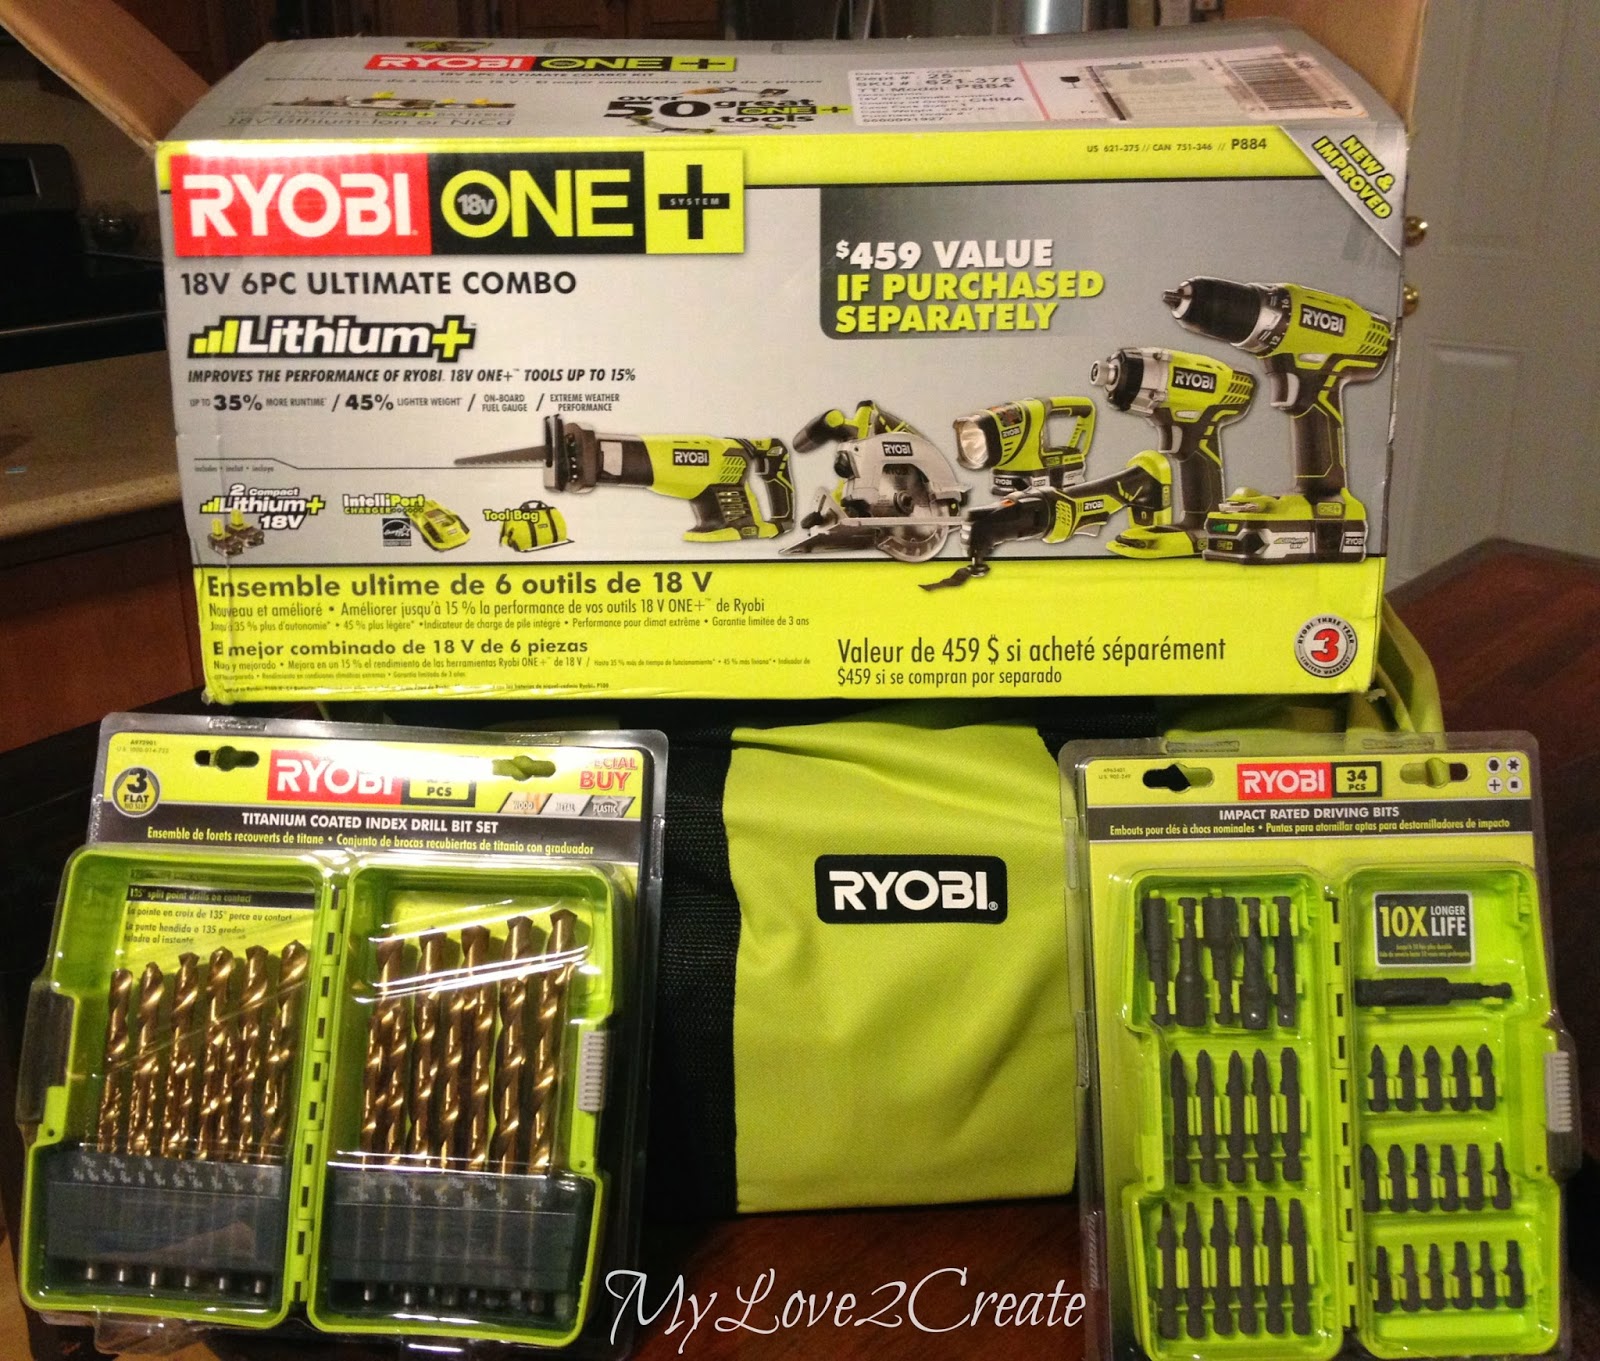
I took the 8×10 frame and measured it on some scrap panel board, this would make a “wood 8×10 frame” for the pictures to be mounted on. I wanted to make two “wood” frames so I cut them both at the same time with my Ryobi circular saw. You can see the pallet wood on the grass in the background all cut to size.
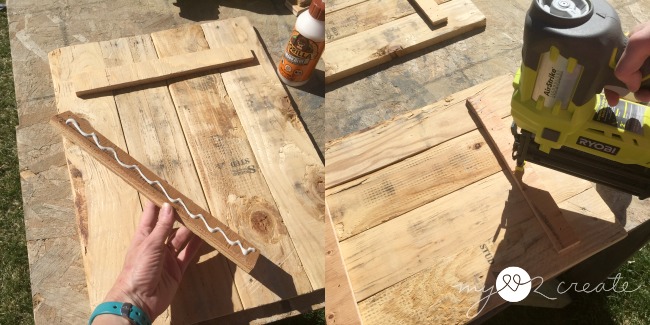
To attach my pallet boards together I used some scrap plywood strips and Gorilla Wood Glue. I nailed them with my Roybi Air strike Nailer while the glue dried. If you are worried about the nails coming loose you could use screws, but I know how well gorilla glue works. 🙂
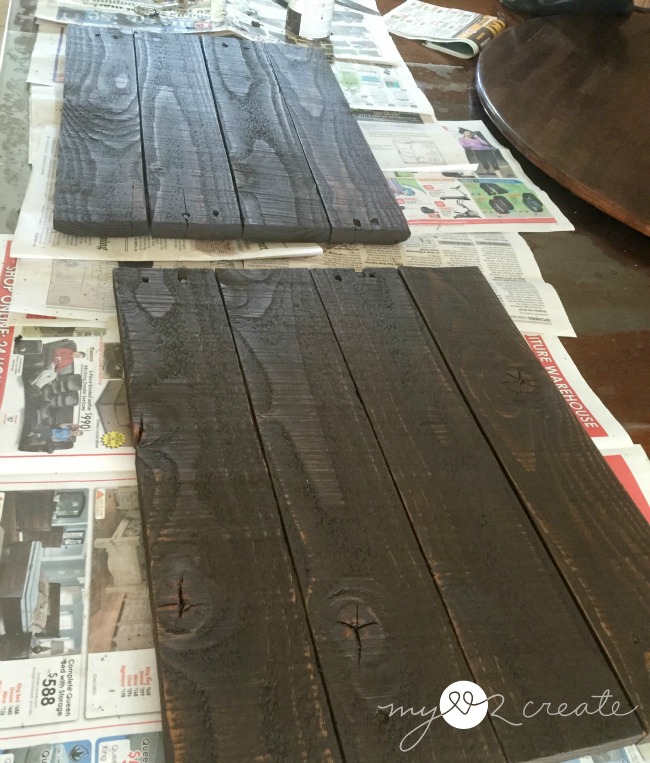
I ended up using Rustoleum’s Kona stain. I had tried several options but this one won out…I used some scraps of the same pallet wood to test the stains, always a good idea before you try it on your project.
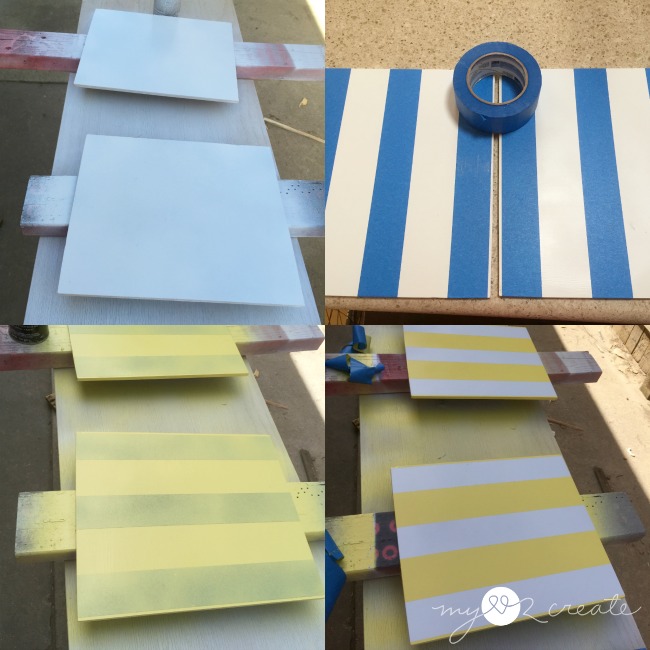
While the stain was drying I used up some spray paint that I had. I sprayed my 8×10 wood frames white, and then added some scotch blue wide painter’s tape for stripes. One of my friend’s reception colors is yellow. I had just enough yellow to finish the stripes, phew! This was the same paint I used on my Halloween Spider Craft Frame, but I used a chevron pattern.
Normally I just paint a small project like this by hand but I am trying to clear out all my almost empty spray paint cans, and I got rid of two! Woo hoo! Be sure to remove the painter’s tape right after you spray so the paint doesn’t peel!
To attach the wood frame to the pallet wood, I used Gorilla Epoxy (Sorry no picture, I got busy, gotta work fast with that stuff) on the back and then used my Roybi air strike nailer to attach the wood to the pallets while the epoxy dried. I later filled the holes with white spackle.
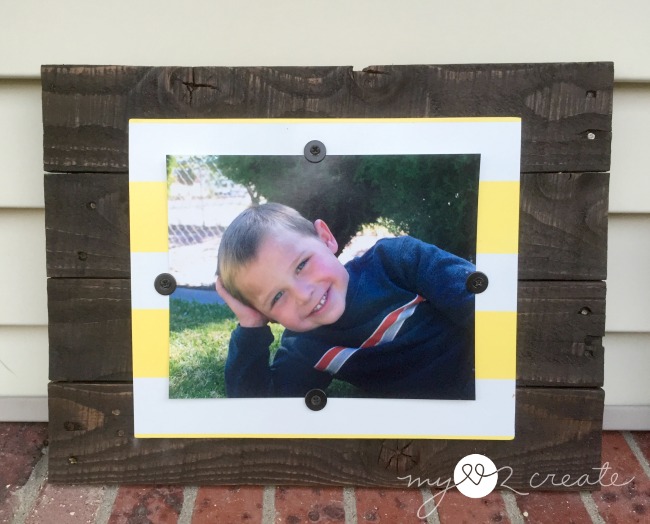
I was trying to think of a way to attach the pictures and make them easily removable. I thought maybe some washer and screws would work, so I got some out and sprayed them with Oil Rubbed Bronze, luckily I had a small amount left over from my Pottery Barn Knock Off Clock. Using the picture as a reference I drilled a hole and then added the screw and washer. I don’t recommend drilling with the picture in place…just sayin’.
That is it!! Super cute and rustic! It is nice because you can use the photos both vertically and horizontally.
I used some of my photos to try out the frames. I liked the photo of my son (from several years ago he’s is so little!) but when I put in my sister and I in our wedding dresses, I wasn’t loving it.
For some reason it didn’t fit, maybe it was because of the stripes? Or the way the photos were attached? They seemed too out of place for wedding pictures…? Or maybe I am just weird…
Not sure, so I busted out my circut explore to save the day. If you missed my earlier post about the deal Cricut has going on right now go and check it out! Plus if you buy one it helps me. 🙂
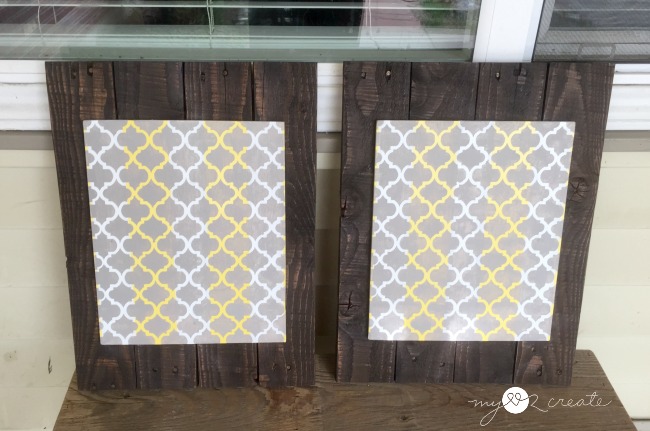
I found a pattern that I liked on design space and cut it out with contact paper on my circut explore. I was kind of in a hurry and forgot to measure my boards and so I didn’t make the stencil big enough. Oops! No worries I could fix it! I decided to try it with the strips underneath the stencil because I still wanted some yellow, I figured if it didn’t turn out I could always repaint.
It was pretty easy to paint over the stencil and then match it up on the bottom to finish out the pattern. I didn’t do the sides, just the top. The best tip I can give is to load and unload your brush with paint when you stencil, you should have hardly any paint on your brush, it prevents bleeding, and makes you happy!
The stripes kind of look cool under the stencil! You could have a lot of fun with colors doing this…
I was feeling better because even though it is still rustic, it also has a little bit of elegance too. So I was happy.
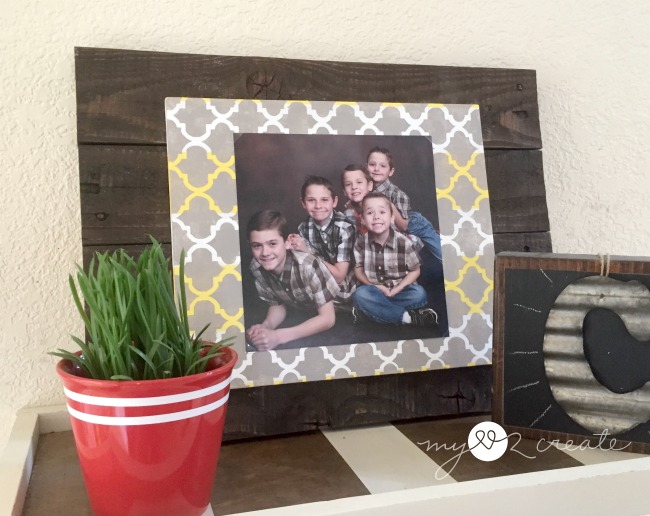
I pondered several options on how to attach the photos, and I finally settled on using clear photo corners. They are cheap, removable, and you have the flexibility to add different sizes of photos. I just placed the photo corners on the photos and then stuck them to the frame, so easy!
The smaller pictures show more of the pattern, which is cool.
It also looks good with an 8×10. I hope my friend likes them!
So which version do you like better? The first or the second, I would love to know!
Hugs,
Mindi
I will be linking to these parties and Savvy Southern Style








I love love love the first look! That stencil is awesome and makes the pictures really pop! I don't love the round fasteners on the second look, but maybe that's just me! Either way love the frames, your friend will love them!
Betsy @ Happily Ever After, Etc.
I love the idea of using pallets for framing the pictures! I have a whole bunch of pallets just waiting for me to do something with!
I love the second pattern but love the washers and screws to make it look more rustic! I have used upholstrey tacks on some that I have done in the past!
Seriously GENIUS!!!! I love these!!! You have so inspired me with this project!!! You got me thinking I could maybe take scrap wood and attach planters to the fronts and hang them in my garden room! Those photos of your sweeties are just precious Mindi!!! You are such a creative soul!!! Happy almost weekend to you!! Nicole xo
I love them all. I am sure that she will too. My decorating is modern and I love adding rustic touches. This would be perfect. Great job.
These are so cute! Visiting from the Home Matters Linky Party
Really good idea and the stencil made the whole thing look finished.
You are amazing, Mindy! I like both, but the second one just a bit more I think!
These are cute! To be honest, both are doable. One can either have a rustic or a fancy design for their picture frames. As usual, you are unleashing your creativity! 🙂
I'm loving the second…. the photos just look fabulous on the pattern (in my opinion) You're so creative Mindi!
gail
ps love the photo of you and your sister in your wedding dresses. what a wonderful keepsake!
Love both of these.
These are so cute and so darn clever! Pinning them!
Thanks for sharing on Something to Talk About!
Karen
These are so cute and the tutorial is great!! Thanks for sharing on Fridays Unfolded! Featuring you this week 🙂
Wow, how cool! I tend to just buy frames, so I may have to re-think that!
Popping by from Friday Flash Blog!
Wonderful tutorial on the Pallet and Scrap Wood frames. So much more attractive than the store bought ones. Thank you for sharing with the Clever Chicks Blog Hop! I hope you’ll join us again next week!
Cheers,
Kathy Shea Mormino
The Chicken Chick
http://www.The-Chicken-Chick.com
Hello gorgeous! I love seeing your masterpieces.Thank you for bringing such great things to our party. Pinned and tweeted. I hope to see you on Monday at 7 pm.. Lou Lou Girls
This is one of the coolest picture frames that I have ever seen. It also does not look like it is too hard to make either. My wife's birthday is coming up and I think that this would be a great idea for a present. http://www.instaframewpg.ca/
This is one of the coolest picture frames that I have ever seen. It also does not look like it is too hard to make either. My wife's birthday is coming up and I think that this would be a great idea for a present. http://www.instaframewpg.ca/