Peppermint Wreath
I have done it.
I have FINALLY made a wreath. My very first one… and I am in LOVE!
It was super duper simple. Anyone can make this wreath, even the kids (with supervision, of course)!
Isn’t is Sweet? (pun intended)
Don’t you want to make one too?
Well then, here is how I made it…
So, when we were blessed with a huge amount of peppermints from a friend I knew just what I wanted to do with them.
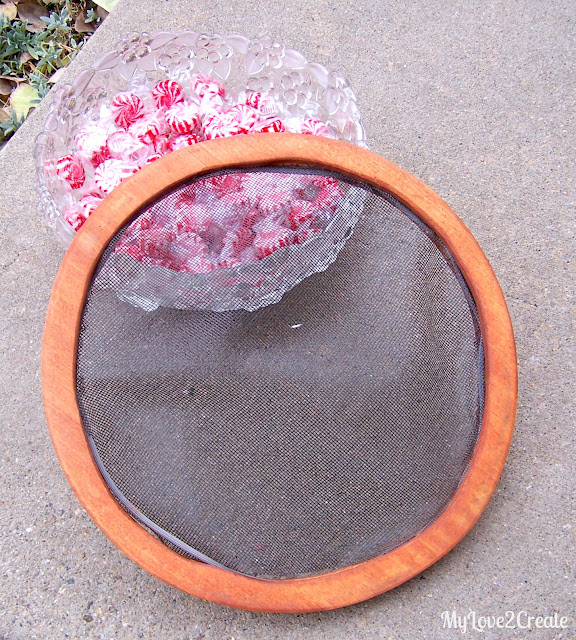
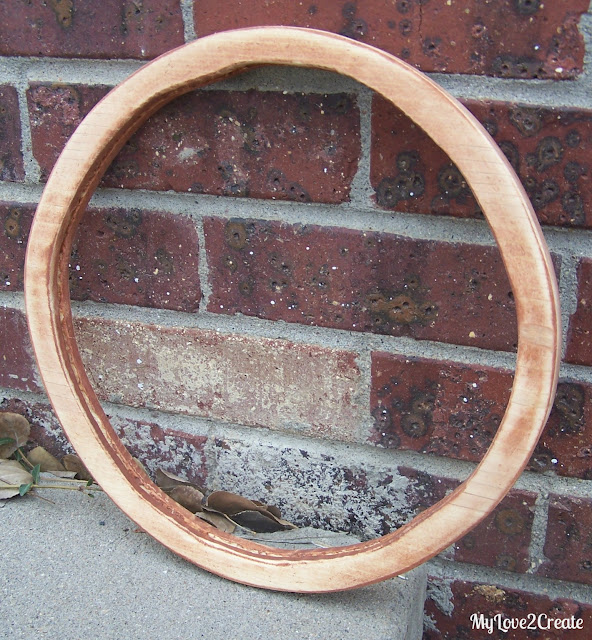
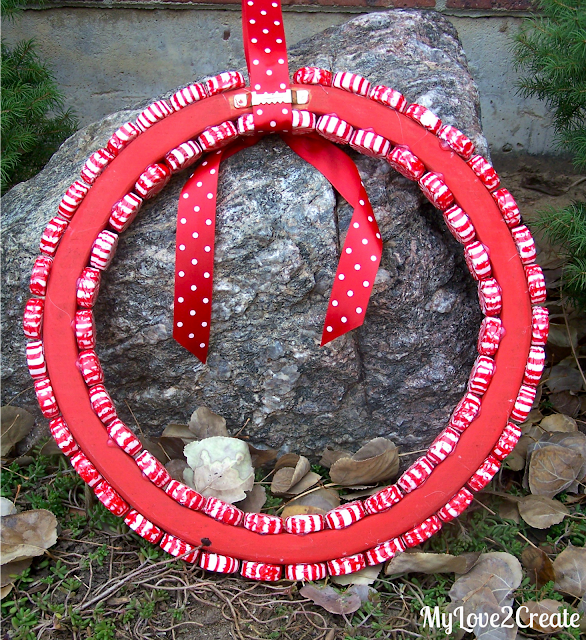
I did not have a wreath form, but I did find this random wood thingy. Not even sure what it was, but hey, it was free and I thought it might come in handy one day….
Today is that day! (I am so glad I collect other peoples junk) If you don’t have your own random wood screen hanging thing….just buy a wreath foam from the craft store or dollar store, one with the flat back would be perfect.
I ripped out the random screen thing, and sanded it down. Of course this would be a simple thing to cut out of plywood. Just draw a double circle on your 3/4 plywood, about the thickness of your mints (about 3/4), and cut it out with a jigsaw. Easy!
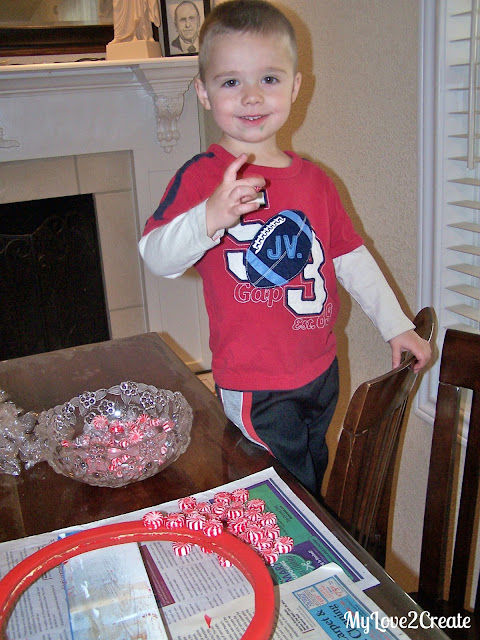
I painted it red with a couple coats of craft paint and an almost dead foam brush. Then my little helper and I started un-wrapping the mints!
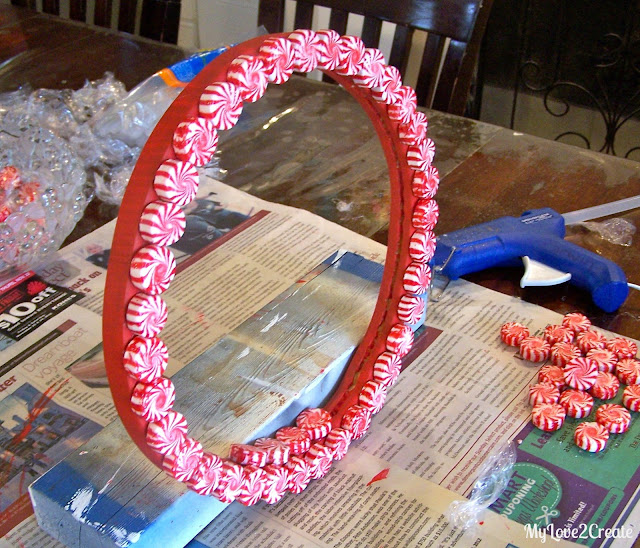
With the magic of my hot glue gun in no time at all it was coming together! All you do is add a small dab of hot glue and press on the mint, right next to the other, so easy!
Once I got all the peppermints glued on it needed a bow. I raided my ribbon and found just enough of this cute polka dot pattern.
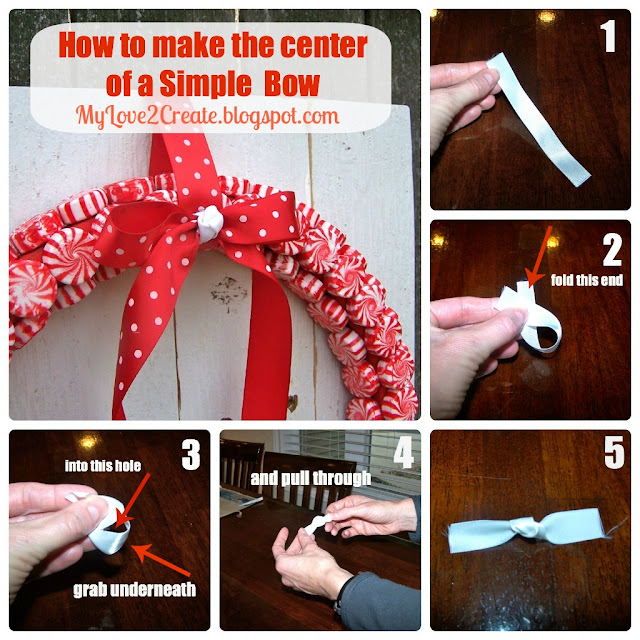
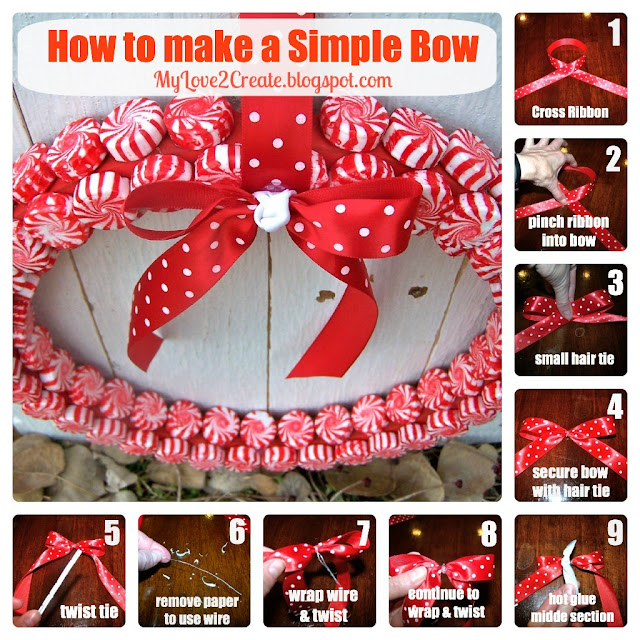
You probably know how to make a bow, but just in case here are a couple picture tutorials to show how I made mine. (My friend in Arizona used to make hair bows and she taught me how, years ago)
When you make the center it may come out weird the first few times, just practice until you get it the way you like it, or for super simple just wrap the ribbon around the center of the bow without the knot.
I love the simple bow look and it is so easy to make if you follow these simple directions. The nice thing about using the hair tie (or small rubber band) is that you can tweak the bow until it is just the way you want it. Then add the wire, because if you don’t the hot glue, when you add the middle section, will melt the rubber band….trust me…
And…everyone has twist ties lying around in a kitchen drawer somewhere right?
I also used what was left of my ribbon to wrap around the top of the wreath, to look like a ribbon hanger. I hot glued it in place, but it is just for decoration…
Because my random wood wreath had a hanger on it already…bonus! (I may be weird, but I even think it looks cute from the back)
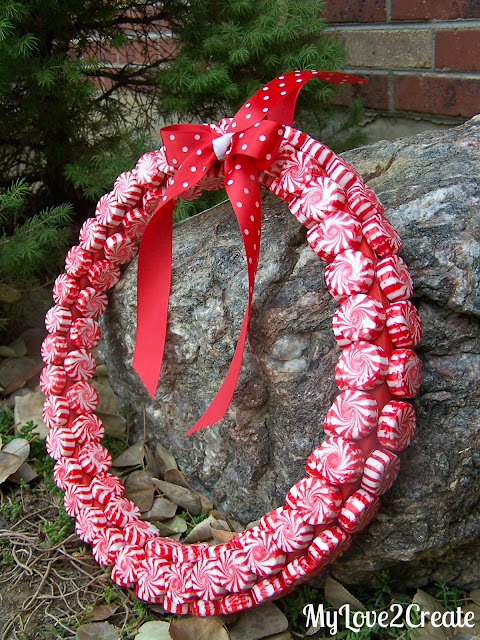
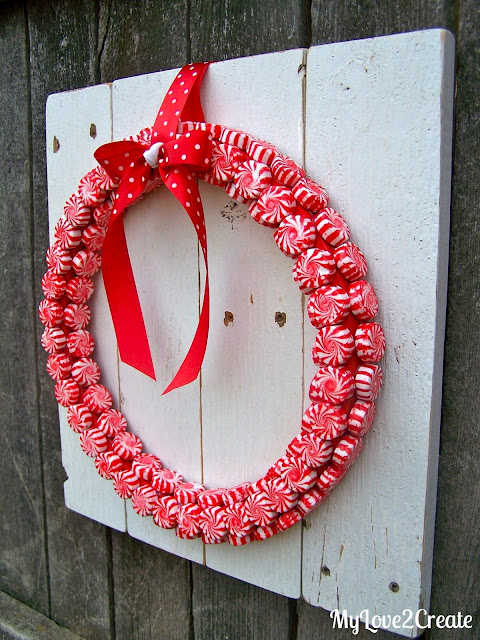
At this point you can be done! It looks super cute hanging on the wall just like this!
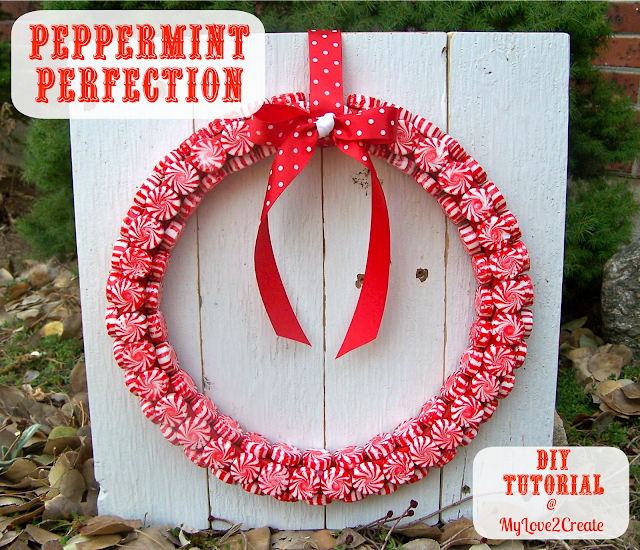
I wanted something to hang it on however…I was thinking some boards put together with a whitewash effect. You know, to tie in the red and white theme.
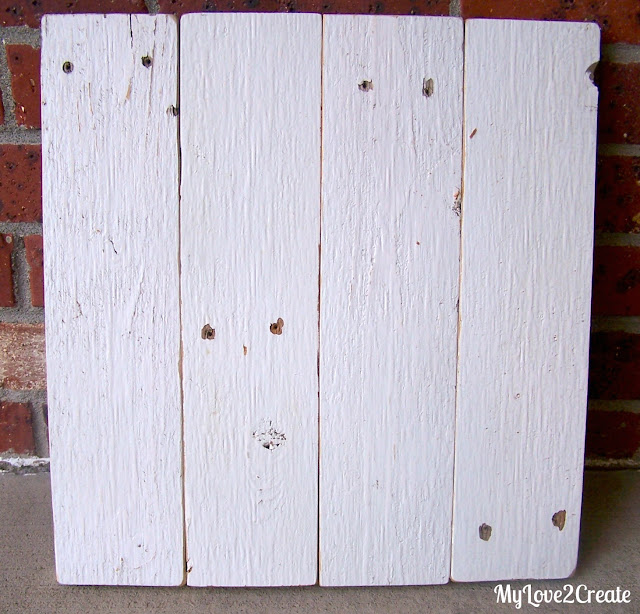
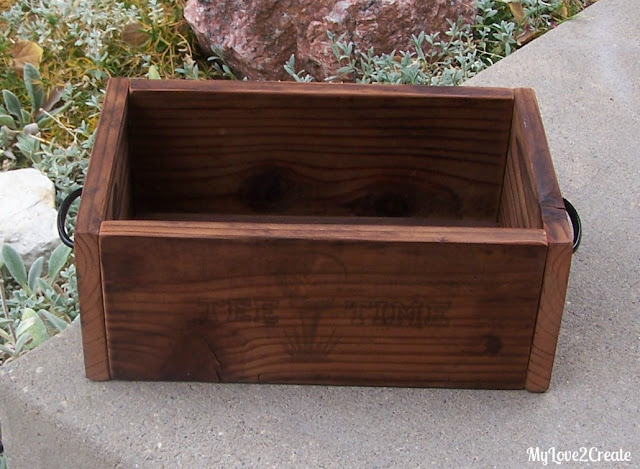
Then I remembered the wood I used for my Chippy Decor Box. It was white and had a cool texture to it…Perfect!
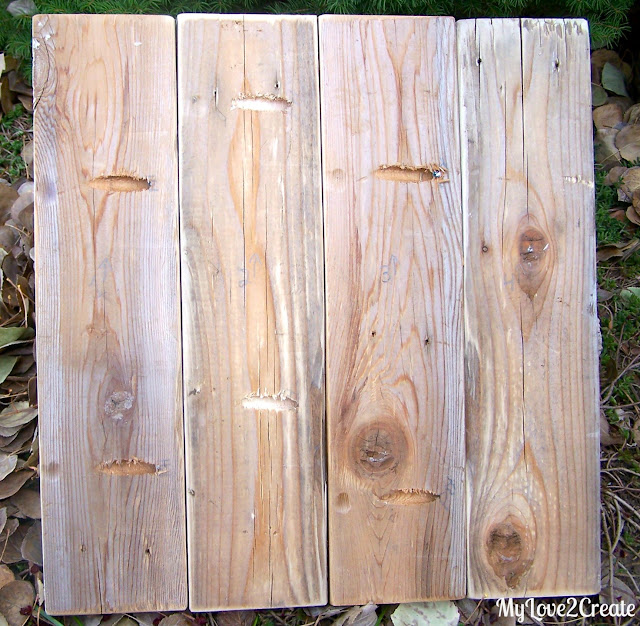
I sanded it down and glued and screwed the boards together.
Here is what it looks like from the back, I used pocket holes. If you don’t have a pocket hole jig, you could easily put two smaller boards across the width of the top and bottom, and glue and screw them into the four boards to join them together.
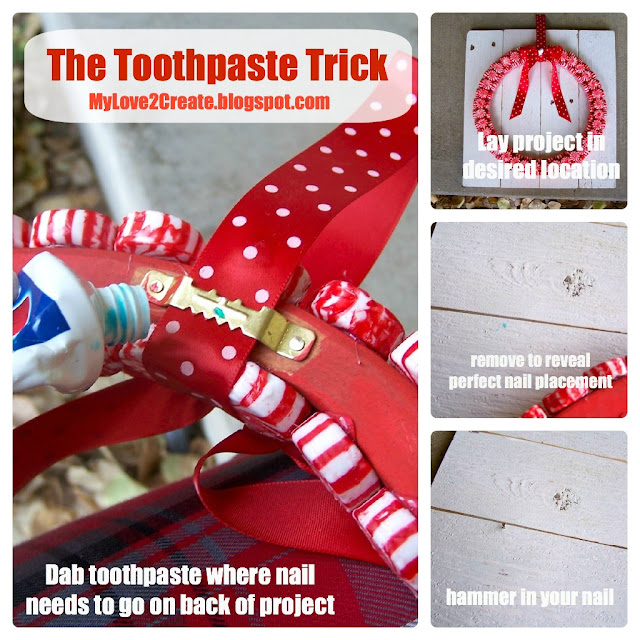
Then I needed to put in a nail so I could hang my wreath on the boards….I can’t remember where I saw this trick, pinterest probably….
It was so fast and easy….I did it in my pajamas this morning! They even look Christmasy to match my project, ha ha ha…..ok, movin’ on.
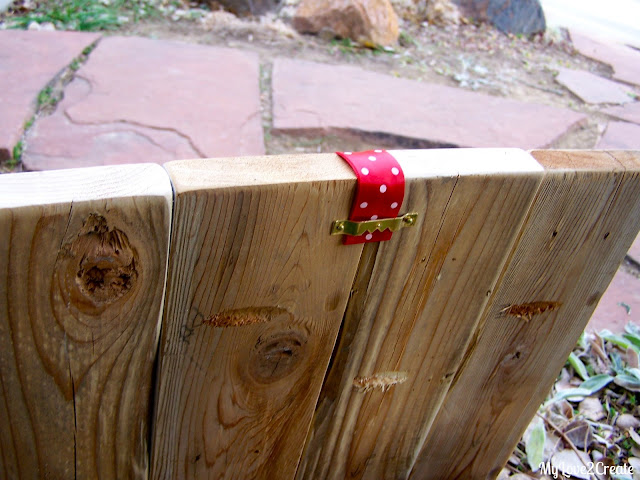
And here is quick look at the back, I added my own picture hanger and just stuffed the ribbon inside. You could tape or hot glue or nail it down, I just wanted the flexibility of being able to hang my wreath with or without the boards.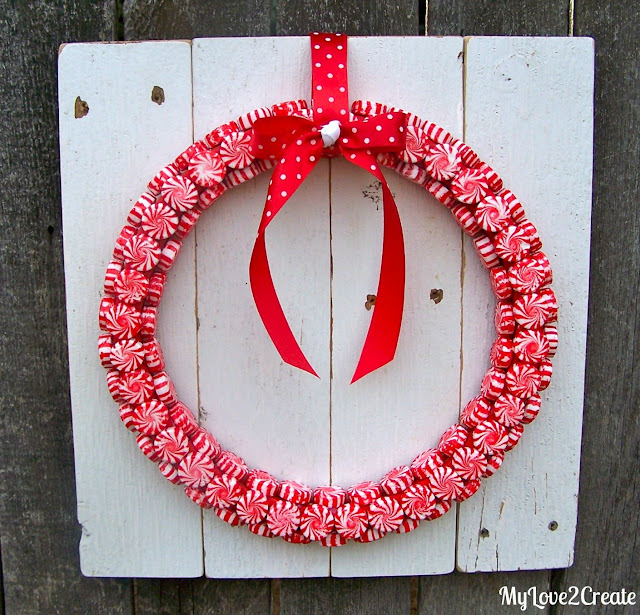
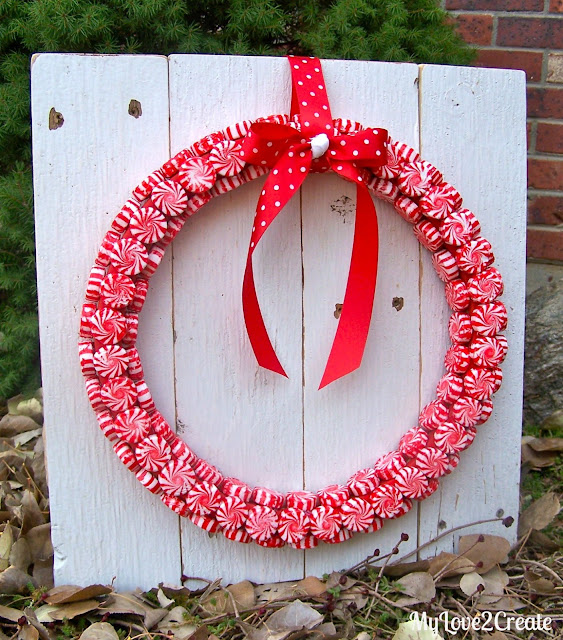
All done!
It just makes me happy!
Something about the peppermint swirls and the red and white makes me feel like a kid at Christmas!
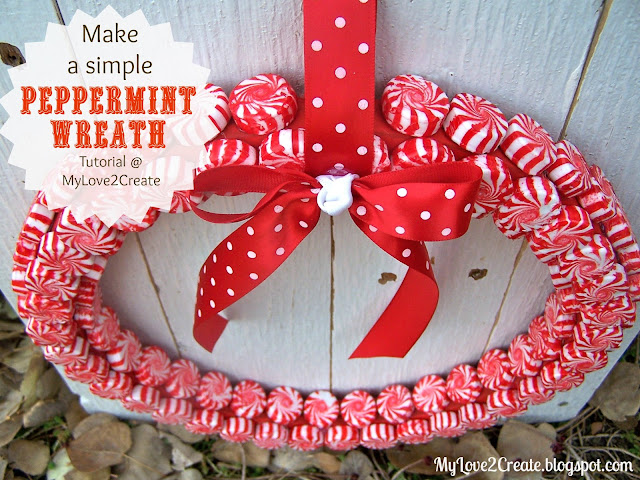
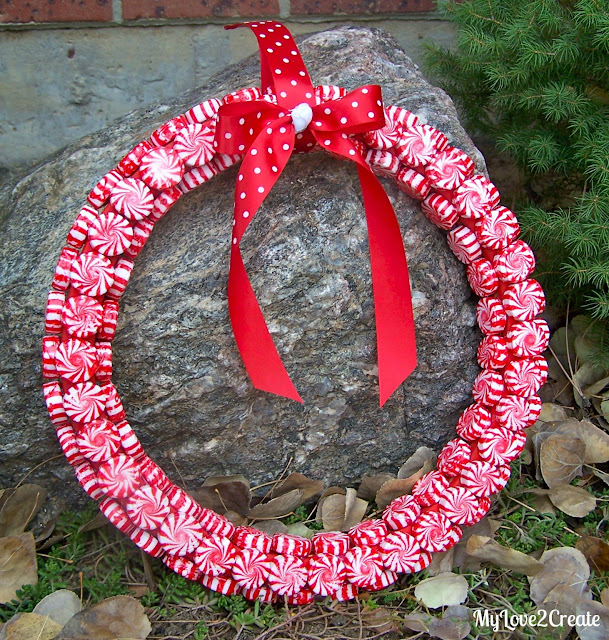
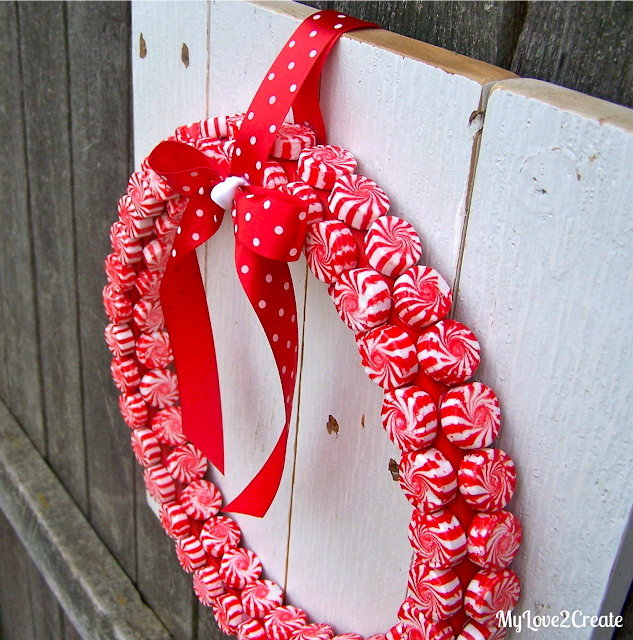
Here are a few more shots…
So…do you have any peppermints on hand?
I would love it if you pinned this to share with others! Let’s make it a really “sweet” Holiday season. And I can do the happy dance, because I have now made my first ever wreath!
Hugs,
Mindi
I will be linking to these parties.

I love this!!! I especially love how you mounted it on the boards. It really makes something that was wonderful to begin with turn into something spectacular! (I'm your newest follower, btw)
Yummy looking wreath! Thanks for sharing that toothpaste trick!!
T'onna
Submarine Sunday Link Party @ http://navywifeypeters.blogspot.com/2012/11/submarine-sunday-8.html
What a beautiful wreath! 😀
So pretty! I like how you hung it on the boards, it makes it stand out even more. Love the colors.
How adorable! I love how the wood planks really makes it pop!
I love this! What a great tutorial and your little helper looks like he's really enjoying this project. Great idea to hand it from the boards…a real nice contrast. Happy to be a new follower too:-)
So sweet! And I bet it smells amazing =) I'd love it if you'd share this at my linky party! http://www.accidentallywonderful.blogspot.com
Pinned! I love this and your pics and tutorial!! You are so creative! You have a new follower! 🙂
Found you on Diana Rambles Pin Party!
Shelley
http://www.piggyinpolkadots.blogspot.com
Love this! Very whimsical!
Just GORGEOUS!!!!
Sorry – every Saturday through Tuesday!
I made one when I was about your helpers age…my was not as sweet. Homa Style is having a 12 Days of Christmas link party going on now.
I would love it if you linked up your peppermint wreath.
The link is
http://homastyle.com/wp/2012/12/01/12-days-of-christmas/
YEA…I'm so glad you linked this up at the homemade holiday party. I can just smell the mint…LOVE IT!
Marilyn
4you-withlove.blogspot.com
Love your blog! Just stumbled upon it and like what I see! I'm Ally from Home by Ally (www.homebyally.blogspot.com) Hope you can come by soon! I am your newest follower 🙂
Mindi-your wreath is so sweet! hahaha pun not intended. great tip about the toothpaste. I had never heard of that. I've used lipstick before. lol
gail
Gorgeous, Mindi! Thanks for linking up at my Pin Me Linky Party. I hope you come visit & link again. The party starts tomorrow at 8am CST.
Diana
So cute Mindi and so excited about all the comment love here.
So pretty! I love how the red candy pops against the white board background!
These are so incredibly cute! What a great idea for Christmas wreaths to make this holiday 🙂 Thanks for sharing!
Wow! So pretty and festive! Thanks for sharing at the Throwback Thursday Linky Party! 🙂
Laura from Inspiration for Moms
Love this. Very cute.
Hey there!
Congrats on being featured over at Throwback Thursday :o) I absolutely love the idea of this; it came out so adorable! Happy Holidays!
croppedstories@gmail.com
Cute, cute, CUTE! My boys would LOVE this! Thanks so much for sharing at Get Your DIY On! I hope to see you tomorrow at 7 pm EST to link up your ornament tutorials! Have a great weekend!
~Abby =)
This comment has been removed by the author.
Mindi I love your wreath! I bet it smells amazing!! I am featuring it on my blog today 🙂 Thank you so much for linking up to Get Your DIY On this week!
Mandy @ The Hankful House!
This is darling Mindi!