Reclaimed Wood Coffee Table
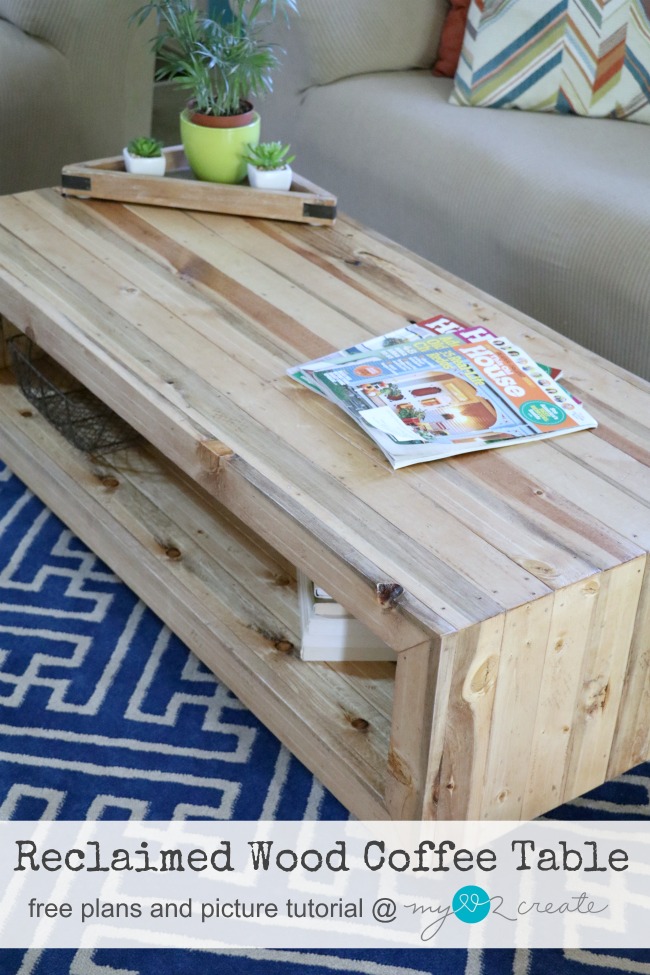
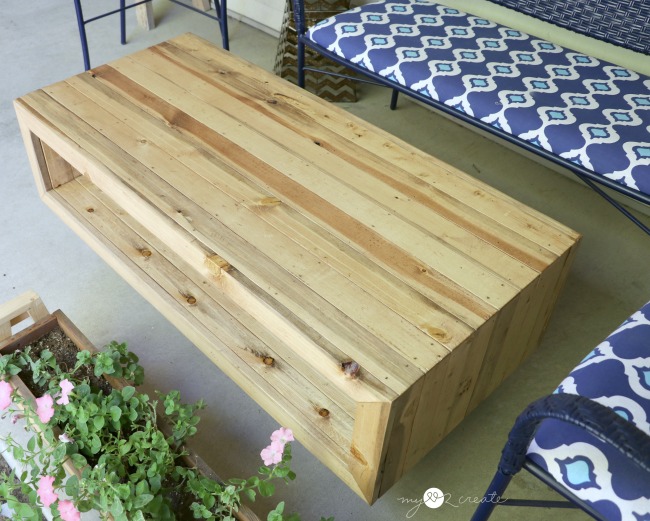
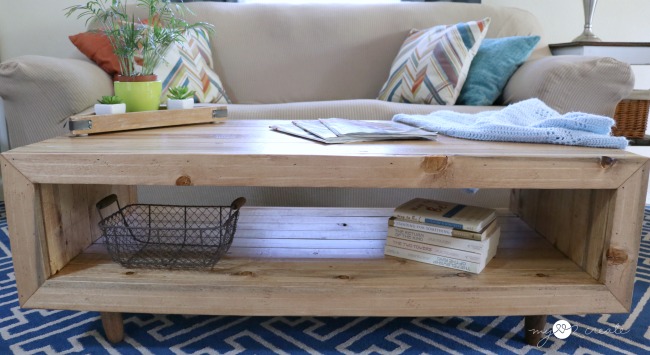
Actually it is a faux reclaimed wood coffee table, since I distressed my wood to look old and beat up.
I am seriously loving it and I wish you could see it in person, cause it is WAY prettier in real life.
T-R-UST me. 😉
I guess I could say prettier than a picture…you get the idea…
Anyway, I was inspired by this beauty at West Elm, but I also loved the look of this one, how the top flows into the sides…
Ah, happiness. (sigh)
For this coffee table I am sharing the detailed building plans over at Build Something, which is Kreg’s new DIY Project Plan Site.
You guys, they have so many awesome free plans! You have to check it out and even share your own if you want! It is a great community and place to find inspiration and discover your next project!
I am also sharing my step by step tutorial of how I built this table so you don’t want to miss all the details below!
Lets get started!
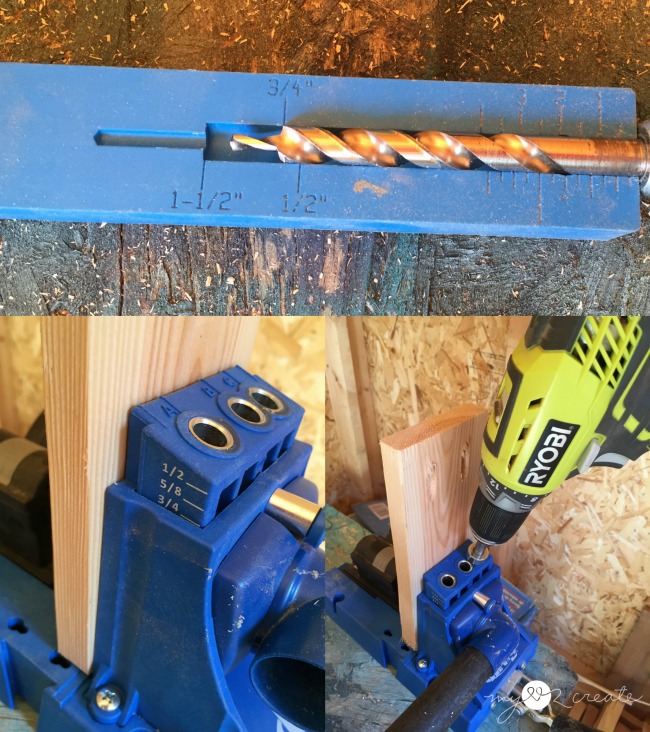
For this table I started by building a support frame, and then I added the reclaimed wood around it. I cut my frame pieces out of 1×4 wood and then drilled my pocket holes with my Kreg K5 Pocket-Hole Jig. I set my depth collar bit in an old model Kreg jig piece (top), cause I love it. Then I set my K5 to 3/4” and drilled away!
I made sure to clamp all my joints for drilling my pocket holes. You can see I built two, one for the top and one for the bottom.
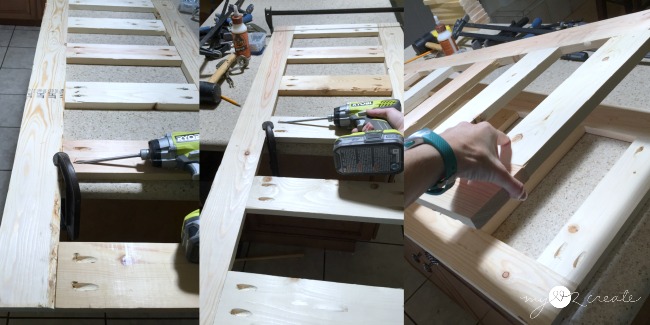
Next I needed to attach my support frames together and I did it with more 1×4 boards. You will notice in the top left photo I have marked the edges of all my boards at 1/4”, this gives me a guide so I can inset my boards at 1/4”.
I used my Kreg Right Angle Clamps to secure the boards and attach them with pocks hole screws. Notice the pocket hole screws are facing out, they will be covered so this is the best way to attach them.
This is my support frame all built, and you can see my inset boards on the left.
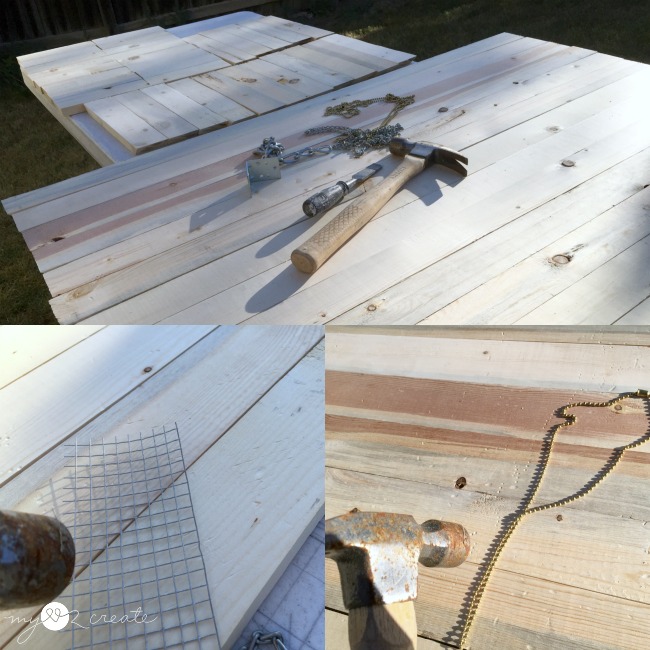
After I built the frame I cut all the boards that cover the frame, then I had some fun distressing them, or making them old and beat up.
I especially loved the effect of the hardware cloth (bottom left) and the ceiling fan chain (bottom right) when I banged them into the wood with a hammer. You can go crazy here or just do a little. I didn’t do a ton, but enough to bring out some detail when I stained the wood. I used furring strips for my wood which is pretty banged up anyway, so it works! Oh and I did sand the wood too.
I choose to just wood glue and nail my boards onto the frame. You could attach the board together on the bottom with pocket hole screws if you desire. I, for one am almost out of screws, so nailing was the order of the day. 🙂 If you choose to nail just be aware that the wood may not lay perfect and fit in the frame, I suggest you use a long clamp to help secure the boards as you nail so they fit inside the frame perfectly.
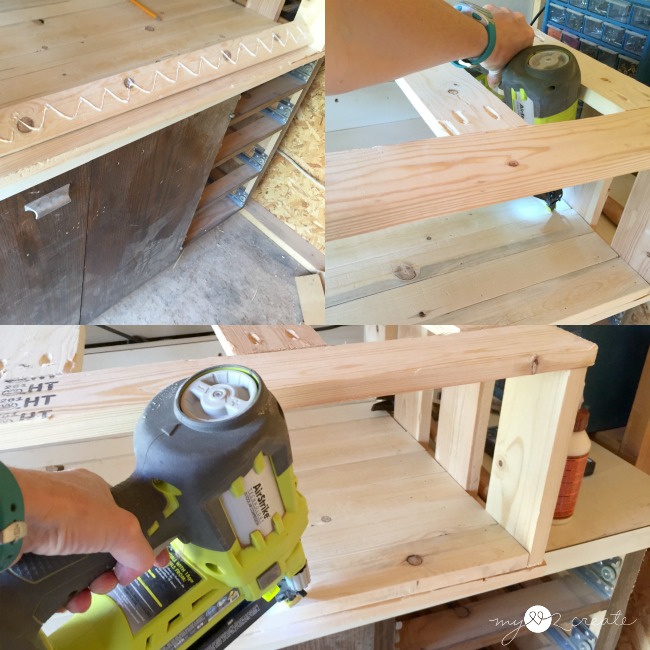
You can see I am nailing on the shelf boards. I had to place my Ryobi Nail Gun through the slats to secure the inside of shelf.
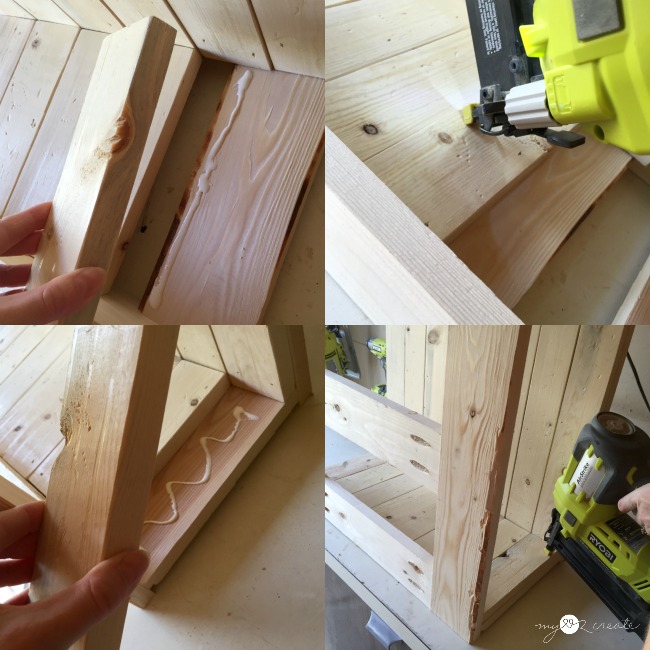
Once the shelf was in place I turned the table box on it’s side to add the inside side pieces. I used wood glue and 1 1/4” finish nails with my Ryobi nail gun. In the top photos you can see the gaps between support boards, I nailed into the supports where I could and then (top right) nailed in at an angle into the adjacent board to secure it.
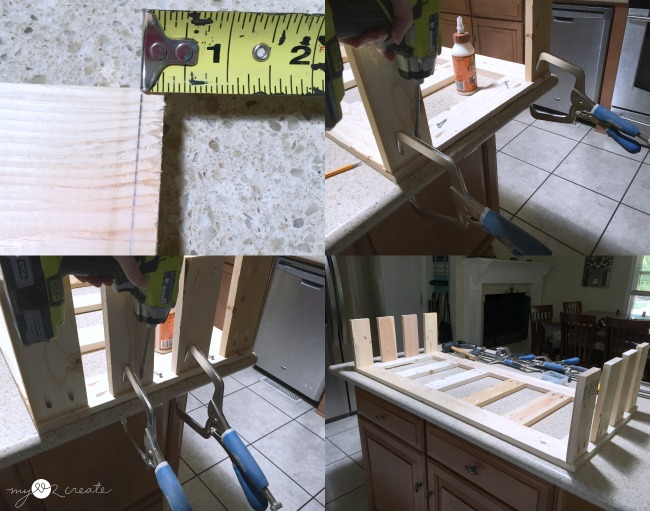
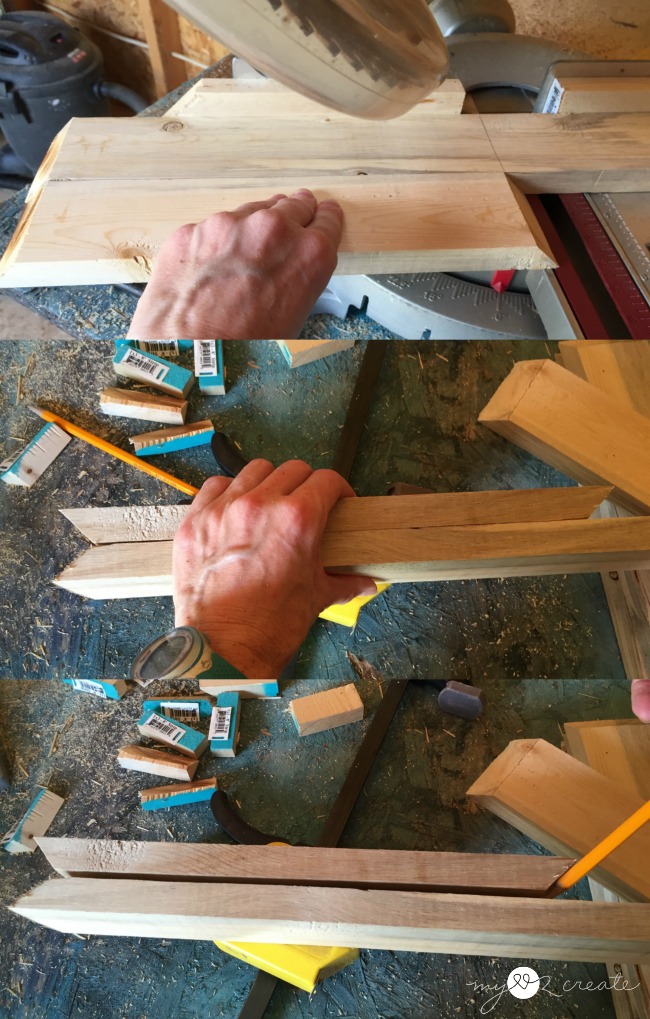
For my outside top and side boards I cut the ends at a 45 degree bevel on my miter saw. I cut one side first and aligned it to the edge of my frame (left) then I held it in place and marked the underside for where to cut the other end.
Here are some shots of me cutting the side pieces. I measured one on the frame and then used it to measure and cut the rest.
Once they were all cut I glued and nailed them on! Almost done!
To compete the table I built two face frames, one for each side. I measured my openings on the table and cut my boards to fit. Then I drilled pocket holes into the small ends with my Kreg K5 Pocket-Hole Jig. On the bottom you can see me clamping and building the face frames.
For the feet I had these old beat up legs from, I have no idea what, but they were 6 inches, the perfect size. I sanded them down (you can see in the photo I sanded one already before I took a shot. Then I used leg mounting hardware to attach them to the bottom of the table.
Oh, and I did glue and nail on the face frames, can ‘t forget that.
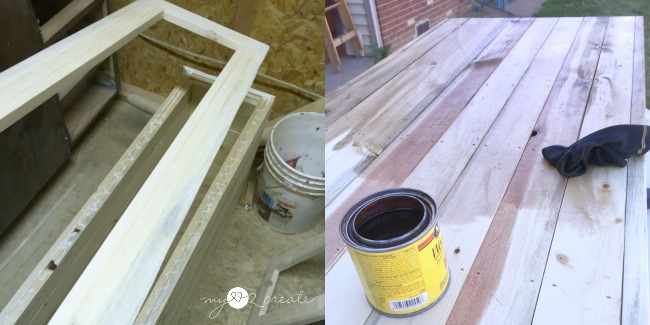
For the stain color I went back and forth…it was hard to decided. In the end I used a mix of three different satins and Just kind of guessed, I wanted it lighter but darker than a natural. Luckily it worked out!
I love it when that happens!
I finished with three coats of poly, sanding with 400 grit between coats 1 and 2.
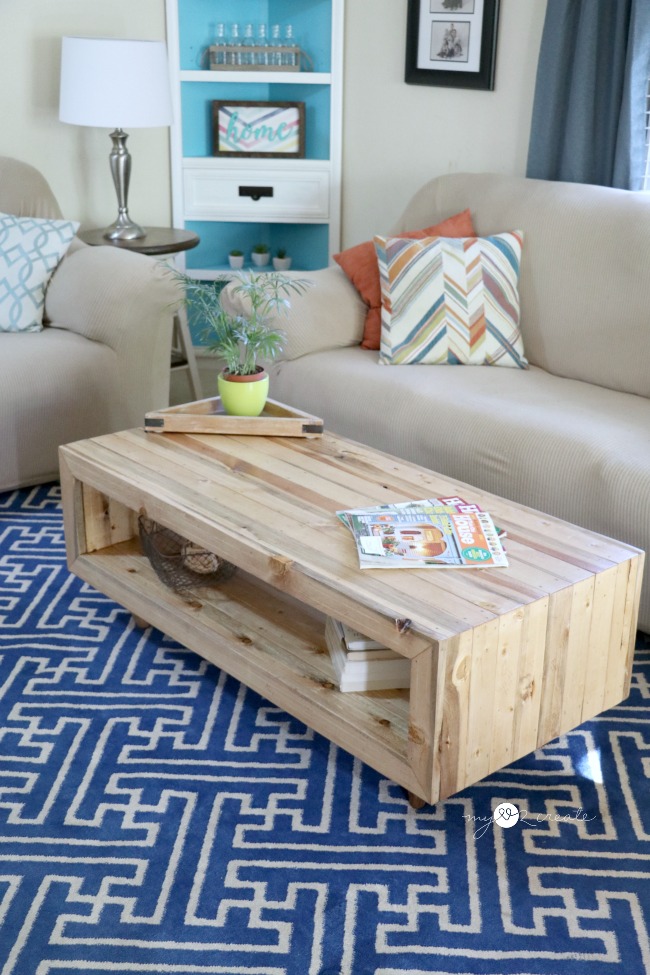
It is nice and smooth and perfect in my work in progress living room.
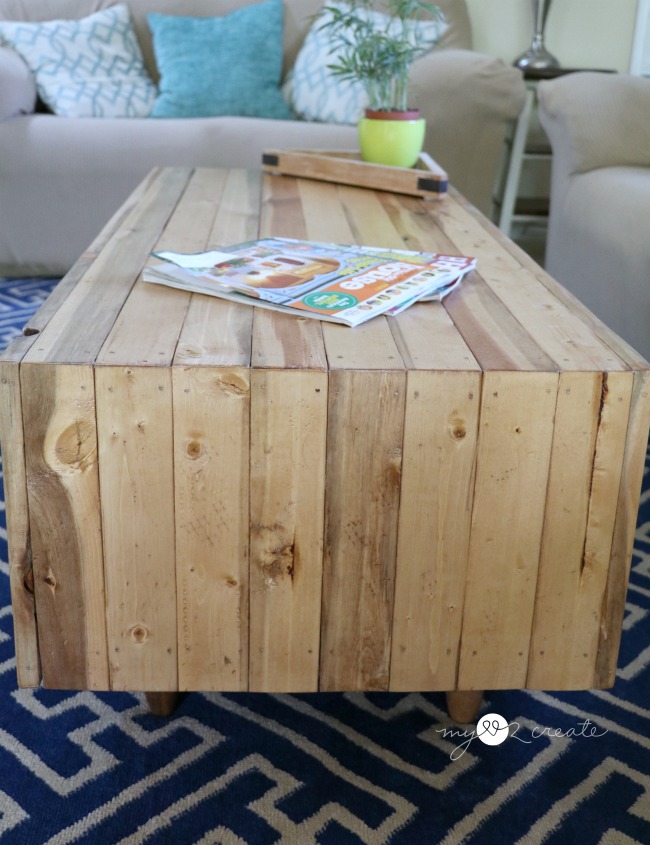
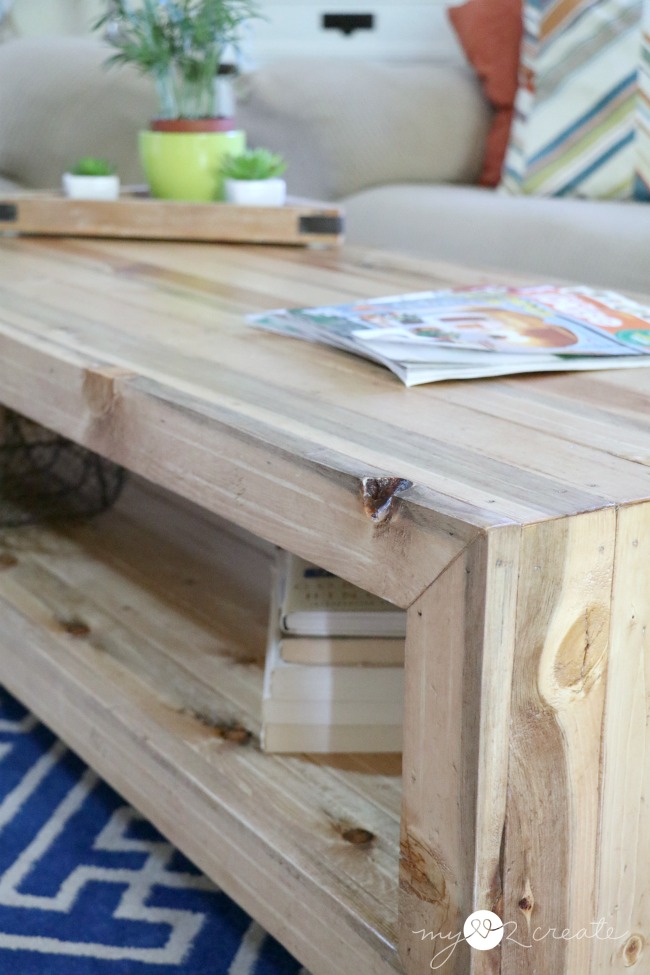
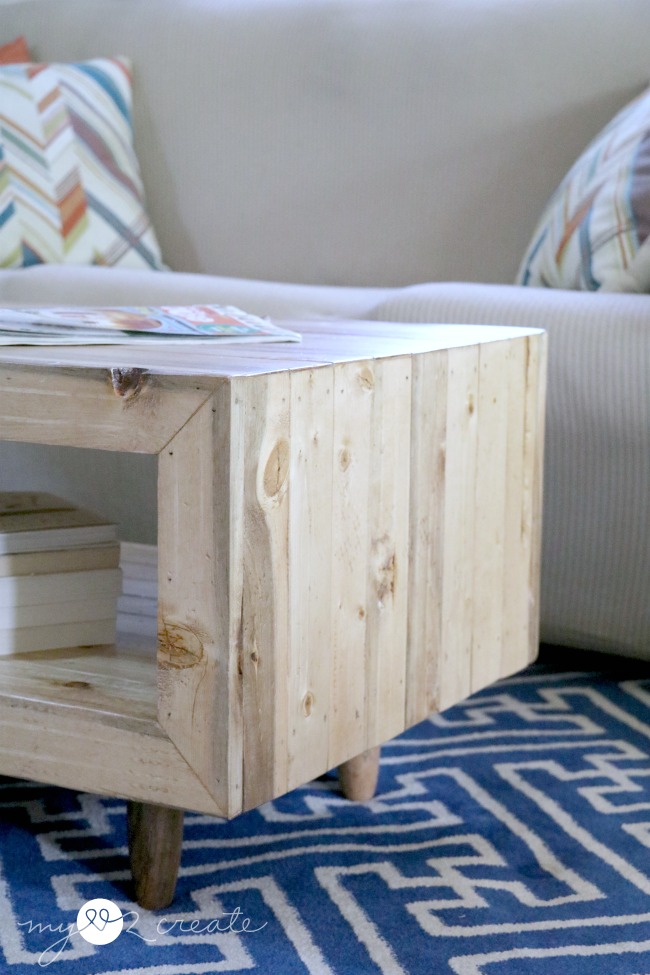
I am happy that you can see the variation in the wood grain, which is exactly why I wanted a lighter color stain.
Even the feet had some color variation.
When I was building it I was worried the shelf would be too small, but it is actually the perfect height and depth for decor items, books, magazines…
Now if I can keep the kids from cluttering it up!
So what do you think?
Want to build your own? It really is a pretty easy build, just takes a little time with all the wood pieces, but not too much…and it was totally worth it! I spent less than $50 on wood and even bought screws and sandpaper at the same time!
Now, head over to Build Something to see my building plans and make your own Reclaimed Wood Coffee Table!!!
Thanks for stopping by!
I will be linking to these parties, Savvy Southern Style, and Bloom Designs








That turned out great! I love how it looks so rustic. Please share this with me and my co-hosts at our link party that went live yesterday. I think my co-hosts would love it, and our followers! They need to see your wonderful work. If you have time 🙂
http://www.rustic-refined.com/2016/07/dishing-it-digging-it-link-party-104.html
Absolutely beautiful.
What a fantastic table! We’d be honored to have you share this at our weekly link party. http://www.thelifeofjenniferdawn.com/2016/07/diy-painted-projects-for-home-and.html Hope to see you there!
I just love how your project turned out Mindi. So pretty! Shared.
Beautiful reclaimed wood coffee table Mindi! I love the items you used to make it "look" reclaimed, especially the hardware cloth.
pinned!
gail
Beautiful reclaimed wood coffee table Mindi! I love the items you used to make it "look" reclaimed, especially the hardware cloth.
pinned!
gail
WOW! Amazing! I will be featuring it at SYC this week. xx Jo
So nice! I love reclaimed wood projects and your coffee table is wonderful! Love it! Pinning 🙂
~Laurie
I always love your projects so much. The design is so lovely and the tutorial is so thorough. It is such a joy to visit your blog and such a pleasure to share it with our readers. Thanks so much for linking to Friday's Furniture Fix. Please look for your table among our features this week and out on my social media in the next few days. Susie from The Chelsea Project
Awesome job Mindi!I love the rustic look against the blue rug. Looking forward to see how you transform the room!
I really enjoy any project that uses reclaimed wood! This looks so fun. Thinking of adding a coffee table like this to my office space. Thanks for the inspiration 🙂
It look so sweet! I love your project and definitely making one for my living room.
Perfect. I like it very much. A wooden coffee table makes the seat in the living room will become more perfect. It looks simple but very strange and new. I thought I would try. Thanks for the useful information that you have shared
Wow! Amazing! It's absolutely beautiful in your room. The wooden coffee table makes the room look nice and natural. I will make one for my home. I hope it will turn out as good as you
What a lovely piece of furniture. It looks simple but fits the room very well and gives the room a natural look 🙂 Love your idea a lot, thank you
Great Furniture.
Reclaimed furniture is a great furniture
Perfect Great Furniture. I like it very much. A wooden coffee table makes the seat in the living room will become more perfect. It looks simple but very strange and new. I thought I would try. Thanks for the useful information that you have shared
This is an amazing article. Loved it.
This is an amazing article. Loved it.
Nice coffee table, maybe I'll make one
This article about Wood Coffee Table is very cool and fully information!